Stages of Clay in Pottery From Wet to Fired
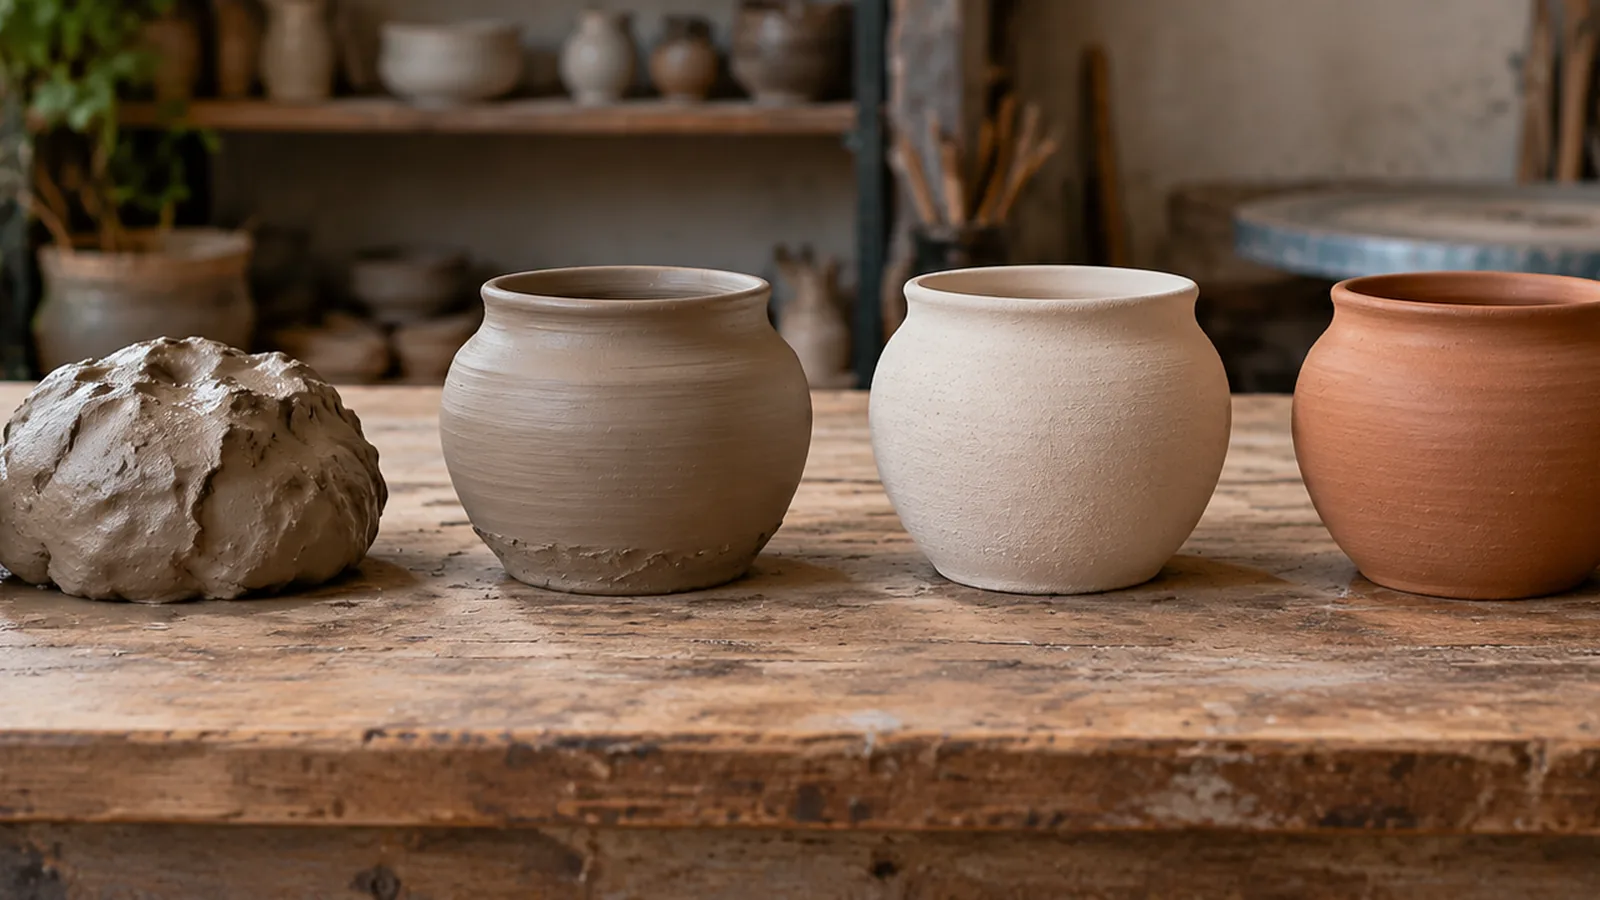
The stages of clay in pottery are commonly counted as six: slip, plastic, leather-hard, bone-dry, bisque ware, and glazed ware. For ordinary firing, let greenware dry completely to bone dry first; heating damp clay can turn trapped water to steam and cause cracks or explosions.
What are the stages of clay in pottery?
Quick answer: Pottery clay is commonly described in six stages, though some guides group them differently. Shape it while plastic, work it as it becomes leather-hard, then let it dry completely to bone dry before ordinary firing. The usual sequence is bisque firing, glazing, and a second firing; damp ware is a controlled exception only when carefully vented candling is used.
- Slip: use pourable clay for joining or decoration.
- Plastic: shape the soft, pliable clay.
- Leather-hard: trim, carve, scrape, or join while it’s still workable.
- Bone dry: wait until the clay has dried completely before ordinary firing.
- Bisque: fire dry, unglazed clay until it’s hard and porous enough to accept glaze.
- Glazed ware: apply glaze to bisque ware, then fire again to melt the glaze into a glassy surface.
How Does Clay Change Before Firing?
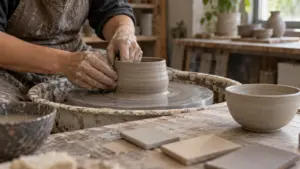
Plastic clay contains enough water to stay soft and pliable, so you can shape it by wheel throwing, hand building, or molding. As water evaporates, the clay stiffens and becomes less workable, changing which tasks it can support.
At the leather-hard stage, the clay is firm enough to hold its shape but still damp enough to trim, carve, or scrape. Softer leather-hard clay works for forming and joining pieces; firmer clay is better for carving and scraping. Work gradually as it dries, since a piece becomes harder to reshape as it stiffens.
Bone-dry clay has dried completely in the air and is fragile. A piece that still feels cool against your cheek may retain moisture, so its feel alone doesn’t confirm that it’s ready for the kiln. “Greenware” is a broad term for unfired clay, covering damp clay as well as bone-dry pieces.
Greenware should be bone dry before ordinary firing. If damp clay heats too quickly, water inside turns to steam and can cause cracking or explosions. Some kilns can dry damp ware through carefully vented candling, but that is a controlled exception, not a reason to load wet work into a normal firing.
What Happens During the First Firing?
Bisque firing is the first kiln firing: it heats dry, unglazed greenware until the clay becomes hard and porous enough to accept glaze. In the stages of clay in pottery, this step follows complete drying and comes before glazing.
The piece going into the kiln is still called greenware, even when it’s bone dry; “greenware” means unfired clay. During bisque firing, heat removes remaining water and burns out impurities, changing the fragile dry piece into bisque ware. Bisque ware is porous, which lets it take glaze before a later firing.
Bisque firing prepares the clay, and the later glaze firing melts the applied glaze into a glassy surface. Choose a bisque temperature based on the clay body and glaze. The clay body’s maturation range, glaze firing range, and kiln heat-work need to match the manufacturers’ instructions.
How Does Glazing Finish the Pot?
Glazing finishes the pot by coating bisque ware with glaze, then firing it again so the glaze melts into a glassy surface. Apply glaze to the porous bisque ware; the glaze firing matures the surface and clay body, turning the piece into finished pottery.
Match the clay body, glaze, and firing schedule before you load the kiln. The clay and glaze must suit the same firing range: follow their manufacturers’ instructions and account for the kiln’s heat-work, the combined effect of time and temperature. There isn’t one firing temperature that fits every clay and glaze combination.
Keep glazed areas from touching kiln shelves or other pieces during firing, since melted glaze can bond to surfaces it contacts. Set the piece so the glazed surface has clearance, and make sure the kiln setup won’t let it touch another glazed item.
Pottery Clay Stages at a Glance
The stages of clay in pottery move from wet, workable clay through drying, bisque firing, glazing, and a final firing. Stage names can be grouped differently, but this table follows the sequence from slip to finished glazed ware.
| Stage | What it means |
|---|---|
| Slip | Wet clay mixed with water until pourable; used for joining or decoration. |
| Plastic clay | Soft, wet clay that can be shaped by hand building, wheel throwing, or molding. |
| Leather-hard clay | Stiffened but damp clay that holds its shape and can still be worked. |
| Bone-dry clay | Air-dried, fragile clay, ready for ordinary firing. |
| Bisque firing | First firing of dry, unglazed clay; it leaves the piece hard and porous enough to accept glaze. |
| Glaze application | Glaze is applied to bisque ware before another firing. |
| Glaze firing | The final firing melts glaze into a glassy surface. |
The main change is that clay loses workability as it dries: plastic clay is shapeable, leather-hard clay can hold details, and bone-dry clay is fragile. Glaze and clay maturity need to match, so follow the manufacturers’ instructions for the materials and kiln heat-work.
Frequently Asked Questions
How long does clay take to dry before bisque firing?
Drying time depends on the piece’s thickness and conditions, so fire only when the whole piece is bone dry.
How can you tell when pottery is completely dry?
Pottery is ready for ordinary firing when it has dried completely in the air and no longer feels cool against your cheek.
What causes pottery to crack while drying?
Uneven drying can make parts of a piece shrink at different rates, creating stress that leads to cracks. Dry pieces evenly to reduce stress from parts shrinking at different rates.
How should I store unfinished clay between pottery sessions?
Keep unfinished clay covered so it stays damp and workable; if it stiffens, add moisture gradually and knead it back to an even consistency.
Can leftover clay scraps be reused for pottery?
Yes, scraps can be reused if they’re clean and contain no glaze or other unwanted material. Rehydrate dry scraps with water, then wedge the clay to even out its moisture before shaping; plastic clay is soft and pliable enough to work.
Conclusion
If you’re still shaping or refining a piece, work while it’s plastic or leather-hard; if it’s ready for ordinary firing, wait until it’s bone dry. Then bisque-fire it, apply a glaze suited to the clay body, and follow both manufacturers’ firing instructions. Your next step is to check the piece for dampness and confirm that the clay, glaze, and kiln schedule are compatible before loading the kiln.
Sources
- The 6 Stages Of Clay – From Slip To Glazeware (With Photos)! – The Pottery Network (thepotterynetwork.com, 2023-05-03T18:22:35+00:00)
- amaco.com (amaco.com)
- ceramicartsnetwork.org (ceramicartsnetwork.org)
- paragonkilns.com (paragonkilns.com)
- ceramicartsnetwork.org (ceramicartsnetwork.org)
- continentalclay.com (continentalclay.com)
- ortonceramic.com (ortonceramic.com)
- shop.amaco.com (shop.amaco.com)
- shop.amaco.com (shop.amaco.com)