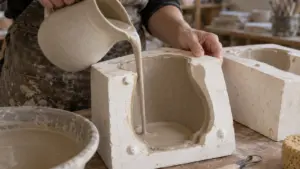
How to Make a Two Piece Slip Casting Mold
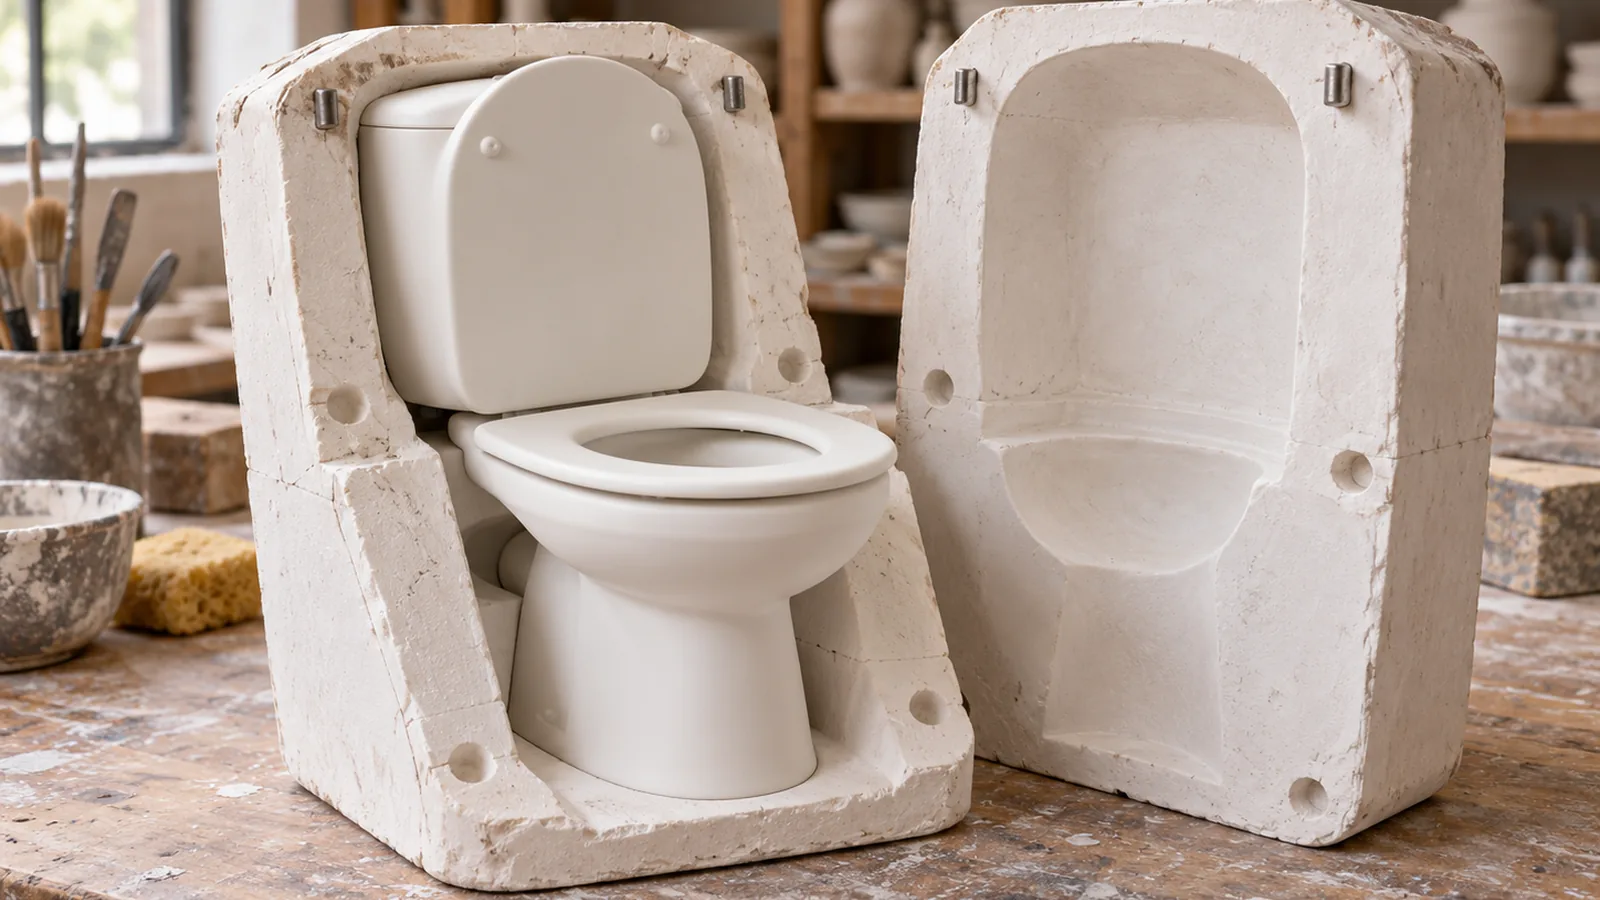
Make a two-piece slip casting mold by forming 2 plaster halves around a model, with a parting line that lets the cast release from both sides. Choose a plaster-specific water ratio and use it for both halves, since ratios differ by product and affect mold absorption.
Quick answer
How do you make a two-piece slip-casting mold?
Make two plaster halves around a model, with a parting line that lets the cast release from both sides. Use the plaster’s specified mix ratio and keep it the same in both halves so the mold absorbs evenly.
- Set the model in a clay bed, build a cottle around it, and mark a parting line with no trapping undercuts.
- Mix and pour the first plaster half; let it set for a few hours, until it has heated and cooled.
- Remove the clay and cottle, clean the plaster face, cut 2 or 3 shallow half-sphere registration keys, then soap the contact face, model, and keys.
- Rebuild the cottle and pour the second half using the same plaster-to-water ratio.
- Try separating the halves after 2–3 hours; if they resist, leave them overnight.
- Dry both halves fully, inspect and sand the interior seam until it lines up, then briefly wet each piece before its first use.
Make the Two-Piece Mold Step by Step
Use a measured plaster-and-water mix for each half, then add matching registration keys and soap the contact surfaces before pouring the second half. Keep the ratio identical in both halves; the sources give different ratios, so use one method consistently rather than switching between them.
| Item | Value | Range in sources | Source |
|---|---|---|---|
| Plaster-to-water ratio by weight | 3:2 | 3:2 to 4:3 | ceramics.org ceramicartsnetwork.org |
| Earliest separation | 2–3 hours | 2–3 hours | ceramicartsnetwork.org |
| Drying temperature ceiling | 120 °F | Up to 120 °F | materialseducation.org |
The ratio matters because it affects mold strength and water absorption, and consistent mixing across both halves helps keep cast walls even. The 3:2 method is a clear choice if you measure by weight; it specifies 3 lb of plaster for 2 lb of water.
Prepare the model and work area. Set the model in a bed of clay and build a cottle, a temporary wall that contains the plaster, around it. Leave enough space for the plaster to form the first half, and seal gaps where plaster could leak.
Set the parting line. Press the model into the clay along the planned split, keeping the clay edge at the parting line. For a two-piece vase mold, the bottom must be flat; an indented bottom creates an undercut that won’t release from two halves.
Pour the first half. Weigh room-temperature water and plaster, then mix until clumps break up and pour the plaster into the cottle. Use the same ratio for the second half.
Prepare the joint. Once the first half sets, remove the cottle and clay, clean the plaster face, and cut registration keys into it. Two or three shallow half-sphere indentations can serve as keys. Soap the plaster face, model, and keys before adding the second half.
Pour the second half. Rebuild the cottle around the exposed side and pour the same plaster mix over the model and first half.
Separate and finish. Try separating the halves after 2–3 hours; if they resist, leave them overnight. Clean the edges and dry both pieces fully before use. A fully dry mold can be wetted briefly before its first use.
How Should You Design the Parting Line?
Place the parting line where the model can separate into two halves and the finished cast can lift free without catching on an undercut. The model’s shape determines the line: a simple shape may split along one plane, while a shape with a recess or projecting feature may need a different orientation or more than two mold pieces.
An undercut is a part of the model that hooks behind the mold as you try to pull the cast out. Turn the model and test the proposed split from both directions: each mold half must be able to move away from the cast without the cast locking against either half. If a feature blocks that movement, shift the parting line to keep it on one side of the split, or redesign the mold as more than two pieces.
For a two-piece vase mold, plan for a flat bottom. An indented bottom creates an undercut that the two halves cannot release; use a third mold piece for that shape. Apply the same test to other forms: check the base, rim, handles, and any deep grooves or flares for areas that would trap the cast. Every undercut needs a release path through the planned mold split or an additional piece.
Once you’ve chosen the split, mark the parting line on the model so you can see how it divides the form. Check that the line follows a path that lets both halves come away cleanly, rather than crossing a feature that would leave part of the cast caught behind plaster. Where the model’s shape gives you more than one workable split, choose the one that makes removal straightforward and keeps the cavity surfaces aligned at the seam.
Registration keys help the two plaster halves return to the same position, but they don’t solve a trapped undercut. Make the parting line and release path work first; then use keys to register the halves when you make the second side. After assembly, inspect the interior seam and sand down high spots or misaligned edges until the cavity surfaces line up. Keys align halves; they don’t release casts.
Dry and Check the Mold Before Casting
Allow both plaster halves to dry fully before casting; room-temperature drying can take several days, depending on mold size and wall thickness.
Keep the mold at room temperature while it dries, or use a drying oven set no higher than 120 °F. A separate handout cautions against forced drying above about 130 °F, so use the lower limit if you choose oven drying.
Once the halves are dry, assemble them and inspect the interior seam where the cavity surfaces meet. Check that the edges line up and the seam doesn’t leave a high spot inside the mold. If the cavity surfaces are uneven, sand down high spots or misaligned edges until they line up. Registration keys help the halves return to position, but inspect the assembled mold rather than assuming the keys guarantee a clean seam.
If you need to dry the mold after checking it, separate the sections and place them in a dry box, or dry the assembled mold in front of a fan and rotate it for more even drying. Dry the mold fully between uses, since a classroom guide advises against using it while damp. Before its first use, briefly wet each piece once it’s completely dry.
If a mold remains dense and fails to absorb water, the plaster may have been mixed with too much water. That points to a mix problem rather than a seam that can be fixed by sanding. Water-to-plaster ratio affects mold strength and absorbency, so weigh both materials for each new mix.
Frequently Asked Questions
How do you keep the mold halves aligned during pouring and separation?
Cut two or three shallow, half-sphere registration keys into the first plaster half, then coat the keys and contact face with soap before pouring the second half.
What plaster should you use for a slip-casting mold?
Use plaster made for pottery molds, and mix it at the ratio specified for that plaster because ratios vary by product. Keep the same ratio throughout both halves so the mold absorbs moisture evenly and produces consistent casting-wall thickness.
How long should a two-piece slip-casting mold dry before first use?
Let both halves dry fully; at room temperature, this can take several days depending on mold size and wall thickness. Briefly wet each fully dry half before its first use.
How do you remove the clay model without damaging the first plaster half?
After the first plaster half has set, remove the cottle and clay bed, then carefully lift away the clay model and clean the plaster face before cutting registration keys. If the plaster resists separation, give it more setting time. Don’t force the pieces apart.
Can a two-piece mold handle a model with undercuts?
Only if the planned split gives both mold halves a clear path away from the cast; an undercut that catches the cast needs a changed parting line or an additional mold piece. For example, an indented vase bottom won’t release from a two-piece mold, so that shape needs a third piece.
Conclusion
If your model releases cleanly along one split, use a two-piece mold and keep the parting line clear of undercuts. If a feature would trap the cast, change the split or plan for another mold piece before pouring plaster.
Next, mark the parting line on the model and confirm that both halves can move away from the finished cast. Then weigh the plaster and water, prepare the first half, and use the same ratio for the second.
Sources
- The parting line represents where the two mold halves will separate. (What Make Art (how-to site; no primary source found), 2025)
- usg.com
- ceramics.org
- Monthly Methods: Mold Making 101 (ceramicartsnetwork.org)
- cd3wdproject.net
- materialseducation.org
- ceramicsweb.org