How to Learn Pottery at Home: A Beginner’s Guide
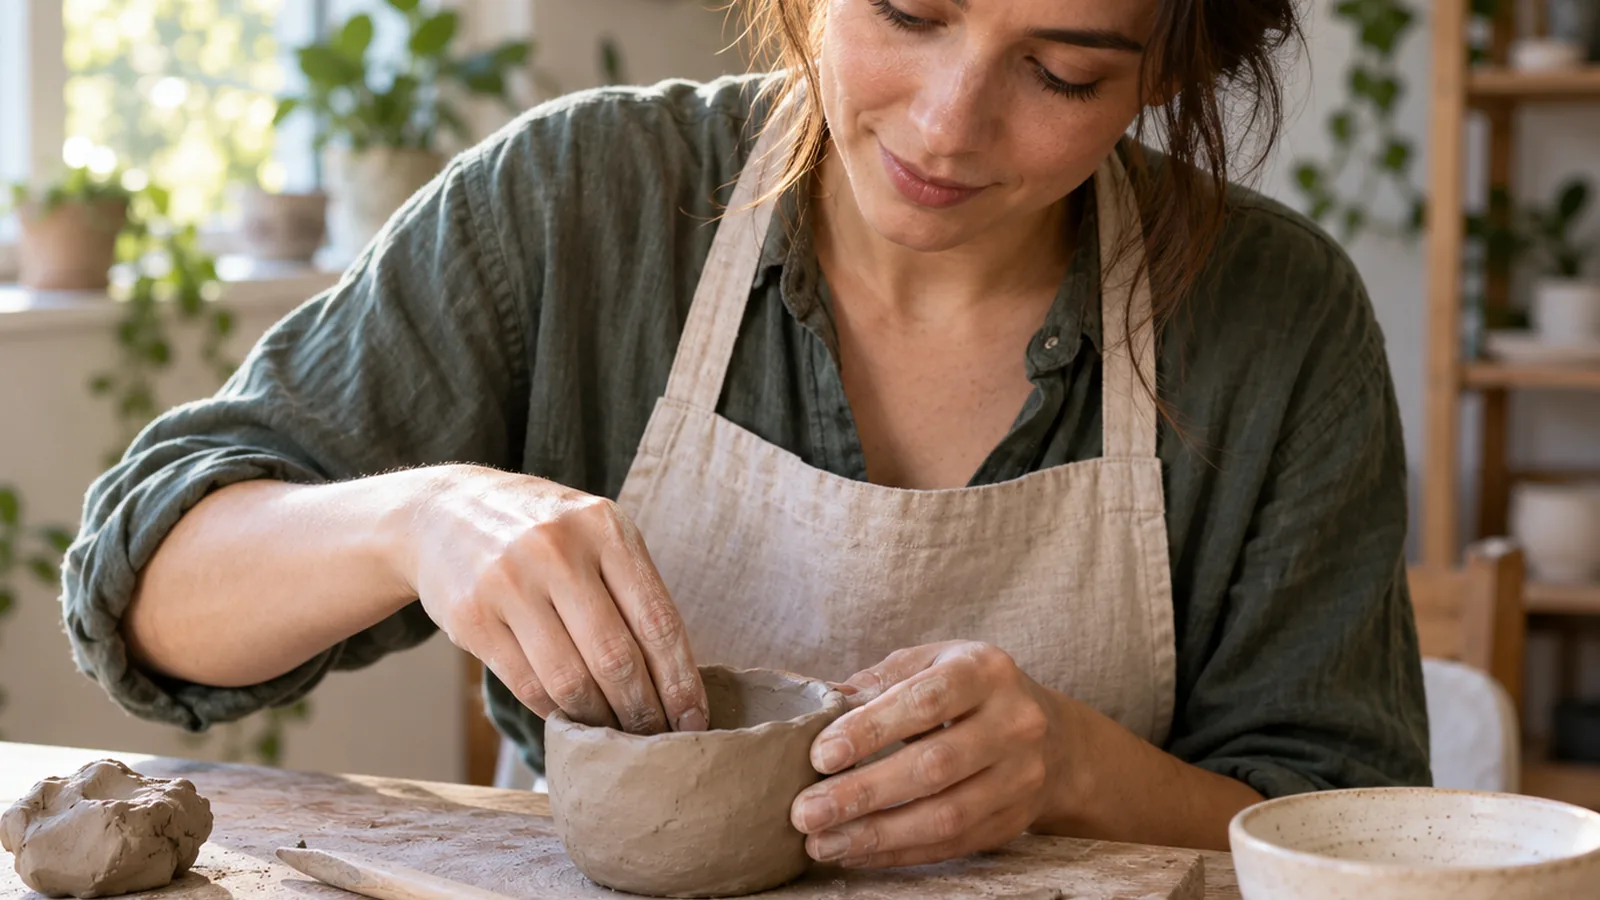
You can learn pottery at home by practicing hand-building, starting with a small bowl, coil pot, slab plate, or simple box. Aim for even walls so your work dries more evenly. Choose air-dry clay for a home setup without kiln access; pottery clay needs ceramic firing to become durable, permanent pottery.
Quick answer
How to learn pottery at home?
Yes, you can learn pottery at home by practicing hand-building with simple forms; choose air-dry clay if you can’t arrange kiln firing, or pottery clay if you can. Wedge or knead the clay, shape and join your piece, then dry it slowly and evenly; ceramic clay must be completely bone dry before firing. There’s no reliable fixed drying time, so check the base and interior, and use a pottery studio or firing service if you don’t have kiln access.
- Start with a pinch pot, coil pot, slab plate, or simple box.
- Use hands, water, and a cleanable work surface; wedge or knead the clay before shaping.
- For joins, score both surfaces and add a little slip or water; join pieces at similar moisture levels, no drier than leather hard.
- Dry slowly and evenly, loosely covering the piece with plastic if needed; check the base and interior before firing ceramic clay.
- Paint or varnish air-dry clay after it dries; use ceramic glaze only with kiln-fired pottery, matching the glaze to the clay body and firing temperature.
Make Your First Pottery Piece Step by Step
Choose a simple project and clay. Start with a small bowl, coil pot, slab plate, or simple box, which lets you practice basic hand-building. Choose ceramic clay if you have access to a kiln; it must be fired to become hard, permanent ceramic. Air-dry clay hardens in room air, but it isn’t suitable for kiln firing or traditional ceramic glazes.
Set up a cleanable work surface. Use your hands, water, and a clean, wipeable surface, such as a plywood board on a protected table. Choose a spot you can clean with water, and don’t dry-sweep clay dust.
Condition the clay. Wedge or knead the clay before shaping it into a pinch pot, coil-built form, or slab piece.
Form the main piece. Build the project with your hands, keeping the shape simple. Small bowls, coil pots, slab plates, and box forms are suitable first projects for practicing hand-building.
Join added parts securely. When attaching pieces, score both surfaces and apply a little slip or water. Join pieces when they’re at similar moisture levels, and no drier than leather hard.
Refine the shape, then dry it slowly. Smooth or adjust the form before drying. Dry it slowly and evenly; loosely cover it with plastic if needed, and protect rims and handles from drafts or overly fast drying. Drying time varies with the clay, shape, thickness, humidity, airflow, and covering, so there isn’t a reliable fixed number of days.
Check dryness and choose a compatible finish. Before firing ceramic clay, check the base and interior, since a piece can feel dry outside while retaining moisture inside. It must be completely bone dry before firing; trapped moisture can turn to steam and crack or explode the piece. After firing, use a ceramic glaze compatible with the clay body and firing temperature, then fire the glaze as directed.
Note
A household oven can’t reach the temperatures needed to fire ceramic clay, so it won’t make ceramic clay into permanent pottery.
Choose Clay and Tools for Your Home Setup
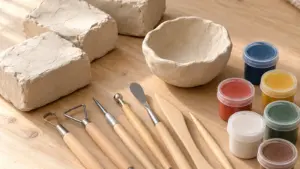
For the simplest home setup, use air-dry clay; choose pottery clay only if you can arrange ceramic firing. Air-dry clay hardens in room air, so you can paint or varnish it after drying. It won’t become waterproof, however, and it isn’t suitable for kiln firing or traditional ceramic glazes. Crayola advises keeping its air-dry clay creations indoors and away from food and liquids.
Pottery clay needs kiln firing to become hard, permanent ceramic. Without firing, it can break down when wet, so plan how you’ll fire your piece before choosing this clay. A pottery studio or firing service can provide an alternative to owning a kiln.
Start with hand-building: it lets you learn core forming methods without a wheel. Practice pinch pots, coil building, and slab building, using small bowls, coil pots, slab plates, or simple box forms as projects. A pottery wheel is a separate method; the available research supports these hand-building techniques, not specific wheel equipment or setup needs.
Keep your workspace easy to clean with water, and don’t dry-sweep clay residue because that can put dust into the air.
If you use pottery clay, dry the piece slowly and evenly before firing. It must be completely bone dry, since moisture trapped inside can turn to steam and crack or explode the piece. Match any glaze to the clay body and firing temperature; air-dry clay should be painted or varnished instead of treated with traditional ceramic glaze.
Build Skills Through Practice and Feedback
Build skill by repeating simple hand-built forms, then combine methods and add texture or molds.
Make several versions of one form before moving on. Compare their wall thickness and shape; thick solid areas dry slowly and can be risky to fire. Treat each attempt as a chance to spot where your walls become uneven or your form changes, then adjust your next piece.
Once basic hand-building feels familiar, add one new challenge at a time:
- Combine methods: use more than one hand-building method in a piece.
- Add texture: try a textured slab bowl.
- Use a mold: try shaping clay with a simple press mold.
Choose one of these after practicing basic methods, rather than adding several new techniques at once. That gives you a clearer way to judge what changed between pieces.
Use beginner instruction that covers the techniques you’re practicing, including forming and joining clay, then apply it to a small project. If you want help with firing, a pottery studio or firing service is an alternative to attempting an outdoor firing, which involves fire and smoke and should only be considered where permitted and with appropriate precautions.
Keep notes on what you changed between attempts, such as the form or technique. The available guidance confirms a progression from basic hand-building to combined methods, textured slab bowls, and press molds, but does not specify a particular feedback service or practice schedule.
Compare Home Pottery Methods at a Glance
Hand-building with air-dry clay needs no kiln, while durable ceramic ware requires ceramic firing; outdoor pit firing is less predictable. Choose the finishing method before you choose the clay, because air-dry clay, kiln-fired clay, and pit-fired pieces have different limits.
| Approach | What it requires | Main limitation |
|---|---|---|
| Air-dry clay | Clay that hardens in room air | It isn’t suitable for kiln firing or traditional ceramic glazes, and it doesn’t become durable ceramic ware |
| Kiln-fired pottery | Pottery clay; ceramic firing from 1800°F to greater than 2400°F (1000°C to greater than 1320°C); glaze compatible with the clay body and firing temperature, followed by glaze firing | The piece must be completely bone dry before firing; trapped moisture can create steam and cause cracks or explosions |
| Outdoor pit or contained-fire firing | An outdoor pit or contained fire, where permitted and with appropriate precautions | It’s less controllable than kiln firing, breakage can occur, and pit-fired pieces can remain porous and unsuitable for food or liquids |
Pit firing offers an outdoor alternative, but heat and results are less controlled, and porosity can limit how you use the finished piece. If you want glazed ceramic ware, match the glaze to both the clay body and firing temperature.
Frequently Asked Questions
How do I find a pottery studio that fires pieces made at home?
Contact local pottery studios and firing services and ask if they accept outside work, what clay bodies and firing temperatures they handle, and how pieces should be prepared. Match the clay to the firing temperature: ceramic clay needs kiln firing to become permanent, and glaze must suit both the clay body and firing temperature.
How should I store leftover pottery clay between projects?
Keep leftover pottery clay wrapped so it stays workable, and use a little water to soften it if it begins to dry. Avoid letting clay dry out before your next project; condition it by wedging or kneading before shaping.
Why does pottery crack while drying, and how can I prevent it?
Pottery can crack when it dries too quickly or unevenly, especially around rims and handles exposed to drafts. Dry pieces slowly and evenly: loosely cover them with plastic if needed, and check the base and interior because the outside can feel dry while moisture remains inside.
Can I use acrylic paint on air-dry clay?
Yes, you can paint air-dry clay after it has dried; acrylic paint is a practical choice for decorating it. Paint doesn’t make it waterproof: keep finished pieces indoors and away from food and liquids.
How can I keep clay dust from spreading around my home?
Clean clay residue with water rather than dry-sweeping, which can put dust into the air. Use a wipeable work surface in a spot you can clean with water, and keep clay and glaze out of household drains unless you have a clay trap.
Conclusion
If you don’t have a way to arrange ceramic firing, choose air-dry clay and plan to paint or varnish the finished piece. If you want durable ceramic ware, choose pottery clay only after you’ve arranged kiln firing through a studio or firing service. Next, make a small bowl or coil pot, keep the work area easy to clean, and focus on shaping one form well before adding new techniques.
Sources
- crayola.com (crayola.com)
- open.edu (open.edu)
- ceramicartsnetwork.org (ceramicartsnetwork.org)
- 6716b4442afc1 (amaco.com, Mon, 21 Oct 2024 20:06:28)
- crayola.com (crayola.com)
- ceramicartsnetwork.org (ceramicartsnetwork.org)
- ceramicartsnetwork.org (ceramicartsnetwork.org)
- ceramicartsnetwork.org (ceramicartsnetwork.org)
- ceramicartsnetwork.org (ceramicartsnetwork.org)
- ceramicartsnetwork.org (ceramicartsnetwork.org)
- open.edu (open.edu)