How to Reclaim Clay for Pottery
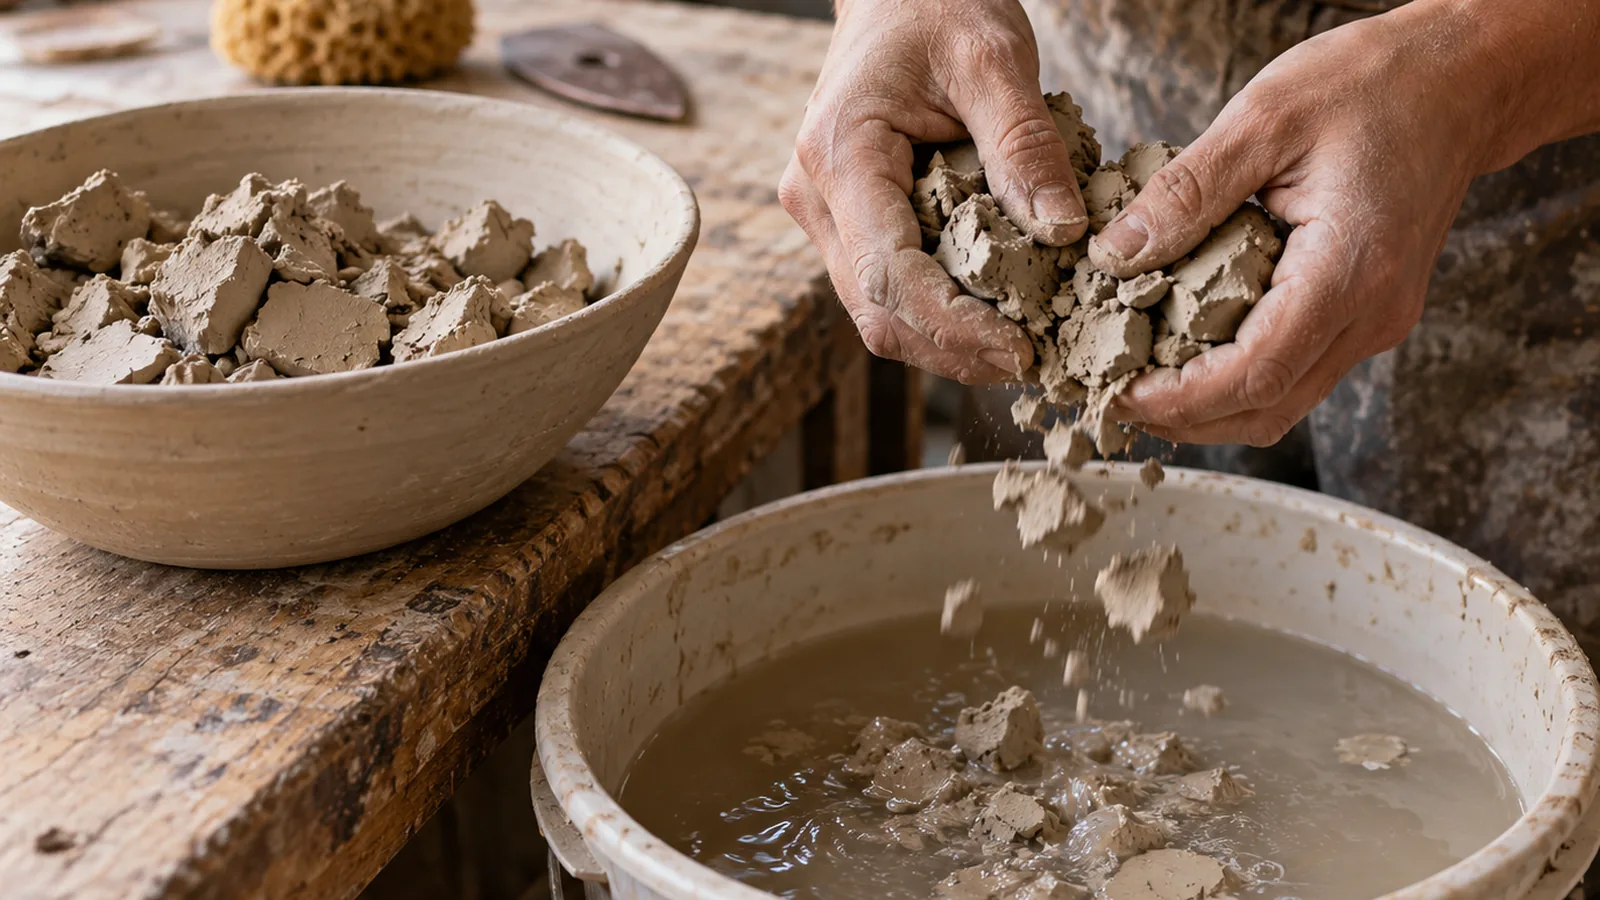
To reclaim clean, unfired scraps, dry them until firm, crumble them, cover them with water, and let them collapse into slurry; slaking may take 1–3 weeks. Stir until smooth, then dry the slurry until workable. Keep plaster or glaze contamination out of clean reclaim.
How do you reclaim clay for pottery?
Quick answer: Yes. Reclaim clean, unfired scraps by drying them until firm, crumbling them, covering them with water, and letting them collapse into slurry; slaking may take 1–3 weeks, depending on batch size and studio humidity. Stir until smooth, then spread the slurry thinly on a clean, absorbent surface and dry it until workable. On plaster, lift the clay when a corner peels away easily and the surface isn’t sticky; then wedge it until the texture is even and store it in a sealed plastic bag.
- Sort: Separate scraps by clay body and remove debris. Keep fired, glaze-contaminated, and plaster-contaminated material out of clean reclaim.
- Dry and crumble: Let damp scraps dry until firm enough to break apart, then crumble them into a container.
- Slake and mix: Cover dry scraps with water. One method uses water 1 in. above the clay; soak until the pieces collapse into slurry, then stir until smooth.
- Screen if needed: Clean scraps don’t need routine sieving. Use a screen over a bucket if you’re concerned about debris or contamination.
- Dry and wedge: Spread slurry thinly on a clean, absorbent surface, turning or gathering it as it firms. On plaster, wait until a corner peels away easily and the clay isn’t sticky, then wedge until workable and store it sealed
Reclaim Clay Step by Step
Sort scraps by clay body, remove debris, and keep fired or glaze-contaminated material out of the batch. Then follow these steps; the time needed for soaking and drying varies with the clay and setup.
| Detail | Value |
|---|---|
| Water above clay | 1 in. |
| Slaking time | 1–3 weeks |
These are guides, not fixed targets; the 1–3-week estimate depends on batch size and studio humidity. Use the clay’s condition to judge when to move on.
- Sort and clean. Use unfired scraps only. Separate clay bodies, slips, and wash streams, and remove foreign material before reclaiming. Keep plaster-contaminated clay and glaze-contaminated scraps or wash water out of clean reclaim.
- Dry wet scraps. Let damp scraps dry until they’re firm enough to break apart. Completely dry scraps can also be reclaimed.
- Break them up. Crumble the scraps into a container so water can reach the pieces.
- Add water and slake. Cover dry scraps with water. One method covers them with water extending 1 in. above the clay; let the pieces soak until they collapse into slurry.
- Mix the slurry. Stir until the clay is smooth and even.
- Screen only if needed. Clean scraps don’t require routine sieving. Use a screen over a collection bucket if you’re concerned about debris or other contamination.
- Dry and gather. Spread slurry thinly on a clean, absorbent surface, such as a plaster bat. Turn or gather it as it firms so it dries evenly; don’t use damaged or chipping plaster.
- Wedge before use. On plaster, lift the clay when a corner peels away easily and the surface is no longer sticky. Wedge until the texture is even and the clay feels workable, then store it in a sealed plastic bag.
Choose a Surface for Drying Clay
Use a clean, absorbent surface to draw excess water from the slurry, then turn the clay as it firms so it dries evenly. Spread the slurry thinly to help moisture leave the clay.
Suitable surfaces include:
- Pottery plaster: Use a plaster slab, bat, or wedging table.
- Concrete: This can be used as a drying surface.
Keep plaster surfaces intact. Damaged or chipping plaster can contaminate the clay, so don’t use a surface that is flaking or breaking down. Drywall or sheetrock is unsuitable: its paper can peel, and the board can weaken.
The drying time depends on how much water is in the slurry and the surface you use, so monitor the clay rather than relying on a fixed schedule. On plaster, a corner that lifts or peels away easily and is no longer sticky indicates that the clay can be removed; if it will not lift, leave it to dry longer.
How Can You Tell Reclaimed Clay Is Ready?
Reclaimed clay is ready to wedge when it lifts cleanly from the drying surface and feels soft, workable, and no longer sticky. On plaster, a corner should peel away easily; if it won’t lift, leave the clay to dry longer.
Slurry that still clings to the plaster or smears when you try to lift it hasn’t firmed enough to remove. Give it more drying time, then check the corner again rather than trying to wedge it while it’s still sticky.
Once you can remove the clay cleanly, wedge it until the texture feels even throughout. If parts of the batch still feel different from one another, keep wedging until the texture is consistent.
Readiness depends on the clay’s condition, not a fixed drying time. Check it as it firms, and use the lift test only for clay drying on plaster; the cue is specifically documented for that surface. After wedging, store workable reclaimed clay in sealed plastic bags to keep it from drying out.
Keep Reclaimed Clay Clean and Consistent
Keep reclaimed clay clean by sorting scraps by clay body, removing contaminants, and wedging each batch until its texture is even. Keep different clay bodies separate so you can identify and use each batch predictably.
Before reclaiming, remove foreign material and keep contaminated scraps and wash water out of clean clay. Sort scraps into separate batches:
- Clay body: Keep each body separate and label it, since bodies can differ in firing behavior, color, shrinkage, and texture.
- Glaze-contaminated scraps or wash water: Keep them out of clean reclaim.
- Plaster particles and other debris: Remove them rather than mixing them into the clay.
If you combine different bodies, treat the blend as a new clay body: its shrinkage, color, and texture may differ, and the results can change with the proportions in the batch. Bodies with the same firing temperature can be grouped as a practical option, but that doesn’t make the blend’s properties predictable. For a blend made from bodies with different firing ranges, test-fire a sample to find its maturation point before relying on it for finished work.
Once the reclaimed clay has dried to a workable consistency, wedge it thoroughly until its texture is consistent and it feels soft and workable, not sticky. Wedge the whole batch evenly before storing it in sealed plastic bags.
Frequently Asked Questions
Can reclaimed clay be used on the pottery wheel?
Yes, reclaimed clay can be used on the wheel once it’s soft, workable, and not sticky. Wedge it until the texture feels even throughout, and keep different clay bodies separate if you need predictable firing behavior and shrinkage.
Can you mix reclaimed clay with fresh clay?
Yes, you can mix reclaimed clay with fresh clay, but keep the blend’s clay bodies in mind. Different bodies can change the mixture’s color, shrinkage, texture, and firing behavior, so treat a mixed batch as a new clay body and test-fire it if the firing ranges differ.
Does reclaiming clay change its firing temperature?
No, reclaiming clean scraps from the same clay body doesn’t itself change the firing temperature. Mixing different bodies can make firing behavior less predictable, so test-fire a sample if their firing ranges differ.
How do you test reclaimed clay before firing?
Test-fire a small sample, especially if the batch combines clay bodies with different firing ranges. The test helps establish the blend’s maturation point, and results can change with the proportions of each body.
How long does reclaimed clay last in storage?
Workable reclaimed clay can be stored in a sealed plastic bag, but check it over time because clay can dry even inside plastic. For wet scraps awaiting reclaiming, use a plastic bag or sealed lidded tote and reclaim them within a few weeks.
Conclusion
If the scraps are clean and all from one clay body, reclaim them as a separate batch; if they contain glaze or plaster, keep them out of clean reclaim. Your next step is to sort the scraps, remove debris, and set the clean material aside by clay body before adding water. That gives you a batch you can identify and use predictably. After drying, rely on how the clay lifts and feels, then wedge it until the texture is even and store it sealed.
Sources
- ceramic.school (ceramic.school)
- ceramicartsnetwork.org (ceramicartsnetwork.org)
- craftscouncil.org.uk (craftscouncil.org.uk)
- Studio Guide | Clay Recycling (blueprintkentucky.mgcafe.uky.edu)
- lakesidepottery.com (lakesidepottery.com)
- blueprintkentucky.mgcafe.uky.edu (blueprintkentucky.mgcafe.uky.edu)
- bisquestudios.com (bisquestudios.com)
- ceramicartsnetwork.org (ceramicartsnetwork.org)