Do you have a dream of creating pottery, sculptures, or other handmade works of art with your own two hands? Working with clay is one of the most rewarding and enjoyable crafting experiences—but it can be daunting to get started.
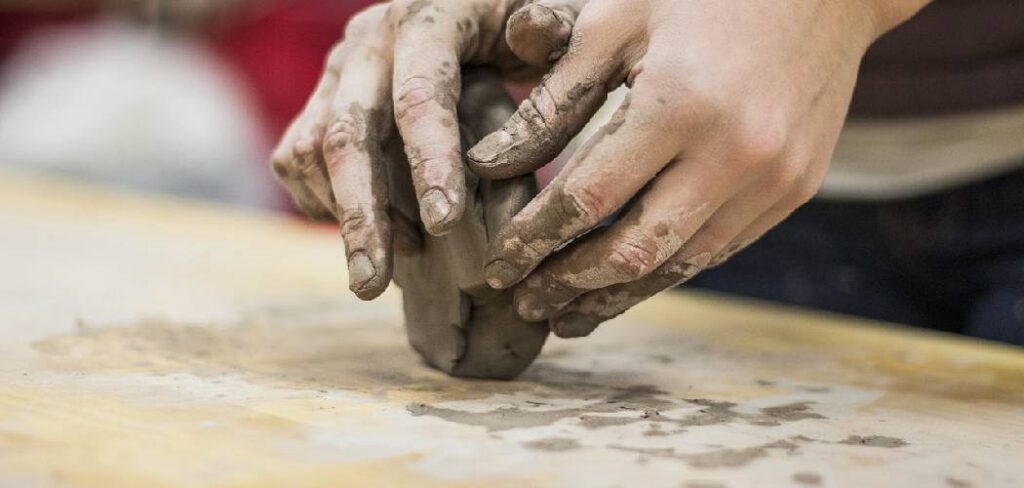
Processing the raw clay into finished pieces requires knowledge and skill, but that doesn’t mean it’s impossible! In this blog post, we will go through the necessary steps so you can learn how to process clay to create works of art as beautiful as those created by master crafters.
Table of Contents
What Is the Method of Processing Clay?
Processing clay is a labor-intensive process that involves breaking the clay apart, blending it with the desired additives to create the ideal consistency and texture, drying it out, and then firing it in a kiln until hardened. The method of processing clay can vary depending on the type of clay being used and its intended use.
For hand-building pottery, the clay will usually be broken down into small pieces and then wedged—a process of kneading the clay to make sure that it is free from air bubbles. Once the clay has been wedged, it can then be formed into the desired shapes by hand or on a wheel.
For ceramic sculptures, slabs of clay may be cut into smaller pieces and either rolled or pressed with a rolling pin onto flat surfaces. Once the desired shape is achieved, details are added with tools such as needle tools and knives.
Depending on its intended use, processed clay may also need to be glazed in order to give it durability and an attractive finish. Glazing involves dipping the fired piece in a glaze liquid and then firing it again.
The method of processing clay may vary depending on the type of clay being used and its intended use, but the end result is always a durable, beautiful piece that can be enjoyed for many years to come.
8 Steps How to Process Clay
Step: 1. Collecting the clay
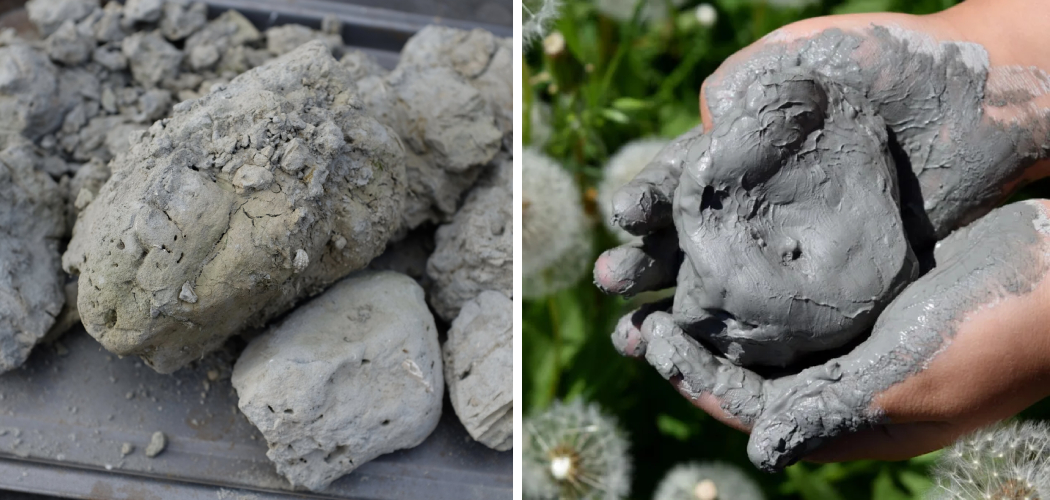
The first step in processing clay is to collect it. This can be done by digging it up from the ground or by collecting it from a body of water. The type of clay you need will determine where you need to collect it from.
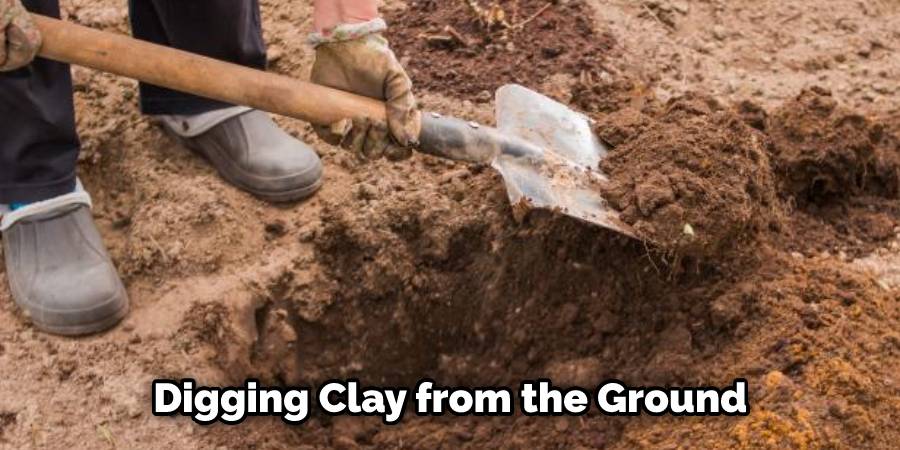
For example, if you’re looking for porcelain clay, look for a sandy area. If you are looking for stoneware or earthenware clay, look for a muddy area. Once you have found the source of your clay, use a shovel to collect it into buckets or bags.
Step: 2. Cleaning the clay
Once you have collected the clay, it needs to be cleaned. This can be done by washing it with clean water or by soaking it in a bucket of water for a few days. The goal is to remove any dirt, debris, or impurities that may be present.
You can use a mesh strainer or sieve to ensure that all of the debris is removed. Once you have cleaned the clay, it is ready for use. However, you may want to test it before using it extensively.
To do this, take a small amount of clay and mix it with water until it forms a paste. Spread the paste onto a tile or other surface and let it dry out for 48 hours. If the clay cracks, then you may need to add more water. If it does not crack, then it is ready to use!
Step: 3. Grinding the clay
After the clay has been cleaned, it needs to be ground into a fine powder. This can be done using a mortar and pestle or an electric grinder. If you are using an electric grinder, make sure that the blades are made of ceramic or another non-metal material as metal can contaminate the clay.
Additionally, use an old coffee grinder or a dedicated clay grinder that you can buy for this purpose. Once the clay is ground, it will be ready to use. However, if you are looking for a finer texture, it can be sifted through a mesh or cheesecloth.
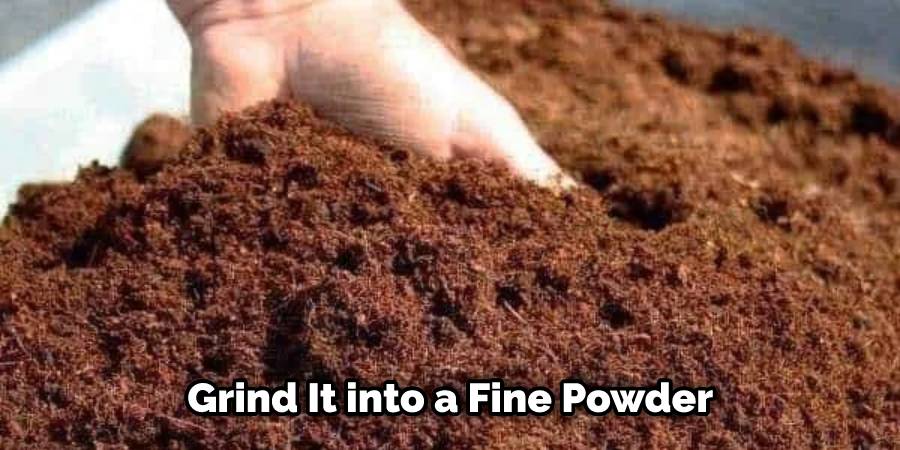
This will help to make the clay smoother and more uniform. Finally, the powder can be stored in an airtight container for later use.
Step: 4. Sifting the clay
Once the clay has been ground into a powder, it needs to be sifted through a fine-mesh sieve. This will remove any large pieces or impurities that may still be present. Sifting the clay will help to ensure a smooth, even texture for the finished product.
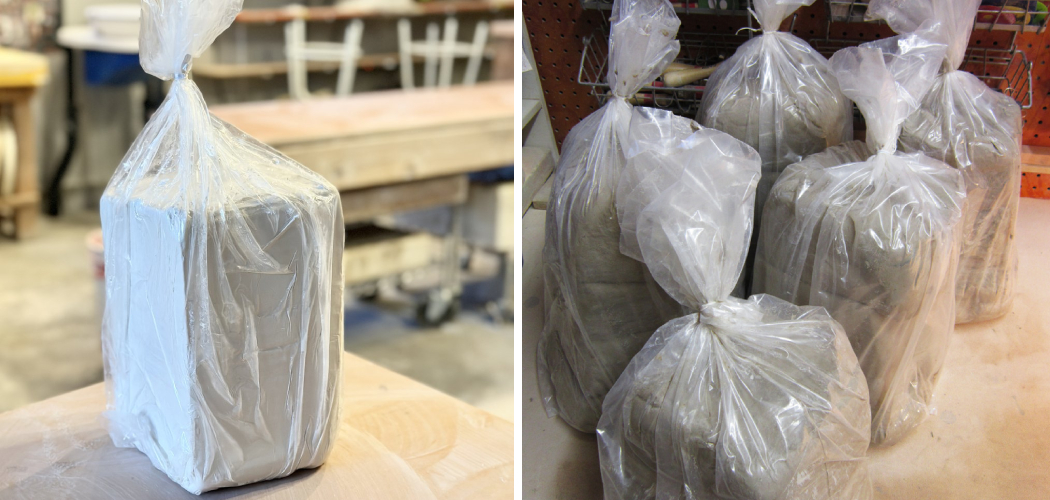
After sifting, the clay should be poured into a container for storage until it is ready to use. However, it is important to keep the clay in a cool, dry place away from direct sunlight.
If the clay becomes too wet or humid, it can be difficult to work with and can lead to cracking or other defects in the finished product. For best results, it should be sifted again before use.
Step: 5. Mixing the clay
After the clay has been sifted, it needs to be mixed with water to form a slip. The amount of water you need to add will vary depending on the type of clay you are using. A general rule of thumb is to add enough water so that the slip is the consistency of heavy cream.
You can also use the “hand test” to check if it is ready, Take a handful of the slip and squeeze it in your hand. If it holds its shape, the mixture is ready. Though, if it crumbles apart, you need to add more water and mix it again.
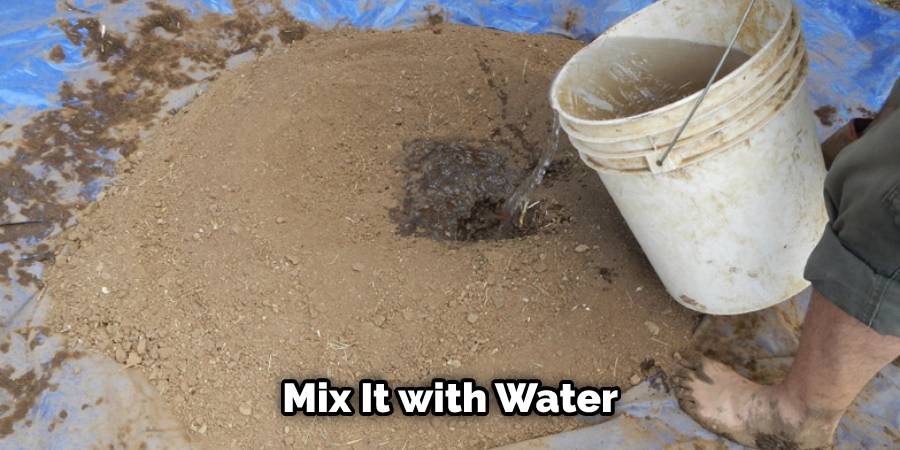
Once the right consistency is achieved, let the slip sit for a few minutes before using it. This will allow all of the particles in the clay to settle into place. After resting, give your slip one final stir before you start forming your clay pieces.
Step: 6. Adding fluxes
Once the slip has been mixed, fluxes can be added if desired. Fluxes are materials that can help to reduce firing temperatures or improve fired properties such as strength and hardness. Common fluxes used in ceramics include feldspar, silica, and borax. These materials should be added in small amounts and mixed thoroughly into the clay slip.
The amount of flux needed will depend on the type of material used and the desired properties of the finished product. Adding too much flux can have negative effects, such as weakening the fired object or promoting crazing, so only a minimal amount is usually needed.
Step: 7. Wedging the clay
Wedging is a process that helps to remove air bubbles and impurities from the clay. It involves kneading and folding the clay multiple times until it is smooth and consistent. To do this, you will need a sturdy work surface and a wooden paddle or rolling pin. Start by flattening the clay into a large disc on your work surface.
Fold the edges of the disc in towards the center, then press down with your paddle or rolling pin to create an indentation. Turn the clay 90 degrees and repeat the process again. Keep repeating this process until you have created a uniform texture and there are no more air bubbles.
Step: 8. Forming the clay
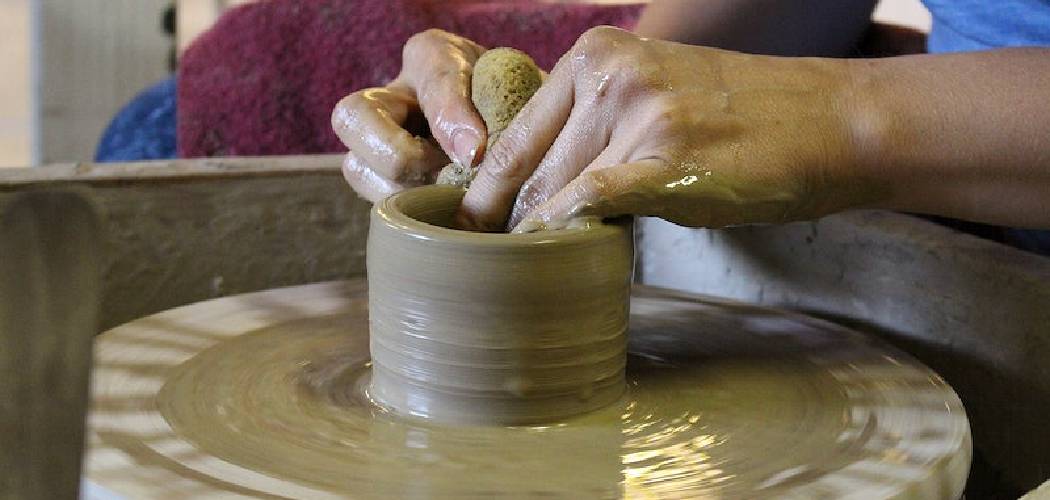
The final step in processing clay is forming it into desired shapes. This can be done using a variety of techniques, such as hand-building, throwing on a potter’s wheel, or using molds. Hand-building is the simplest of these techniques and involves using your hands to shape clay into desired forms.
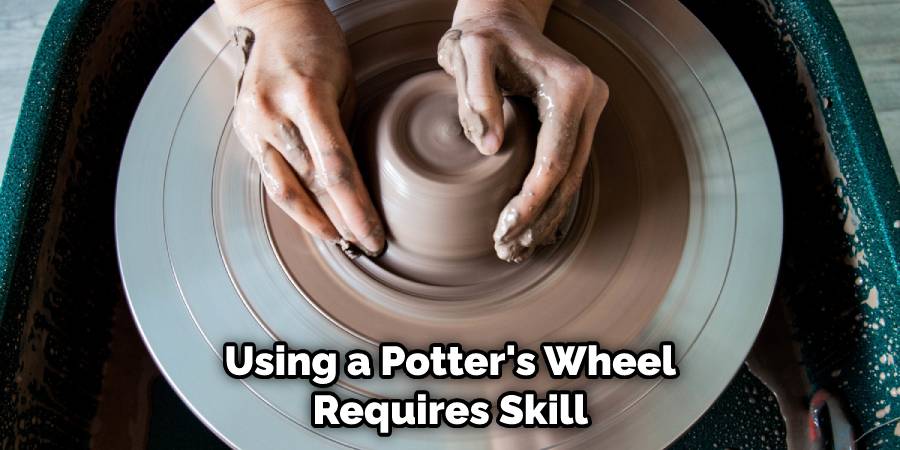
Using a potter’s wheel is more difficult as it requires skill and practice in order to accurately control the movements of the clay and create symmetrical shapes.
Things to Consider When Processing Clay:
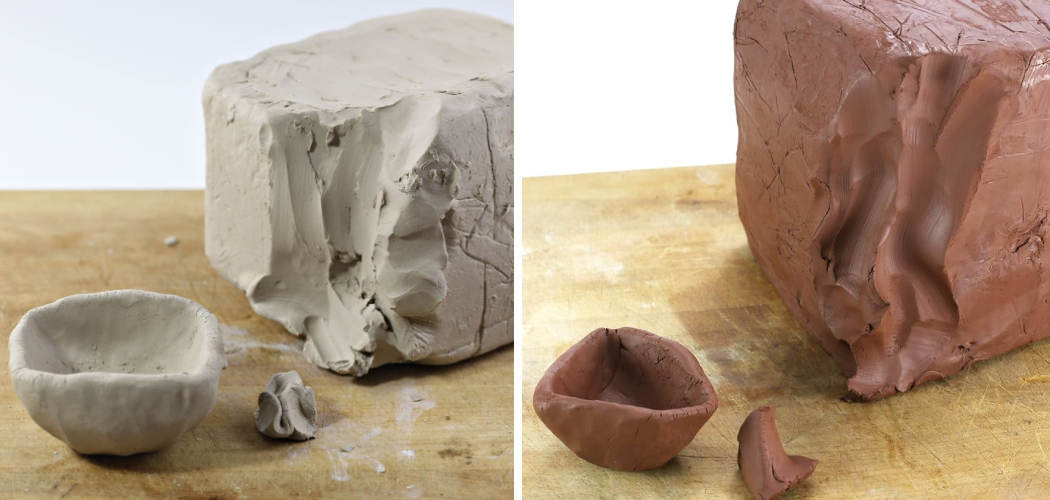
- Make sure to collect the right clay for your project. Different types of clay can be processed in different ways, so it is important to find the right type of clay for your needs.
- Clean your hands and any tools before handling the clay, as it can be easily contaminated.
- Work on a clean, non-porous surface to prevent particles from being trapped in the clay. It is also important to have enough space available so that you can spread out the clay and work with it without disturbing other pieces of equipment.
- Knead the clay before beginning your project to ensure it is soft and pliable. This will help make sure that all parts of the piece are uniform when finished.
- As you are working with the clay, keep an eye out for any inconsistencies or air bubbles which can cause cracks or weak spots in the finished piece.
Conclusion:
It takes practice to master the technique but with exploration and experimentation comes beautiful creations. Knowing how to process clay can also come in handy if you choose to pursue pottery as a hobby or side business venture. Whether it’s sculpturing, wheel throwing, or slip casting, taking the time to learn each step of the clay processing procedure will aid in creating quality pieces each time.
