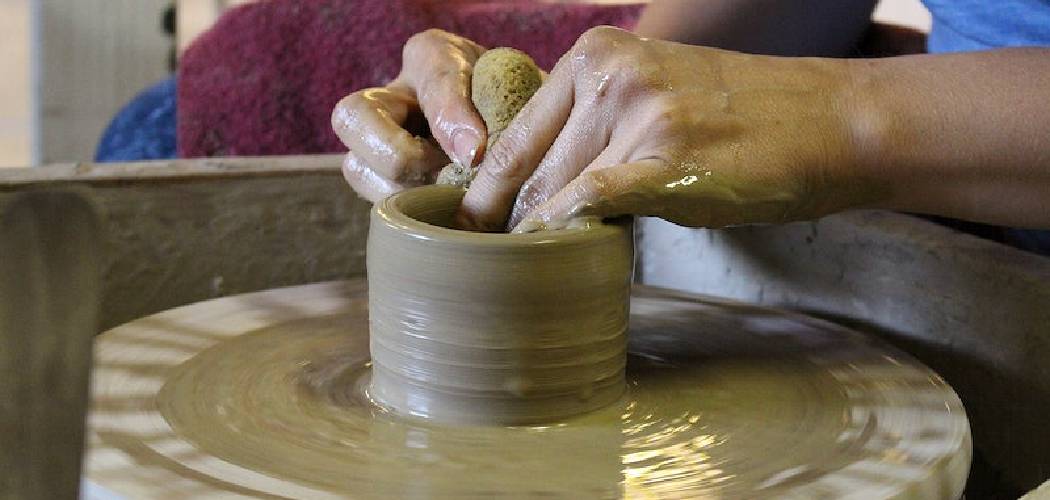
Are you looking for a new way to express yourself creatively? Working with clay slabs can be an incredibly engaging and rewarding craft that allows you to create beautiful works of art. By working with clay slabs, you can design and make personalized plates, bowls, sculptures – pretty much anything!
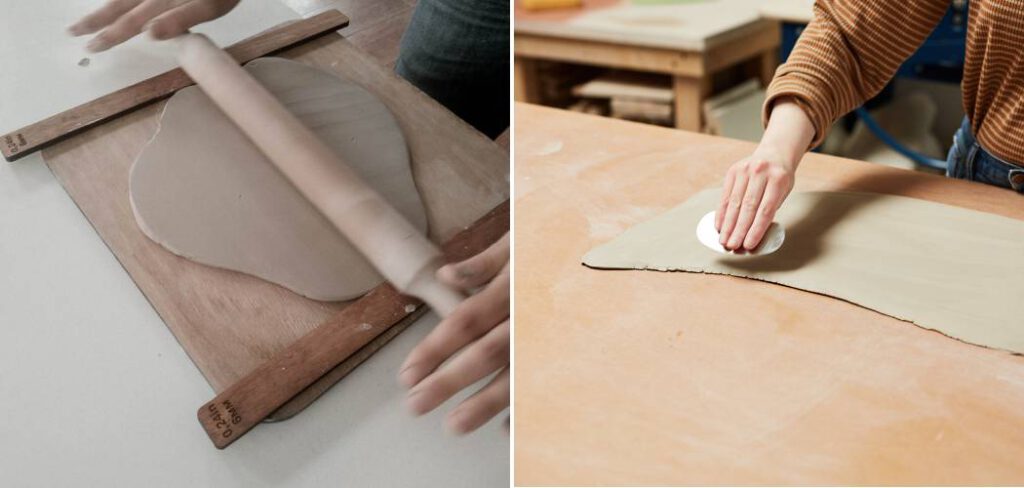
In this blog post, we’ll discuss the tools and techniques of how to make a clay slab. From preparation steps like cleaning and moistening the slab all the way through final touches like glazing your piece – by following these instructions, you’ll be sure of success. So let’s explore how to start building clay masterpieces!
Table of Contents
What Is Used to Create a Slab of Clay?
To make a slab of clay, you will need clay (any type, such as porcelain or terracotta), a rolling pin, a work surface, water, and a sponge. Choose the right type of clay for your project. You may need to condition the clay if it is too hard. To do this, simply knead it in your hands until it becomes pliable.
The most important step when creating a slab of clay is to prepare your workspace. Make sure that your work surface is level and free from any debris so that the rolling pin can move freely across it without sticking. A piece of glass or marble is an ideal choice for a smooth working surface.
Once you have conditioned the clay and prepared the workspace, you can begin rolling out the slab. Place a small portion of clay onto your work surface and use the rolling pin to spread it into a flat sheet. The thickness should be even; use a ruler or straight edge to measure its thickness if needed. To ensure that the edges remain neat and uniform, roll back and forth several times in both directions.
Next, you will need to add water with a sponge to soften the clay so that it is easier to shape and cut. Keep adding water until the slab feels like soft leather, then let it dry for 15-30 minutes before continuing.
10 Steps How to Make a Clay Slab
Step: 1. Gather Your Materials:
To make a clay slab, you will need clay, a rolling pin or other implement for rolling out the clay, and something to cut the slab with (a pizza cutter or similar works best). If you’re using air-dry clay, you will also need a damp cloth to keep the clay from drying out as you work.
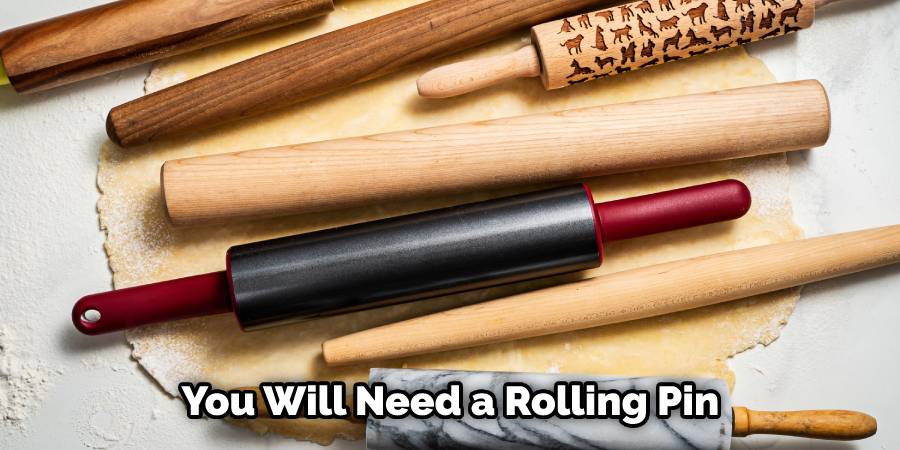
However, if you’re using oven-bake clay, you don’t need a damp cloth. Although not mandatory, it may also be helpful to have some sort of surface on which to roll out the clay.
Step: 2. Knead the Clay until It Is Pliable and Soft:
This may take some time, depending on the type of clay you are using. Make sure to knead it until the clay is smooth and has an even texture. You may also need to add a bit of water or other ingredients to adjust the consistency. After kneading, your clay should be easy to work with and ready to shape into a slab. Although the clay may still be slightly damp, it should not be sticky or oily.
Step: 3. Roll Out the Clay:
Once your clay is ready, you can begin rolling out the slab. Place the clay onto a flat surface and use your rolling pin or other implement to roll it out evenly into the desired thickness. You may need to rotate the clay as you are rolling so that it remains even on all sides.
If your slab is too thick, you can fold it in half and roll it again until the desired thickness is achieved. Alternatively, you can use a clay slab roller to help you achieve a more uniform and even thickness throughout the clay.
Step: 4. Cut Out Your Slab:
Using your pizza cutter or similar item, cut around the perimeter of your slab in order to create distinct edges for your project. If you are making a bowl, use your hands to gently pinch the edges around the perimeter to give it an extra bit of shape.
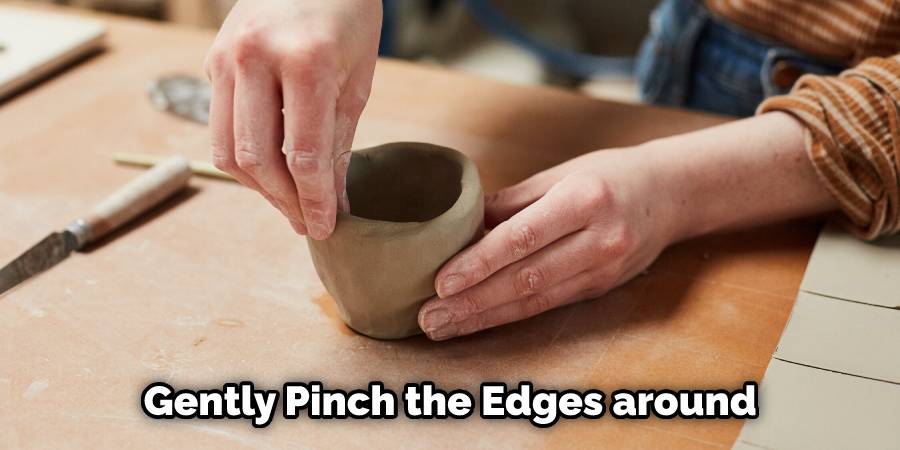
Now, you have a slab of clay that’s ready to be used in your project. Use it as is, or continue to shape and refine it until it’s just the way you want it. While it’s still wet, you can also texture the surface of your slab with tools or by pressing items into it.
Step: 5. Smooth Edges:
Use a damp sponge or wet fingertips to gently smooth out any rough edges. This will help to ensure that your slab is even and uniform. If you are making a pot, use the edge of your hand to round out any sharp edges.
If you want to make more intricate designs on the edges, use clay tools such as a knife or roller to create patterns. Lastly, if used for a tile project, make sure all four sides are even and uniform in size. However, you can also use a ruler to measure the sides and trim off any excess clay with a thin blade.
Step: 6. Place Your Slab on a Board:
When you are done smoothing out the edges, place your clay slab onto a board or other flat surface in order to prepare it for further shaping or decoration. Make sure the slab is completely flat and that the edges are even.
You can use a rolling pin to go over it once more if needed. While working with your clay slab, you should make sure that it remains flat and even by periodically checking the edges and flattening out any areas that have become raised. Make sure to also keep your board clean and free of debris in order to avoid unwanted marks on your clay slab.
Step: 7. Score the Clay:
To add texture and/or detail to your slab, you can use an object such as a fork or spoon to create score marks on the clay’s surface. The marks should be shallow and evenly spaced apart from each other so that they don’t cut too deeply into the clay.
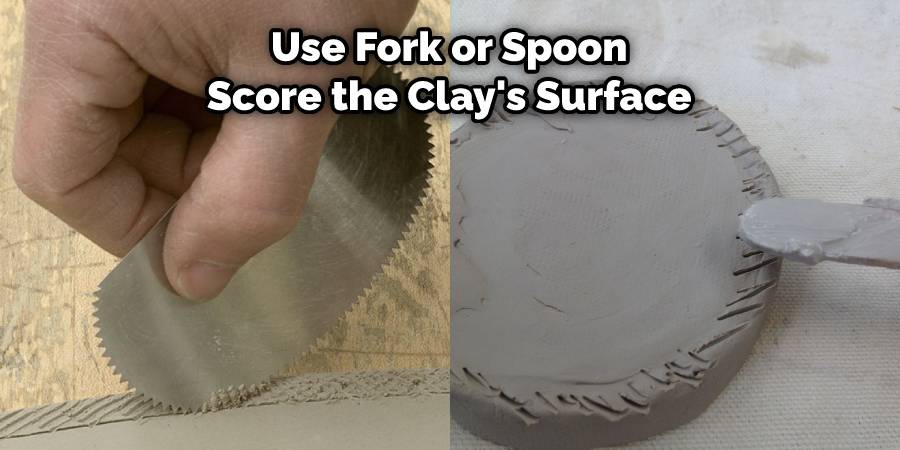
Make sure not to press too hard when scoring the clay, as this could cause it to break apart. After you have finished adding the score marks, press the edges of your slab together for a smoother finish. Your clay slab is now ready to use!
Step: 8. Add Decorative Details:
After scoring the clay, you can begin to add decorative details such as shapes, patterns, or designs of your choice. The options are endless! Allow your creativity to flow, and have fun! You can use a variety of tools for this step, such as cookie cutters or dental tools.
You can also create unique textures and marks with items like forks or combs. If you would like to add color to these details, apply ceramic glaze to achieve vibrant results. Be sure to allow the clay slab adequate drying time before adding any additional details.
Step: 9. Cut Out Pieces for Your Project:
Once you have finished adding any decorative elements to your slab, it is time to cut out pieces for your project. This can be done by using a sharp knife or other cutting tools. Make sure that all of the pieces you cut out are even and uniform in size and shape so that they fit together properly when assembled into the final product.
Step: 10. Bake Your Clay Slab:
Finally, once all of the above steps are complete, it’s time to bake your clay slab. Preheat the oven to 250°F and place your clay slab onto a piece of parchment paper on top of an oven-safe tray or dish. Bake for approximately 30 minutes or until the clay is hard. Once finished baking, allow your work to cool before handling. You can then decorate or use your clay slab however you like.
Things to Consider When Making Clay Slab:
1. Type of Clay
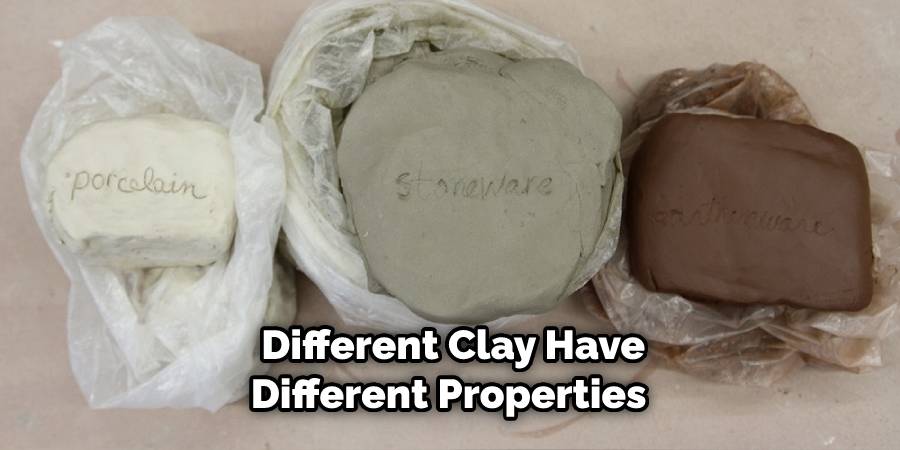
Different types of clay have different properties and require different techniques for successful slab-making. Make sure to choose an appropriate type of clay for the project you wish to create.
2. Conditioning
The clay needs to be conditioned in order to make it pliable and workable. You can either knead the clay or use a rolling pin on it before using it in your project.
3. Rolling Pin
Use a rolling pin that is wide enough so that you can roll out the slab evenly without leaving any gaps or thin spots behind.
4. Thickness
Determine how thick you want your slab to be and adjust your rolling pin accordingly. Try not to roll it too thin since the clay can break easily.
5. Surface Detail
If you want to add texture or pattern to your slab, use a rolling pin with a textured surface or a stamping tool.
Conclusion:
Overall, slab clay construction is an easy and rewarding crafting skill that anyone can learn. And now that you’ve gone through the step-by-step instructions on how to make a clay slab, you have the knowledge and confidence to create beautiful and unique pieces of pottery or wall hangings. You can use this foundational knowledge to come up with your own creative twists and ideas while taking into account the essential basics of slab clay construction.


