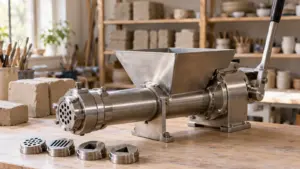
How to Use a Clay Extruder for Clean, Consistent Shapes
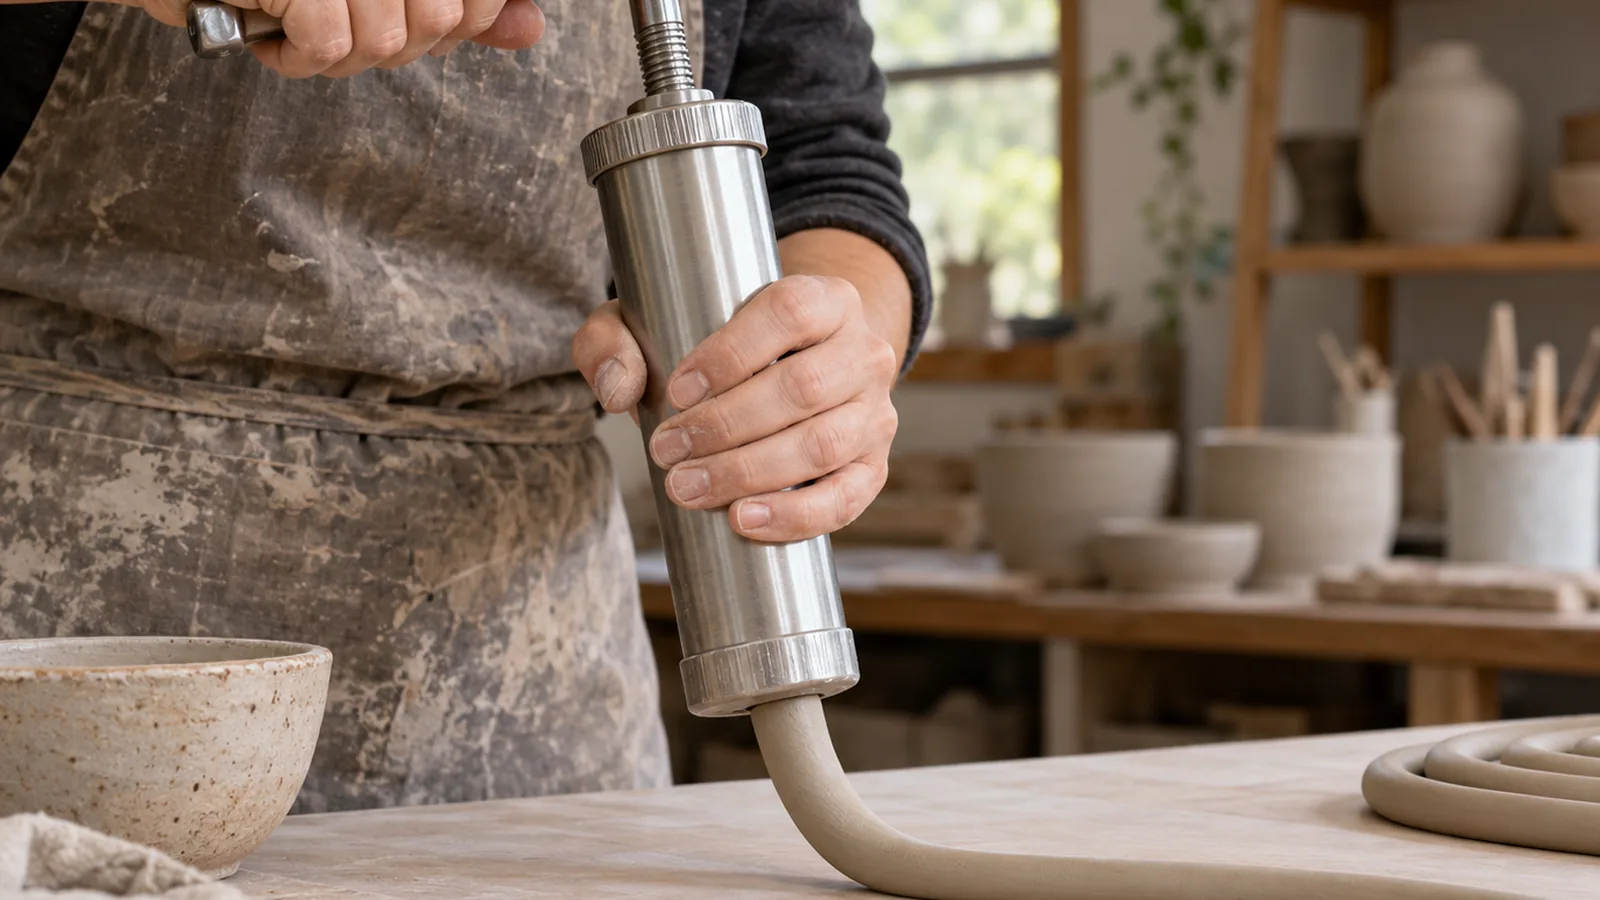
To learn how to use a clay extruder, fit the die, load a shaped coil of workable clay, and press the handle slowly and firmly; there’s no single charge size that fits every extruder. The key difference is the tool’s loading and die-holder design: use its built-in fitting method, and don’t force the handle if the clay resists.
Quick answer
How do you use a clay extruder?
Fit a die that matches the shape you want, load soft, workable clay formed into a coil that fits the barrel, then apply firm, slow pressure. The exact loading and unloading steps depend on the extruder: mounted models may use a plunger and handle, while handheld models may open at the front cap or rear barrel.
- Check that the barrel, plunger, handle, die, and die holder are ready, and confirm the die fits.
- Condition the clay until it’s soft and workable; properly pugged and de-aired clay works best for the Scott Creek wall-mounted model.
- Fit the die securely using your extruder’s holder; for the Scott Creek wall-mounted model, seat it in the aluminum cap and refit the cap pins.
- Shape the clay into a coil sized to fit the barrel, load it, and lower the plunger onto it.
- Apply firm, slow pressure; on a ratcheting extruder, reset the handle at the bottom of each stroke. Stop if it takes your full body force, then check the clay softness and die opening.
- Release pressure and unload the remaining clay. On a handheld model, remove the front cap and advance the plunger past the opening, or unscrew the barrel from the rear cap.
- For the Scott Creek wall-mounted model, extrude as much clay as possible, dry the remainder, remove the barrel, soak it in water for 5–10 minutes, and sponge it clean.
Use a Clay Extruder Step by Step
Check the die holder before loading: mounted extruders can use a cap and pins, a threaded cap, or another holder, so fit the die using the method built into your tool. A shaped clay coil helps limit air pockets compared with loose, irregular pieces.
| Setup | Barrel diameter (in.) | Clay charge (lb) | Source |
|---|---|---|---|
| Ceramic Arts Network credit-card custom-die setup | 3–4 | 2–3 | claybucket.com |
| Bailey single solid coil | 4 | — | baileypottery.com |
The charge and barrel dimensions are setup-specific, not general targets; use a load that fits your barrel and die. The Bailey guidance favors a 4 in. Barrel for a single solid coil rather than its Standard 9 barrel.
- Check that the barrel, plunger, handle, die, and die holder are ready to use; confirm the die fits your extruder.
- Condition the clay until it is soft and workable. Properly pugged and de-aired clay works best in the Scott Creek extruder, while soft, poorly wedged clay may tear or show bubbles.
- Fit the die securely. On the Scott Creek wall-mounted model, remove the plunger and handle, release the cap pins, place the die in the aluminum cap, then refit the cap and pins.
- Shape the clay into a coil sized to fit the barrel, rather than loading loose pieces.
- Load the coil and lower the plunger onto it. Secure or position the tool as its design requires; the Scott Creek wall-mounted model uses the handle to apply pressure.
- Apply firm, slow pressure. On a ratcheting extruder, reset the handle at the bottom of each stroke.
- Cut or shape the extruded clay as needed. If it takes your full body force to move, stop and check the clay softness and die opening instead of forcing the handle.
- Release pressure, then unload the remaining clay. On a handheld extruder, remove the front cap and advance the plunger past the opening, or unscrew the barrel from the rear cap.
- For the Scott Creek wall-mounted model, extrude as much clay as possible, dry the remainder, remove the barrel, soak it in water for 5–10 minutes, then sponge it clean.
Choose a Die for the Shape You Need
The die opening sets the clay’s cross-section: choose a solid-opening die for a solid shape, or a die with inner and outer parts for a hollow profile.
Seat the die securely in its holder before loading clay, so the cap and pins are back in place.
Other extruders may use a threaded cap or a different die holder, so use that model’s fitting method rather than assuming the Scott Creek cap-and-pin arrangement applies. When changing dies, check that the new die fits its holder and is seated as intended before you extrude.
A small opening can make extrusion harder, especially if the clay is stiff. Use firm, slow pressure rather than a forceful shove, which can damage the extruder and strain you.
Warning
A small single-coil die in Bailey’s Standard 9 setup may take excessive pressure; don’t force it through.
How Do You Load Clay Into the Barrel?
Load the barrel with soft, workable clay formed into a coil that fits its shape, then lower the plunger onto the clay or secure the handle as your extruder design requires. A fitted coil helps limit air pockets because it compresses in the barrel more readily than loose, irregular pieces.
For a Scott Creek wall-mounted extruder, use soft, properly pugged and de-aired clay for the most reliable extrusion. Pugging and de-airing remove trapped air; soft, poorly wedged clay may tear or show bubbles as it comes through the die. Any pottery clay can be extruded in that model, including coarse clay with a high grog percentage, if it has been de-aired, but clay that is soft, pugged and de-aired works best.
Shape the clay into a fat coil sized to fit the barrel instead of dropping in loose pieces. Keep the coil close to the barrel’s diameter so it fits inside, then lower the plunger onto it; on the Scott Creek wall-mounted model, apply firm, slow pressure to the handle. A 2–3 lb charge of very soft, well-wedged clay applies to a 3–4 in. Barrel used with a credit-card custom-die setup, not every extruder.
Loading and plunger steps depend on the tool. The Scott Creek wall-mounted model uses a removable plunger and handle, while a handheld extruder may have a front cap and a barrel that unscrews from the rear cap. Bailey cautions that some clay bodies may not suit its Standard 9, so confirm clay compatibility for that model before loading.
Adjust Pressure When Extrusion Gets Difficult
Check the clay’s softness, the die opening, and the flow before adding pressure; if the handle needs your full body weight, stop rather than forcing it. Full-body force signals a problem and can damage the extruder or strain you.
If the clay tears or comes out with air bubbles, it may be too soft or poorly wedged. Use properly pugged, de-aired clay for a more even flow.
Check that the die is seated correctly and that its opening suits the clay and extruder. A small opening can make extrusion harder, and a small single-coil die may take excessive pressure in a larger-barrel setup.
Once the clay moves evenly, use firm, slow pressure. On the Scott Creek wall-mounted extruder, lower the plunger onto the clay and press the handle steadily.
If extrusion remains difficult, stop and reassess the clay and die opening. For Bailey’s Standard 9, clay body suitability varies, so check the instructions for that model before continuing.
Frequently Asked Questions
Can you use a clay extruder with porcelain or groggy clay?
Yes, pottery clay, including coarse clay with a high grog content, can be extruded if it’s de-aired; soft, properly pugged and de-aired clay works best. De-air the clay before loading to reduce tearing and bubbles, and check compatibility for your specific model because some extruders have limits.
Why does clay come out unevenly from an extruder?
Uneven extrusion can result from clay that’s poorly wedged or contains air, a stiff clay body, or a die opening that’s too small. Pug and de-air the clay before loading, then check that the die is seated and suited to your clay; stop if the handle needs your full body force.
How do you prevent clay from drying inside an extruder?
Remove as much clay as possible after use, then clean and dry the barrel; dried clay is harder to remove and can wear the plunger plate if you push it through.
Can a clay extruder make hollow forms?
Yes, a clay extruder can make hollow forms when you fit a die with inner and outer parts, which creates a hollow profile. The die sets the cross-section, so seat it securely in the holder before loading clay and applying pressure.
What safety precautions should you take when using a clay extruder?
Use firm, slow pressure, check the clay and die if flow becomes difficult, and reset a ratcheting handle at the bottom of each stroke.
Conclusion
If you’re choosing between a handheld and mounted extruder, pick the one whose loading and unloading steps you can manage comfortably; the barrel, plunger, and die holder differ by design. For your next extrusion, fit a die for the profile you need, load a soft coil that fits the barrel, and press slowly.
Sources
- clayandpotterysupplies.com (clayandpotterysupplies.com)
- Hand Extruder Instructions – The Ceramic Shop (theceramicshop.com)
- ceramicartsnetwork.org (ceramicartsnetwork.org)
- claybucket.com (claybucket.com)
- baileypottery.com (baileypottery.com)