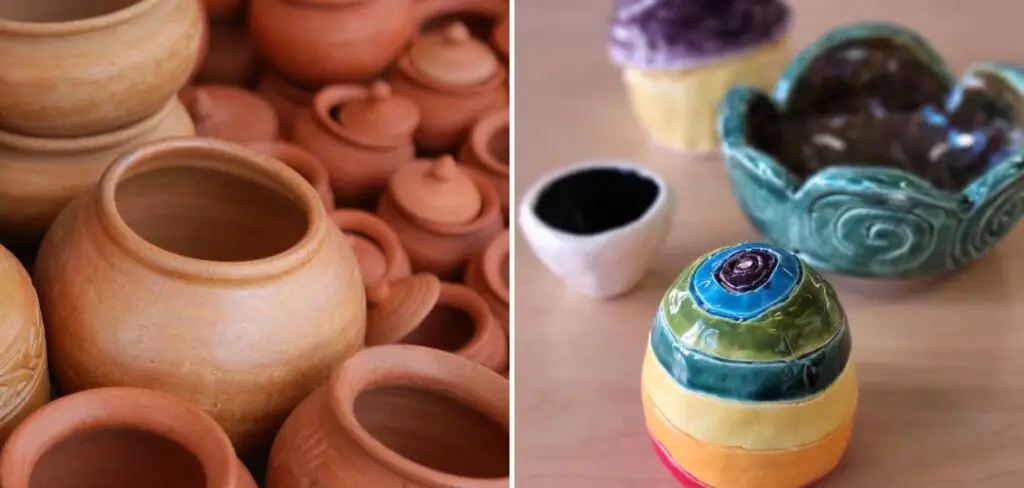
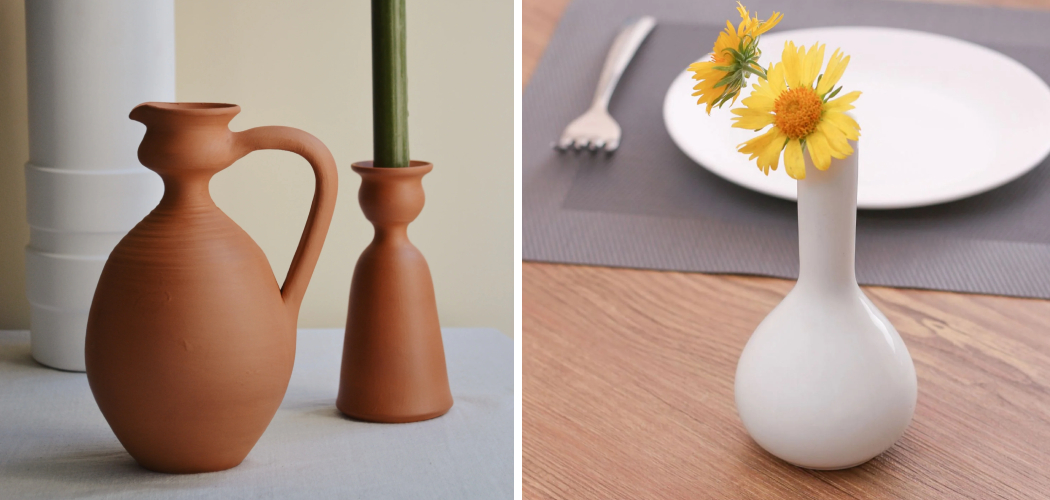
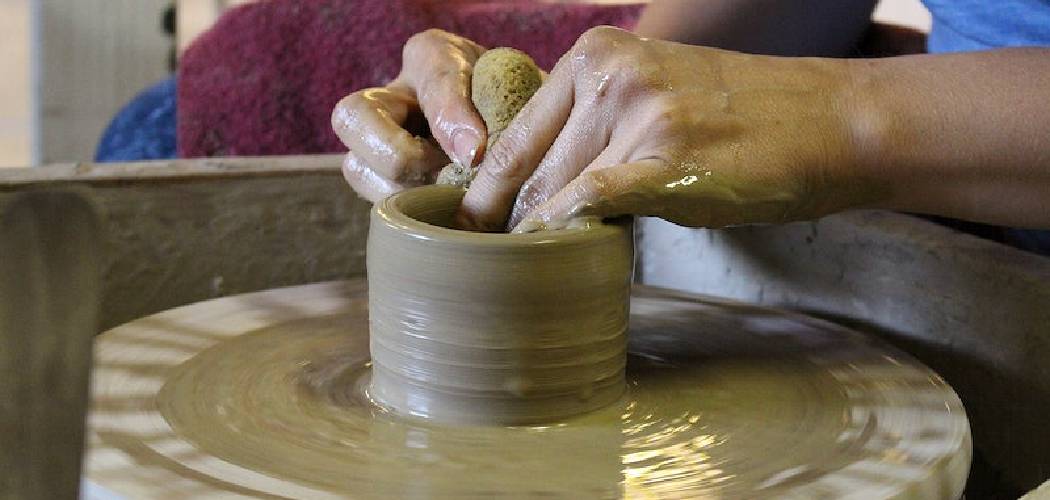
Painting faces on clay pots is a beautiful and intricate art form that has been practiced for centuries. It involves the skillful application of paint to create lifelike and expressive faces on clay pots. This art form holds great importance in different cultures around the world, as it is often used to depict deities, ancestors, or important figures. The painted faces on clay pots serve as a way to honor and remember these individuals, and they also add a touch of beauty and artistry to everyday objects. Let’s get started on mastering how to paint faces on clay pots like a pro!
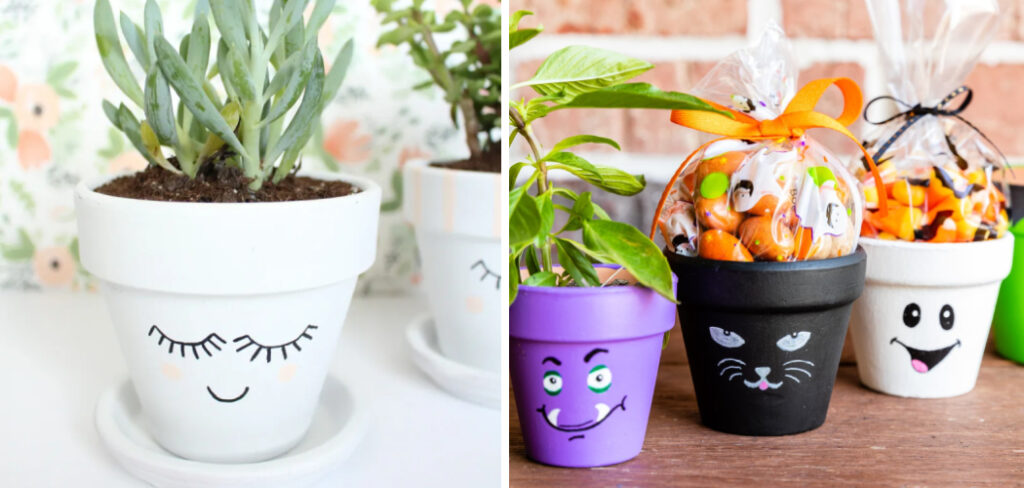
In many cultures, clay pots are not just functional vessels, but they are also considered works of art. The addition of painted faces elevates these pots to a whole new level of artistic expression. The faces painted on the pots can convey a wide range of emotions and tell stories through their expressions. This art form is not only visually appealing, but it also holds cultural and historical significance.
“To paint faces on clay pots, start by sketching your design lightly with a pencil. Then, use acrylic paints and fine brushes to add details, layering colors for depth, and allowing each layer to dry before applying the next.”
Table of Contents
Materials Needed for Painting Faces on Clay Pots
To paint faces on clay pots, you will need a few essential materials. These include:
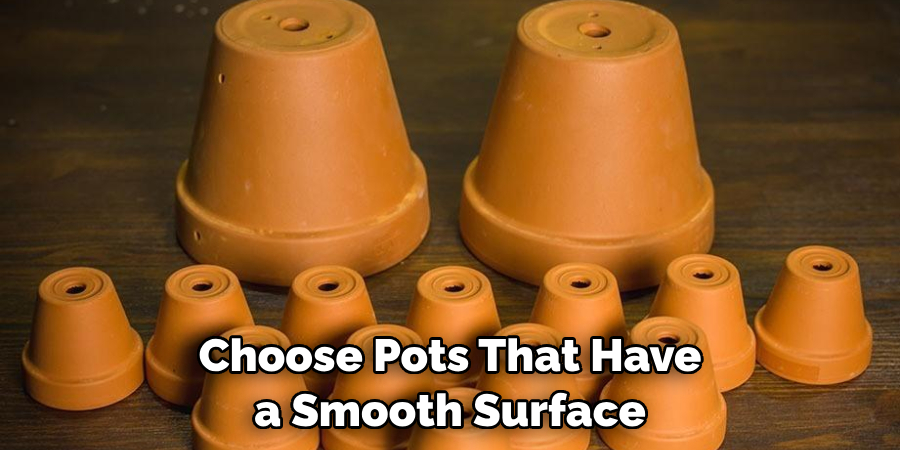
- Clay pots: Choose pots that have a smooth surface and are free from cracks or imperfections. The size and shape of the pot will depend on your preference and the design you have in mind.
- Acrylic paints: Acrylic paints are ideal for painting on clay pots as they adhere well to the surface and dry quickly. Choose a variety of colors to create different shades and tones for the face.
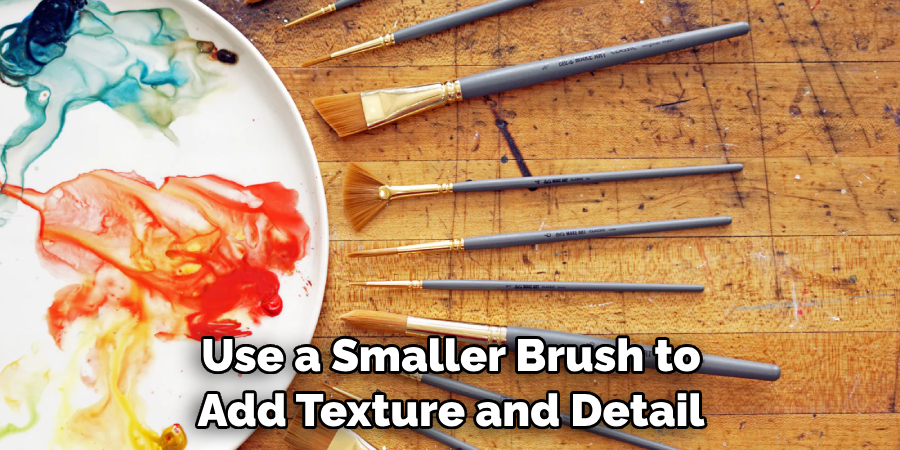
- Paintbrushes: Invest in a set of high-quality paintbrushes with different sizes and shapes. A fine brush will be needed for adding details to the face, while a larger brush can be used for painting the base coat.
- Palette: A palette is essential for mixing and blending colors. You can use a traditional artist’s palette or simply use a disposable plate or plastic palette.
- Water container: Have a container of water nearby to rinse your brushes between colors and to clean them after you are done painting.
7 Steps How to Paint Faces on Clay Pots
1. Preparing the Clay Pot for Painting
Before you start painting, it is important to prepare the clay pot properly. Begin by cleaning the pot thoroughly to remove any dirt or dust. Use a mild soap and water solution and gently scrub the surface of the pot with a soft brush. Rinse the pot well and allow it to dry completely before proceeding.
Drying the pot is crucial because any moisture trapped in the clay can cause the paint to bubble or peel. Place the pot in a well-ventilated area and allow it to air dry naturally. Avoid using heat sources such as hairdryers or ovens, as they can cause the clay to crack.
2. Sketching the Face Design on the Clay Pot
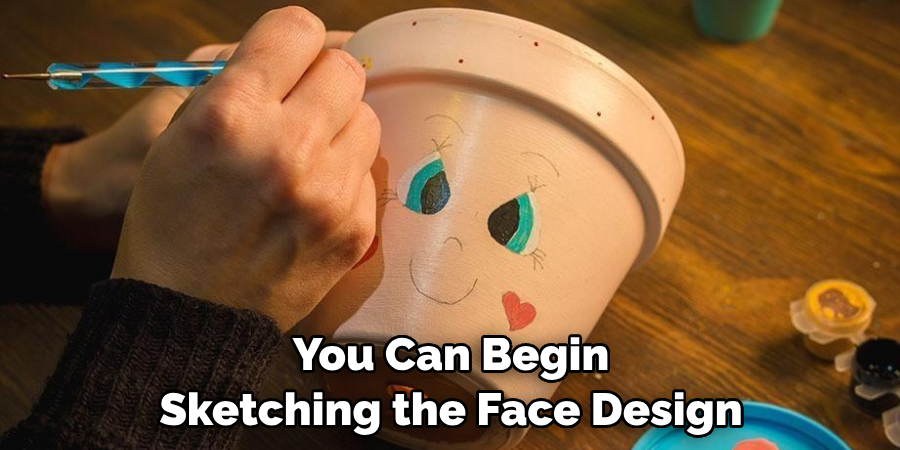
Once the pot is clean and dry, you can begin sketching the face design. Start by lightly drawing the basic outline of the face using a pencil. Take your time and ensure that the proportions and placement of the features are accurate. You can refer to reference images or use your imagination to create a unique design.
It is important to be precise and accurate in your sketching, as any mistakes will be difficult to correct once you start painting. Use light, gentle strokes and erase any unwanted lines as you go along. Once you are satisfied with the sketch, you can move on to the next step.
3. Choosing the Right Paint Colors for the Face
Choosing the right paint colors for the face is crucial in creating a realistic and lifelike appearance. Understanding color theory can greatly help in this process. Color theory is the study of how colors interact with each other and how they can be combined to create different effects.
When selecting paint colors for the face, consider factors such as skin tone, lighting, and mood. Use a combination of warm and cool tones to create depth and dimension. For example, use warm tones such as reds and oranges for areas that receive more light, and cool tones such as blues and purples for areas in shadow.
Experiment with different color combinations and shades to find the perfect balance for your design. Remember that practice and experimentation are key in mastering this art form.
4. Painting the Base Coat on the Face
Once you have chosen your paint colors, it is time to start painting the base coat on the face. Begin by applying a thin layer of paint to cover the entire face area. Use a larger brush and a light hand to build up the color gradually. This will ensure a smooth and even application.
Start with lighter colors and gradually add darker shades to create depth and dimension. Blend the colors together using gentle strokes or a dry brush technique. Take your time and be patient, as this step sets the foundation for the rest of the painting.
5. Adding Details to the Face
After the base coat has dried, it is time to add details to the face. Switch to a fine brush and use it to paint the eyes, nose, mouth, and other facial features. Pay close attention to the proportions and placement of these features, as they greatly contribute to the overall expression of the face.
Use small, precise strokes to add fine details such as eyelashes, eyebrows, and wrinkles. Take your time and work slowly, as this step requires a steady hand and attention to detail. Remember that practice makes perfect, so don’t be discouraged if your first attempts are not perfect.
6. Painting the Hair and Accessories
Once the face is complete, you can move on to painting the hair and accessories. Use a smaller brush to add texture and detail to the hair. Consider factors such as hair color, length, and style when choosing your paint colors.
For accessories such as hats or jewelry, use a fine brush to add intricate details. Take your time and work slowly, as these small details can greatly enhance the overall appearance of the painted face.
7. Sealing the Paint on the Clay Pot
After you have finished painting, it is important to seal the paint on the clay pot to ensure its longevity. Apply a clear varnish or sealant to protect the paint from fading or chipping. Follow the manufacturer’s instructions for application and drying times.
Sealing the paint not only protects it but also enhances the colors and adds a glossy finish to the pot. It also makes the pot easier to clean and maintain in the long run.
Tips and Tricks for Painting Faces on Clay Pots
Here are some additional tips and tricks to keep in mind when painting faces on clay pots:
- Practice Regularly:
Like any skill, painting faces on clay pots requires practice. Set aside regular time to practice and experiment with different techniques and styles. - Take Inspiration from Nature:
Look to nature for inspiration when creating your face designs. Study human faces, animals, and plants to understand their shapes, colors, and textures. - Use Reference Images:
If you are new to painting faces, use reference images as a guide. This will help you understand the proportions and features of the face. - Experiment with Different Brushes:
Different brushes can create different effects. Experiment with different brush sizes and shapes to find the ones that work best for you. - Have Fun and Be Creative:
Painting faces on clay pots is a form of artistic expression. Don’t be afraid to experiment, try new techniques, and let your creativity shine through.
Conclusion
Painting faces on clay pots is a beautiful and intricate art form that holds great importance in different cultures around the world. By following the steps outlined in this article and practicing regularly, you can master this art form and create stunning works of art. Remember to be patient, take your time, and have fun with the process.
Let your creativity shine through and explore the endless possibilities of painting faces on clay pots. Hopefully, this article gave you some helpful tips about how to paint faces on clay pots successfully, so now that you have the proper knowledge on how to get the job done, why not give it a try today?


