Do you find yourself pulling out your hair in frustration every time you encounter cracking clay during your pottery projects? Cracking can be one of the most annoying and irritating issues to deal with when working on any type of clay project.
If you don’t address it properly, it can completely ruin a piece that you’ve been working so hard on and take away from all the effort that has gone into making it. In this post, we will look at some tips and tricks for how to fix cracking clay quickly and easily so that you can get back to creating beautiful works of art!
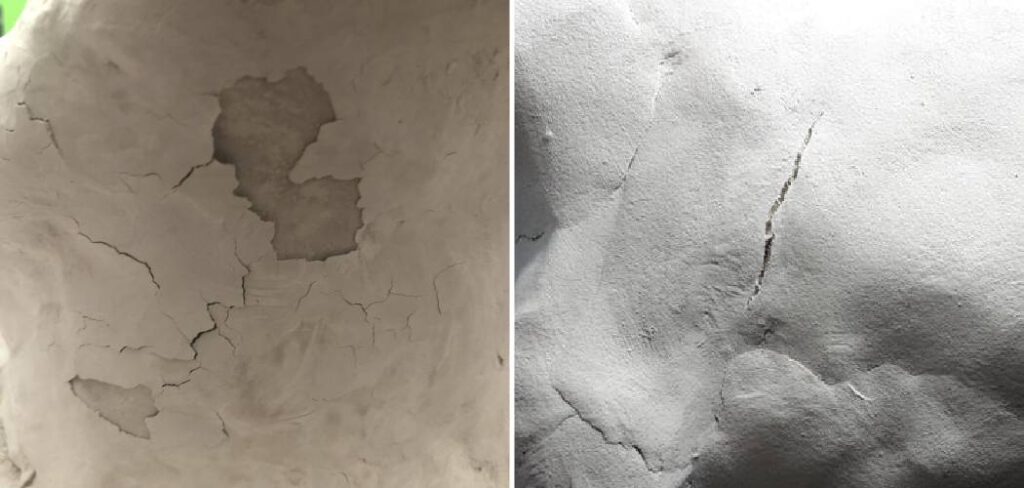
Table of Contents
Importance of Fixing Cracking Clay
Cracking clay is a serious issue that can cause damage to the integrity of structures and pavements. If left unchecked, it can lead to structural collapse from erosion and water damage. Therefore, it’s important to fix cracking clay quickly in order to prevent further damage.
In addition, repairing cracked clay will also help ensure that the structure or pavement remains level and stable. Repairing cracked clay can also be beneficial for preventing future damage, since it prevents water from seeping into the cracks and weakening the structure. Furthermore, fixing cracking clay can improve the overall aesthetic appeal of a property.
It’s important to note that regular maintenance and repairs must still be done in order to ensure that cracking clay does not return in the future. Regular inspections should also be done to ensure that new cracks do not form. By fixing cracking clay quickly and regularly inspecting for future damage, property owners can help keep their structures safe and looking great.
Factors Contributing to Clay Cracking
Clay cracking is a problem that potters have faced since the earliest days of clay work. Clay cracking can be caused by a variety of factors, including:
1. Too Much Water:
When too much water is added to clay, it tends to become weakened and more likely to crack during firing or drying process. Therefore, always make sure you measure the exact amount of water needed for the clay you are using and don’t add any extra.
2. Inconsistent Drying Times:
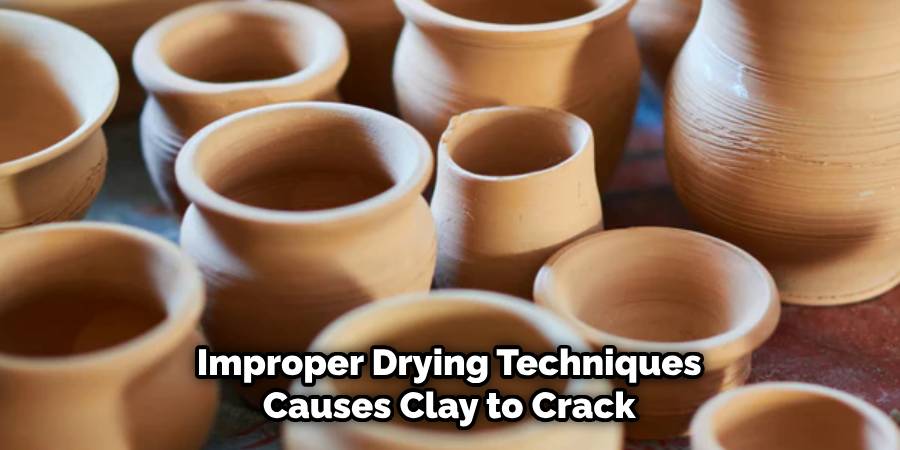
Even if you measure out the right amount of water, improper drying techniques can still cause clay to crack. If the clay dries too quickly, it can shrink and form gaps in the material that will later open up and cause cracks. To avoid this, let your clay dry naturally or use a slow-drying technique such as binderless leather hardening.
3. Too Much Stress:
Clay is a fragile material, so it can easily break if exposed to too much stress during forming or handling. Make sure you are using the appropriate tools for shaping and avoid overworking the clay when possible.
4. Improper Firing Temperatures:
Different clays require different firing temperatures – make sure that you know what temperature is appropriate for your particular clay type before firing. If fired at too low of a temperature, some clays can become brittle and crack.
By understanding the underlying causes of clay cracking, you can take appropriate steps to ensure that your clay works remain intact. Keep these factors in mind when creating with clay for the best results!
10 Methods How to Fix Cracking Clay
1. Identifying the Cause:
Before attempting any fixes, it’s important to identify the cause of the cracking. Cracks can occur due to various factors such as inadequate conditioning, improper drying, or structural weaknesses. By understanding the underlying cause, you can address the issue more effectively.
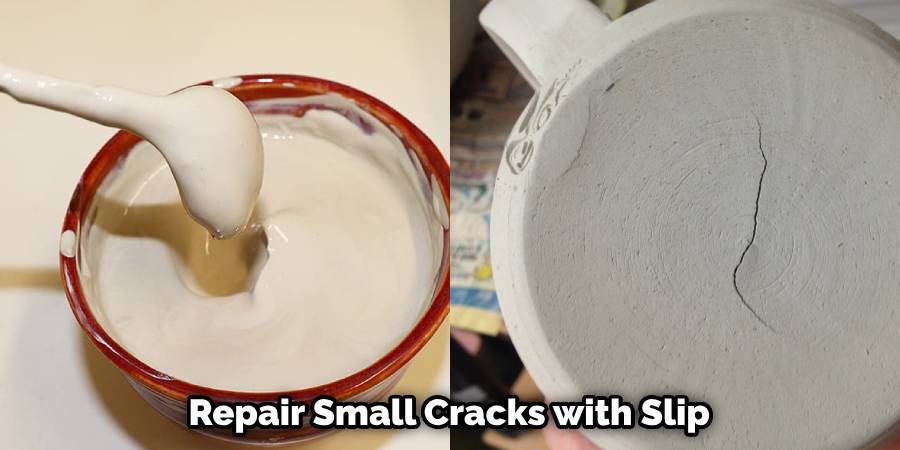
2. Repairing Small Cracks with Slip:
For small cracks, a simple and effective solution is to repair them with slip. Slip is a mixture of clay and water that forms a paste-like consistency. Apply the slip to the cracked area and blend it into the surrounding clay. Smooth the surface with a soft brush or your fingers. Allow the repaired area to dry thoroughly before further handling or decorating.
3. Filling Larger Cracks with Clay:
If the cracks are more significant or deep, you can fill them with fresh clay. Prepare the clay by thoroughly kneading it to remove any air bubbles. Apply a small amount of water to the cracked area, then press the fresh clay into the crack, ensuring it bonds with the existing clay. Blend and smooth the surface, taking care to match the texture and shape of the original piece. Allow the repair to dry completely before proceeding with any additional treatments.
4. Patching with Paper or Fabric:
For cracks that are too large to be filled with clay alone, consider reinforcing the area with paper or fabric. Cut small strips of lightweight paper or fabric and apply them to the cracked area using a thin layer of adhesive such as white glue or Mod Podge. Layer the strips, ensuring they overlap and cover the entire crack. Smooth out any wrinkles or bubbles and allow the patch to dry before continuing with the next steps.
5. Structural Reinforcement with Wire or Armature:
If the cracking is a result of structural weaknesses, reinforcing the piece with wire or armature can provide added strength. Insert thin wire or a pre-made armature into the clay, ensuring it reaches the cracked area. Secure the wire or armature firmly within the clay, and then proceed with repairing the cracks using the aforementioned methods. The added support will help prevent further cracking and improve the overall stability of the piece.
6. Slow and Even Drying:
Uneven drying is a common cause of cracking in clay. To prevent this, ensure that your clay pieces dry slowly and evenly. Place them in a cool and well-ventilated area, away from direct sunlight or heat sources. Covering the clay loosely with a plastic bag or damp cloth can help slow down the drying process, reducing the likelihood of cracks.
7. Humidification and Rehydration:
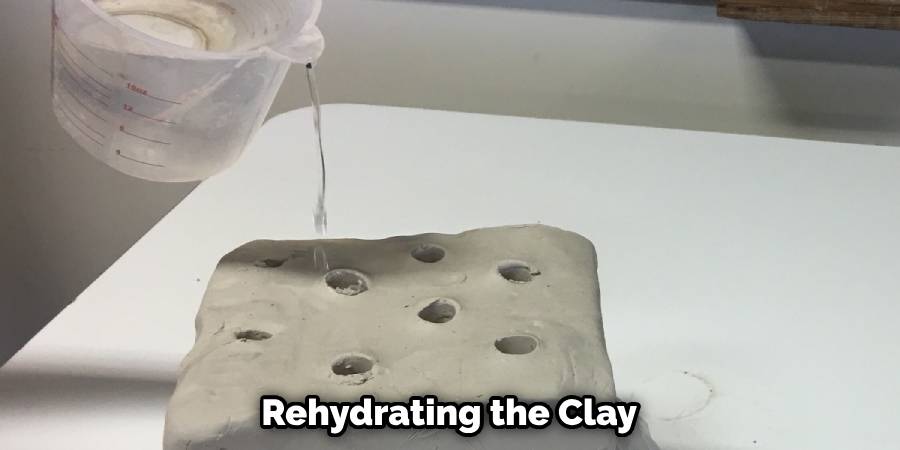
If your clay has already dried and developed cracks, you can try rehydrating the clay to restore its pliability. Place the cracked piece in a sealed plastic bag along with a damp sponge or paper towel. Allow it to sit for a few hours or overnight, allowing the moisture to penetrate the clay and soften it. Once the clay is more malleable, gently knead it to work the moisture evenly into the cracks. Smooth out the surface and continue the drying process to prevent future cracking.
8. Sanding and Smoothing:
After the clay has dried and cracks have been repaired, you can further improve the appearance by sanding and smoothing the surface. Use fine-grit sandpaper or a clay-specific sanding sponge to gently sand the repaired areas. This helps blend the repaired sections with the rest of the clay, creating a seamless finish. Be cautious not to sand too aggressively, as this may cause further damage.
9. Surface Treatment:
Once the cracks have been fixed and the surface is smooth, you can consider adding a surface treatment to further enhance the appearance and durability of your clay piece. Options include applying a layer of glaze, sealant, varnish, or a protective wax. Choose a suitable treatment based on your desired finish and the type of clay you are working with.
10. Prevention for Future Projects:
To prevent cracking in future clay projects, follow good clay preparation and handling practices. Properly condition your clay by kneading it thoroughly to remove air bubbles. Pay attention to the drying process, ensuring it is slow and even. Additionally, consider reinforcing your larger or more intricate clay pieces with armatures or wire during the construction stage to provide added strength.
Some Common Mistakes When Fixing Cracking Clay
When it comes to fixing cracking clay, there are some common mistakes that many people make. These mistakes can lead to a less than ideal result and could even cause more damage in the long run. Here are some of the most common mistakes when attempting to fix cracking clay:
1. Not Preparing The Clay Properly
Before you begin any repair or restoration work on your clay, it’s important to prepare the surface properly. This means cleaning the clay with a damp cloth and then wiping it dry. It also includes ensuring that any dust or debris is completely removed from the area you’ll be working on. Failing to properly prep the surface of the clay can lead to a weakened repair job and can even make cracking worse over time.
2. Using The Wrong Repair Materials
It’s essential to use materials specifically designed for repairing clay when attempting to fix cracks in this material. Using general-purpose glues or other adhesives may not be strong enough, while some products may actually react negatively with certain types of clay, causing further deterioration over time.
3. Applying Too Much Pressure
When attempting to fix cracking clay, it’s important not to overdo it by applying too much pressure. Excessive force can cause the cracks to spread further and make them more difficult (or even impossible) to fix. Instead, use a gentle touch and be sure to apply an even amount of pressure throughout.
4. Not Following The Instructions Precisely
Whether you’re using home repair kits or specialized materials, always take the time to read all instructions carefully before beginning your project. Failing to do this could result in making mistakes that could lead to a less-than-satisfactory outcome or, even worse, could damage your clay beyond repair.
Conclusion
To wrap up, we’ve gone over how fixing cracking clay can be done. We saw that it takes a little patience and care but is quite achievable. Start off by analyzing the situation to determine whether or not the clay needs to be rehydrated or reinforced with additional material. Then work on grinding, sponging and rechecking until reach a desired outcome.
Lastly, all that’s left is to adjust with extra pigments or glazing. With these steps in tow, you should now feel confident in your ability to fix cracking clay! Hopefully, this article gave you some helpful tips about how to fix cracking clay successfully, so now that you have the proper knowledge on how to get the job done, why not give it a try today?


