If you’re a fan of pottery or ceramics, you might be familiar with speckled clay. This unique type of clay is characterized by tiny specks of different colors scattered throughout the body of the clay, giving the final product a beautiful, earthy look.
Making speckled clay is a relatively simple process that can be done at home, with a few basic materials and some patience. In this article, we’ll go over the steps involved in how to make speckled clay, from choosing the right materials to firing the final product.
Table of Contents
What is speckled clay?
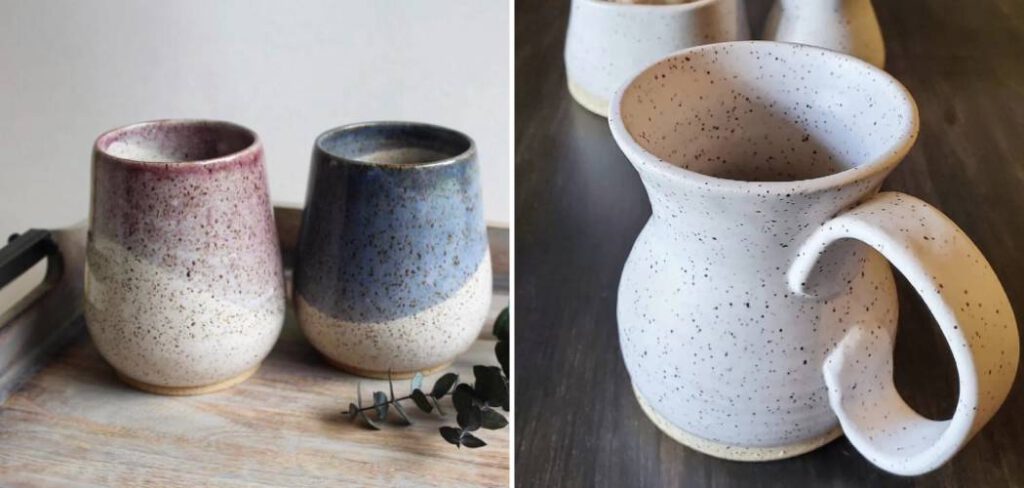
Speckled clay is a type of clay that has small colored specks throughout the body of the clay. These specks are created by adding colored clay, sand or other materials to the clay body during the mixing process. Speckled clay is used by potters to create unique pottery pieces that have a distinctive look.
Materials needed
- Clay
- Sand or colored clay
- Water
- Mixing tools (such as a pug mill or a clay mixer)
- Kiln
11 Steps How To Make Speckled Clay
Step: 1. Choosing Your Clay and Speckling Material
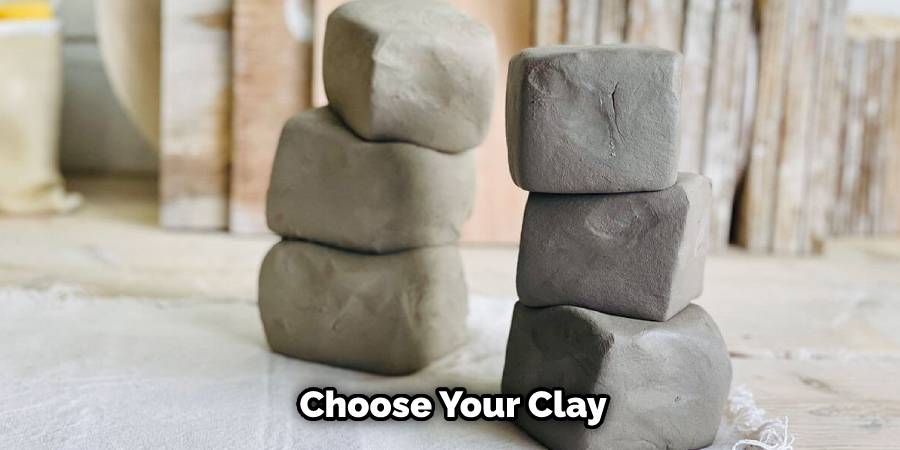
The first step in making speckled clay is to choose your clay and speckling material. For the clay, you’ll want to choose a type that has good plasticity and workability, such as stoneware or porcelain clay. For the speckling material, you can choose from a variety of options, including sand, grog, mica, or even crushed shells or rocks. It’s important to choose a speckling material that is compatible with your clay and won’t cause any problems during firing.
Step: 2. Preparing Your Clay
Before you can add your speckling material, you’ll need to prepare your clay. Begin by wedging your clay thoroughly, to remove any air pockets and ensure a consistent texture. Then, weigh out the amount of clay you’ll need for your project, and divide it into smaller pieces, if necessary.
Step: 3. Mixing Your Speckling Material
Next, it’s time to mix your speckling material into the clay. Begin by weighing out the amount of speckling material you’ll need for your project, based on the amount of clay you’re using. A good starting point is to use around 10-15% speckling material by weight, but you can adjust this based on the effect you’re going for. Mix the speckling material into your clay, using your hands or a mixing tool, until it is evenly distributed throughout.
Step: 4. Adding the Speckling Material to Your Clay
Once your speckling material is mixed in, it’s time to add it to your clay. Begin by flattening out a piece of clay, and sprinkling a layer of speckling material on top. Fold the clay over on top of itself, and then flatten it out again, pressing down firmly to incorporate the speckling material. Repeat this process several times, until the speckling material is evenly distributed throughout
Step: 5. Kneading and Wedging the Clay
After you have added the speckling material to your clay, it’s important to knead and wedge the clay to ensure it’s thoroughly mixed. Kneading and wedging the clay will also help to remove any air pockets and create a consistent texture throughout.

To knead the clay, use the heel of your hand to push the clay away from you, and then fold it back over itself. Repeat this process several times, until the clay feels smooth and pliable. Next, wedge the clay by cutting it in half and slamming the two halves together repeatedly, rotating the clay each time. This will help to further mix the clay and remove any air pockets.
Step: 6. Shaping Your Clay
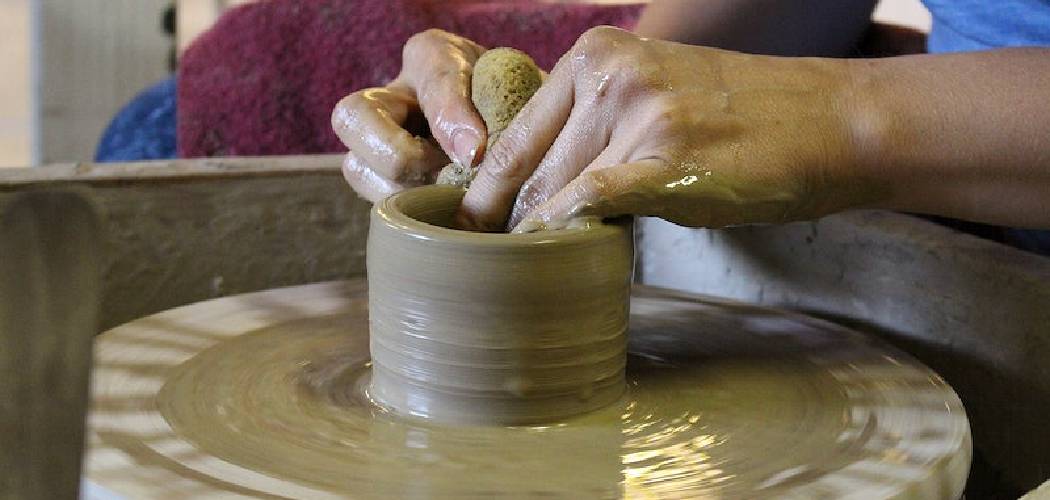
Once your speckled clay is thoroughly mixed, it’s time to start shaping it into your desired form. You can use a variety of techniques to shape your clay, including throwing on a pottery wheel, hand-building with slabs or coils, or sculpting. Whatever technique you choose, make sure to work carefully and slowly, taking the time to smooth out any imperfections and refine your design.
Step: 7. Drying Your Clay
After you have shaped your clay, it’s important to let it dry completely before firing. The drying process can take several days or even weeks, depending on the size and thickness of your piece. To dry your clay, place it in a warm, dry place and cover it with a plastic bag or sheet of plastic wrap to prevent it from drying out too quickly.
Step: 8. Bisque Firing Your Clay
Once your clay is completely dry, it’s time to bisque fire it. Bisque firing is the first firing that your clay will undergo, and it helps to strengthen the clay and prepare it for glazing. To bisque fire your clay, place it in a kiln and fire it at a low temperature (usually around 1800°F) for several hours until it is completely hardened and the water has been driven out.
Step: 9. Glazing Your Clay
After bisque firing, you can apply glaze to your speckled clay to give it a glossy, colorful finish. There are many different types of glaze available, ranging from opaque to translucent, and you can choose the colors and finishes that best suit your design. Apply the glaze to your clay using a brush or sprayer, taking care to cover the entire surface evenly.
Step: 10. Glaze Firing Your Clay
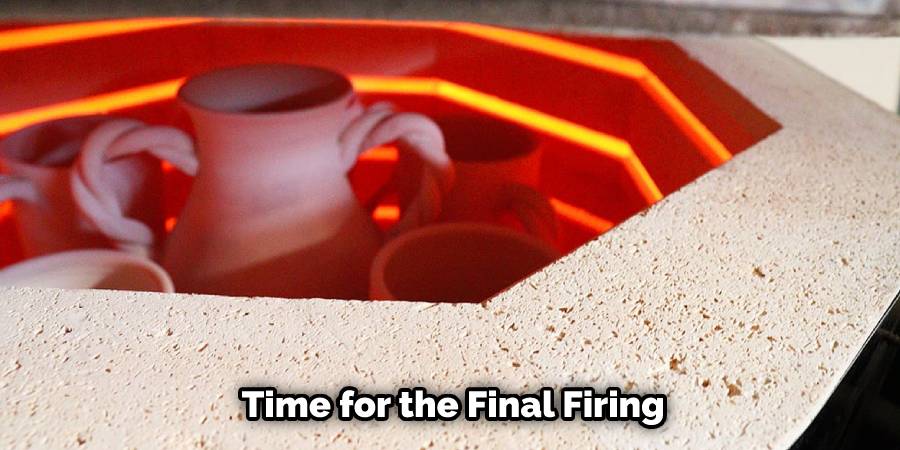
Once your clay is glazed, it’s time for the final firing. The glaze firing is done at a higher temperature than bisque firing, usually around 2200°F. This high temperature melts the glaze and fuses it with the clay, creating a smooth, glassy surface. Make sure to follow the firing instructions for your specific type of clay and glaze, and allow your piece to cool completely before removing it from the kiln.
Step: 11. Finishing Touches
After your speckled clay has been fired and cooled, you can add any final touches or embellishments to your piece. This might include adding handles, attaching feet, or sanding down rough edges. Take the time to inspect your piece carefully and make any necessary adjustments before using or displaying it.
Troubleshooting
If you encounter any issues during the speckled clay-making process, don’t panic. Some common issues include air bubbles, cracking, and uneven speckling. To avoid air bubbles, make sure to knead and wedge your clay thoroughly, and avoid using too much water when mixing your speckling material.
To prevent cracking, make sure your clay is completely dry before firing, and avoid firing at too high a temperature or for too long. If your speckling is uneven, try mixing your speckling material more thoroughly or experimenting with different ratios. With practice and patience, you’ll soon be able to create beautiful, unique pieces of speckled clay.
Cleaning Up
After you have finished making your speckled clay piece, it’s important to clean up your workspace and tools. Clay can be messy and difficult to clean, so make sure to use a damp cloth or sponge to wipe down your work surface and tools. If you have any leftover clay or speckling material, store it in an airtight container to keep it from drying out. Additionally, make sure to properly dispose of all unused clay and speckling materials – most items are safe to just toss in the garbage.
Tips and tricks
- Experiment with different ratios of sand or colored clay to create different looks.
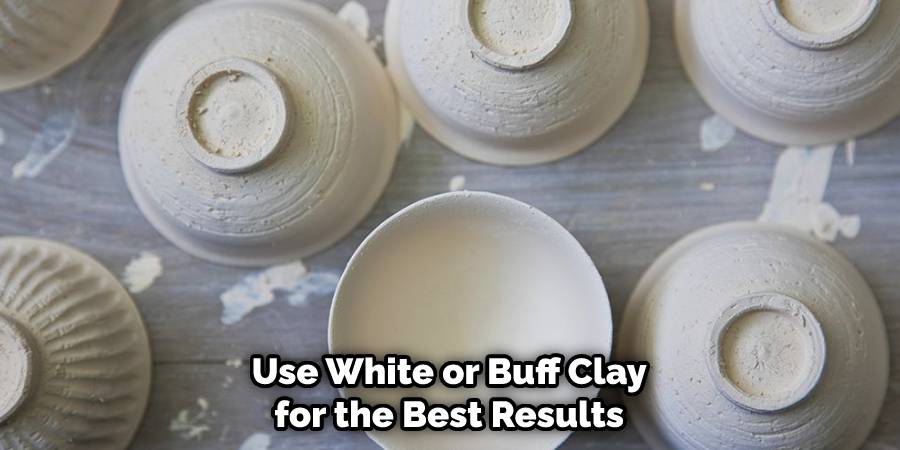
- Use white or buff clay for the best results.
- Keep the speckled clay covered with plastic when not in use to prevent it from drying out.
- Avoid using too much water in the mixing process as it can weaken the clay body.
Conclusion
Speckled clay is a fun and unique way to add texture and visual interest to your pottery pieces. With the right materials and techniques, anyone can create beautiful speckled clay pieces that are both functional and decorative. Remember to take your time, follow the steps carefully, and experiment with different speckling materials to find the perfect look for your project.
We hope this guide on how to make speckled clay was helpful. Please share it with your friends on social media if you find it useful. And be sure to check back here soon for more informative guides like this one.
FAQs
Can I use any type of clay for speckling?
Yes, you can use any type of clay for speckling. However, different types of clay may require different firing temperatures and techniques.Yes, you can use any type of clay for speckling. However, different types of clay may require different firing temperatures and techniques.
What types of speckling materials can I use?
You can use a variety of materials for speckling, including sand, sawdust, or even coffee grounds. Experiment with different materials to find the look you like best.
How do I prevent air bubbles in my clay?
To prevent air bubbles, make sure to knead and wedge your clay thoroughly and avoid using too much water when mixing your speckling material.
Can I glaze my speckled clay with multiple colors?
Yes, you can glaze your speckled clay with multiple colors to create a more intricate and layered look.
Can I make speckled clay without a pottery wheel?
Yes, you can make speckled clay using a variety of hand-building techniques, including slabs or coils.


