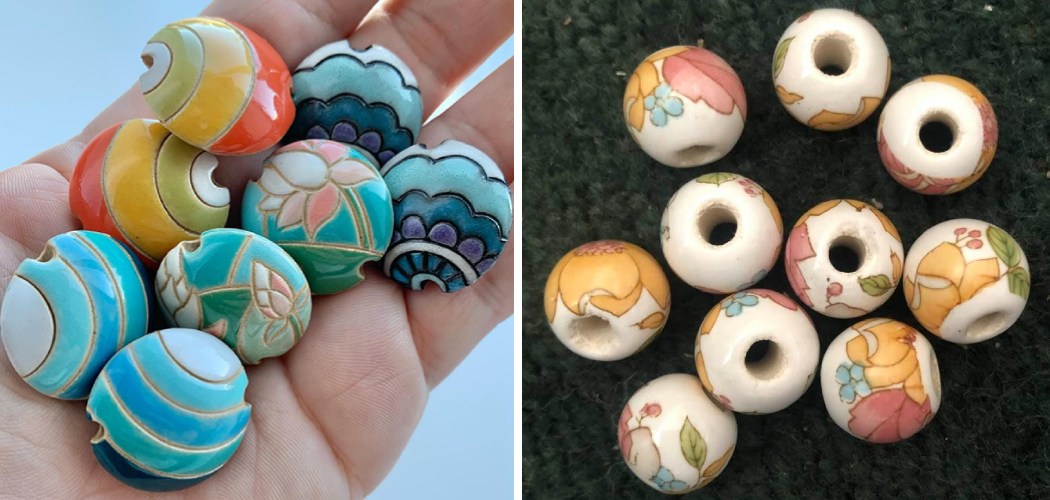
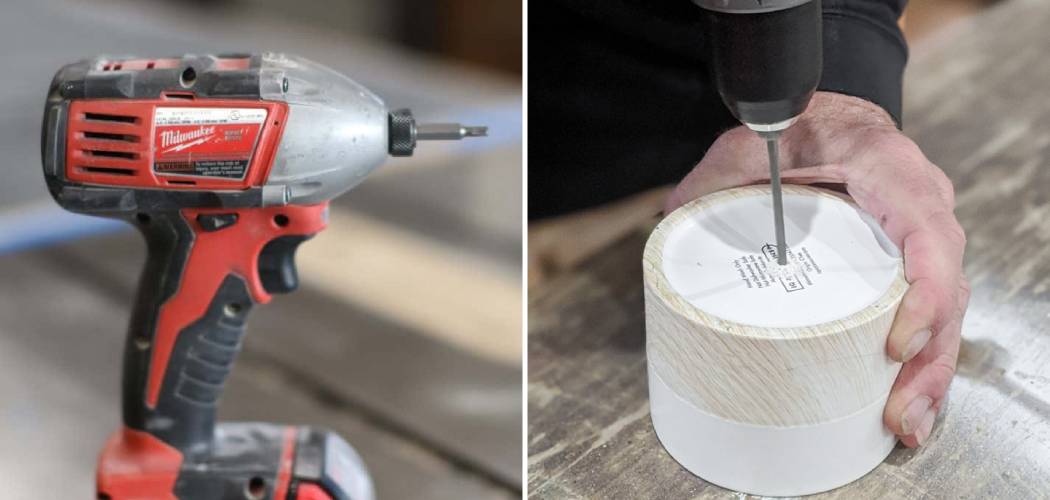
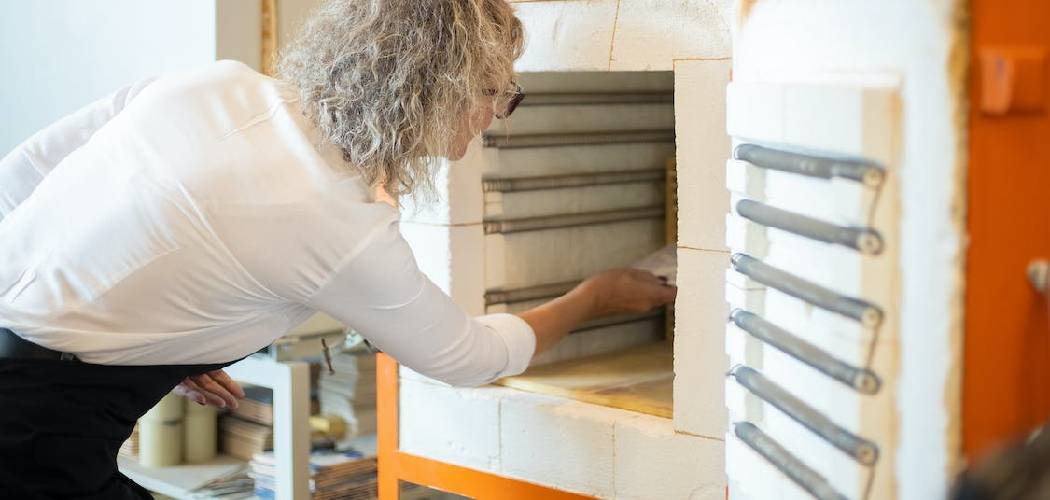
To make ceramic beads at home, shape clay into beads and then fire them in a kiln. After firing, glaze the beads and fire them again.
Creating ceramic beads at home is a rewarding and creative process. The first step involves selecting the right type of clay, such as polymer or air-dry clay. Once you have your clay, shape it into small bead forms using your hands or bead-making tools.
Ensure each bead has a hole for stringing, which can be done with a toothpick or similar object. After shaping, let the beads dry completely to avoid cracking during firing. Next, fire the beads in a kiln to harden them. Once cooled, apply a glaze for color and shine, then fire them again. Enjoy your unique, handmade ceramic beads!

Credit: www.amazon.com
Table of Contents
Introduction To Ceramic Beads
Ceramic beads are small, beautiful, and versatile. They can be used in various crafts and jewelry. Making ceramic beads at home is fun and rewarding. This guide will show you how to create your own ceramic beads.
History And Uses
Ceramic beads have been around for thousands of years. Ancient civilizations used them for decoration and trade. Today, they are popular in jewelry making, home decor, and art projects.
Materials Needed
To make ceramic beads at home, you will need the following materials:
- Clay
- Water
- Rolling pin
- Bead-making tools
- Paints or glazes
- Brushes
- Oven or kiln
Step-by-step Process
Follow these simple steps to create your own ceramic beads:
- Prepare your clay by kneading it well.
- Roll out the clay using a rolling pin.
- Cut the clay into small pieces for beads.
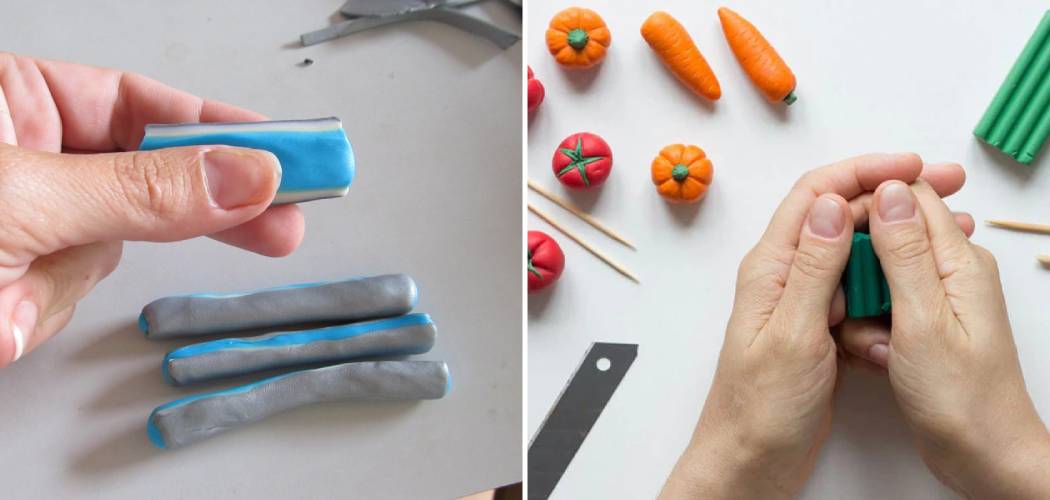
- Shape the pieces into round beads using your fingers.
- Poke a hole through each bead with a bead-making tool.
- Let the beads dry completely.
- Bake the beads in an oven or kiln.
- Paint or glaze the beads as desired.
- Let the paint or glaze dry.
Choosing The Right Clay
Making ceramic beads at home is fun and creative. Choosing the right clay is crucial. The clay you choose affects the bead’s look and strength. Let’s dive into the types of clay and their properties.
Types Of Clay
There are different types of clay. Each type has its own features. Here are the main types:
- Earthenware Clay: This clay is soft and easy to work with. It fires at low temperatures.
- Stoneware Clay: This clay is strong and durable. It fires at high temperatures.
- Porcelain Clay: This clay is smooth and fine. It also fires at high temperatures and is very strong.
Properties To Consider
When choosing clay, consider its properties. This will help you make the best beads.
| Property | Description |
|---|---|
| Plasticity | How easily the clay can be shaped. |
| Firing Temperature | The temperature needed to harden the clay. |
| Texture | How smooth or rough the clay feels. |
Choose clay based on your needs. For beginners, earthenware clay is a good start. For strong beads, stoneware or porcelain is best. Always test your clay before making many beads. Happy crafting!
Tools And Equipment
Creating ceramic beads at home requires specific tools and equipment. Using the right tools will make your bead-making process smoother and more enjoyable. Let’s dive into the essential and optional tools you need for this creative journey.
Essential Tools
To start making ceramic beads, you must have the following essential tools:
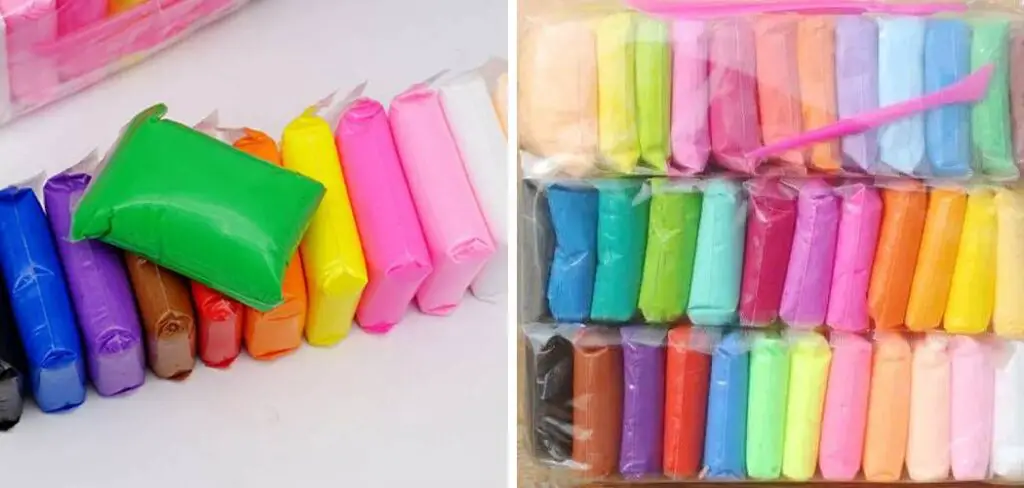
- Clay: Choose polymer clay or air-dry clay.
- Rolling Pin: For flattening the clay.
- Needle Tool: To pierce holes in the beads.
- Cutting Tools: Use a sharp knife or clay cutter.
- Work Surface: A clean, smooth surface to work on.
- Baking Tray: For baking the beads if using polymer clay.
- Sandpaper: To smooth out the beads after baking.
Optional Add-ons
These optional tools can enhance your bead-making experience:
- Texturing Tools: Stamps or household items to add texture.
- Paints and Brushes: For adding colors and designs.
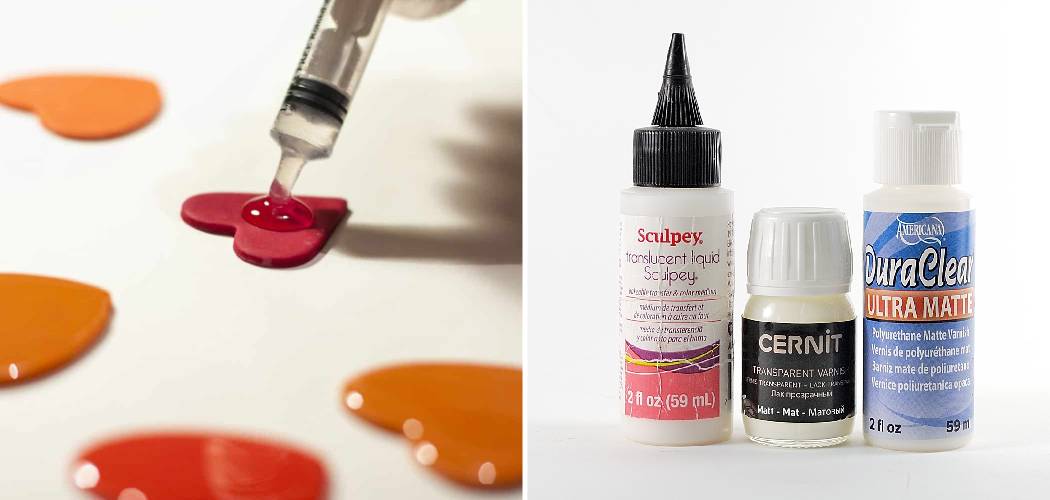
- Glaze: To give your beads a shiny finish.
- Bead Rollers: To create uniform bead shapes.
- Storage Containers: To keep your beads organized.
Below is a table summarizing the essential and optional tools for making ceramic beads:
| Essential Tools | Optional Add-ons |
|---|---|
| Clay | Texturing Tools |
| Rolling Pin | Paints and Brushes |
| Needle Tool | Glaze |
| Cutting Tools | Bead Rollers |
| Work Surface | Storage Containers |
| Baking Tray | |
| Sandpaper |
Preparing Your Workspace
Creating ceramic beads at home is a fun activity. To start, you need a well-prepared workspace. This ensures safety and efficiency.
Safety Measures
Safety should always come first. Wear protective gloves to keep your hands safe. Use a mask to avoid inhaling clay dust. Make sure your workspace is well-ventilated. Keep a first-aid kit nearby for emergencies.
Avoid working near children or pets. They can get hurt easily. Keep all sharp tools in a safe place. Have a fire extinguisher handy. Safety is important for a smooth crafting experience.
Organizing Your Tools
A clean and organized workspace boosts creativity. Arrange all your tools on a table. Use a toolbox to keep small items in place. Make sure you have enough space to work freely.
Here is a list of tools you might need:
- Clay
- Rolling pin
- Needle tool
- Paints and brushes
- String or wire
Use small containers for beads and small parts. Label each container for easy access. Keep a cleaning cloth to wipe your hands and tools. A tidy workspace helps you focus better.
Here is a simple table for organizing tools:
| Tool | Purpose |
|---|---|
| Clay | Main material for beads |
| Rolling pin | To flatten the clay |
| Needle tool | To make holes in beads |
| Paints and brushes | For decorating beads |
| String or wire | To thread the beads |
By following these tips, you can create a perfect workspace. It makes the process of making ceramic beads fun and easy.
Shaping The Beads
Creating ceramic beads at home is a fun activity. Shaping the beads is a crucial step. It determines the final look of your beads. Let’s dive into the basics and advanced techniques for shaping your beads.
Basic Shapes
Start with simple shapes. Use your hands to roll the clay into round beads. Press the clay between your palms. This will create a smooth ball. If you want oval beads, roll the clay back and forth. This will elongate the shape.
- Round Beads: Roll the clay into balls.
- Oval Beads: Roll the clay back and forth.
- Flat Beads: Press the ball between fingers.
For flat beads, press the round bead between your fingers. This will flatten it. You can also use a rolling pin to flatten the clay. Shape the edges with your fingers. Make sure to keep the thickness even.
Advanced Techniques
Once comfortable with basic shapes, try advanced techniques. Use tools like clay cutters or molds. These tools help create intricate designs.
- Use clay cutters for uniform shapes.
- Press the clay into molds for detailed designs.
- Combine shapes to create unique beads.
Experiment with texture. Use household items to add patterns. Try using leaves, forks, or textured fabric. Press these items into the clay. This will create interesting surfaces on your beads.
Carving adds another layer of detail. Use a needle or toothpick. Carve lines, dots, or intricate patterns. This technique requires a steady hand and patience.
| Technique | Tool |
|---|---|
| Texture | Leaves, Forks, Fabric |
| Carving | Needle, Toothpick |
| Cutting | Clay Cutters |
| Molding | Molds |
These advanced techniques can make your beads truly unique. Experiment and see what you can create!
Drying And Firing
Making ceramic beads at home is a fun and creative process. The drying and firing stages are crucial for creating durable and beautiful beads. These steps ensure your beads are strong and ready for use in jewelry or decorations.
Air Drying
Air drying is a simple method to dry your ceramic beads. Place the beads on a flat surface. Ensure they are not touching each other. This prevents them from sticking together.
Make sure the area is dry and well-ventilated. Turn the beads every few hours for even drying. Leave them to dry for 24-48 hours. This ensures all moisture is gone.
Use a table for drying progress:
| Time | Action |
|---|---|
| 0-12 hours | Turn beads occasionally |
| 12-24 hours | Check for dryness |
| 24-48 hours | Ensure beads are fully dry |
Kiln Firing
Kiln firing hardens the beads, making them durable. Preheat your kiln to the recommended temperature. Place the dry beads on a kiln shelf. Arrange them so they don’t touch.
Close the kiln and set the firing schedule. Start with a low temperature to avoid cracking. Gradually increase the heat as per the clay’s requirements.
Here is a basic firing schedule:
- Ramp up to 100°C (212°F) and hold for 1 hour.
- Increase to 600°C (1112°F) at 100°C per hour.
- Hold at 600°C for 20 minutes.
- Ramp up to final temperature at 150°C per hour.
After reaching the final temperature, let the kiln cool slowly. This prevents the beads from breaking. Once cooled, your ceramic beads are ready for glazing or use.
Glazing And Decorating
Glazing and decorating your ceramic beads can transform them into stunning pieces of art. This process adds color, texture, and personality to each bead. Glazing and decorating are crucial steps that make your beads truly unique.
Types Of Glazes
Choosing the right glaze enhances the beauty of your ceramic beads. Here are some common types:
- Glossy Glazes: These glazes give a shiny, reflective surface.
- Matte Glazes: These provide a soft, non-reflective finish.
- Transparent Glazes: These allow the clay’s natural color to show through.
- Opaque Glazes: These cover the clay completely with a solid color.
Creative Decorating Ideas
Decorating your ceramic beads is where you can let your creativity shine. Here are some ideas to inspire you:
- Hand-Painting: Use fine brushes to paint intricate designs.
- Stencils: Apply stencils to create consistent patterns.
- Engraving: Carve designs into the beads before glazing.
- Stamping: Use stamps to imprint shapes and textures.
- Layering Colors: Apply multiple glaze layers for depth and richness.
Here is a quick comparison of these decorating methods:
| Method | Difficulty | Time Required |
|---|---|---|
| Hand-Painting | Medium | Long |
| Stencils | Easy | Short |
| Engraving | Hard | Medium |
| Stamping | Easy | Short |
| Layering Colors | Medium | Medium |
Experiment with these techniques to find your unique style. Remember, practice makes perfect. Enjoy the process of creating beautiful ceramic beads at home!

Credit: m.youtube.com
Finishing Touches
Adding the final touches to your ceramic beads enhances their beauty. This section will guide you through polishing and stringing your beads. These steps give your beads a professional look.
Polishing The Beads
Polishing your ceramic beads makes them shine and look polished. Here’s a simple process to do it:
- Use fine-grit sandpaper to smooth any rough edges.
- Wash the beads to remove dust and let them dry.
- Apply a thin layer of clear glaze if desired.
- Bake the beads in a kiln or oven according to the instructions.
- Let the beads cool down completely before handling.
Now your beads should have a smooth, glossy finish. This adds to their appeal and durability.
Stringing Techniques
Stringing your ceramic beads is the final step. Here are some common techniques:
- Basic Stringing: Use a strong thread or wire. Thread the beads in the desired pattern.
- Knotted Stringing: Tie a knot between each bead. This adds space and flexibility.
- Elastic Stringing: Use elastic cord for stretchable jewelry. Knot the ends securely.
Each technique offers a unique look and functionality. Choose the one that suits your project best.
| Technique | Pros | Cons |
|---|---|---|
| Basic Stringing | Simple and quick | Less flexible |
| Knotted Stringing | Elegant and secure | Time-consuming |
| Elastic Stringing | Stretchable and easy | Less durable |
Experiment with different stringing techniques. Find the one that best fits your style.
Troubleshooting Common Issues
Creating ceramic beads at home can be fun. Sometimes issues arise that need fixing. This section helps you troubleshoot common problems. Learn about cracks, breaks, and uneven glazing.
Cracks And Breaks
Cracks and breaks are common in ceramic bead-making. Here are some tips to fix them:
- Check the clay’s moisture: Clay that is too dry can crack. Keep it moist.
- Avoid rapid drying: Let beads dry slowly. Cover them with plastic wrap.
- Repair small cracks: Use slip to fill in small cracks. Smooth it out with a tool.
For breaks, reattach pieces with slip. Let them dry thoroughly before firing.
Uneven Glazing
Uneven glazing can ruin the look of your beads. Here’s how to avoid it:
- Clean the beads: Dust and oil can cause uneven glazing. Clean beads before glazing.
- Stir the glaze well: Glaze can settle. Stir it before using.
- Apply glaze evenly: Use a brush or dip beads for even coverage.
If the glaze is too thick, it can drip. Thin it with water for a smoother finish.

Credit: m.youtube.com
Conclusion
Creating ceramic beads at home is a fun and rewarding hobby. With basic materials, you can craft unique beads. Experiment with different shapes, colors, and designs. Handmade beads can be great for personal jewelry or gifts. Start your bead-making journey today and unleash your creativity.
Happy crafting!
