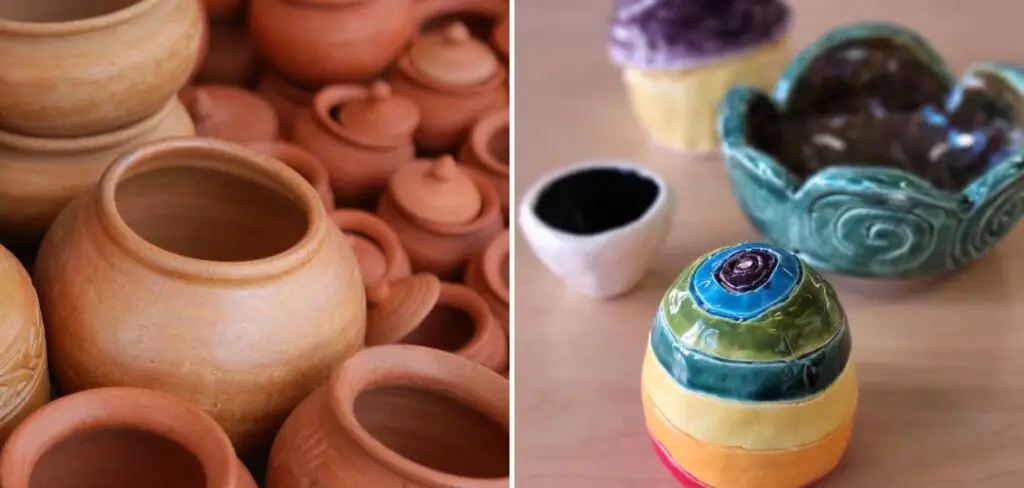
Making clay pots without a wheel is an ancient and versatile craft that allows for creativity and customization. Hand-building techniques such as pinch pots, coil building, slab building, and more offer endless possibilities for creating unique pottery. Whether you’re a beginner or an experienced potter, hand-building pots can be a fulfilling and rewarding process.
In this article, we will explore some methods on how to make clay pots without a wheel, ranging from traditional hand-building techniques to using molds, templates, and carving. Discover the joy of creating beautiful pottery with your hands and unleash your artistic flair in this exciting and hands-on pottery-making adventure.
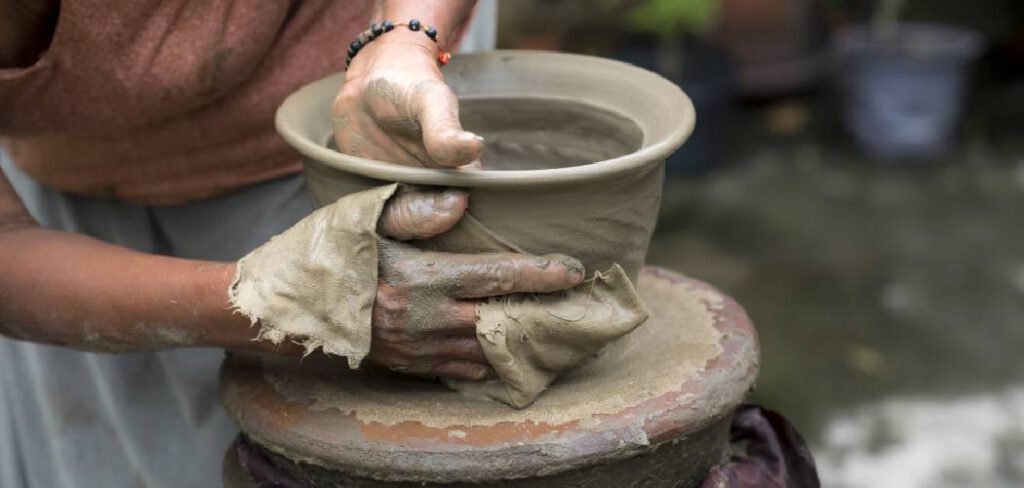
Table of Contents
What Can I Use Instead of a Pottery Wheel?
Though the pottery wheel is the most traditional tool for making clay pots, it’s not always necessary to create beautiful and unique pieces. For those without access to a pottery wheel, there are several other methods that can be used to craft stunning creative works.
One option is hand-building, which involves using one’s hands and simple tools, such as wooden boards, adhesive tape, rolling pins, loops of wire or string, and more, to shape and construct the desired piece. This method requires patience and finesse in order to get precise results. The shapes created when building by hand may differ from those made on the wheel, but they can still produce beautiful objects.
Modeling with coils is another technique that can be used to build clay pots without the need for a pottery wheel. This involves rolling out long and thin coils of clay, which are then stacked or layered together to form the desired shape. The coils are then blended together either by pinching them or using a tool like a loop of wire. Paddles and anvils may also be used to compact and smooth the piece’s surface during the building process.
Lastly, pre-formed molds can be utilized to make clay pots in shapes that cannot be achieved with hand-building or coiling techniques. A mold is essentially a negative of the object being formed; usually, this is done through casting from plaster, rubber, or plastic materials. Once filled with clay, the mold is removed, and the piece is complete.
10 Methods How to Make Clay Pots without a Wheel
1. Hand-Building:
One of the oldest and most traditional methods of making clay pots is hand-building. This involves using your hands and basic hand tools, such as wooden or metal paddles, to shape the clay into the desired form.
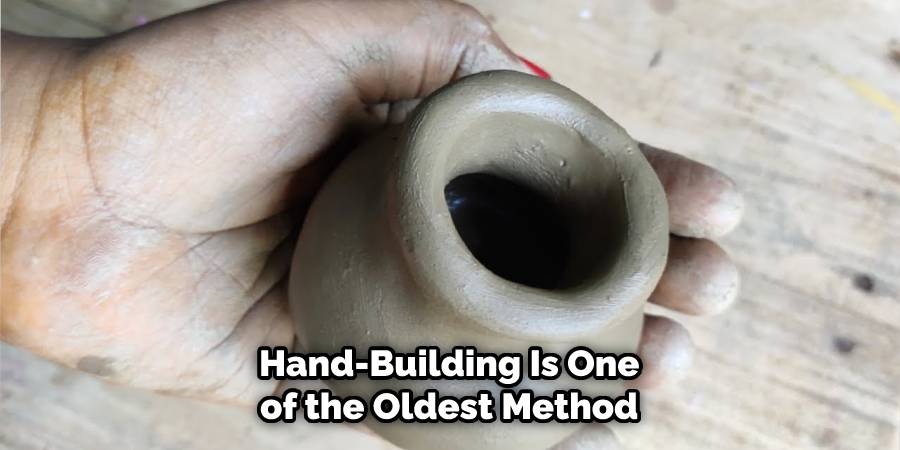
There are several techniques to choose from, such as coiling, slab building, and pinching. No matter which method you use, the basic steps remain the same. If you are new to clay pottery, hand-building is a great way to get started. However, it may take some practice to get the hang of it.
2. Pinch Pot Method:
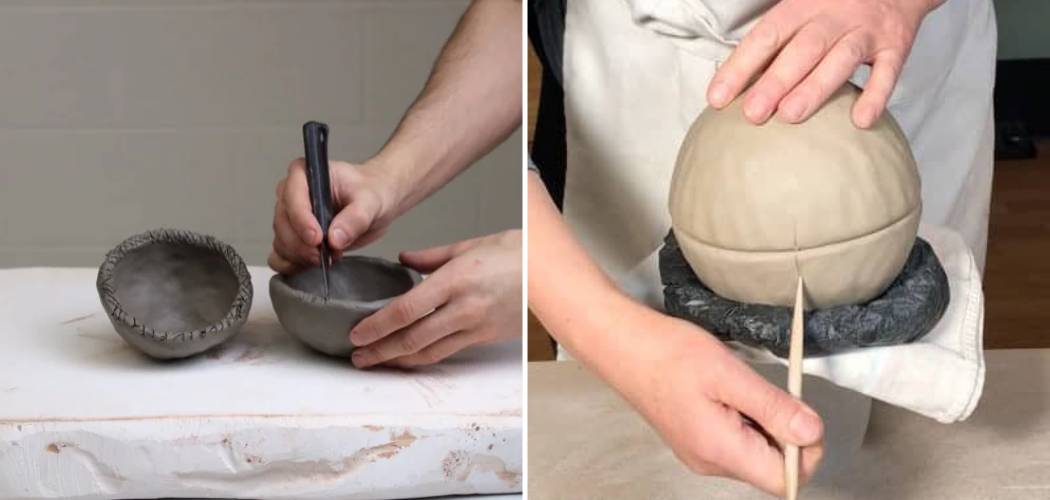
Start with a small ball of clay, and use your fingers to pinch and shape the clay into a pot shape. This method is simple and suitable for making small pots or decorative items. The pot will be asymmetrical, so use your imagination and create a unique piece.
When you’re satisfied with the shape, use a wet sponge to smooth the edges and add texture. While shaping, be sure to keep the walls even and consistent. When the pot is complete, set it aside to dry – make sure it is not too wet, or it may collapse. Once the clay is dry, you can fire your pot in a kiln if desired.
3. Coil Building:
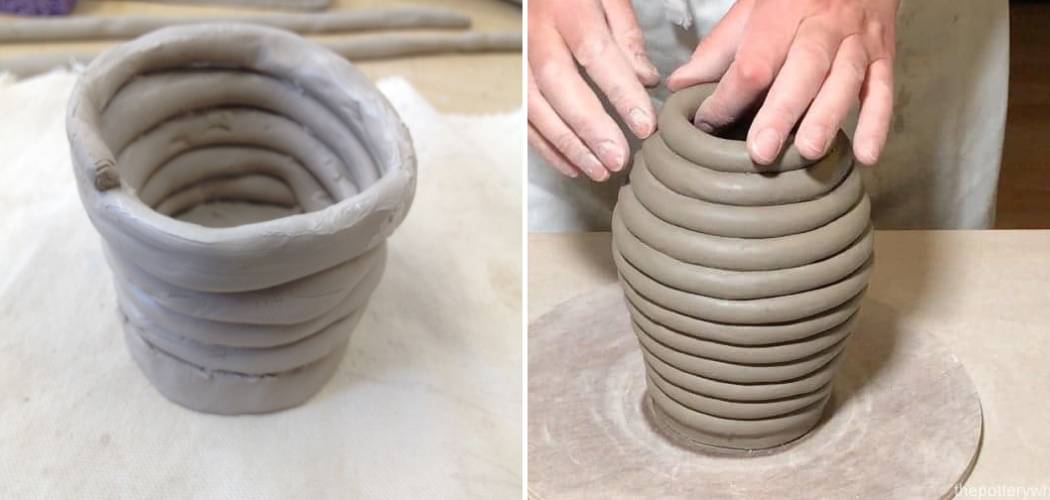
Roll out long, even coils of clay, and then stack and join them together to build up the walls of the pot. Use your fingers or tools to smooth and shape the coils as you build. When coiling, press the coils into each other to form a strong bond. Just like with pinch pots and slabs, use a damp sponge to smooth the surface. Don’t forget to add handles, spouts, and other decorations while building your pot!
4. Slab Building:
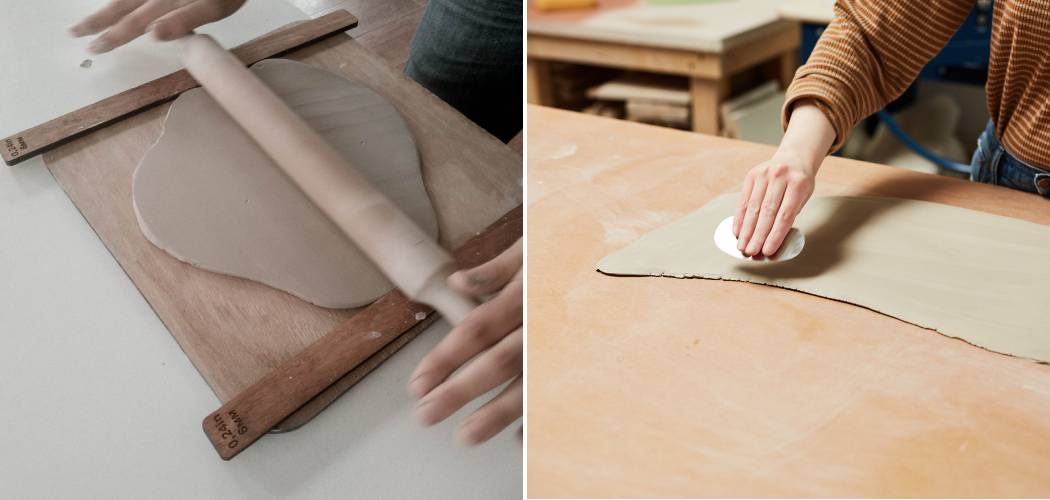
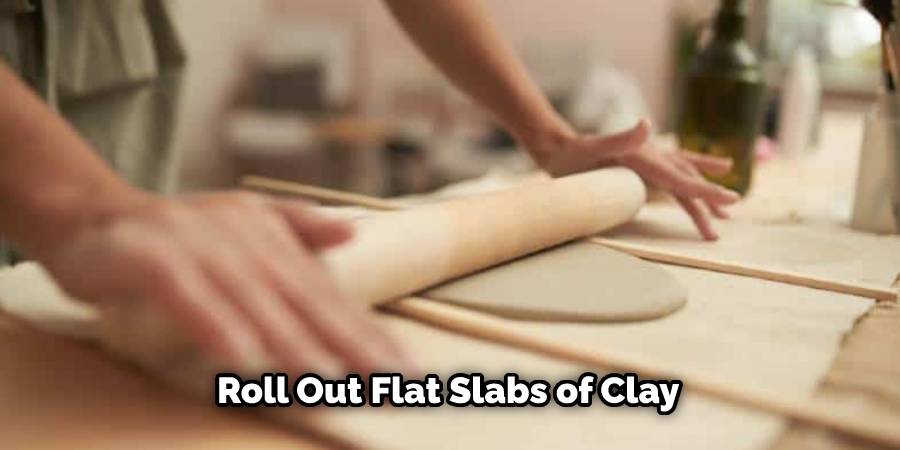
Roll out flat slabs of clay and then cut and join them together to create the walls of the pot. This method allows for precise shaping and detailing. Place the slabs on a flat surface and use a rolling pin to roll them out. Cut shapes from the slab with a clay knife or other sharp tool.
Score both sides of the pieces where they will join and then use a slip to adhere them together. After joining all the pieces, smooth out the edges and add any decorations you desire.
5. Mold or Template:
Use pre-made molds or templates to shape the clay into specific pot shapes. You can create your own molds using plaster or other materials or use found objects as templates. Be sure to use a material that won’t get soggy or stick to the clay.
If using a found object, you can trace around it on the clay’s surface and then cut it out. You can also score around the edges of the traced design to help create a more defined shape. To make the walls of your pots even, use a rolling pin or another cylindrical object to roll over the clay.
6. Hand-Press Method:
Press clay into a pre-made form or mold using your hands or tools to shape it into a pot. This method allows for quick and uniform production of pots. You can also use a mallet or wooden spoon to form and decorate the pot. The trick is to press the clay into shape without leaving any gaps or air pockets. When making a pot this way, it’s important to use the right amount of clay and ensure that it is firmly pressed into the mold.
7. Rope Coil Method:
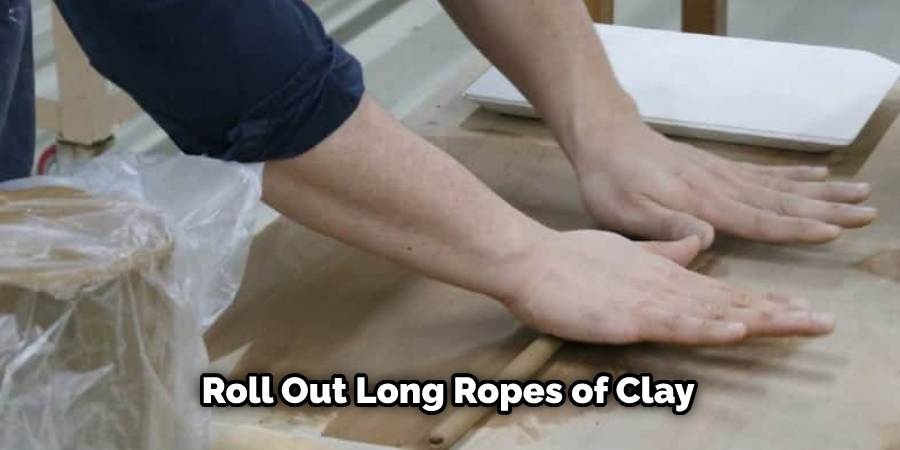
Roll out long ropes of clay and then coil them into the shape of a pot. Use your fingers or tools to shape and smooth the coils as you go. Make sure to press the coils together firmly and use water to help them stick. Once you’ve formed the shape you want, allow it to dry completely before firing.
8. Hump or Drape Mold:
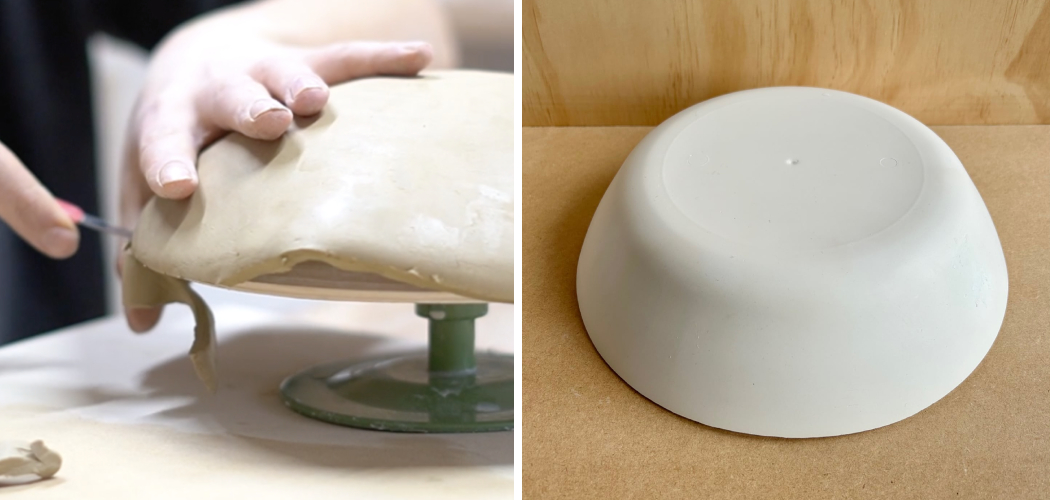
Create a hump or drape mold by shaping a mound of clay or other material, and then press or drape the clay over the mold to create the desired pot shape. This method can be used to create a variety of shapes and sizes, from small cups and bowls to large vessels. Using this technique takes some practice, so be prepared to experiment and fail a few times before you get the shape that you want.
9. Carving or Sculpting:
Start with a solid block of clay, and then use carving or sculpting tools to shape and hollow out the pot from the inside. This method allows for unique and creative designs. To use this method, you’ll need a flat surface to work on and a few carving tools, such as hollowing knives, ribbons, and loops. Make sure to have plenty of water nearby, as the clay can start to dry out quickly. To begin sculpting, use a knife or loop tool to hollow out the pot and create a basic shape.
10. Combination of Methods:
Combine different hand-building techniques, such as pinch pot, coil building, and slab building, to create complex and custom pot shapes. Try combining a pinch pot with slabs of clay to create the shape of the body and coil building for the handles.
Things to Consider When Making Clay Pots without a Wheel:
1. Using the Right Clay:
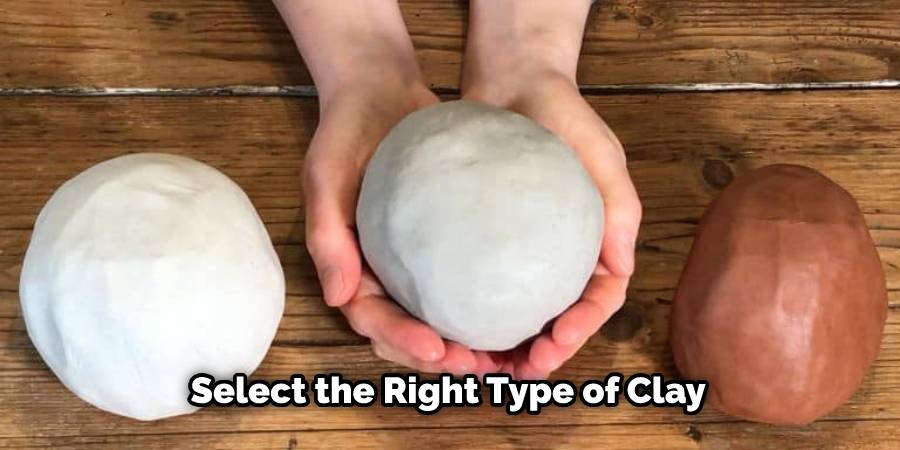
When making a clay pot without a wheel, it is important to select the right type of clay for your project. Clay that is too wet will not hold its shape when manipulated, while clay that is too dry can be difficult to form. Experimenting with various types of clay could help you find the one that works best for your project.
2. Preparing and Manipulating the Clay:
Clay needs to be warm and moist in order to make it easier to manipulate without a wheel. Before beginning, knead the clay until it has a soft and pliable consistency. To create the pot shape by hand, roll out long thin strips of clay and then wrap them around each other in a spiral-like pattern.
3. Drying and Firing the Clay:
After forming your pot, it needs to be dried. Depending on the humidity of your environment, you may need to let it sit for a few days or weeks until it is completely dry. Once the clay is dry, you can fire it in a kiln for durability or leave it unfired if you prefer.
Conclusion:
In conclusion, making clay pots without a wheel opens up a world of creative possibilities. From hand-building techniques like pinch pots, coil building, and slab building to using molds, templates, carving, and more, there are numerous methods to explore and experiment with. Hand-building allows for unique and personalized pottery, and with patience and practice, you can develop your own style and create beautiful works of art. Hopefully, this article gave you some helpful tips about how to make clay pots without a wheel successfully, so now that you have the proper knowledge on how to get the job done, why not give it a try today?
