Hump molds are an essential tool in pottery making. They are used to create consistent and uniform shapes in pottery pieces. A hump mold is a plaster or bisque mold that is used to shape clay into a specific form. The clay is pressed onto the mold and then removed once it has dried and hardened. Hump molds are commonly used for creating bowls, plates, and other curved forms in pottery.

In this article, we’ll embark on a journey into the world of pottery, exploring the step-by-step process of how to make hump molds for pottery. We’ll delve into the various applications of hump molds, from crafting bowls and plates to more complex forms, and provide you with practical tips and techniques to master this essential pottery-making tool.
“To make hump molds for pottery, you can create a form from materials like plaster, wood, or clay by shaping it into the desired contour. Allow the mold to dry or set, and it’s ready for use as a template to create consistent pottery shapes.”
Table of Contents
Materials Needed for Making Hump Molds
To make hump molds, you will need a few materials. The main material is plaster or bisque, which will be used to create the mold itself. Plaster is a popular choice as it is easy to work with and dries quickly. Bisque molds, on the other hand, are made from fired clay and are more durable but take longer to dry.
Other materials you will need include a mixing container, water, a mixing tool (such as a whisk or spatula), and release agent (such as vegetable oil or mold soap) to prevent the clay from sticking to the mold. You may also need additional tools such as a sponge or sandpaper for smoothing out imperfections in the mold.
These materials can be purchased at pottery supply stores or online. It is important to choose high-quality materials to ensure the longevity and effectiveness of your hump molds.
Step-by-Step Guide on How to Make Hump Molds for Pottery
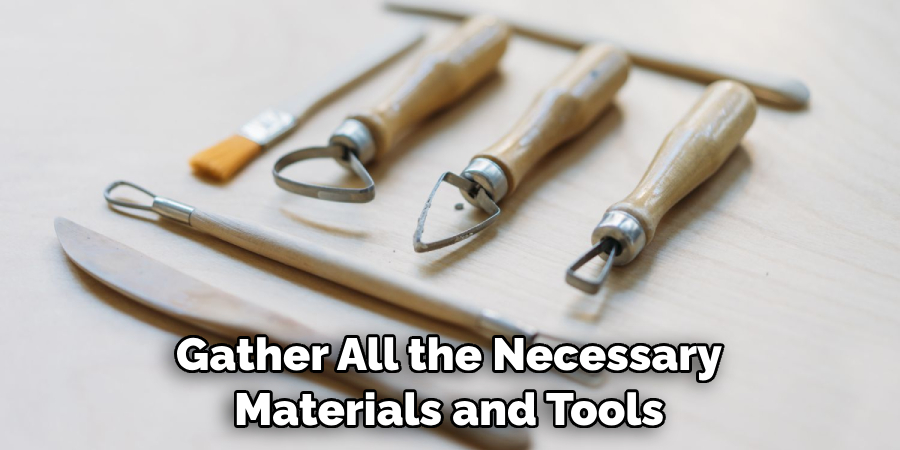
Step 1: Gather Materials and Tools
Before starting, gather all the necessary materials and tools for making hump molds. You’ll need clay (preferably a clay body appropriate for mold making), a rolling pin, a wooden board, a cutting tool (e.g., a pottery knife or loop tool), a fettling knife, a sponge, and a brush. Additionally, you’ll need access to a kiln for firing the clay molds.
Step 2: Choose a Design and Shape
Decide on the design and shape you want for your hump mold. Consider the intended purpose and function of the mold. The design can range from simple geometric forms to intricate, organic shapes. Keep in mind the clay’s behavior and how it will interact with the mold.
Step 3: Prepare the Clay
Take a portion of clay and knead it to remove air bubbles and ensure uniform consistency. Roll out the clay using a rolling pin on a clean, smooth surface, like a wooden board, to a thickness of about 1/2 to 3/4 inch, depending on the desired sturdiness of your mold.
Step 4: Create the Mold Shape
Using your chosen design, cut the clay into the appropriate shape using a cutting tool. This shape will represent the final mold’s form. You can use a template or freehand the design. Smooth the edges and refine the shape using a fettling knife.
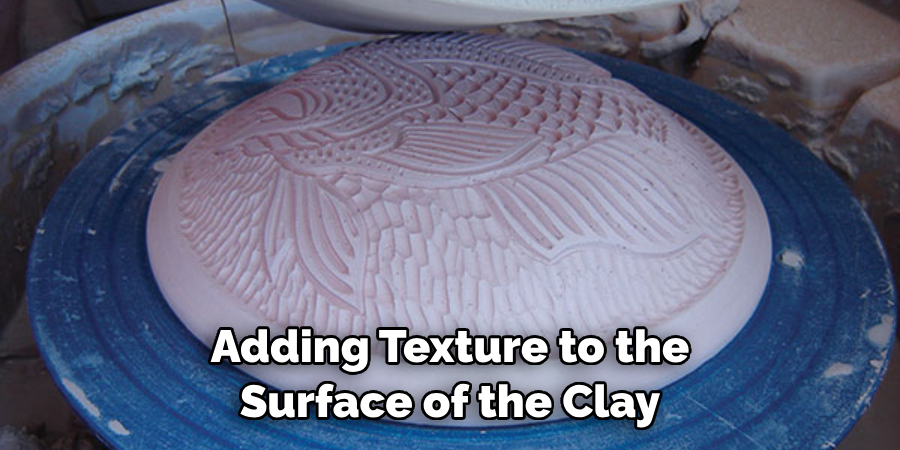
Step 5: Texture or Modify the Mold Surface
Consider adding texture or modifying the surface of the mold to enhance the final pottery piece. You can use various tools to create patterns or impressions on the clay surface. Make sure the surface is appropriately finished to your desired specifications.
Step 6: Allow the Mold to Dry
Allow the clay mold to dry slowly and evenly to prevent cracking or warping. Place the mold in a controlled drying environment, away from direct sunlight or heat sources, for several days or until it’s completely dry. Be patient during this stage, as rushing the drying process can result in deformities.
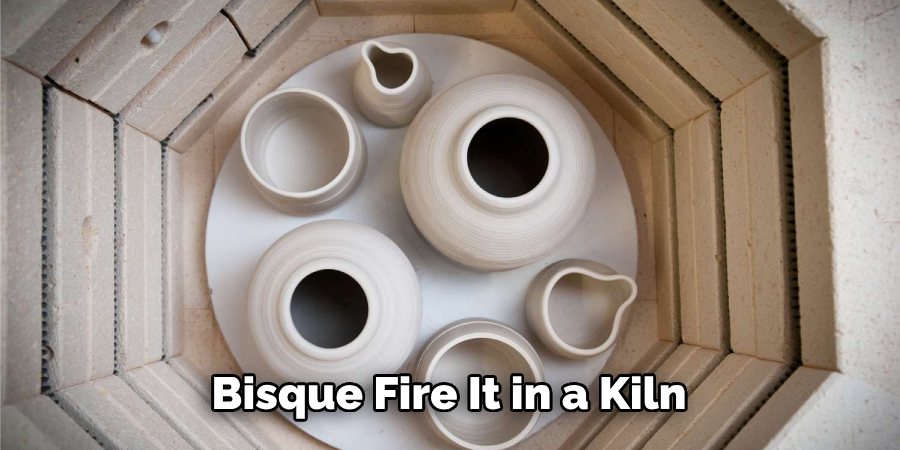
Step 7: Bisque Fire the Mold
Once the clay mold is completely dry, bisque fire it in a kiln. The firing process will convert the mold into a more durable, ceramic state. Follow the recommended bisque firing temperature and schedule for the type of clay you’ve used.
Step 8: Glaze the Mold (Optional)
If desired, apply a glaze to the mold’s interior surface. A glaze can help the pottery release easily from the mold and add a decorative touch. Ensure the glaze is appropriate for the clay body used and follow the manufacturer’s instructions for application.
Step 9: Fire the Mold Again
Fire the glazed mold in a kiln according to the glaze’s firing instructions. The second firing will set the glaze and prepare the mold for use.
Step 10: Test and Use the Hump Mold
Once the mold is fired and cooled, test it by pressing or draping clay over the mold to create a pottery form. Experiment with different clay types and techniques to explore the mold’s potential. Use the mold in your pottery projects, adjusting and refining as needed for your specific artistic vision.
Common Mistakes to Avoid When Making Hump Molds
While making hump molds can be a fun and rewarding process, there are some common mistakes that should be avoided. These mistakes can result in poor-quality molds and pottery pieces. Here are some common mistakes to avoid:
1. Overworking the clay: Overworking the clay can result in a weak and brittle mold. It is important to handle the clay gently and avoid excessive kneading or shaping. This will ensure that the mold is strong and durable.
2. Not allowing enough drying time: Rushing the drying process can lead to cracks or warping in the mold. It is important to allow the mold to dry completely before removing the clay. This can take several hours to several days, depending on the size and thickness of the mold.
3. Using too much water: Using too much water when mixing the plaster or bisque can result in a weak and crumbly mold. It is important to follow the manufacturer’s instructions for mixing the materials and use the correct amount of water.
How to Use Hump Molds in Pottery Making
Once you have created your hump molds, it is time to start using them in pottery making. There are several techniques for using hump molds, depending on the shape and size of the mold. Here are some techniques for using hump molds:
1. Pressing the clay onto the mold: Start by preparing the clay that will be used for the pottery piece. Knead the clay to remove any air bubbles and ensure it is smooth and pliable. Place the clay onto the mold, pressing it firmly to create an even surface. Use your hands or tools to shape the clay into the desired form.
2. Removing the clay from the mold: Once the clay has dried and hardened, carefully remove it from the mold. This can be done by gently peeling away the clay from the mold or by flipping the mold upside down and tapping it gently on a flat surface.
3. Finishing touches: After removing the clay from the mold, you can add any finishing touches or details to the pottery piece. This can include carving, stamping, or adding texture to the surface of the clay. Once you are satisfied with the piece, allow it to dry completely before firing it in a kiln.
Cleaning and Maintaining Hump Molds for Longevity
Proper cleaning and maintenance of hump molds is important for their longevity and effectiveness. Here are some tips for cleaning and maintaining hump molds:
1. Proper cleaning techniques: After using a hump mold, it is important to clean it thoroughly to remove any clay residue. Use warm water and a mild soap to gently clean the mold. Avoid using abrasive cleaners or scrub brushes, as these can damage the mold.
2. Storing the molds: When not in use, hump molds should be stored in a cool and dry place. Avoid exposing the molds to extreme temperatures or moisture, as this can cause them to warp or crack. It is also a good idea to wrap the molds in a soft cloth or bubble wrap to protect them from dust and scratches.
Alternative Methods for Making Pottery Molds
While hump molds are a popular choice for pottery making, there are also alternative methods for creating molds. These methods include slump molds, press molds, and wheel-thrown molds. Each method has its own pros and cons, depending on the desired shape and form of the pottery piece.
Slump molds are similar to hump molds but are used to create concave shapes instead of convex shapes. Press molds involve pressing clay into a pre-made mold to create a specific shape. Wheel-thrown molds are created by throwing clay onto a wheel and shaping it into a mold.
Conclusion and Final Thoughts
In conclusion, hump molds are a valuable tool in pottery making. They allow for the creation of consistent and uniform shapes in pottery pieces. By following the step-by-step guide and tips provided in this article, you can create smooth and even hump molds that will result in high-quality pottery pieces.
Remember to take your time and work carefully when creating hump molds. Avoid common mistakes such as overworking the clay or not allowing enough drying time. With practice and patience, you can master the art of making hump molds and create beautiful and unique pottery pieces. So go ahead, give it a try and see what you can create with hump molds in your pottery making journey. Follow these simple instructions outlined in this blog post about how to make hump molds for pottery, and you’ll be able to get the job done with ease.


