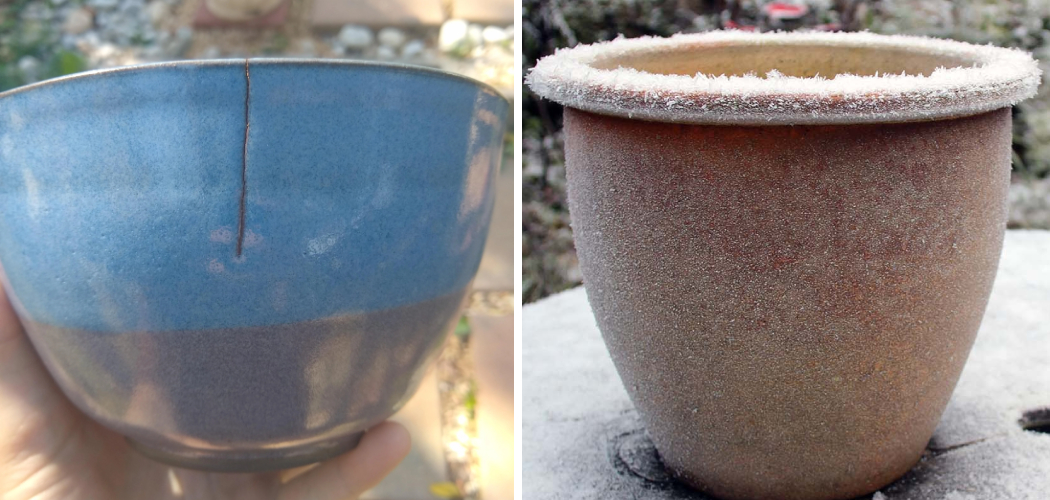
Are you looking to add a touch of greenery to your home decor? Ceramic pots are a popular choice for housing plants due to their aesthetic appeal and durability. However, drilling a hole in a ceramic pot can be a daunting task if you’re not familiar with the process. Fear not! In this article, we will guide you through the steps on how to drill a hole in a ceramic pot like a pro.
Whether you want to provide proper drainage for your plants or create a stunning DIY planter, we’ve got you covered. From gathering the necessary tools to executing the drilling process with precision, we’ll share expert tips and techniques to ensure success. So grab your safety goggles, and let’s dive into the world of ceramic pot drilling to unleash your inner green thumb!
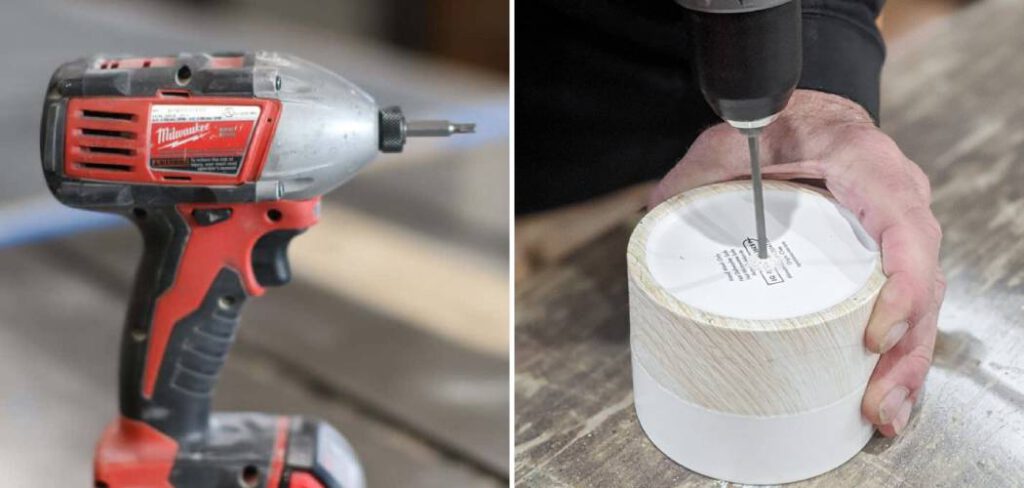
Table of Contents
Why Drill a Hole in a Ceramic Pot?
Ceramic pots are commonly used for indoor and outdoor plants, but they often lack drainage holes. Without proper drainage, excess water can accumulate in the pot, leading to root rot and other plant health issues. By drilling a hole in the ceramic pot, you can ensure proper drainage and create a healthier environment for your plants.
Tools and Materials
Before you begin, gather the following tools and materials:
- Ceramic pot
- Pencil or marker
- Power drill
- Diamond or carbide-tipped drill bit
- Masking tape
- Safety goggles
- Water
- Spray bottle
10 Steps How To Drill A Hole In A Ceramic Pot
Step: 1. Gather the Necessary Tools
Before you start drilling a hole in a ceramic pot, it is important to gather the necessary tools. You will need a ceramic pot, a power drill, a drill bit designed for ceramic or tile, a marking pen, a ruler or measuring tape, masking tape, a spray bottle filled with water, and safety goggles.
Step: 2. Mark the Spot
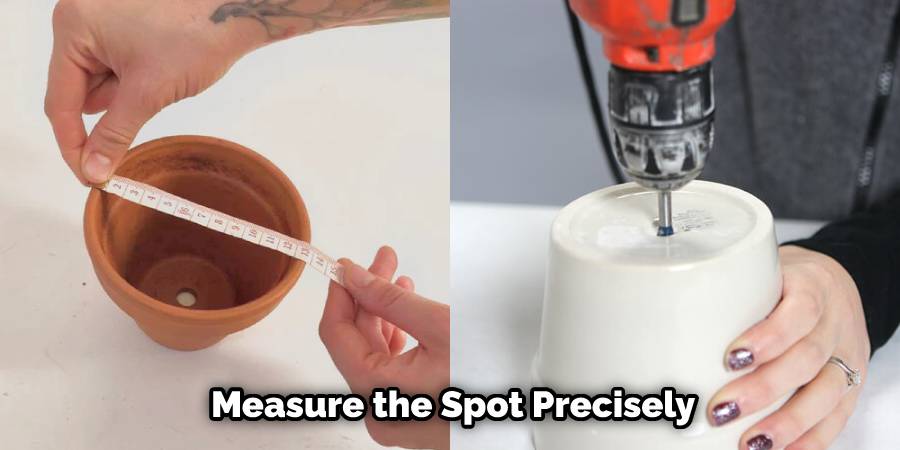
Use a marking pen to mark the spot where you want to drill the hole. Make sure to measure the spot precisely using a ruler or measuring tape. The mark should be centered and level. You can use masking tape to mark the spot and prevent the drill bit from slipping. If you do not follow the steps precisely, your hole might turn out uneven or misaligned.
Step: 3. Use a Spray Bottle
Fill a spray bottle with water and spray the spot where you marked. This will help to keep the ceramic pot cool and prevent it from cracking or breaking during drilling. Make sure to keep the water on the spot for a few seconds.
This will also help to prevent dust from getting into your eyes when you’re drilling. Try to use the spray bottle often while you’re drilling so that your ceramic pot won’t get too hot.
Step: 4. Attach the Drill Bit
Attach the drill bit to your power drill. Make sure that the drill bit is designed for ceramic or tile and that it is the appropriate size for the hole you want to drill. Secure the drill bit firmly in place and make sure it is aligned correctly.
Step: 5. Start Drilling
Turn on your power drill and start drilling. Apply gentle pressure to the drill and let it do the work. Do not force the drill, as this may cause the ceramic pot to crack or break. Keep the drill bit perpendicular to the ceramic pot and avoid tilting it.
Step: 6. Add More Water
As you drill, add more water to the spot to keep it cool. This will also help to remove the debris and dust from the hole. You may also want to keep a spray bottle of water handy so you can sprinkle the area while you are drilling. If the ceramic starts to become too hot, stop drilling and allow it to cool down before proceeding.
Step: 7. Clean the Hole
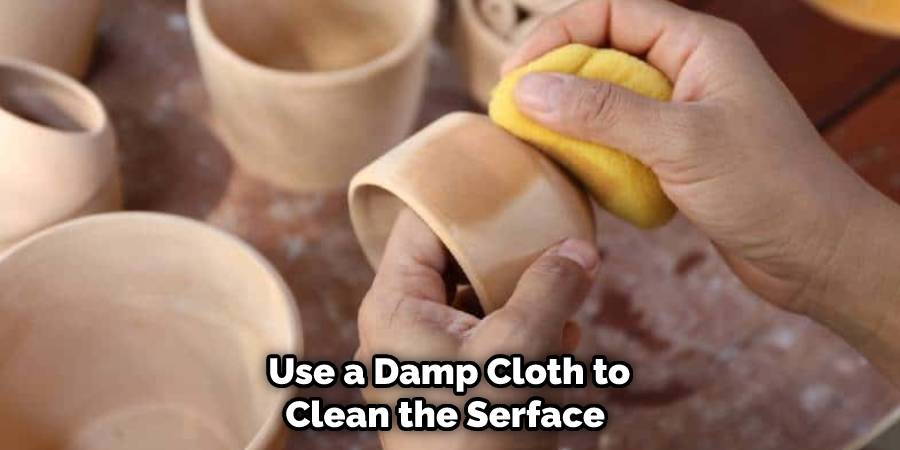
Once you have drilled the hole, use a damp cloth to clean the debris and dust from the hole. You can also use a vacuum cleaner to clean the debris from the hole. Doing this will help ensure the hole is clean and clear of any dirt, dust or other debris that could interfere with the installation process.
Step: 8. Sand the Edges
Use sandpaper or a grinding tool to sand the edges of the hole. This will smooth out any rough edges and prevent the roots of your plant from getting damaged. Make sure to use the correct type of sandpaper or grinding tool for your pot.
Step: 9. Use a Diamond Bit
If you have a hard time drilling through the ceramic pot with a regular drill bit, consider using a diamond bit. Diamond bits are designed for drilling through hard materials and can make the drilling process easier and faster.
Step: 10. Seek Professional Help
If you do not feel comfortable drilling a hole in a ceramic pot yourself, seek professional help. You can take your ceramic pot to a local hardware store or ceramic shop and ask them to drill a hole for you. They have the necessary tools and expertise to drill a hole in your ceramic pot safely and accurately.
Safety Tips
When drilling a hole in a ceramic pot, it’s important to prioritize safety. Follow these safety tips to minimize the risk of accidents:
- Wear safety goggles to protect your eyes from any flying debris.
- Work in a well-ventilated area or use a dust mask to avoid inhaling ceramic dust.
- Use steady and controlled pressure while drilling to prevent the drill bit from slipping.
- Take breaks if the drill or pot becomes hot to avoid overheating.
- Keep your hands and fingers away from the drill bit at all times.
Common Mistakes to Avoid
To ensure a successful drilling process, avoid these common mistakes:
1. Using a Regular Drill Bit:
Ceramic pots require specialized diamond or carbide-tipped drill bits to handle the hardness of the material. Using a regular drill bit may result in damage to the pot or the bit itself.
2. Applying Excessive Pressure:
Let the drill bit do the work. Applying too much pressure can cause the pot to crack or shatter.
3. Skipping the Masking Tape:
Using masking tape provides stability and prevents the drill bit from slipping during the drilling process. It’s a crucial step to ensure accuracy.
4. Neglecting Safety Precautions:
Always wear safety goggles and follow safety guidelines to protect yourself from potential hazards.
Conclusion
In conclusion, drilling a hole in a ceramic pot is a skill that can be easily mastered with the right tools and techniques. By following the step-by-step methods outlined in this article, you can confidently create drainage holes in your ceramic pots, ensuring the health and vitality of your plants.
Remember to gather the necessary tools, mark the spot accurately, and use water to keep the pot cool during drilling. Take your time and apply gentle pressure, allowing the drill bit to do the work. Once the hole is drilled, clean any debris and sand the edges for a smooth finish.
If you encounter difficulties, consider using a diamond bit or seeking professional assistance. With these tips on how to drill a hole in a ceramic pot in mind, you can embark on your ceramic pot drilling journey and enjoy the beauty and benefits of potted plants in your home.
FAQs
How long does it take to drill a hole in a ceramic pot?
The time required to drill a hole in a ceramic pot depends on factors such as the pot’s thickness, the drill bit’s efficiency, and the speed at which you drill. On average, it may take a few minutes to drill a hole through a ceramic pot.
Can I use a regular drill bit for ceramic pots?
It is not recommended to use a regular drill bit for ceramic pots. Ceramics is a hard material, and specialized diamond or carbide-tipped drill bits are designed to handle its hardness effectively. Using a regular drill bit may result in damage to the pot or the bit.
What if the pot cracks while drilling?
If the pot cracks while drilling, unfortunately, it cannot be easily repaired. It’s best to be cautious and apply steady, controlled pressure to avoid exerting excessive force that can cause the pot to crack. Using the appropriate drill bit and following the outlined steps will minimize the risk of cracking.
Can I use a hammer drill for ceramic pots?
Hammer drills are generally not recommended for drilling ceramic pots. Hammer drills are designed for masonry and concrete applications and may be too powerful for delicate ceramic materials. It’s best to use a regular power drill with a diamond or carbide-tipped drill bit.
Should I wear safety goggles when drilling the hole?
Yes, wearing safety goggles is essential when drilling a hole in a ceramic pot. It protects your eyes from any flying debris or ceramic dust that may be generated during the drilling process.


