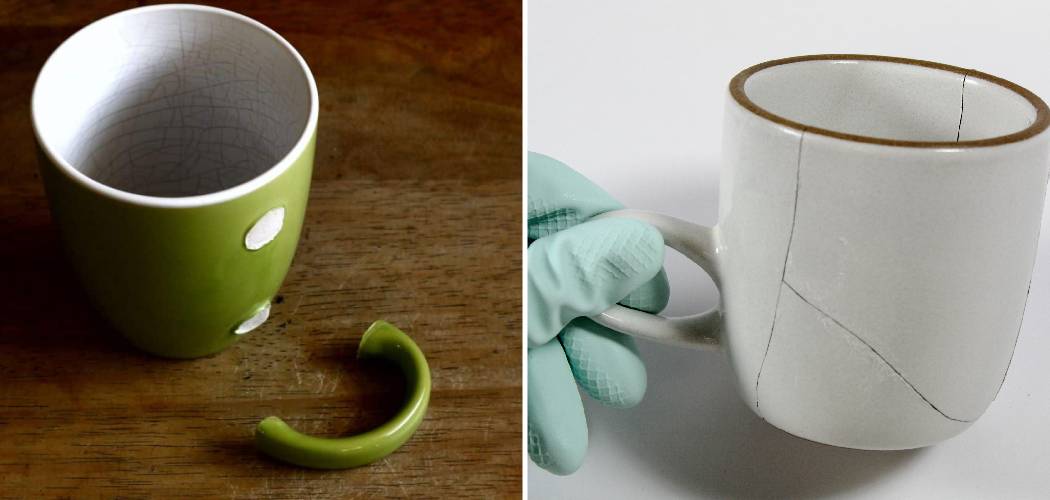
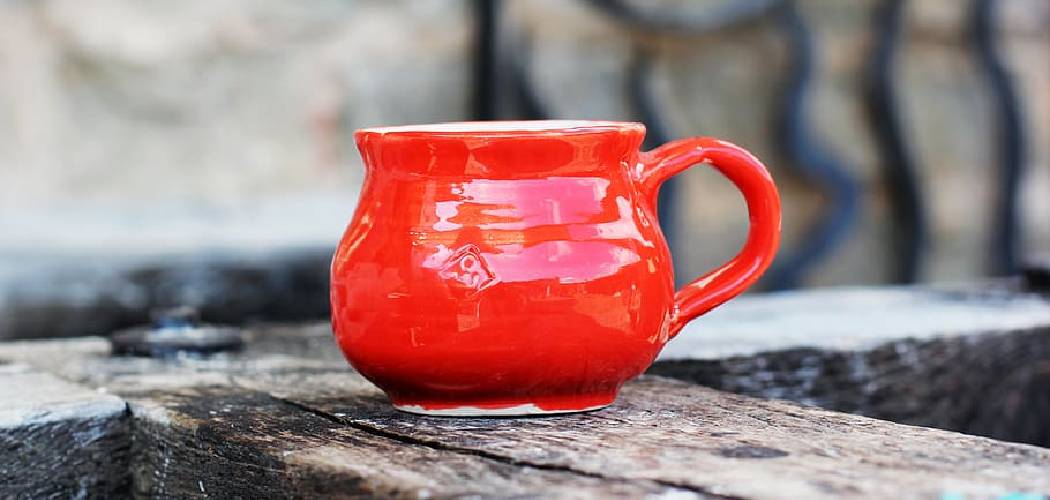
Accidents happen, and sometimes our beloved ceramic mugs end up with unsightly cracks or breaks. However, don’t despair—the good news is that repairing a broken ceramic mug is possible with the right glue and technique. Knowing how to glue ceramic mug can save you from parting ways with your favorite mug and bring it back to its former functional glory.
Whether it’s a sentimental keepsake or just your go-to morning companion, a successful repair will not only restore its appearance but also ensure its usability for years to come. In this article, we explore the essential steps and recommended glues for seamlessly rejoining ceramic mugs. With a little patience and the right approach, you’ll be sipping your favorite beverage from your cherished mug once again.
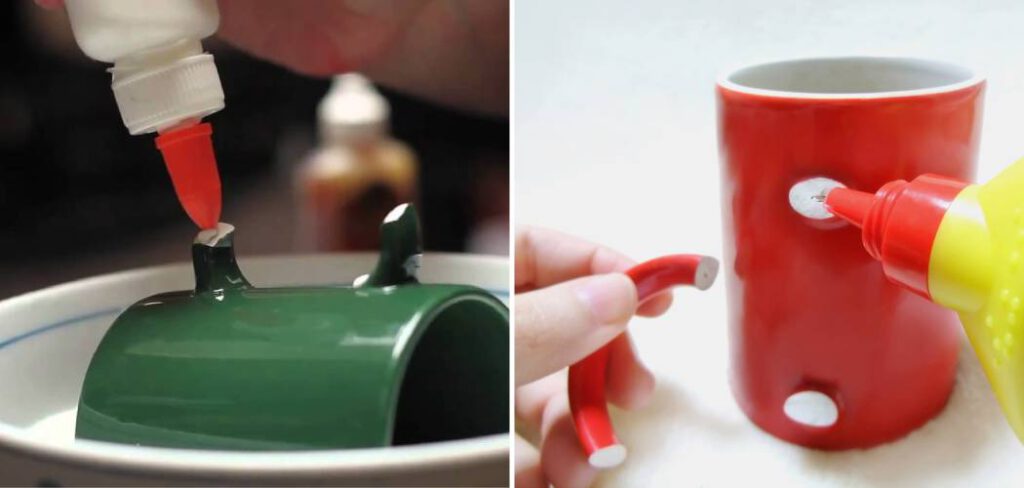
Table of Contents
The Need for Gluing Ceramic Mugs Instead of Discarding
When gluing ceramic mugs, it is important to remember that the result can be a way to save an otherwise unusable item. Not only does this help us save on waste and preserve our environment but it also helps us keep our favorite pieces of pottery around for longer. Glueing ceramic mugs might seem like a simple task, however there are certain steps to ensure that the mug is properly glues and will last for years to come.
The first step in glueing ceramic mugs is to make sure that the surfaces of the mug are clean and free of any grease or dirt. If there is debris on either surface, it will prevent the glue from sticking properly and could also lead to discoloration of the mug. To make sure that all dirt and debris is removed, it is best to use a damp cloth and some mild soap. Once the surfaces are clean, you can begin applying the glue.
For most ceramic mugs, an epoxy-based super glue is the best option for gluing them back together again. You should apply a thin layer of glue to both surfaces of the mug and let it sit for approximately 10 minutes. This will give the glue enough time to set and create a strong bond between the two pieces of pottery. Once the glue has dried, you can turn the mug over and place something heavy on top in order to ensure that everything stays put while it dries completely.
The Importance of Using Food-Safe and Strong Adhesive
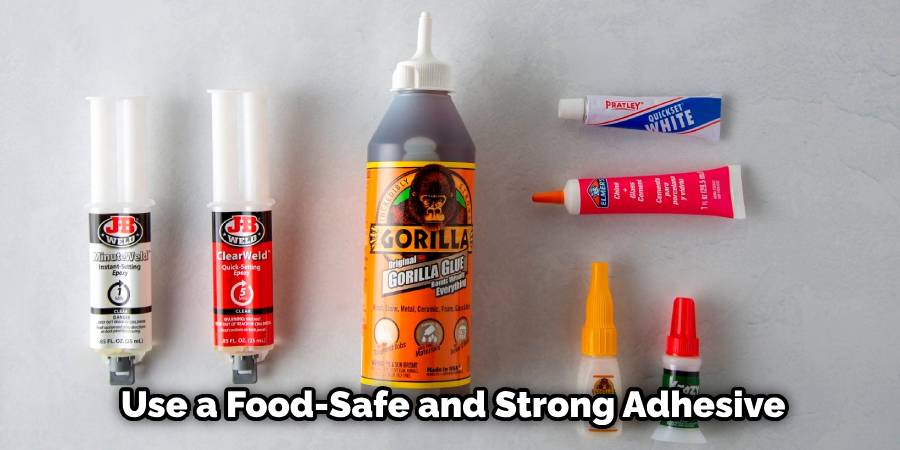
When gluing a ceramic mug, it’s important to use a food-safe and strong adhesive. There are several adhesives available that can do the job well, such as epoxy or super glue. However, not all of these adhesives are food safe.
If you plan to use your ceramic mug for consuming beverages, then it is essential to use a food-safe adhesive. Always make sure the glue you are using is specifically labeled as being safe and suitable for food contact.
In addition to finding an adhesive that is food-safe, you’ll want to ensure it is strong enough to hold the mug together. Many ceramic mugs have handles or other components that may need additional support from the adhesive. Make sure the glue you use is strong enough to withstand any pressure or stress that may be put on it.
Finally, take your time when gluing a ceramic mug. It is important to make sure everything lines up perfectly before letting the adhesive dry and harden completely. After it has dried, test out the handle or other components of the mug to make sure it is securely glued in place.
By taking the time to find a food-safe and strong adhesive for your ceramic mug, you can be confident that it will last for years to come.
10 Methods How to Glue Ceramic Mug
1. Choose the Right Glue:
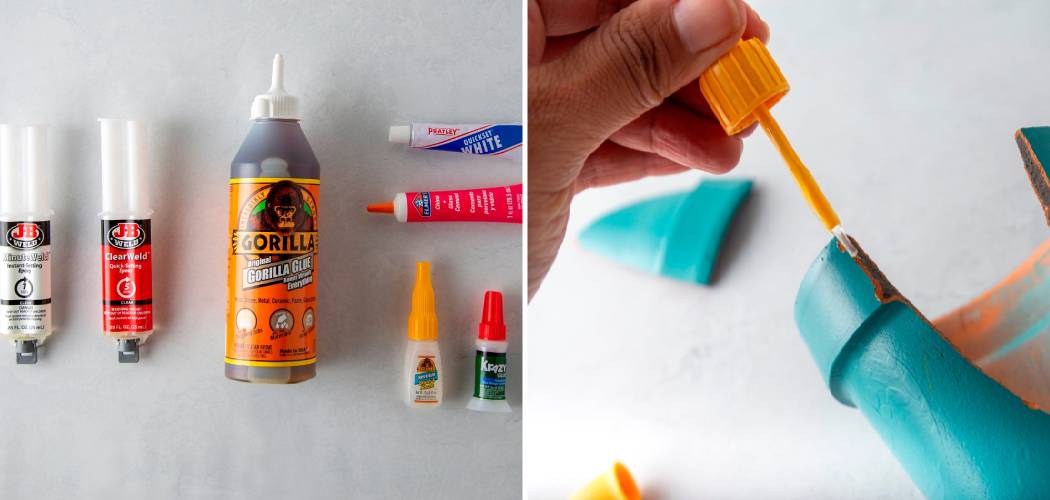
Before embarking on the mug-repair journey, it’s essential to select the right glue. Look for a strong adhesive specifically formulated for ceramics or porcelain. Epoxy or super glue are common options, but make sure they are suitable for food-safe applications. Always read the label and choose a glue that dries clear to ensure a seamless repair. Although it’s not necessary, you may want to use an adhesive designed for dishwashers or hot liquids.
2. Clean and Prepare the Surfaces:
Thoroughly clean both the broken pieces of the mug with warm soapy water to remove any dust, grease, or residues. Ensure the surfaces are dry and free from moisture before applying the glue. Properly preparing the surfaces ensures a stronger and more reliable bond.
3. Test the Fit:
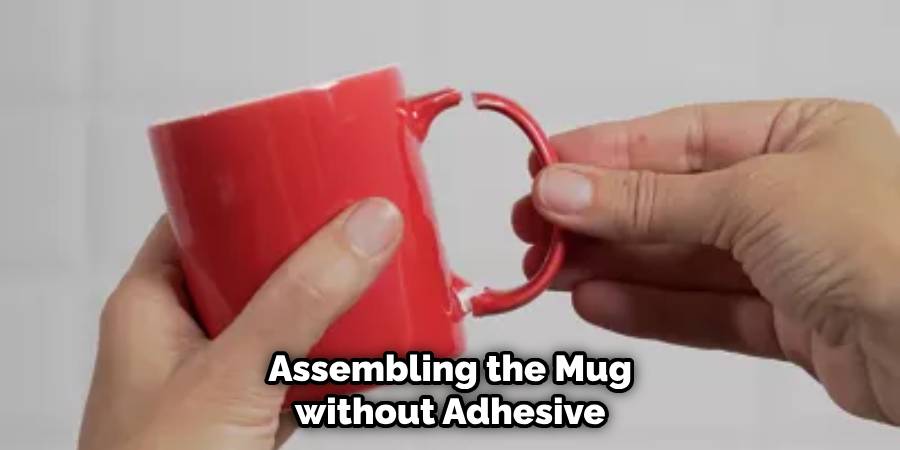
Before applying the glue, conduct a test fit of the broken pieces to ensure they align perfectly. Practice assembling the mug without adhesive to familiarize yourself with the correct alignment and to avoid any errors during the gluing process. Once you’ve determined the best fit, clean the surfaces of any dust or debris. This will help increase the hold of the glue and ensure a permanent bond.
4. Apply the Glue:
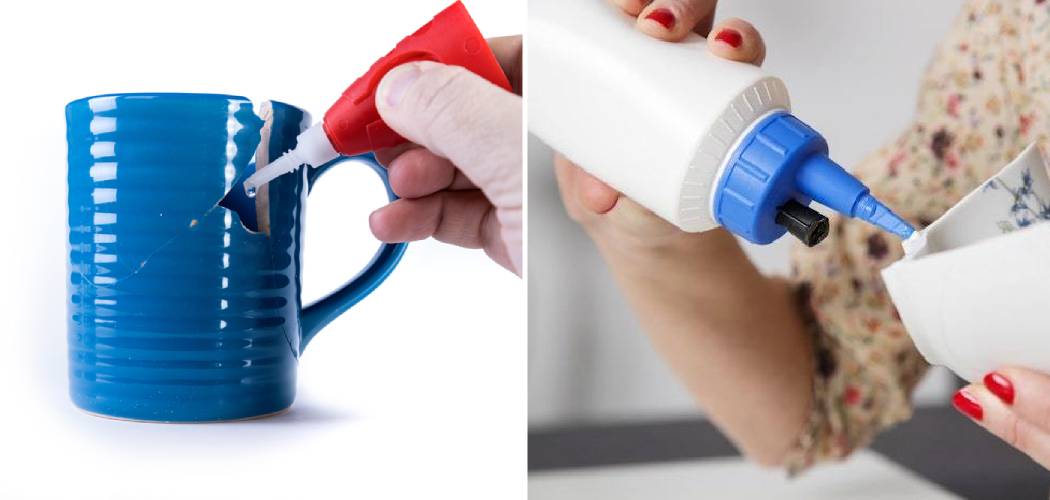
Using a small brush or applicator, apply a thin, even layer of the chosen adhesive to one of the broken edges. For better coverage, apply the glue to both surfaces if possible. Be cautious not to use excessive glue, as it may cause the adhesive to overflow and mar the appearance of the mug.
If you are using a two-part epoxy adhesive, mix both parts of the adhesive according to package instructions. Apply the glue as above and then press both pieces firmly together for at least 30 seconds. This ensures that the bond is properly formed. Make sure to leave no gaps between each piece so that they fit snugly against each other.
5. Rejoin the Pieces:
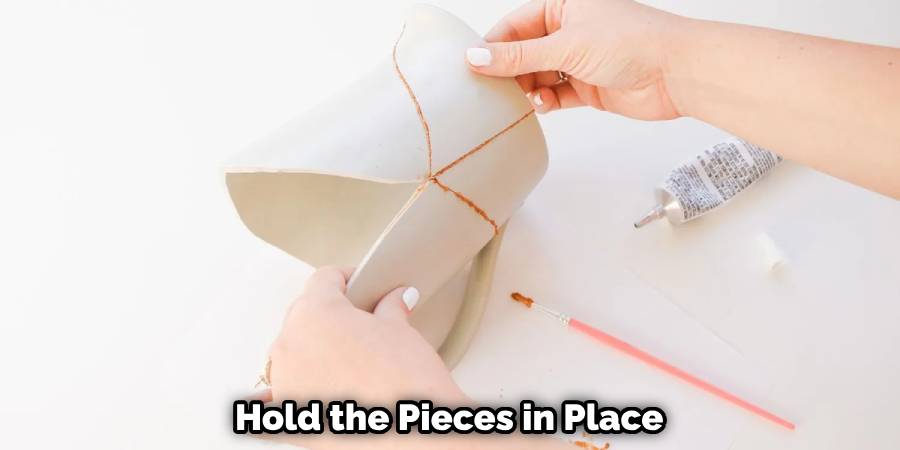
Carefully and precisely align the broken edges of the mug and press them together firmly. Hold the pieces in place for the recommended time mentioned on the glue label to allow the adhesive to set properly. Avoid moving or adjusting the pieces once they are joined. After the recommended time has passed, your ceramic mug should be fully glued and ready to use. However, you should still handle it with care and avoid putting too much pressure on the glued area.
Once your ceramic mug has been repaired, you can begin to use it as normal. If you would like to further increase the strength of the glue bond, you can use a clamp to hold the pieces in place for a few more minutes after joining them together. This will ensure a secure and lasting repair.
6. Wipe Off Excess Glue:
After the adhesive has set, gently wipe off any excess glue that may have seeped out from the edges. A cotton swab or a soft cloth dampened with a mild solvent, such as acetone, can help remove any unwanted residue without damaging the ceramic surface. Once all of the excess glue has been removed, allow the glued area to dry completely before handling or using it. However, it is important to note that acetone can damage ceramic, so use caution and only wipe lightly over the area.
7. Support the Mug during Drying:
To ensure a successful bond, provide support to the repaired mug during the drying process. Use a small amount of tape or rubber bands to hold the broken pieces together while the glue cures fully. This support prevents any accidental shifting or separation during the critical drying phase. To ensure proper bonding, let the mug dry undisturbed for 24 hours before use.
It’s important to note that while many ceramic glues are designed to hold up to temperature changes and normal daily wear-and-tear, the repaired mug may still be weaker than before. Be careful when handling your mug and avoid extreme temperatures or sudden impacts.
8. Allow Sufficient Drying Time:
Follow the manufacturer’s instructions on the glue label to determine the recommended drying time. Resist the temptation to rush the process; giving the glue ample time to cure will guarantee a stronger and more durable repair. You want your ceramic mug to stay repaired, so take the time and allow for the proper drying.
9. Sand and Smooth (Optional):
If there are any uneven edges or rough areas along the repaired seam, consider sanding the surface with fine-grit sandpaper. Gently smooth out any imperfections for a flawless finish. However, exercise caution to avoid scratching the mug’s surface or compromising the glue bond. Once finished, use a damp cloth to wipe away any debris left behind.

10. Test the Mug’s Integrity:
Before using the mug for beverages or placing it in the dishwasher, perform a final test to ensure the adhesive has created a secure and food-safe bond. Fill the mug with water and let it sit for a few hours to confirm there are no leaks or weaknesses in the repaired area. If no leaks are found, the ceramic mug is now ready for use.
When cleaning the mug after use, be sure to avoid scrubbing or applying excessive pressure on the glued areas. Doing so could weaken the bond and cause it to break again. Instead, gently hand wash with warm water and a soft cloth. This will ensure that your repaired ceramic mug stays in its best condition for years to come.
Conclusion
As we have seen, gluing ceramic mugs together is a relatively easy but important process. The key is to use the right size and type of glue, and to apply it carefully using the proper technique. Remember to allow time for drying in between different steps for best results. Using these tips you can ensure that not only will your ceramic mug be repaired, but it will look great too! If you ever find yourself in a situation where you need to know how to glue ceramic mugs, remember what you learned here today. With some patience and the right materials, your broken mug can be securely glued back together like new!
