Have you ever gotten incredibly frustrated at trying to repair the damage of a dropped, cracked sculpture made from bone-dry clay? As any artist knows, working with bone-dry clay can be a difficult undertaking – one misstep, and you’re faced with an irreparable mess. But fear not!
There are ways for artists skilled in sculpting and ceramics to try to fix broken pieces of bone-dry clay that don’t require starting completely from scratch. In this blog post, we’ll provide some useful tips on How to fix cracked bone dry clay.

No matter your skill level or techniques employed, there’s something here that can help you out! So read on if you’re looking for answers on how to properly fix and rework cracked bone-dry clay.
Table of Contents
Is Bone Dry Clay Repairable?
Yes, it is possible to repair cracked bone-dry clay. The process involves rehydrating the clay and applying patches of fresh clay to fill any cracks or missing pieces. It does require a bit of skill and patience but it can be done to restore your bone-dry piece and make it look new again.
The first step in repairing cracked bone dry clay is to gently rehydrate the piece. This can be done by misting the piece with a spray bottle full of water or dipping it into a bowl of cool water until all areas have been rewetted. Once soaked, use cotton swabs or a soft brush to remove any excess water from crevices, such as between fingers on figurines and along ridges in vessels.
Next, fill any cracks with fresh clay. The new clay should be kneaded until it is pliable and then formed into thin strips to fit the size of each crack or missing piece. Softly press the new pieces of clay into the cracks and mold them into shape using your fingers or a soft brush. Smooth out the edges where possible to make an even transition between the old and new clay.
Finally, allow the patched piece to air dry naturally before proceeding with firing or glazing. Once completely dry, gently sand down any uneven areas that may have resulted from patching and firing can begin as normal. With practice, this process will become easier and you can repair any cracked bone-dry clay pieces with ease.
With a few simple steps and some patience, you can restore any cracked bone-dry clay pieces to their original condition. This will not only save the piece, but it may also help keep your memories and artwork alive for many years to come!
10 Steps How to Fix Cracked Bone Dry Clay
Step: 1. Assess the Damage:
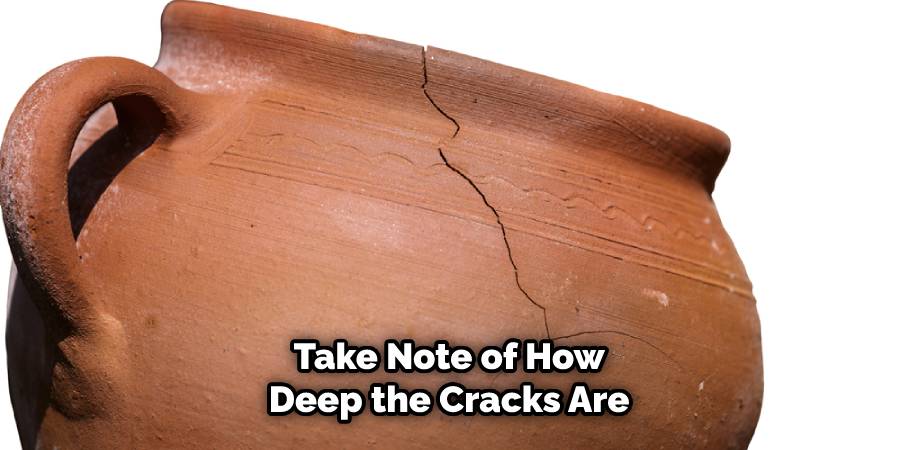
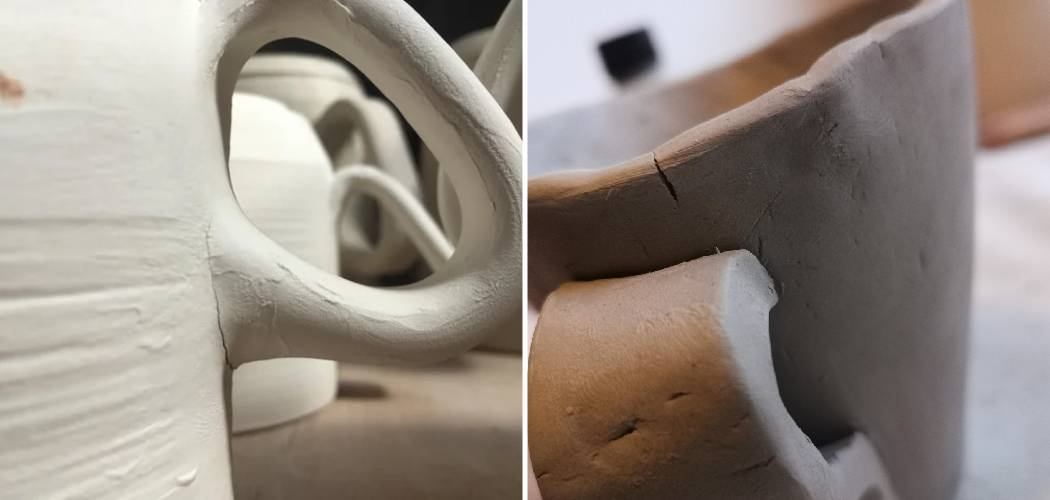
Before attempting to fix a cracked bone-dry clay piece, assess the extent of the damage to determine whether the piece is salvageable. If the cracks are minor, a repair may be possible; if the damage is extensive, it might be best to start over with fresh clay.
While assessing the damage, take note of where and how deep the cracks are; this will help when it comes time to make a repair. Although bone-dry clay can be softened for repair, it should not be allowed to become completely wet or overly soft.
Step: 2. Moisturize the Clay:
Spraying the surface of the clay piece with water or placing it in a plastic bag with a damp cloth can help to rehydrate the clay, making it more malleable. After the clay is moist, it will be easier to handle and shape. If the clay has been sitting for a long time, this might take a few minutes.
Be sure to not over-spray the clay with water, as this can make it too soft and cause it to lose its shape. When the clay is hydrated enough, it will be soft and pliable again. Although it won’t be exactly the same as when it was first made, fixing cracked bone-dry clay is possible with some effort and patience.
Step: 3. Remove any Loose Pieces:
Use a soft-bristled brush to gently remove any loose or flaking pieces of clay from the surface of the piece. Be very careful to avoid further damage or breakage while brushing. To ensure the wood is free of any clay residue, use a vacuum cleaner with a soft brush attachment to remove any remaining particles.
While doing this step, be sure to wear protective gloves and a dust mask to prevent inhaling any pieces of clay. Though this step is important, it can also be time-consuming.
Step: 4. Apply slip:
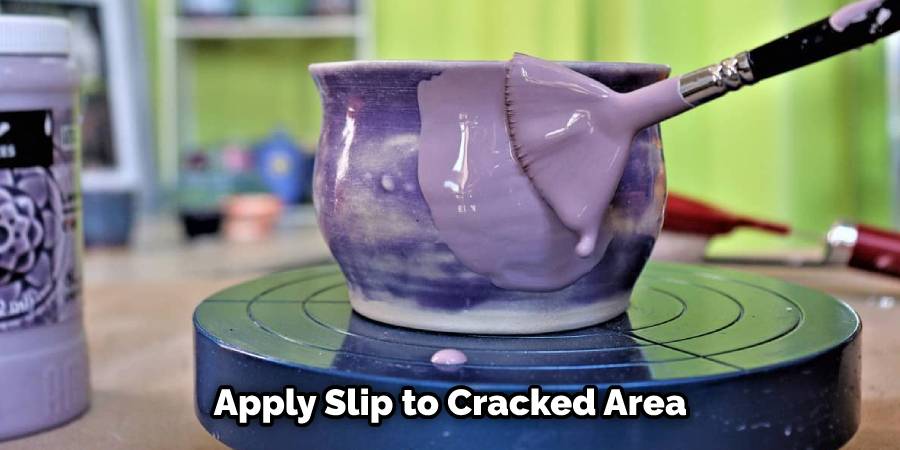
Mix some clay with water to create a slip, then use a brush or your fingers to apply it to the cracked area. Slip will act as glue, bonding the pieces together. Apply it generously and make sure the crack is completely filled. Let dry for 24 hours. To prevent shrinkage, lightly mist the clay with water from time to time during drying.
If the crack is still visible after drying, repeat the process until it is filled. While slip will add strength to the clay, it will not make a piece unbreakable. Be gentle when handling the piece, and keep it out of direct sunlight.
Step: 5. Use a Scoring Tool:
If the crack is deep, use a scoring tool (such as a needle or toothpick) to roughen up the surface of the clay around the crack. This will help the slip to adhere better. Be sure to use the tool gently, and don’t press too hard, or you might enlarge the crack.
Once you have scored the clay, let it dry for several hours before continuing. If the crack is not deep, you can skip this step. To repair a surface crack, you may need to fill the gap with extra clay. Although the repair may be visible, it can improve the overall look of your piece.
Step: 6. Join the Pieces:
Gently press the cracked pieces back together, making sure that the edges are aligned as closely as possible. Use a clean, dry cloth to press the edges firmly together. If you are unable to align the pieces perfectly, don’t worry; it can be done with some skillful sculpting and creative shaping.
Although the cracks may not be completely invisible, they can still be disguised artistically. Try to keep the pieces together for as long as possible so that they can heal and form a strong bond.
Step: 7. Smooth the Surface:
Use your fingers or a tool to smooth out the surface of the clay around the crack. Make sure to only use gentle pressure and avoid pushing too hard, as this can cause further damage or even break the clay.
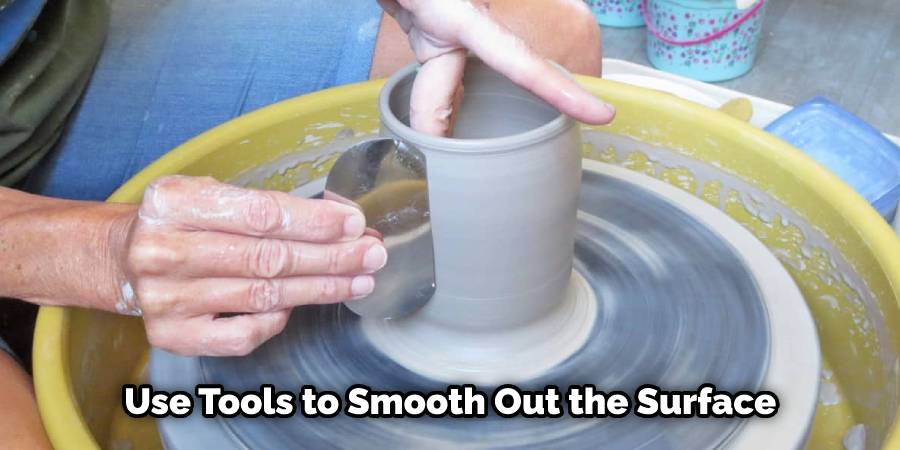
If you’re using a tool, choose one that’s designed for sculpting and won’t be too abrasive on the clay surface. You may wish to add some water or slip (liquid clay) to help in smoothing the surface. Once you have smoothed the area, let it dry completely before proceeding with further steps.
Step: 8. Let it Dry:
Allow the repaired piece to dry completely before firing it in the kiln. It is important to allow the piece to dry slowly, as drying the piece too quickly could cause it to crack again. To prevent cracking, place the piece in a cool, dry place to dry.
If you have access to a fan, you can use it to speed up the drying time. Do not place the piece in direct sunlight, as this could also cause additional cracking. Once dry, it is ready to be fired in a kiln.
Step: 9. Sand the Surface:
Once the piece has been fired, use fine-grit sandpaper to smooth out any rough areas or bumps. Use light pressure, and start with a coarse grit sandpaper and work your way up to a finer one. Make sure to wear safety goggles during this step as the dust particles can be harmful.
Once you’ve finished, it should feel smooth. You may also want to consider applying a sealer or finish for added protection. This is especially important if you plan on using the piece outdoors or in a wet environment.
Step: 10. Glaze the Piece:
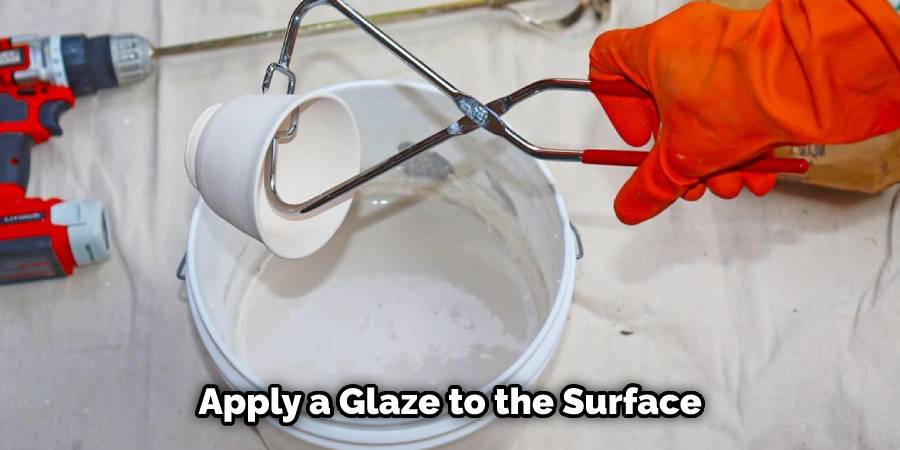
Apply a glaze to the surface of the piece to give it a finished look and protect it from further damage. This step is optional and should not be done if it will affect the structural integrity of the clay. To glaze, mix a small amount of glaze with water and brush it onto the clay object.
Allow it to dry thoroughly before handling or displaying the piece. Depending on the type of glaze you are using, there may be additional steps in the glazing process. Follow the instructions provided by the manufacturer carefully to ensure successful results.
Conclusion:
To recap, bone-dry clay can be tackled fairly easily with the right knowledge and tools. Sometimes, the clay will even heal itself. Always turn your pottery over to fix any potential warping issue during drying so that an even distribution of weight is supported. Try using a wet cloth or sponge to slowly re-wet the dry edges of broken pieces and press them together for a secure fit.
Whatever you decide to do, never underestimate the power of fixing cracked clay with inspiring and creative solutions. So when you find yourself facing a seemingly daunting task like repairing someone else’s masterpiece or creating one from scratch, remember these tips about how to fix cracked bone dry clay! The possibilities for great creations are endless – now go get started on yours!
