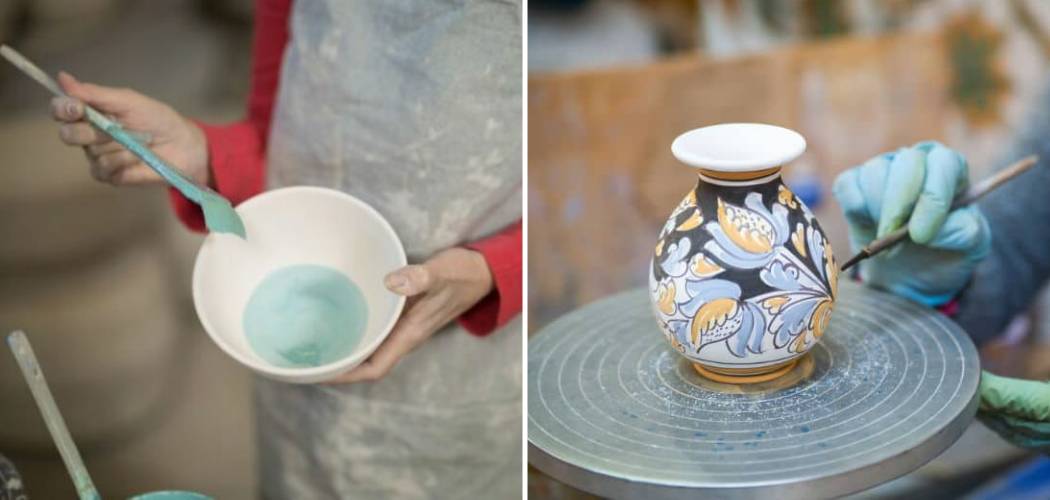
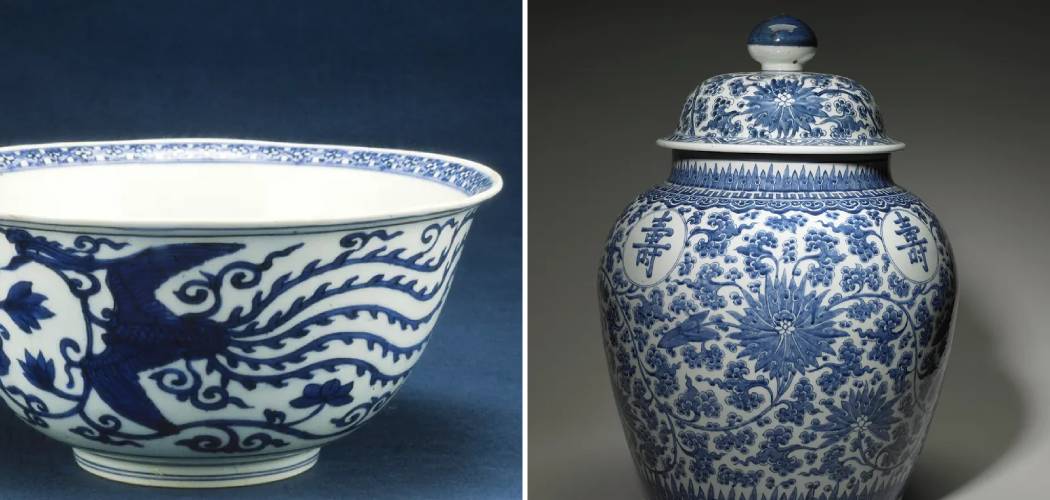
Are you ready to take your pottery projects to the next level with some truly unique and eye-catching designs? Underglaze is one of the best ways to do just that. With its vibrant colors, bold lines, and limitless design options, under-glazing can help bring any piece of art clay alive – especially when it comes to customizing your work.
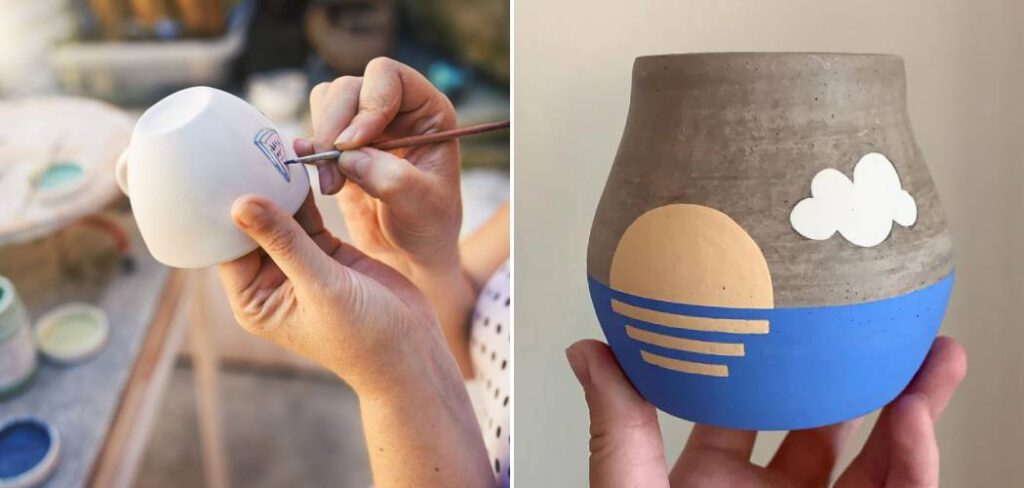
But getting started in this intimidating world of ceramic creative expression can be scary for even the most experienced artist. Fortunately, we’ve got you covered! In this blog post, we’ll go over everything you need to know about how to be fearless with underglaze so that you can start creating stunning pieces confidently and fearlessly!
Table of Contents
Why Would I Use Underglaze?
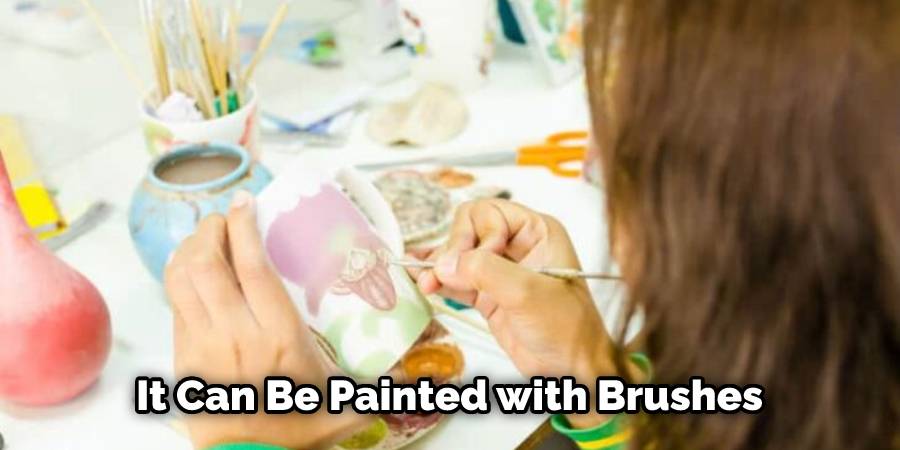
Underglaze is a type of ceramic glaze used to give your pottery pieces a bright, glossy finish. It can be applied before the main glaze coat or as an overglaze after the piece has been fired. Underglaze is great for adding detail to pottery pieces because it can be painted on with brushes or sponges in thin layers, giving you more control over the finished look of the piece.
Underglaze also allows for a wider range of colors than other types of ceramic glazes. This makes it an ideal choice for anyone who wants to add intricate details or customize their work with bright colors. Additionally, underglaze is non-toxic and food safe when used according to the manufacturer’s instructions.
Using underglaze is a great way to make your pottery pieces stand out and give them an added dimension of color. With practice, you can be fearless with your glazing and create beautiful works of art that will last for years to come.
By taking the time to learn how to use underglaze and experimenting with different colors and techniques, you’ll be able to take your pottery projects from good to great! So don’t be afraid—embrace the fearlessness of using Underglaze and see what amazing creations you can make!
10 Methods How to Be Fearless with Underglaze
1. Do your Research
Before you start painting with underglaze, it is important to do your research. Read as much as you can about the different brands and find out which one will work best for your project. You should also take the time to practice on a piece of scrap clay before you start working on your final piece. This will help familiarize you with the nuances of underglaze and make sure your finished product looks its best. Once you feel comfortable with the technique, you can move on to your final piece.
2. Choose the Right Brush
Another important thing to consider when painting with underglaze is the type of brush you use. A good quality paintbrush will make a big difference in the final result. Make sure to choose a brush that is specifically designed for use with ceramics. Natural bristles are a popular choice, as they are better suited for painting on uneven surfaces.
Synthetic brushes can also work well but will not last as long. Additionally, you should select a brush with the appropriate size and shape for your particular project. A smaller brush will be useful for detailed designs, while a larger brush can be used for larger areas. Remember to clean your brush after each use and store it in a dry place.
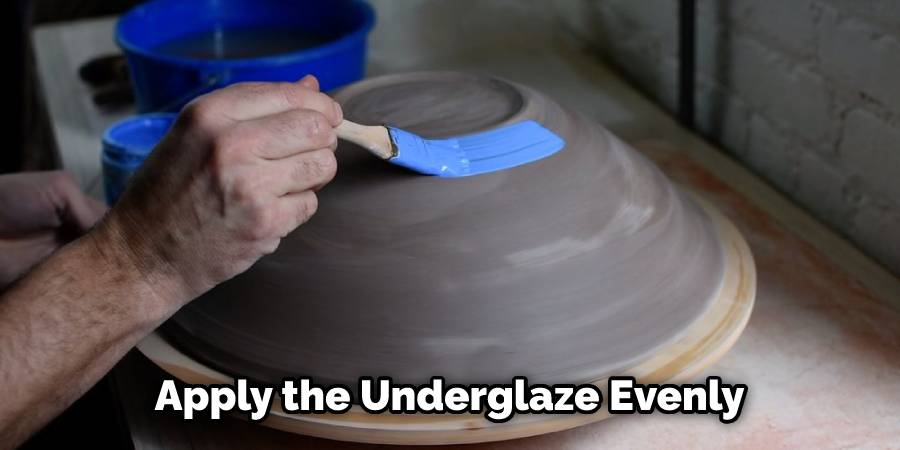
3. Apply the Underglaze Evenly
Once you have chosen your brush and underglaze, it is time to start painting. It is important to apply the underglaze evenly to avoid any streaking or unevenness in the final product. Take your time and be patient while you are painting. If you apply the underglaze too quickly, it might not adhere correctly to the surface.
When you are done painting, allow the surface to dry completely before firing it in the kiln. This will ensure that the underglaze is securely adhered to the surface and will not come off after firing. While this step may take some time, it is important to ensure that you will get the desired results from your underglaze.
4. Let the Underglaze Dry Completely
After you have applied the underglaze, it is important to let it dry completely before firing it in the kiln. If you try to fire it before it is completely dry, you run the risk of ruining your piece. Be patient and let the underglaze dry thoroughly before proceeding to the next step. Although drying time can vary depending on the type of underglaze you’re using, it is typically a matter of hours. After it has finished drying, you can then proceed to the next step, which is glazing and firing your piece.
5. Fire the Piece in a Kiln
Once the underglaze is dry, it is time to fire your piece in a kiln. The firing process will set the underglaze and help to achieve the desired results. Make sure to follow the firing instructions that come with your underglaze carefully.
It is important to remember that different clay bodies require different firing temperatures and times. Be sure to research your clay body before starting the firing process. You may also want to consider investing in a kiln thermometer to ensure that your pieces are fired at the correct temperature.
6. Glaze the Piece
After firing, you may decide to glaze your piece for added protection and shine. If you do decide to glaze your piece, make sure to apply the glaze evenly and allow it to dry completely before firing again. Doing this creates a beautiful, glossy finish that will add to the beauty of your piece.
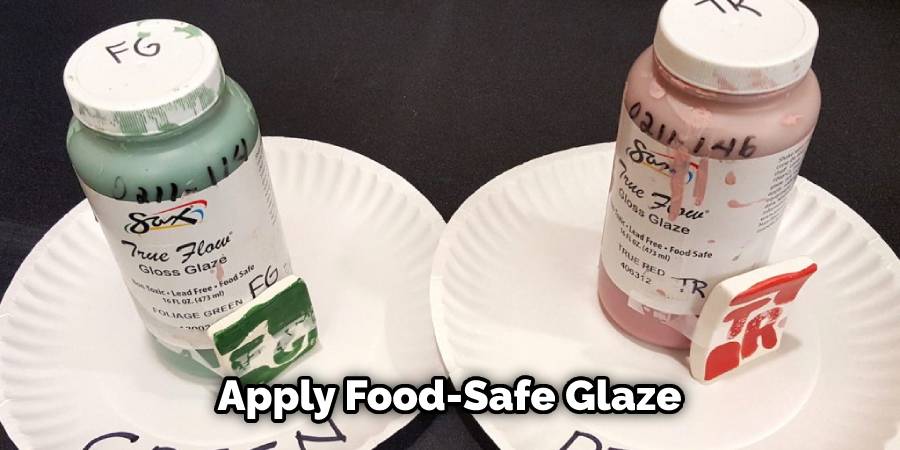
Additionally, make sure to only apply food-safe glazes, so your creations can be safely used in food preparation. Finally, remember to keep all of your glazing and firing processes consistent, as changes in temperature can cause your piece to become cracked.
7. Fire Your Piece Again
Once you have glazed your piece, it is time to fire it again. This step helps to ensure that the underglaze and glaze will stick to the clay and create a durable finish. You may need to consult with the manufacturer’s instructions regarding the best firing temperature and methods for your materials.
It is important to note that when firing your piece, you should always allow it to cool slowly in order for the glaze and underglaze to set properly. This step can take some time, so be patient as it is critical to the success of your project.
8. Inspect your Work
Once you have fired your piece for the second time, inspect your work closely. Make sure that everything looks the way you want it to before proceeding with the next step. This is the time to make any adjustments or changes. If there are certain colors that need more glaze, add them now. Check for any cracks/damage, and take care of those if necessary. Finally, be sure to seal your piece with a clear glaze for added protection. The last thing you want is for your work to be ruined by water or other elements.
9. Let it Cool Off
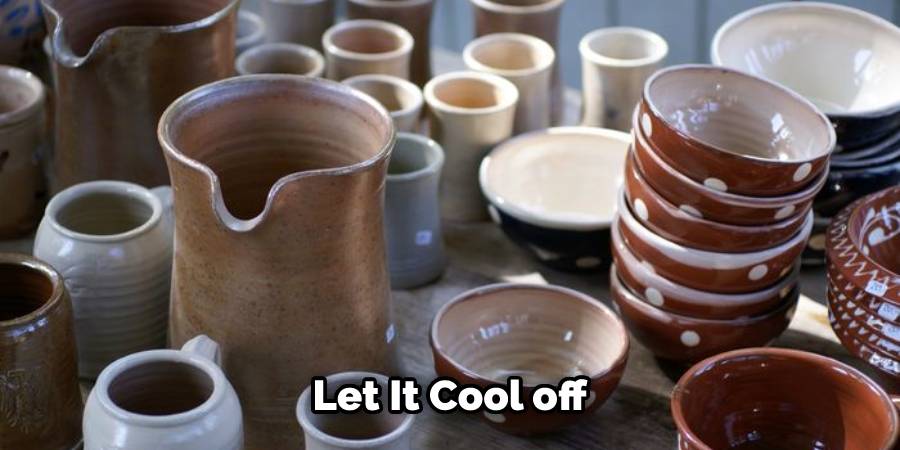
When your piece has finished firing, let it cool off for at least 24 hours before handling it. This will ensure that any residual heat does not cause damage to your piece. Taking the proper time to let your piece cool off will help preserve its quality and ensure that you can use it for a long time. Additionally, if your piece has been fired with a lead-based glaze, it is important to wait at least 72 hours before handling the piece for health and safety reasons.
10. Enjoy your Work!
Once your piece has cooled off, and you are confident that it is perfect, it is time to enjoy your work! Now that you know how to be fearless with underglaze, you can create beautiful pieces of ceramic art. Enjoy the process, and don’t forget to share your creations with others.
How Many Coats of Underglaze Do You Need?
When working with underglaze, it is essential to apply the correct number of coats in order to create a beautiful, lasting piece. Generally, two coats of underglaze are necessary for a project, although this number may vary depending on the desired look. If you want a more intense color, a third coat is recommended. After applying the recommended amount of coats, allow each layer to dry before adding the next one.
When it comes to how many coats of glaze you need to apply over your underglaze design, this also depends on what you’re going for in terms of color and intensity. One coat should be enough if you want subtle details or light colors; however, three or four coats may be necessary if you’re after vibrant colors and an all-over finish. As with most ceramic projects, practice makes perfect – so take some time to experiment with different glazing techniques and layer amounts until you get the results you’re looking for.
Conclusion:
Now that you know the basics of underglaze, go forth and be creative! With a little practice, you’ll be surprised at how easy it is to use underglaze to transform your ceramic projects. And don’t forget – if you make a mistake, simply wipe off the underglaze and start again.
The beauty of ceramics is that there are no mistakes, only opportunities for creativity. Thanks for reading our blog post on how to be fearless with Underglaze! We hope you found it helpful and informative. So get out there and start playing with Underglaze!
