Pottery can be an incredibly enjoyable and fulfilling hobby – nothing beats the feeling of having crafted something unique yourself. And while there are many different styles and techniques, one that is particularly stunning is crystal glaze pottery.
Whether you’re a beginner just starting out or a master ceramist looking to expand your repertoire, this article will provide all of the information needed to learn how to do crystal glazed pottery. Read on to discover why this type of pottery has become so popular, as well as all the detailed steps required for crafting beautiful works of art from clay!
Table of Contents
What Makes Crystals in Glaze?
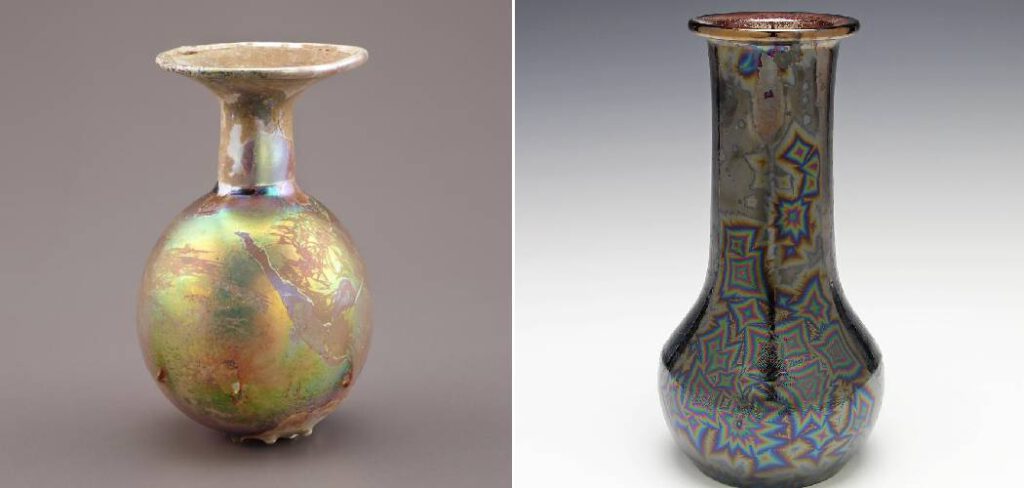
The crystals that form in the glaze of pottery are caused by the presence of certain minerals. These minerals, such as borax and quartz, are dissolved in water before being mixed with other ingredients to create a clay-like mixture known as “slip.” This slip is then applied to the clay surface and fired at high temperatures, causing the liquid components of the glaze to vaporize, leaving behind a glassy coating.
During this process, small amounts of certain compounds—such as lead oxide or zinc oxide—begin to crystallize within the glaze. As these crystals cool and solidify, they create unique patterns and textures on the surface of your finished product.
The size and shape of each crystal depend on the chemical composition of the glaze, as well as the amount and type of minerals present. By carefully controlling these factors, the potter can create beautiful and intricate designs in their glazed pieces.
Crystal glazed pottery is a unique form of art that offers an exciting range of possibilities for experienced artists and hobbyists alike. With its stunning results, it’s no wonder this technique has been treasured by potters for centuries!
10 Methods How to Do Crystal Glazed Pottery
1. Gather Your Materials

You will need a pre-fired pottery piece, glaze, glaze brush, colorants or mica chips, and tongs or heat-resistant gloves. Be sure to wear protective clothing and safety glasses when handling the glaze and to fire the glaze.
If you are firing outdoors, you will also need a proper kiln for the glazing process. Once you have all the necessary supplies, you can begin. However, if you don’t have a kiln, some glazes can be fired in the oven. Try to use glazes that are specifically designed for oven firing if this is the case.
2. Prepare Your Pottery for Glazing
If you are working with a pre-fired piece of clay, make sure to wash it with warm water and a mild soap or detergent and let it dry completely before continuing. You may want to sand down any rough spots or edges. If you are working with an unfired piece of clay, use a sponge and warm water to make sure the surface is clean. Once your pottery is clean and dry, you can begin to glaze.
3. Choose your Glaze
There are many varieties of crystal glazes available on the market made from various combinations of chemicals like borax and lead oxide. Make sure to read the instructions on the label carefully before deciding which one is right for you. It’s important to note that the type of glaze you choose will affect the final look and texture of your pottery. To get beautiful and even finish, it’s important to apply the glaze evenly.
4. Apply the First Layer of Glaze
Start by using a brush or sponge to apply an even coat of crystal glaze over your pottery piece, making sure not to miss any areas that might be difficult to reach later on. Let this first layer dry completely before applying more coats if necessary.
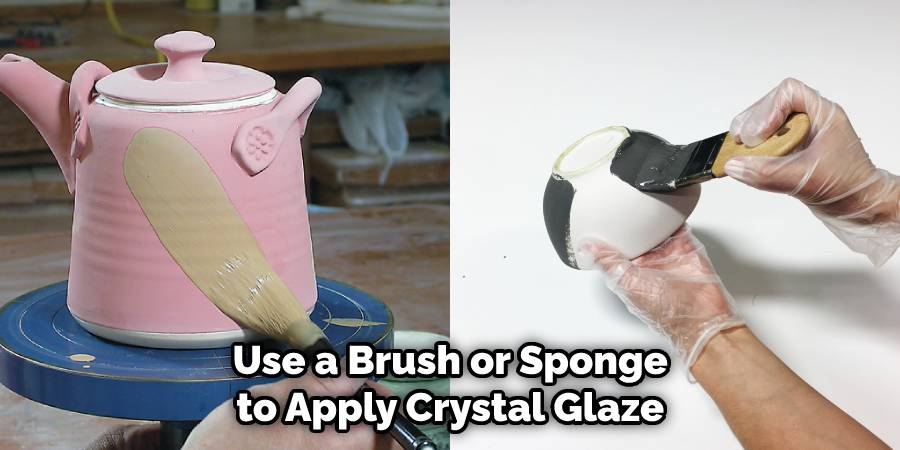
If you need to, you can use a hairdryer to speed up the drying process. After this first layer is dry, it’s time to add more intricate details. Once you’re finished, let it dry completely before moving on to the next step.
5. Add Colorant or Mica Chips
To achieve different colors in your crystal-glazed pottery, you can use colorants like oxides or mica chips that will give off different shades when heated in the kiln during the firing process. Sprinkle these chips over the top of your piece, then use a soft brush to work them into place, so they stick better after firing occurs.
Once the desired level of color is achieved, place your piece in the kiln and fire away. The special chips will react to the heat and create the coloring and design that you desire. You can purchase these colorants from any pottery supply store, so be sure to have them on hand before you get started.
6. Apply Additional Layers of Glaze
After adding any desired colorants and mica chips, you can apply additional layers of clear crystal glaze over the top if desired but make sure each layer has plenty of time to dry between applications so as not to create mud-cracking defects in your finished pieces later on during firing process.
For best results, glaze your pieces at a 45-degree angle to reduce the possibility of air bubbles which can cause pinholes. Allow each layer to dry completely before adding the next. You can also use a heat gun or blow drier to speed up the drying process in between layers if desired. Once all your layers are complete, let your pieces dry completely again before putting them in the kiln for firing.
7. Dry Fire
Before actually putting your pieces in the kiln, it is important that you ‘dry fire’ them first at a lower temperature (around 600°C) for approximately 10 minutes in order to burn off any extra moisture that might have been absorbed during previous processes such as wax resist application, painting, etc.
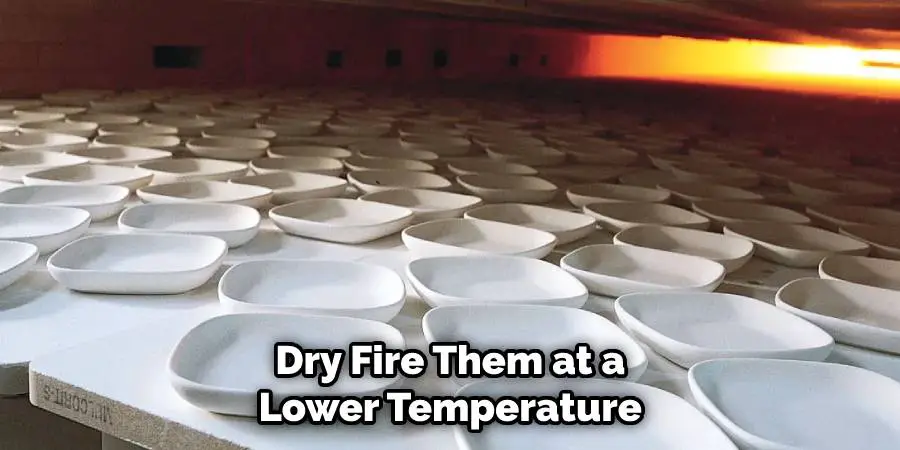
This prevents ‘exploding’ pieces due to trapped moisture that expands when fired too quickly at higher temperatures inside the kiln chamber itself! Additionally, this dry firing process also gives a ‘preview’ of what the pieces will look like once fully fired and glazed at higher temperatures. If you are unhappy with the results, now is the time to make adjustments before proceeding.
8. Preparing Kiln Settings
Once everything is ready, set up your kiln according to manufacturer specifications (usually between 1150°C – 1300°C), depending on what type of clay body was used as well as what type of crystal glazes were applied previously. It is important here that all settings are correct before actually starting the cycle because different types/brands of clay bodies require different firing schedules!
9. Firing Crystals
Place all pieces inside the kiln, then turn it on. Depending on the material used, this process could take anywhere from 1-3 hours, depending on how thick the pieces are. During this time, crystals will start forming around edges due to their high melting point in comparison with other components present during the process! Allow pieces to cool down before taking them out.
10. Cooling & Cleaning
After the cycle ends, allow all pieces to cool down slowly; this takes roughly the same amount of time as the actual firing process! Once cooled off, gently scrub away any residue left behind using a clean cloth, then buff them up using a soft cloth (like microfiber); this helps bring out the natural luster/shine associated with crystal glazing!
What Are the 3 Basic Ingredients in Glaze?
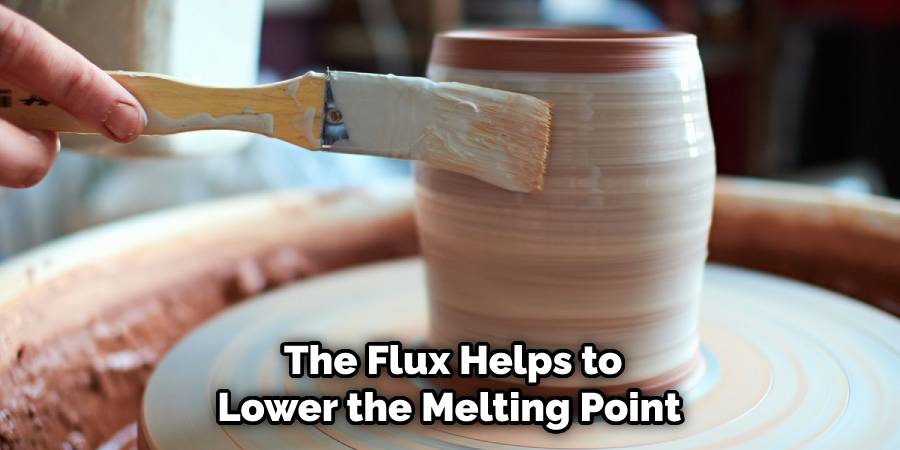
Glaze is a mixture of 3 basic ingredients: silica, alumina, and flux. Silica and alumina are both oxides that act as part of the backbone structure of the glaze and give it its hardness. The flux helps to lower the melting point so that the glaze will fuse better with the body of the pottery when it is fired.
These three ingredients can be combined in a variety of ratios to create different types and colors of glazes. Different amounts of oxides, minerals, and metals can also be added to create unique effects on pottery pieces.
For instance, adding cobalt oxide will result in a beautiful blue hue, while adding copper oxide will create greens or reds, depending on the amount used. Experimenting with various oxides and minerals is one way to add interesting effects to your crystal-glazed pottery pieces.
It’s important to remember that these mixtures should always be tested before applying them to your finished piece – this helps make sure they won’t react negatively with each other in the kiln!
Conclusion:
While the specific processes for doing crystal-glazed pottery may take some time to master, the general concepts are relatively simple. With a little practice, you’ll be able to create beautiful pieces of art that are perfect for display or use.
So get out there and give it a try – you might just surprise yourself with what you’re able to create! If you have any other questions about crystal-glazed pottery, or if you want to learn more about How to do crystal glazed pottery, be sure to check out our other blog posts. Thanks for reading!


