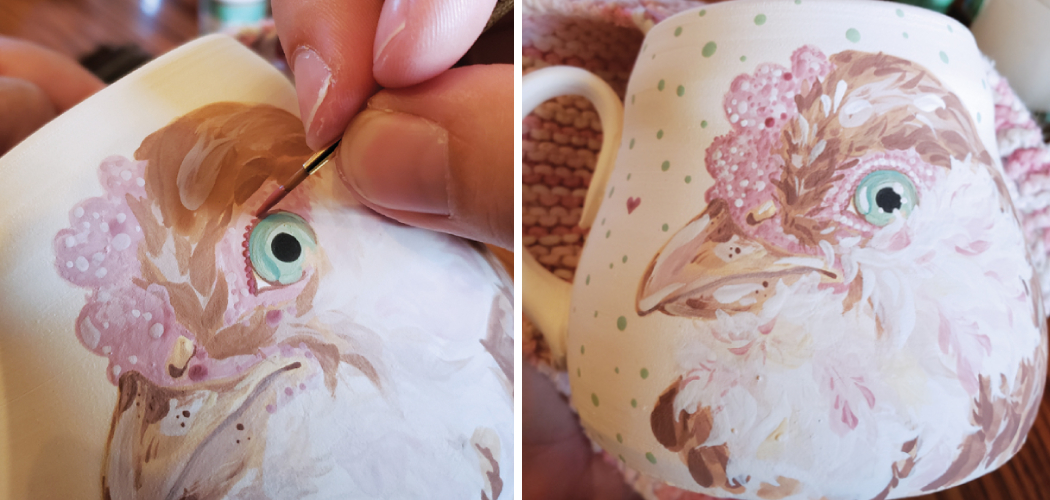
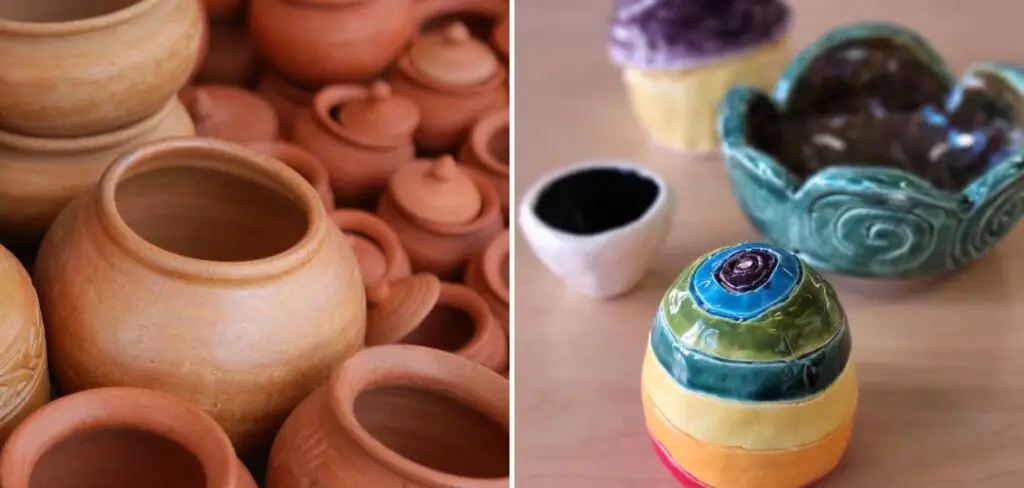
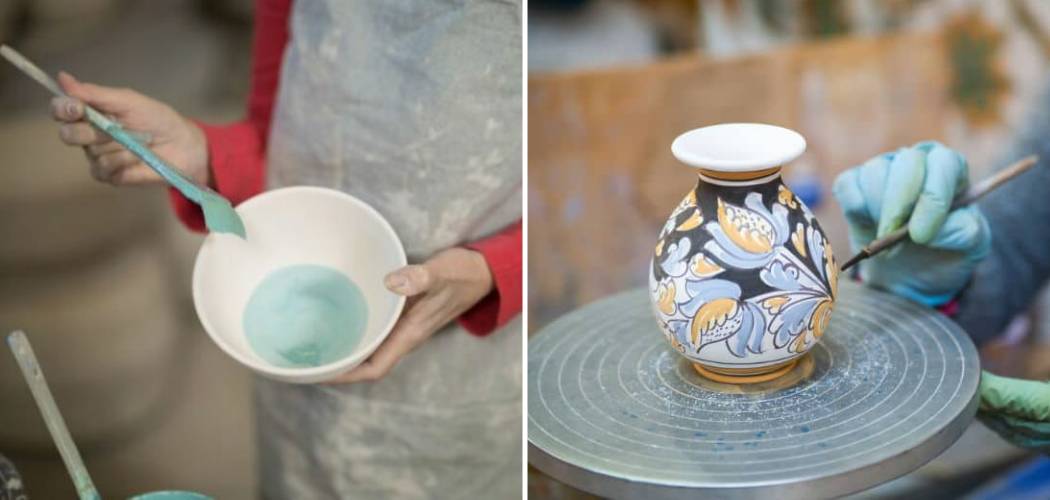
Yes, you can paint underglaze on greenware. It is a common practice in ceramics.
Painting underglaze on greenware offers several advantages. Greenware refers to unfired clay that is still in its most fragile state. Applying underglaze at this stage allows for more intricate designs and detailed artwork. The underglaze can be absorbed deeply into the porous clay, providing vibrant and long-lasting colors.
This technique is especially popular among ceramic artists aiming for precise and delicate patterns. After the underglaze is applied, the piece undergoes the bisque firing process. This initial firing hardens the clay, making it easier to handle for subsequent glazing and final firing. This method ensures the artwork remains intact and retains its vividness.

Credit: www.yellowcottagestudios.com
Table of Contents
Introduction To Underglaze Painting
Underglaze painting is a popular technique in pottery. Artists paint designs on clay pieces before they are fired. This method allows for intricate and vibrant designs. It is often used on greenware, which is unfired clay. Let’s explore what underglaze is and its benefits.
What Is Underglaze?
Underglaze is a type of ceramic color. It is applied to greenware or bisque-fired pieces. Unlike regular glaze, it does not have a glossy finish. Instead, it provides a matte surface. This helps in creating detailed and precise designs.
Underglaze colors come in many shades. Artists can mix them to create new hues. They are available in liquid, pencil, or chalk form. This makes them versatile for different techniques.
Benefits Of Using Underglaze
- Vibrant Colors: Underglaze colors remain vibrant after firing.
- Detail Work: Allows for fine and intricate designs.
- Mixable: Artists can mix colors for custom shades.
- Matte Finish: Provides a smooth, non-glossy surface.
- Versatility: Available in liquid, pencil, and chalk forms.
The table below summarizes the main benefits:
| Benefit | Description |
|---|---|
| Vibrant Colors | Colors remain bright after firing. |
| Detail Work | Enables intricate and precise designs. |
| Mixable | Artists can create custom colors. |
| Matte Finish | Gives a smooth, non-glossy look. |
| Versatility | Available in various forms for different techniques. |
Underglaze painting on greenware opens many creative possibilities. It is a technique worth exploring for both beginners and experienced potters.
Greenware Basics
Greenware is a crucial stage in pottery. Understanding it helps in painting underglaze effectively. This section covers the basics of greenware.
What Is Greenware?
Greenware refers to unfired clay objects. They are fragile and easy to shape. Artists work on greenware before it turns into bisque.
Stages Of Greenware
Greenware goes through several stages. Let’s explore each one.
| Stage | Description |
|---|---|
| Plastic | The clay is soft and malleable. You can shape it easily. |
| Leather-hard | The clay is firm but still workable. Ideal for carving and joining pieces. |
| Bone-dry | The clay is completely dry. It is very fragile at this stage. |
Each stage has its own characteristics. Knowing them helps in applying underglaze correctly.
Here is a quick breakdown of the stages:
- Plastic: Soft and easy to shape.
- Leather-hard: Firm, good for carving.
- Bone-dry: Very dry and fragile.
By understanding these stages, you can determine the best time to paint underglaze. This knowledge ensures your pottery will be stunning and durable.
Why Paint On Greenware?
Painting on greenware is popular among potters and ceramic artists. Greenware refers to unfired clay that is dried and ready for bisque firing. Painting on greenware offers many benefits. It allows for better color absorption and detailed designs.
Advantages Of Greenware Painting
- Better Absorption: Greenware absorbs underglaze colors better.
- Detailed Work: It allows for intricate designs and patterns.
- Flexibility: You can fix mistakes more easily before firing.
- Cost-Effective: It requires fewer materials and tools.
Common Uses
Painting on greenware is useful for many applications. Artists often use it for:
- Custom Pottery: Create unique, personalized pottery pieces.
- Art Projects: Ideal for detailed and complex art projects.
- Educational Purposes: Great for teaching pottery techniques.
- Product Prototyping: Useful for testing designs before mass production.
The technique is versatile and offers many creative opportunities. Whether for hobby or professional work, greenware painting is a valuable skill.
Preparing Greenware For Underglaze
Before painting underglaze on greenware, proper preparation is crucial. This ensures a smooth finish and vibrant colors. Follow these steps to get your greenware ready for underglazing.
Cleaning Greenware
Start by cleaning the greenware. Dust and debris can ruin your design. Use a soft brush to remove any loose particles.
- Gently brush the surface to remove dust.
- Check for any cracks or imperfections.
Next, use a damp sponge to wipe the greenware. This removes any remaining dust.
- Lightly moisten the sponge.
- Wipe the surface evenly.
Let the greenware air dry for a few minutes.
Drying Techniques
Drying greenware properly is essential. Moisture can affect the underglaze application. Use these drying techniques for the best results.
- Place the greenware in a dry, ventilated area.
- Allow it to air dry completely.
- Avoid direct sunlight to prevent cracks.
Check the greenware’s surface. It should feel dry and cool to the touch.
Ensure no moisture remains before applying underglaze. This step is crucial for a successful painting process.
Choosing The Right Tools
Painting underglaze on greenware can be an exciting process. But choosing the right tools is essential. The tools you select can impact the final look of your piece. Let’s explore the tools you need for this process.
Brush Types
Using the right brush is crucial. Different brushes create different effects.
- Round Brushes: These are perfect for detailed work.
- Flat Brushes: Ideal for covering larger areas quickly.
- Fan Brushes: Great for blending and soft edges.
- Liner Brushes: Best for fine lines and intricate designs.
Additional Tools
Besides brushes, other tools can enhance your work.
| Tool | Purpose |
|---|---|
| Sponges | For smooth, even application. |
| Needle Tool | Creating fine details or corrections. |
| Scratching Tool | Adding texture or removing mistakes. |
| Palette Knives | Mixing colors or applying thick layers. |
Choosing the right tools can make your painting process smoother. Experiment with different tools to see what works best for you.
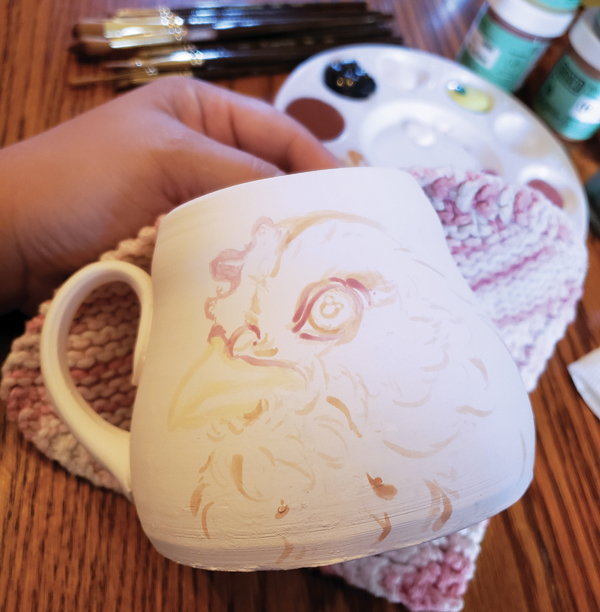
Credit: ceramicartsnetwork.org
Step-by-step Painting Techniques
Painting underglaze on greenware can be fun and rewarding. Follow these simple steps to create beautiful ceramic pieces. Below, we explore basic brush strokes and layering colors.
Basic Brush Strokes
Start with clean, dry greenware. Use a soft brush for smooth lines.
| Brush Stroke | Description |
|---|---|
| Line Stroke | Draw thin, straight lines with a small brush. |
| Fill Stroke | Cover larger areas with a wider brush. |
| Detail Stroke | Use a fine brush for tiny details. |
Practice these strokes on paper before painting your greenware. This helps in controlling the brush better.
Layering Colors
Layering colors adds depth to your artwork. Start with a light base coat.
- Apply the first color evenly. Let it dry completely.
- Paint the second color over the first one. Use a contrasting shade.
- Blend the edges where colors meet. This creates a smooth transition.
Remember to let each layer dry before adding the next. This prevents colors from mixing unintentionally.
Experiment with different color combinations. This will make your greenware unique and beautiful.
Common Mistakes To Avoid
Painting underglaze on greenware can be tricky. Knowing the common mistakes helps in achieving a beautiful finish. Below are some pitfalls to avoid while working with greenware.
Cracking Issues
Cracking is a frequent problem in greenware. It happens due to uneven drying or applying too many layers of underglaze.
- Ensure even drying: Let the greenware dry evenly before painting.
- Avoid thick layers: Apply thin layers of underglaze to prevent cracking.
- Use a damp sponge: Smooth the surface with a damp sponge before painting.
By following these tips, you can minimize the risk of cracking.
Color Fading
Color fading can occur if the underglaze is not applied correctly. Proper application ensures vibrant and lasting colors.
- Stir the underglaze: Always stir the underglaze well before use.
- Apply multiple thin coats: Use multiple thin coats instead of one thick coat.
- Seal the color: Apply a clear glaze to seal and protect the color.
Following these steps helps in maintaining bright and vibrant colors on your greenware.
Expert Tips For Best Results
Painting underglaze on greenware requires skill and patience. To achieve the best results, follow these expert tips. This section provides valuable insights to enhance your pottery experience.
Maintaining Consistency
Consistency is key for an even underglaze application. Ensure your underglaze is properly mixed.
Follow these steps to maintain consistency:
- Stir your underglaze thoroughly before use.
- Use a clean brush for each color.
- Apply thin, even layers.
Consistency in each layer ensures smooth and vibrant results. Avoid thick layers; they may crack during firing.
Sealing The Underglaze
Sealing the underglaze is crucial for durability. This step protects your artwork.
Follow these steps to seal your underglaze:
- Allow the underglaze to dry completely.
- Apply a clear glaze over the dried underglaze.
- Ensure even coverage of the clear glaze.
Sealing prevents the underglaze from smudging or fading. It also adds a professional finish to your pottery.
| Step | Description |
|---|---|
| Mixing | Stir your underglaze for smooth application. |
| Applying | Use thin, even layers for best results. |
| Sealing | Apply a clear glaze to protect the underglaze. |
Following these tips ensures beautiful and durable pottery. Enjoy the process and create stunning pieces!
Final Touches And Finishing
Adding final touches and finishing your greenware piece can be exciting. These steps bring your creation to life. Let’s explore how to make it perfect.
Glazing Over Underglaze
After applying underglaze, you may want to add a clear glaze. This step adds shine and protection to your pottery.
Ensure the underglaze is completely dry. Apply the clear glaze evenly over your piece. You can use a brush or dip your pottery into the glaze.
Remember to avoid thick layers. Thick layers can cause running or dripping during firing. An even, thin layer works best.
Firing The Piece
Once glazed, it’s time to fire your piece. Firing transforms your greenware into a solid, durable object.
Place your piece in the kiln carefully. Ensure there’s enough space around each item. This prevents pieces from sticking together.
Follow the recommended firing temperature for your clay and glaze. Use a kiln thermometer to monitor the temperature accurately.
After firing, let the kiln cool completely before opening it. This prevents thermal shock and damage to your pottery.
| Step | Action |
|---|---|
| 1 | Ensure underglaze is dry |
| 2 | Apply clear glaze evenly |
| 3 | Place piece in kiln |
| 4 | Fire at recommended temperature |
| 5 | Let kiln cool completely |
- Dry underglaze before glazing
- Apply clear glaze in thin, even layers
- Ensure enough space in the kiln
- Monitor firing temperature with a kiln thermometer
- Let kiln cool fully before opening
- Dry underglaze completely
- Apply clear glaze thinly
- Place piece carefully in kiln
- Fire at correct temperature
- Allow kiln to cool fully
Conclusion And Next Steps
Painting underglaze on greenware opens many creative doors. It allows artists to add intricate designs and vibrant colors before the final firing. Let’s wrap up with a summary of techniques and explore advanced methods.
Summary Of Techniques
Here are the essential steps to painting underglaze on greenware:
- Preparation: Clean your greenware to remove dust.
- Selection: Choose high-quality underglazes.
- Application: Use soft brushes for smooth application.
- Layering: Apply multiple thin layers for rich color.
- Drying: Let each layer dry before adding the next.
- Detailing: Use fine brushes for intricate designs.
These steps ensure your greenware gets the best underglaze finish.
Exploring Advanced Methods
For those ready to take their craft further, consider these advanced methods:
| Method | Description |
|---|---|
| Underglaze Transfers | Use pre-made designs to transfer intricate patterns onto greenware. |
| Layering Techniques | Experiment with multiple layers of underglaze for depth and texture. |
| Sgraffito | Apply underglaze, then scratch away parts to reveal the clay beneath. |
These methods can add complexity and uniqueness to your pieces.
Remember to always test new techniques on a small piece first. This ensures the desired effect.

Credit: ceramicartsnetwork.org
Conclusion
Painting underglaze on greenware is both possible and rewarding. It offers flexibility and vibrant results. Just remember to handle the greenware carefully. Experiment with different techniques to find your unique style. With practice, you can achieve stunning pieces. So, get creative and start painting your greenware with confidence.

