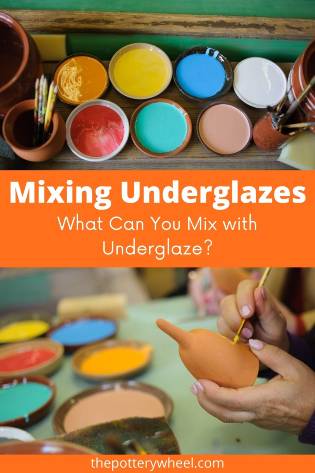
Yes, you can mix underglazes like paint to achieve various colors. Ensure they are compatible for best results.
Mixing underglazes opens up a world of creative possibilities for ceramic artists. By blending different underglaze colors, you can create custom shades and unique effects on your pottery. This technique is similar to mixing paint, allowing artists to experiment and fine-tune their color palettes.
It’s important to test the mixed underglazes on a small piece before applying them to your final work. This ensures that the colors will fire well together and produce the desired outcome. With practice and experimentation, mixing underglazes can become an invaluable skill in your ceramic artistry toolkit.
Credit: thepotterywheel.com
Table of Contents
Mixing Underglazes Basics
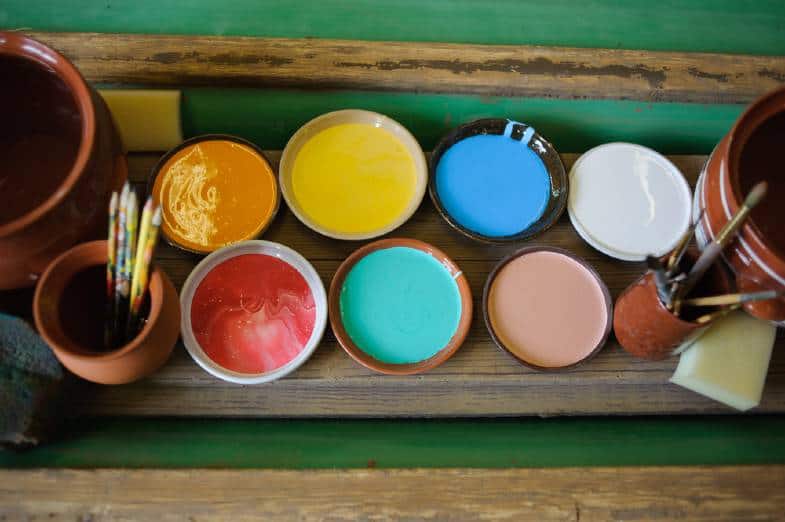
Many artists wonder about mixing underglazes like paint. Understanding the basics can open up creative possibilities. This section will guide you through the essentials.
What Are Underglazes?
Underglazes are special colors for ceramics. They are applied before the final glaze. These colors can create beautiful, detailed designs. Unlike glazes, underglazes do not have a glossy finish. They are more like paints in their application.
Types Of Underglazes
There are different types of underglazes to consider:
- Liquid Underglazes: These are ready to use right out of the bottle. They are great for painting and detailed work.
- Underglaze Pencils: These are perfect for sketching and fine lines. They are easy to control and offer precision.
- Underglaze Chalks: These are similar to pastels. They are used for shading and blending.
- Powdered Underglazes: These need to be mixed with water. They offer versatility in thickness and texture.
You can mix different types for unique effects. For example, combine liquid underglazes with chalks for texture.
| Type | Best Use | Application |
|---|---|---|
| Liquid Underglazes | Painting, Detail Work | Brush |
| Underglaze Pencils | Sketching, Fine Lines | Pencil |
| Underglaze Chalks | Shading, Blending | Chalk |
| Powdered Underglazes | Versatility, Customization | Mix with Water |
Mixing underglazes can be a fun process. Experiment with different combinations. See what works best for your project. Always test your mixes on a small piece first. This ensures you get the desired result.
Tools And Materials
Mixing underglazes like paint can be fun and creative. To do this well, you need the right tools and materials. Let’s explore what you need.
Essential Tools
To mix underglazes, gather these essential tools:
- Paintbrushes: Use different sizes for various effects.
- Palette: A mixing palette helps blend colors.
- Sponges: Use sponges for texture and blending.
- Mixing sticks: These help mix the underglaze smoothly.
- Containers: Small jars or cups hold your mixed underglazes.
Choosing The Right Materials
Choosing the right materials ensures your underglaze mixes well:
| Material | Description |
|---|---|
| Underglaze powders | Mix with water to create paint-like consistency. |
| Liquid underglazes | Ready to use, perfect for quick mixing. |
| Water | Thins the underglaze for better application. |
| Mediums | Special mediums can alter the texture and flow. |
Make sure to choose quality materials. This will give you the best results.
Techniques For Mixing
Mixing underglazes can be an exciting way to create unique pottery. With the right techniques, you can achieve beautiful and intricate designs. Here, we will explore two key methods: blending colors and layering techniques.
Blending Colors
Blending colors can create stunning gradients and new hues. To blend underglazes, follow these steps:
- Prepare your workspace: Ensure your tools are clean.
- Select your colors: Choose two or more colors to blend.
- Use a palette: Mix small amounts on a palette.
- Test your blend: Apply a test swatch on a tile.
Here is a table to help you understand color blending:
| Primary Color | Secondary Color | Resulting Color |
|---|---|---|
| Blue | Yellow | Green |
| Red | Blue | Purple |
| Yellow | Red | Orange |
Layering Techniques
Layering underglazes can add depth and texture to your pottery. Follow these steps to layer effectively:
- Apply the base layer: Start with a solid color.
- Let it dry: Ensure the base layer is completely dry.
- Add additional layers: Use different colors for each layer.
- Blend edges: Smooth the transitions between layers.
Important points to remember:
- Use thin layers for better control.
- Experiment with different color combinations.
- Practice blending edges for a seamless look.
Application Methods
Exploring the various application methods for underglazes can open up new artistic possibilities. Whether you prefer brushing, sponging, or spraying, each technique offers unique results. Let’s dive into these methods and see how you can mix underglazes like paint.
Brushing Techniques
Brushing is one of the most common ways to apply underglaze. Use a soft-bristle brush for smooth and even application. Here are some tips for brushing:
- Thin the underglaze with a bit of water.
- Layer colors for depth and richness.
- Blend different colors directly on the pottery surface.
Brushing allows for precise control and intricate designs. It’s perfect for detailed work.
Sponging And Spraying
Sponging and spraying offer unique textures and effects. These methods are great for larger areas or background colors.
| Method | Benefits |
|---|---|
| Sponging | Creates textured, mottled effects. Easy to blend colors. |
| Spraying | Achieves smooth, even coverage. Ideal for gradients. |
Sponging involves dabbing the underglaze with a sponge. This method is quick and forgiving. Spraying, on the other hand, requires an airbrush or spray bottle. It’s excellent for covering large surfaces evenly.
Both techniques allow for a lot of creativity. Try mixing different colors of underglazes to see what effects you can achieve!
Creative Effects
Mixing underglazes offers endless creative effects in pottery. Artists can achieve unique looks by blending colors. This technique is similar to mixing paints. Let’s explore some exciting possibilities.
Achieving Textures
By mixing underglazes, you can achieve various textures. You might want a smooth, even finish. Mix your underglazes thoroughly for this look. For a more textured effect, mix the underglazes less.
Consider using a brush with stiff bristles. Apply the mixed underglaze with quick, short strokes. This technique adds a rough texture to your pottery.
Another option is to use a sponge. Dabbing the mixed underglaze creates a soft, spongy texture. Each tool creates a different texture. Experiment with various tools for unique results.
Creating Gradients
Gradients add depth and interest to your pottery. To create a gradient, choose two or more underglazes. Start with a darker shade at one end. Gradually mix in a lighter shade as you move along.
Use a wide brush for smooth blending. Apply the darker color first. Then, blend the lighter color into it. Work quickly to keep the underglazes wet for easy blending.
Another method is layering. Apply one color, let it dry, and then apply the next. This method creates a layered gradient effect.
Try different color combinations. Mix underglazes to get the exact shades you want. Be creative and have fun with the process.
Here’s a table summarizing techniques:
| Technique | Tool | Effect |
|---|---|---|
| Quick, short strokes | Stiff brush | Rough texture |
| Dabbing | Sponge | Soft, spongy texture |
| Smooth blending | Wide brush | Smooth gradient |
| Layering | Brush | Layered gradient |
Credit: thepotterywheel.com
Common Mistakes
Mixing underglazes like paint can be fun but challenging. There are common mistakes artists make that can hinder their success. Let’s dive into these mistakes to help you avoid them.
Avoiding Muddy Colors
Mixing underglazes requires a good understanding of color theory. Many artists end up with muddy colors due to improper mixing. Avoid mixing too many colors at once. Stick to two or three colors to maintain clarity.
Always test your color mix on a small piece first. This helps you see the final result before applying it to your main piece.
Using a color wheel can be very helpful. It guides you in creating vibrant and harmonious color combinations.
Preventing Cracks And Peels
Cracking and peeling are common issues when working with underglazes. To prevent this, ensure the clay body and underglaze are compatible.
Apply the underglaze in thin, even layers. Thick layers can lead to peeling. Allow each layer to dry fully before applying the next.
Always use high-quality underglazes. Low-quality products are more prone to cracking and peeling.
| Problem | Solution |
|---|---|
| Muddy Colors | Use fewer colors, test mixes, use a color wheel |
| Cracks and Peels | Thin layers, allow drying, use quality products |
Advanced Techniques
Underglazes offer a vast array of possibilities for ceramic artists. Advanced techniques can elevate your artwork to new heights. Experimenting with underglazes is like mixing paint. You can achieve stunning effects with the right methods.
Sgraffito
Sgraffito is an ancient technique. It involves scratching through a surface to reveal a lower layer of contrasting color. This method is perfect for detailed designs and intricate patterns. Here’s how to do it:
- Apply a layer of underglaze to your clay piece.
- Let it dry until it is leather-hard.
- Use a sharp tool to scratch your design into the surface.
Make sure the underglaze is dry enough. This ensures clean lines. Experiment with different tools. Each tool can create unique textures and effects.
Using Stencils
Stencils allow for precise and repeatable designs. They are great for patterns and logos. Here’s a step-by-step guide to using stencils with underglazes:
- Choose or create a stencil for your design.
- Secure the stencil on your clay piece using tape or adhesive.
- Apply the underglaze over the stencil using a sponge or brush.
- Carefully remove the stencil to reveal your design.
You can use multiple stencils for layered effects. Combining different colors and shapes can create a complex, beautiful piece.
| Technique | Tools Needed | Benefits |
|---|---|---|
| Sgraffito | Sharp tool, leather-hard clay | Intricate designs, detailed patterns |
| Using Stencils | Stencils, sponge or brush, tape | Precise designs, repeatable patterns |
These advanced techniques can transform your ceramic pieces. Experiment and find what works best for you. Underglazes offer endless possibilities. Let your creativity flow.
Finishing Touches
The finishing touches on your underglaze project can make a big difference. This stage involves sealing and firing, ensuring your artwork stands out.
Sealing Underglazes
Sealing your underglaze is essential for durability. Use a clear glaze to protect your design.
- Apply a thin coat of clear glaze evenly.
- Ensure all areas are covered to prevent chipping.
- Let the glaze dry completely before firing.
Clear glaze adds a shiny finish to your piece. It enhances the colors and details of your underglaze.
Final Firing Tips
Firing your underglaze piece is the last step. Follow these tips for best results:
- Set the kiln to the correct temperature.
- Place your piece carefully to avoid damage.
- Monitor the firing process closely.
Proper firing ensures the underglaze fuses well with the ceramic. This process makes your artwork strong and vibrant.
| Step | Description |
|---|---|
| Sealing | Apply clear glaze evenly and let it dry. |
| Firing | Set kiln temperature, place piece, monitor process. |
Inspirational Ideas
Mixing underglazes can open up a world of artistic possibilities. This technique allows you to create unique and personalized designs. Here are some inspirational ideas to help you get started.
Artistic Projects
Consider working on various artistic projects to explore underglaze mixing. Here are a few ideas:
- Mosaic Tiles: Create stunning mosaic tiles with mixed underglazes. Use different colors to form vibrant patterns.
- Custom Plates: Design custom plates for special occasions. Mix underglazes to achieve the perfect shade.
- Decorative Bowls: Paint decorative bowls with blended underglazes. Experiment with gradients and textures.
| Project | Materials Needed | Estimated Time |
|---|---|---|
| Mosaic Tiles | Underglazes, Tiles, Brushes | 2 hours |
| Custom Plates | Underglazes, Plates, Brushes | 3 hours |
| Decorative Bowls | Underglazes, Bowls, Brushes | 4 hours |
Showcasing Your Work
Once you’ve created your masterpieces, it’s time to showcase them. Here are some ways to display your work:
- Online Portfolios: Create an online portfolio to display your mixed underglaze projects. Use high-quality photos to attract attention.
- Social Media: Share your creations on social media platforms. Use relevant hashtags to reach a wider audience.
- Local Exhibitions: Participate in local exhibitions to showcase your work. This can help you gain recognition within your community.
Mixing underglazes like paint can lead to truly unique art. Start experimenting today and let your creativity flow!
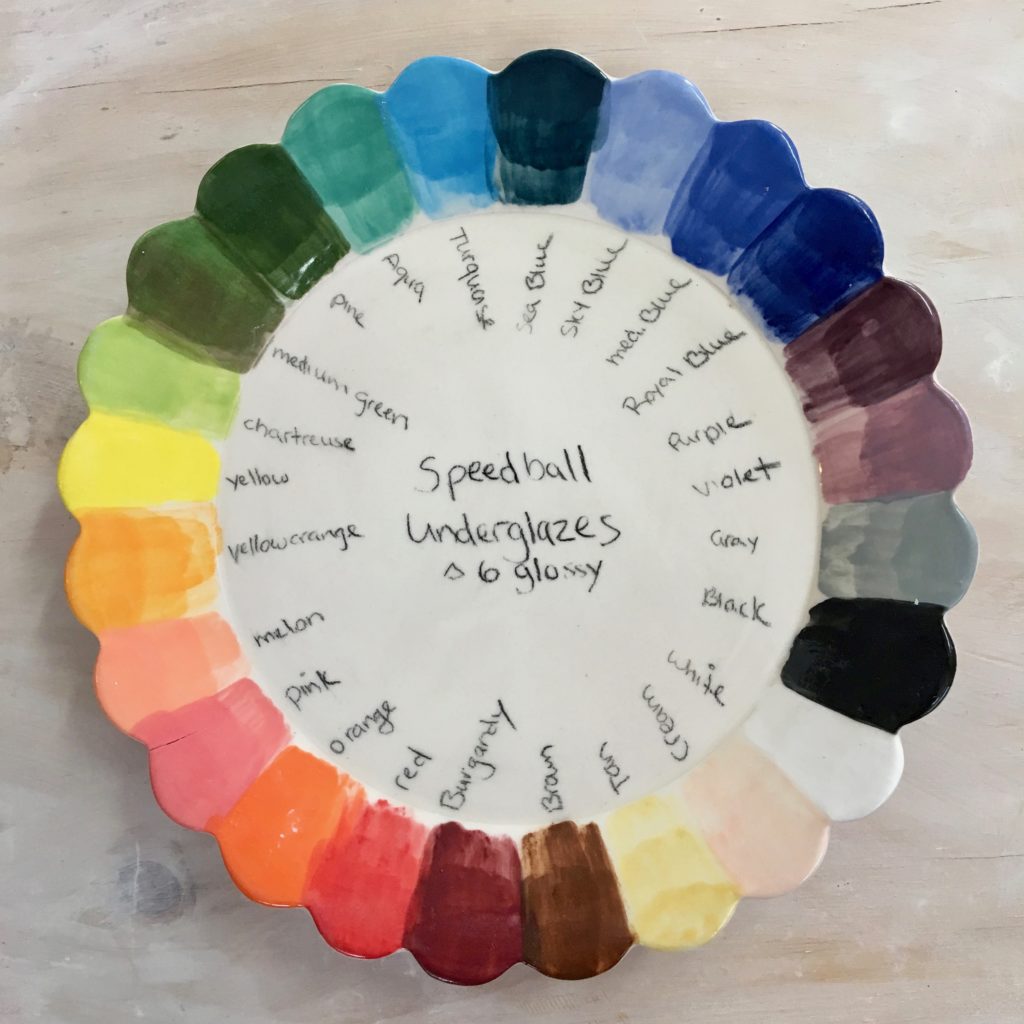
Credit: www.clayshareresources.com
Conclusion
Mixing underglazes like paint offers endless creative possibilities. Experimentation is key to discovering unique color blends. Always test on sample pieces before committing to your final project. With practice, you can achieve stunning results that elevate your ceramic art. Embrace your creativity and have fun with the process!


