Are you a pottery enthusiast looking for ways to take your projects to the next level? If so, then engobe is an essential technique to master. Engobe can be used with all types of pottery clay and provides a range of exciting possibilities for creativity and decoration.
Through engobe’s wonderful versatility, you can add vibrant colors, interesting textures, and detail work that could otherwise not easily be achieved in traditional firing processes.
In this blog post, we’ll explain what engobe is exactly, how it works, and how to use engobe in pottery clay to create beautiful pieces with your pottery clay. So let’s dive right in!
Table of Contents
Can You Glaze over Engobe?
Yes, you can glaze over engobe. Glazing over the engobe allows you to apply a decorative or functional layer of glass that protects your piece from wear and tear and can give it a unique look.
When glazing pieces with engobe, make sure you do not exceed the firing range of the underglaze; otherwise, it may react with the clay body and cause defects in the piece.
Additionally, be aware that some glazes may interact differently with certain types of engobes, so always test small samples before applying a larger coating of glaze. When done properly, applying a layer of glaze over an area treated with engobe will help enhance its beauty and protect it for years to come.
7 Methods How to Use Engobe in Pottery Clay
1. As a Glaze
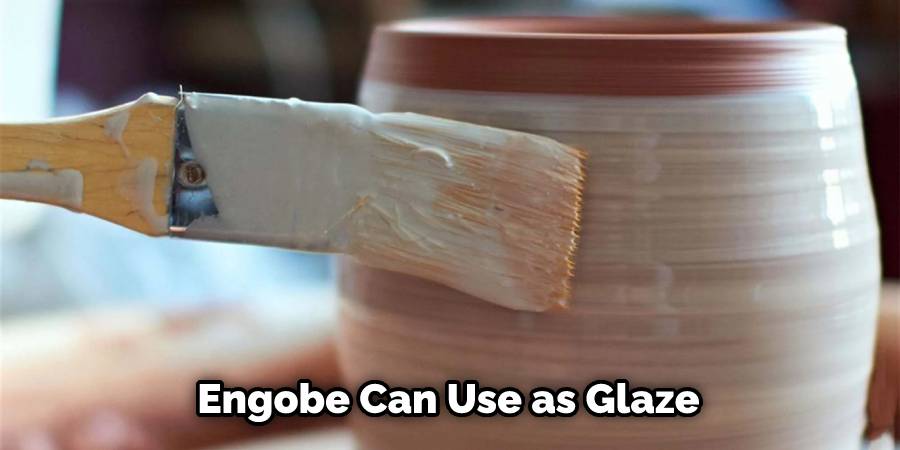
Engobe can be used as a glaze on pottery. This method is often used for decorative pieces and allows you to add intricate patterns, images, or other design elements. To use the engobe as a glaze, mix the desired colors together and spread the engobe over your piece. Let it dry for a few minutes before adding other glazes.
Once the engobe is dry, you can easily create designs or textures using additional layers of glaze. However, it is important to remember that engobe glazes are not as durable and colorfast as other ceramic glazes.
2. As a Decoration
Engobe can also be used as a decoration on pottery. It is usually applied in two coats. First, a coat of engobe is applied and allowed to dry. Then, after the first layer dries, a second layer can be added with detailed designs. Depending on the type of clay used and the design desired, the engobe may need to be fired before it will adhere permanently to the pottery.
Detailed designs can be added on the surface of the clay with engobe, such as an animal design or a geometric pattern. The pots can then be glazed and fired after the engobe has been applied.
3. As a Slip
Engobe can also be used as a slip-on pottery. Slips are used to give pottery a glossy, smooth surface and can be applied in different ways. One method is for the engobe to be brushed on with a soft brush or cloth and then wiped away from the high points of the clay, leaving only what remains in the low contours of the pottery.
The other method is to pour the engobe onto the clay and, with a palette knife or other tool, scrape off all except what is left in the crevices of the clay. Once the engobe is applied to the pottery, it should be fired immediately in a kiln at high temperatures.
4. To Repair Damaged Pottery
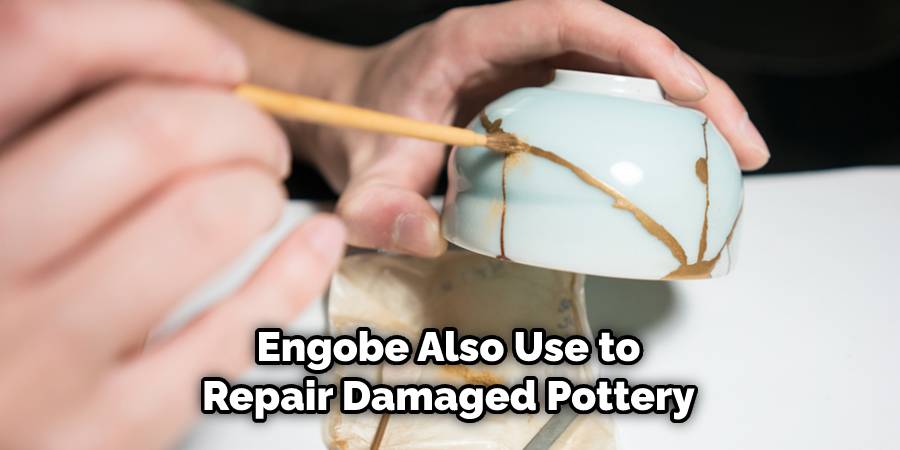
Engobe can also be used to repair damaged pottery. To repair the area, mix a thick paste of engobe and water. Apply the paste to the area you’re repairing with either your fingers or a small paintbrush. Allow it to dry completely before firing it in the kiln.
Make sure that you fire your pottery at the correct temperature for your glaze or engobe so that it adheres properly. If you’re using a self-glazing engobe, there is no need to fire the piece again after applying your patch. With other glazes or engobes, however, it may be necessary to fire an additional time to ensure that the patch stays put.
5. To Join Pieces of Pottery Together
Engobe can also be used to join pieces of pottery together. This is done by applying the engobe to one side of the break, attaching the two pieces, and then smoothing out any extra engobe. Engobe can also be used as a “slip” when joining pieces of pottery together. A slip is a fluid mixture of clay and water that can be used to fill gaps or cracks and to join two pieces of pottery together.
When using an engobe as a slip, some extra water should be added to the engobe until it reaches the right consistency. After applying the engobe slip, it can be smoothed out with a damp sponge and then left to dry overnight before firing. The piece should also be dried slowly over several days to avoid cracking.
6. To Make Pottery More Durable
Engobe can also be used to make pottery more durable. After the engobe has been applied, the piece can be fired in a kiln to increase its strength and durability. This firing process also helps bring out the colors of the glaze and create a glossy finish.
Additionally, some potters will apply several layers of engobe to their pieces before they are fired. Doing this allows them to create richer colors and a more even coat of glaze. However, it is important to note that multiple layers will require longer firing times at higher temperatures.
7. To Improve The Look of Pottery
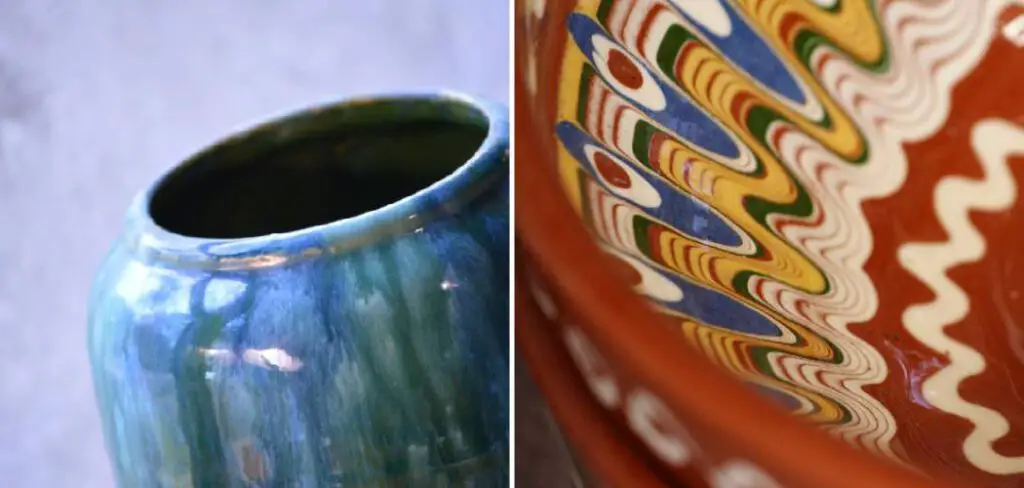
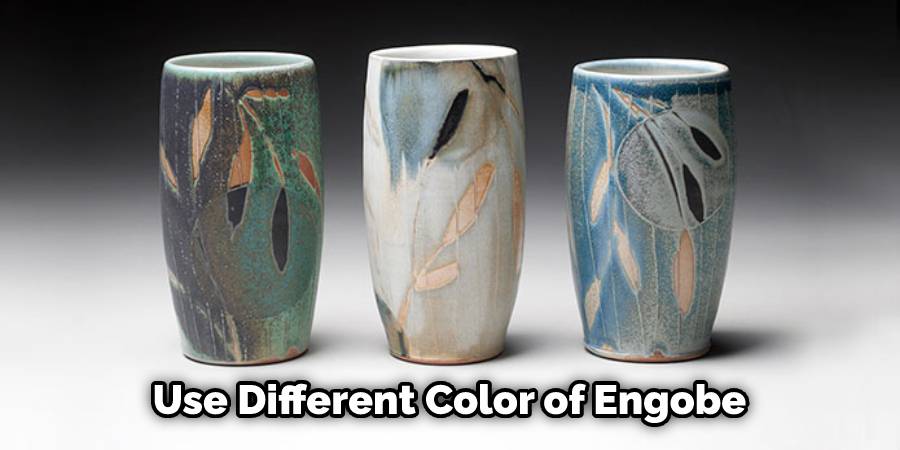
Engobe can also be used to improve the look of pottery. For example, you can use a different color of engobe to create designs or patterns. You can also add texture and shallow reliefs to the piece by using an engobe with sand in it.
Just be careful not to apply too thickly, as the pieces can crack during firing due to temperature differences between thin and thick areas. You can layer multiple colors and textures of engobe on top of each other for interesting effects. After applying your desired design, let the piece dry before proceeding to the next step.
Things to Consider When Using Engobe in Pottery Clay:
When using engobe in pottery clay, it is important to consider the type of clay your project is made from. Different clays have different properties and react differently to engobe; this is why it is important to understand which type of clay you are using before applying an engobe. In addition, you should also consider the firing temperature and duration of your piece, as this will affect how well the engobe adheres to the clay.
1. Match the Engobe to Your Clay Body:
Different clays have different porosity, and therefore they will require matching engobes. For example, clay that is very porous, like earthenware, will need an engobe with more grog (coarse materials) to fill the pores. Conversely, a denser body like stoneware will require an engobe with less grog.
2. Consider Firing Temperature:
Firing temperatures also have an impact on the success of your engobe application. Generally speaking, you should fire your piece at a temperature lower than recommended for the clay body itself in order to ensure proper adhesion and durability of the glaze. This can be especially important when creating multi-colored pieces as different colors may react differently in higher temperatures.
3. Be Mindful of Thickness:
It is also important to be mindful of the thickness of your engobe. Too thin and it may flake off, while too thick can cause cracking or bubbling. If you are unsure about how thick to apply, begin with a thinner application and then gradually add more if needed.
By taking these steps into consideration when using an engobe in pottery clay, you can ensure that your finished piece is strong and durable and will last for years to come.
What’s the Difference between Engobe and Underglaze?
Engobe and underglaze are both used to decorate pottery clay, but they have different properties. Engobe is a type of slip made from a mixture of clay and other ingredients. It can be applied as a coating over the surface of greenware or bisque ware and fired in place at low temperatures (cone 05-6).
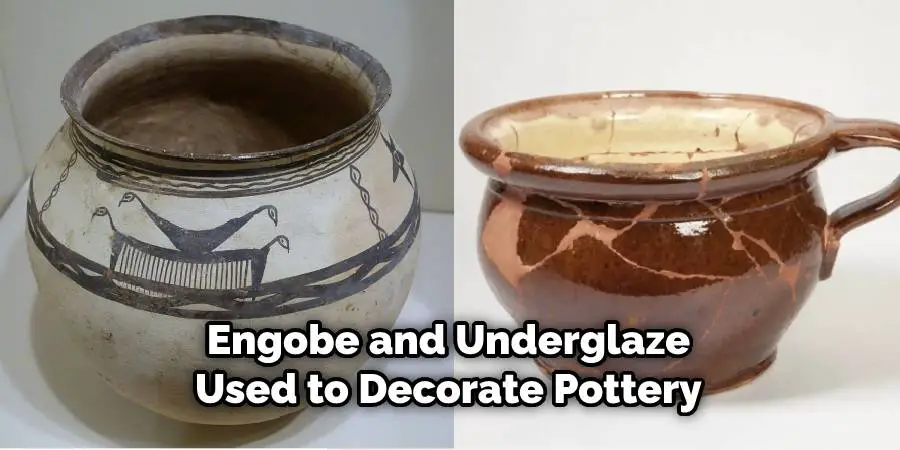
This makes it ideal for intricate designs that would be difficult to achieve with glazes. Underglazes, on the other hand, is applied before firing and are usually more opaque than engobes. They can also be fired at higher temperatures (cone 6-10), making them suitable for functional ware as well as decorative pieces.
Both engobe and underglaze offer unique benefits to any pottery project, and because of this, many potters choose to use both in their work. The combination of the two can create stunning decorative effects that are sure to be admired. With careful planning and experimentation, you, too, can create beautiful pieces with engobe and underglaze!
Conclusion:
The steps outlined here should provide you with a basic overview so that you can feel prepared when starting to use engobe in your pieces. Practice and patience will always be key when you create any new design or technique – engobes are no different.
We hope these tips will help anyone interested in learning how to use engobe in pottery clay! So get ready to start exploring new color possibilities for all of your projects, and don’t forget to share your beautiful creations with us!


