Pottery-making is an art form that has been around for thousands of years, with evidence of ancient pottery found in archaeological sites all over the world. One of the techniques used to create pottery is the use of press molds.
A press mold is a tool that allows the potter to create identical shapes by pressing clay into a pre-made mold. This technique is commonly used for creating plates, bowls, and other flatware, as well as for making small decorative objects.

Press molds are especially useful for potters who are looking to create large quantities of identical pieces, as they save time and allow for consistency in shape and size. In this article, we will explore how to use a press mold to make pottery, including how to choose the right mold, prepare the clay, and successfully create a piece using this technique.
Table of Contents
Materials Needed
Before you start using a press mold, you will need a few materials. These include:
- Clay
- Press mold
- Rolling pin
- Clay knife
- Canvas or cloth
10 Steps How to Use a Press Mold to Make Pottery
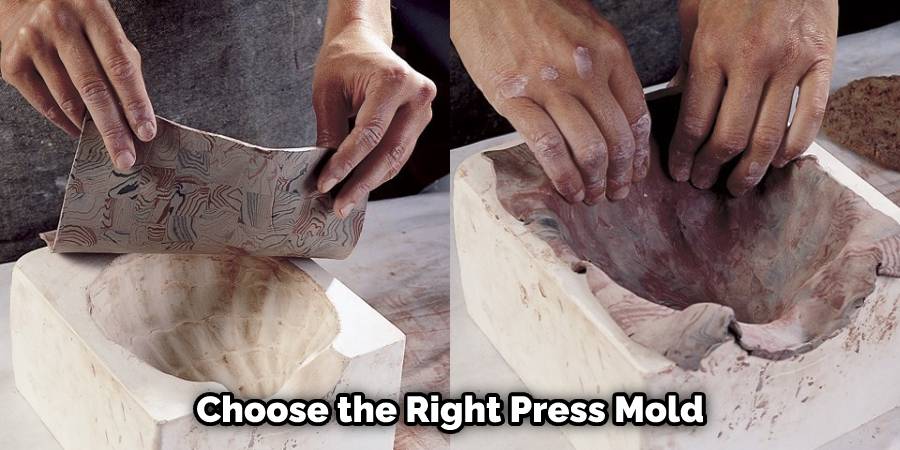
Step: 1. Choosing the Right Mold:
Choosing the right press mold is crucial for creating pottery with this technique. The mold should be made of durable material, such as plaster, that can withstand repeated use. Additionally, the mold should be appropriate for the type of piece you want to create.
For example, if you want to create a bowl, choose a bowl-shaped mold. It’s also important to make sure that the size of the mold is appropriate for your project. However, as you gain more experience working with press molds, you may find that it’s easier to adjust the shape of your piece by experimenting with different sizes of molds.
Step: 2. Preparing the Clay:
Before using a press mold, the clay needs to be properly prepared. First, wedge the clay to remove air bubbles and create a uniform consistency. Then, roll the clay into a ball and flatten it slightly with your hands. The flattened clay should be slightly larger than the size of the mold you are using.
Place the flattened clay onto a clean, dry surface and then use a rolling pin to roll out the clay until it is thin enough to fit into the mold. Make sure the sides of the clay are even and that its thickness is consistent. To make sure your clay does not stick to the surface, lightly dust it with cornstarch. Once the clay is prepared, you can place it into the mold.
Step: 3. Applying a Release Agent:
To prevent the clay from sticking to the mold, a release agent needs to be applied. This can be done by brushing a thin layer of vegetable oil or cornstarch onto the surface of the mold. For the best results, allow the release agent to dry completely before applying the clay.
If the clay is applied too soon, it can cause the release agent to become gummy and create a poor bond between the clay and the mold. However, if the release agent is too dry when the clay is applied, it won’t work as well.
Step: 4. Pressing the Clay:
Once the clay is prepared, and the mold is coated in a release agent, it is time to press the clay into the mold. Place the flattened clay on top of the mold and use a rolling pin to press the clay into the mold. Be sure to apply even pressure to ensure the clay takes on the shape of the mold. You can use a wooden spoon or your fingers to press the edges in.
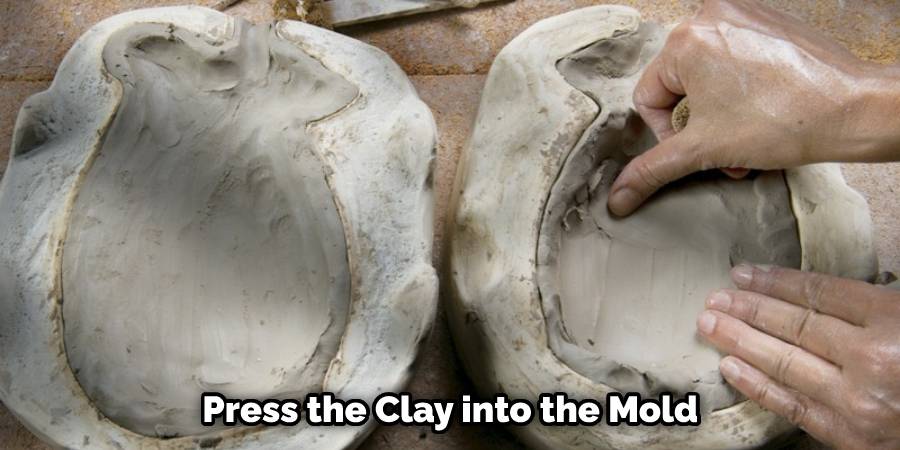
Once the clay is fully pressed into the mold, carefully peel it away from the mold, taking care not to damage the clay. While the clay is still soft, you can use carving tools to add details or trim away any excess. Let the pot dry before proceeding to the next step.
Step: 5. Trimming the Edges:
After the clay has been pressed into the mold, trim off any excess clay using a wire tool or a sharp knife. This will create a clean edge and remove any excess clay that could cause the piece to crack during firing. Be sure to hold the tool at a 90-degree angle and lightly press down while rotating it around the edge of the piece.
When finished, lightly smooth the edges with a damp cloth for a professional finish. Though not necessary, you can also apply a slip to the edges for decoration. Finally, let the piece air dry before firing it in the kiln.
Step: 6. Removing the Clay from the Mold:
To remove the clay from the mold, gently turn the mold upside down and tap the bottom to release the clay. If the clay does not release easily, use a soft brush or a wooden tool to gently coax it out of the mold. Be careful not to use too much force, as this could damage the mold.
Once the clay is released, you can use a sponge or damp cloth to smooth out the edges and finish the piece. Allow the pottery to dry for 24-48 hours or until it no longer looks wet. Although it may feel firm to the touch, it is not yet strong, so handle it with care.
Step: 7. Finishing the Piece:
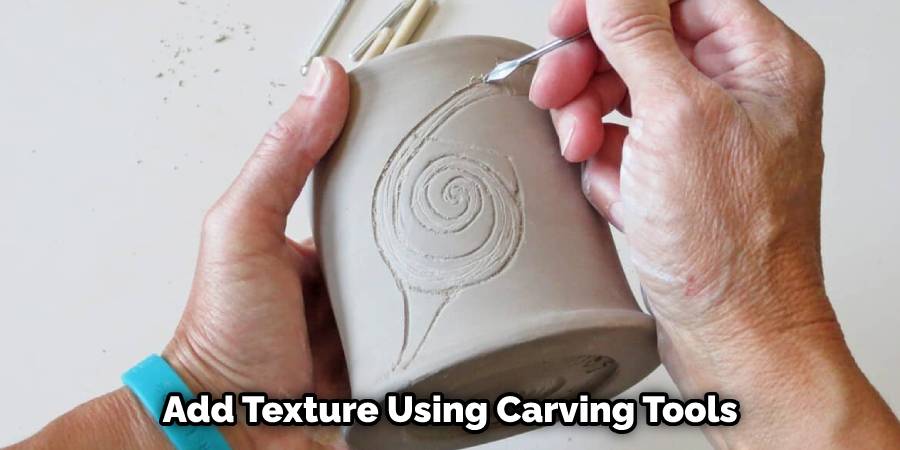
Once the clay has been removed from the mold, it is time to finish the piece. Smooth out any rough edges with a damp sponge or a metal rib. Add texture or decoration using carving tools or other sculpting tools. Allow the piece to dry completely before firing. When the piece is dry, it can be fired in a kiln according to manufacturer instructions.
Once finished, the piece will have an even texture and an aesthetically pleasing surface. However, if an uneven texture or other irregularities are desired, these can be achieved by glazing the piece before firing.
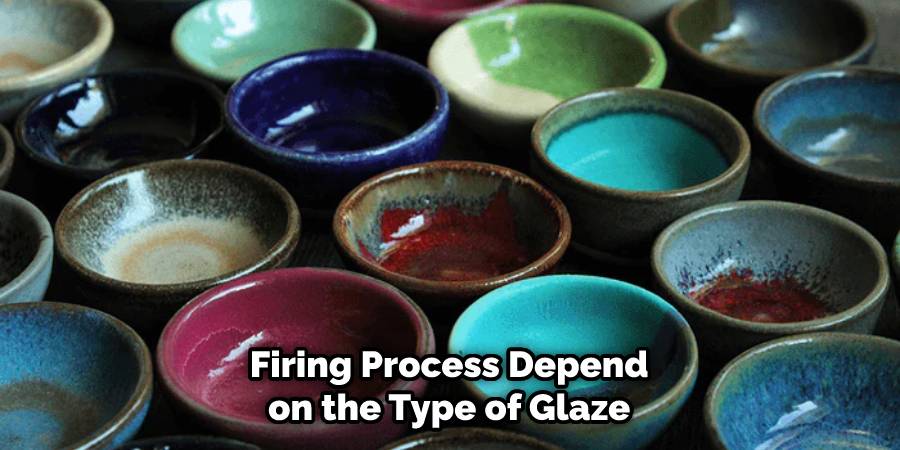
Step: 8. Firing the Piece:
Once the piece is dry, it is ready to be fired in a kiln. Follow the instructions for your specific kiln to ensure proper firing. The firing process will vary depending on the type of clay and glaze used. Different glazes will require different temperatures, so be sure to read the labels thoroughly.
The clay might also need a specific rate of heating and cooling in order to come out properly. Once the piece is fired, it is ready to be finished and displayed.
Step: 9. Glazing the Piece:
After the piece has been fired, it is time to add a glaze. Glazing is the process of applying a thin layer of liquid glass to the surface of the piece to create a shiny or matte finish. Follow the instructions for your specific glaze to ensure proper application.
Once the glaze has been applied, allow it to dry before firing it in a kiln. Firing the piece in the kiln will melt the glaze onto the piece and give it a glossy or matte finish. While at higher temperatures, the glaze can also react with other minerals in the clay to create unique colors and patterns.
Step: 10. Firing the Glaze:
Once the glaze has been applied, the piece is ready for its final firing. The firing process will vary depending on the type of glaze used. Once the piece has been fired for the second time, it is ready to be used or displayed. Additionally, if you want a more personalized aesthetic to the piece, then you can apply some additional glazes and fire it for one last time.
Tips for Using a Press Mold
- Use the right amount of clay to avoid cracking or sticking to the mold.
- Roll the clay to the right thickness to make sure it fits the mold properly.
- Use a canvas or cloth to keep the clay from sticking to the work surface.
- Use different molds to create a variety of shapes and designs.
Conclusion
Using a press mold is a valuable technique for potters who want to create identical shapes and sizes quickly and efficiently. With the right mold and preparation, press molding can save time and allow for consistency in shape and size. However, it is important to note that using a press mold does not eliminate the need for skill and creativity in pottery-making.
Each piece is still unique in terms of its decoration and finishing touches, which can make all the difference in creating a beautiful and functional piece of pottery. With practice and patience, using a press mold can be a rewarding experience that expands a potter’s repertoire and skill set. Thanks for reading, and we hope this has given you some inspiration on how to use a press mold to make pottery!
FAQs
What types of pottery can be made using a press mold?
Press molds can be used to make plates, bowls, cups, and other objects that have a uniform shape.
What type of clay should be used with a press mold?
Any type of clay can be used with a press mold, but it’s best to use clay that is designed for pottery making.
Can press molds be made at home?
Yes, press molds can be made at home using plaster or bisque.


