Are you an aspiring potter dreaming of having your own kiln at home? If so, then you’re in luck – using a kiln to fire and glaze clay pots is easier than ever! With the right materials and equipment, anyone can learn how to use a pottery kiln safely and effectively.
In this post, we’ll be going over all the essential elements of how to use a pottery kiln at home – from selecting the best kind of kiln for your needs to perfecting the loading process.

So whether you’re a beginner looking for their first glimpse into firing clay pieces or an experienced ceramic artist ready to take their hobby one step further by getting their own setup at home, this article will have something relevant for everyone!
Table of Contents
Do Kilns Use a Lot of Electricity?
The answer to this question depends on the size of the kiln and how long you are running it for. Generally, pottery kilns are relatively large pieces of equipment and will draw more electricity than something like a toaster oven. However, as with any appliance, the amount of energy consumed is directly related to how often it is used.
If you are using your home kiln on a regular basis, then yes – it will draw quite a bit of electricity. Even if run in short bursts, an electric kiln can use hundreds or even thousands of watts per hour while running. It’s best to check with your local utility company or an electrician before installing a kiln at home so that you know exactly what kind of power draw it will require.
Also, when firing a kiln for the first time, you should use an energy monitor to track how much electricity is being used. This will give you a better understanding of your kiln’s total energy consumption and help you make any necessary adjustments going forward.
In summary, pottery kilns do need quite a bit of electricity in order to operate properly, but this can be managed through proper preparation and monitoring. With the right setup, clay artists can enjoy making pottery without worrying too much about their electricity bill!
10 Methods How To Use a Pottery Kiln at Home
1. Read the Manual that Came with Your Kiln.
This may seem like an obvious first step, but it is important to make sure that you understand how your particular kiln works before using it. Each kiln is different, and the manual will provide important information on how to set it up and use it safely. If your kiln comes with a firing guide, follow the instructions carefully. Make sure to read all the safety information in your manual and follow it.
2. Choose a Well-Ventilated Area.
Kilns produce a lot of heat and fumes, so it is important to choose an area that is well-ventilated. If possible, set up your kiln in an outdoor area or near an open window. Make sure the area is away from any flammable materials such as curtains, furniture, or combustibles.
Also, be aware of drafts that could interfere with your kiln’s performance. However, don’t set up the kiln in direct sunlight, as this could damage the firing chamber. Make sure the area is level, and inspect it for any debris that could interfere with the kiln’s firing process.
3. Wear Appropriate Clothing.
When using a kiln, it is important to wear clothing that will not catch fire easily. Natural fibers such as cotton are best, as they are less likely to ignite than synthetic fibers. Additionally, loose-fitting clothing is best as it will not get caught on anything and will not restrict your movement.
Avoid wearing any jewelry as it can easily become hot and cause burns. Finally, be sure to wear close-toed shoes to protect your feet in case something gets dropped. Once your kiln is fired up, it’s not a good idea to be trying to remove hot items with bare feet!

4. Protect Your Hands and Arms.
Since kilns can get very hot, it is important to protect your hands and arms from burns. Long sleeves and gloves are recommended when working with a kiln. If you are reaching into the kiln, long oven mitts and arm guards are a must.
While wearing the proper protective gear, always remember to open the kiln in a slow and steady manner to avoid any sudden blasts of heat. Although pottery kilns can be extremely hot, with proper precautions and safety measures, you can enjoy the satisfaction of creating your own pottery work at home.
5. Set up a Fan to Blow Away Fumes.
As mentioned above, kilns produce a lot of heat and fumes. To help ventilate the area, set up a fan to blow the fumes away from you while you are working. You can also use an open window or door to draw the air out.
It is important to have the appropriate ventilation so that you and your work are safe. Try to make sure the fan is facing away from you so as to not blow any glaze or powder onto your work.
6. Place the Clay Piece on a Kiln Shelf.
When you are ready to fire your clay piece, place it on a kiln shelf that has been coated with kiln wash or another type of protective material. This will help to prevent the piece from sticking to the shelf during firing.
Place the piece in the center of the shelf and make sure that it is secure. Though you may use other items to hold the piece in place, it is important to make sure that nothing flammable is placed near or on top of the kiln shelf. While some ceramic items may be safe to fire together, it is best to place each item separately.
7. Preheat the Kiln According to the Manufacturer’S Instructions.
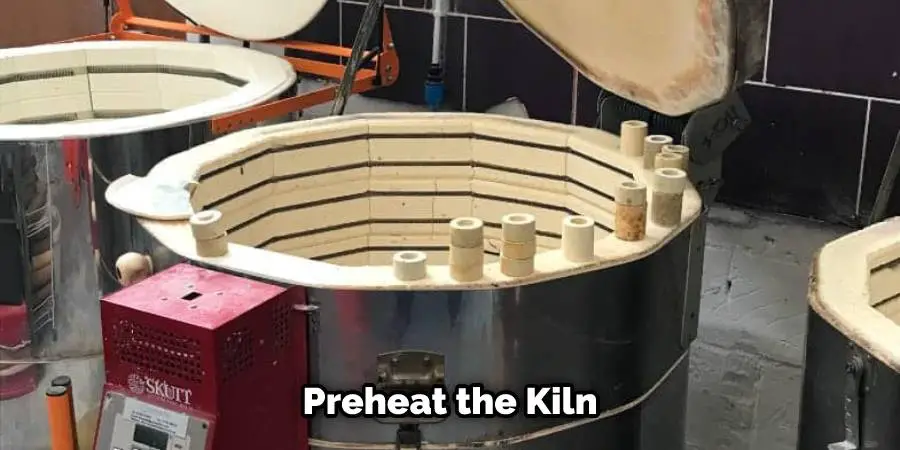
Before firing your clay piece, you will need to preheat the kiln according to the manufacturer’s instructions. This typically takes 30-60 minutes, depending on the size of the kiln and the type of clay being fired.
Preheating the kiln helps ensure an even temperature throughout the firing process. Once preheated, you can place your clay piece inside and begin the firing. Then, you must monitor the temperature until it reaches the desired firing temperature.
8. Load the Clay Piece into the Kiln and Close the Door Tightly.
Once the kiln has reached the correct temperature, carefully load your clay piece into the chamber and close the door tightly. Make sure that there are no cracks or gaps around the door where heat could escape.
If the kiln is too cold or the door isn’t closed securely, the piece you have loaded may not be fired properly and could end up with a poor finish. Try to avoid making any sudden movements or creating air currents when loading the piece, as this can cause uneven firing.
9. Monitor the Firing Process.
During firing, monitor the temperature inside the kiln with a pyrometer or another type of temperature gauge. The firing process can take anywhere from several hours to days, depending on the size and type of clay piece being fired. Once the firing is complete, allow the kiln to cool down slowly before opening the door.
Do not open the door until the kiln is cool to avoid damaging your work. If you need to speed up the cooling process, use a fan or open the door slightly. Be sure to note the firing results for future reference.
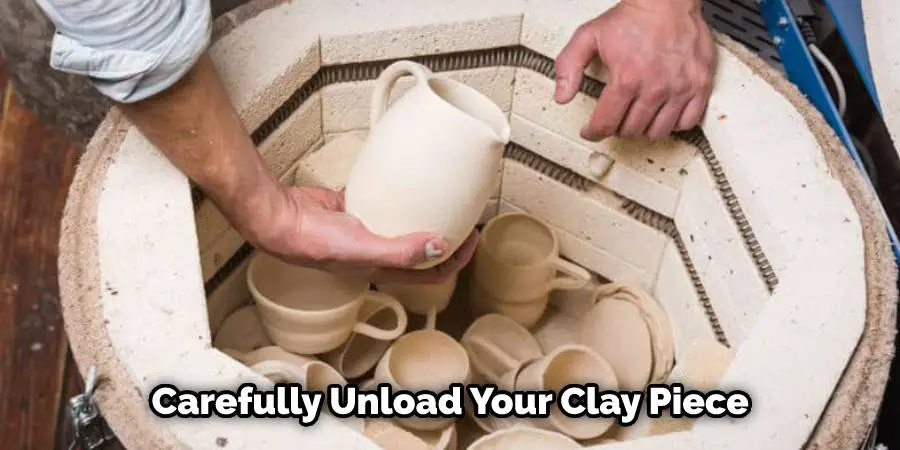
10. Unload the Clay Piece.
Once the kiln has cooled down completely, carefully unload your clay piece and inspect it for any signs of damage. If necessary, you may need to re-fire the piece in order to achieve your desired outcome.
Although the kiln is now cool to the touch, there may be hot spots inside where pieces of clay can still be found. Be sure to take extra care when unloading pieces from the kiln. If you want to make sure your piece is fully cooled, you can use a pyrometer or a ceramic thermometer to take measurements.
Can I Do Pottery without a Kiln?
Yes, even if you don’t have a kiln, you can still work with pottery. You just need to use the right materials and techniques. Low-fire ceramics like earthenware and terracotta are some of the most popular options for making pottery without a kiln. These clay bodies are much easier to fire in an oven or create in air-dry form. Air-dried pieces often require fewer steps than actual firing in a kiln, making them ideal for beginners who don’t have access to a pottery studio yet.
You can also use alternative firing methods such as raku, pit-firing, bonfires, open fire barrels and smoke firings that do not require a kiln. Each of these methods is relatively easy to set up, but the end results depend on the skill and style of the potter.
Conclusion:
If you’re thinking about taking up pottery or have recently started and are looking to invest in a kiln, then hopefully, this article has given you some useful information. There really is no limit to what you can make with clay at home – the only thing stopping you is your imagination!
So get creative and happy firing. We hope this guide on how to use a pottery kiln at home was helpful. Please share it with your friends on social media if you find it useful. And be sure to check back here soon for more informative guides like this one.


