Trimming clay is a crucial step in the ceramics process, refining and shaping a piece to achieve the desired form. Whether you’re a seasoned potter or a beginner exploring the art of clay sculpting, mastering the technique of trimming is essential for creating well-balanced and visually appealing pottery. In this article, we delve into a comprehensive guide on how to trim clay, offering insights into the tools, methods, and considerations involved in this transformative stage.
From selecting the appropriate trimming tools to understanding the optimal moisture content of the clay, we provide a step-by-step exploration of the process. Whether you’re shaping functional pieces like bowls or crafting intricate sculptures, this guide aims to empower artists of all levels with the knowledge and skills needed to trim clay effectively, contributing to the overall success of your ceramic creations.
Table of Contents
Importance of Trimming for Refining Shapes
Trimming is a shaping process that involves removing excess clay from the sides, foot, and rim of a piece. It is typically done when the clay has reached a leather-hard stage, where it is firm enough to be shaped but still pliable enough to be worked with. Trimming plays a critical role in refining shapes, creating symmetry, and achieving balance in clay pieces. By removing excess clay, the final piece is lighter and more visually appealing.
Basic Tools Required for Clay Trimming
Trimming clay is an essential step in pottery making. It involves shaping the edges of a clay piece to give it a smooth and finished look. Many beginners tend to overlook this process, but trimming is crucial for achieving a professional-looking pottery piece.
To trim clay, you need specific tools that can help you achieve precise cuts and shapes. These tools come in various sizes, shapes and materials, depending on the type of clay and pottery piece you are working with. Here are some basic tools required for clay trimming that every potter should have in their toolkit.
Trimming Tools
- Trimming Loop: This is a metal wire or loop attached to a handle used for cutting through clay. The loop comes in various sizes, making it versatile for different trimming needs.
- Trimming Rib: Also known as a rib tool, this is a flat metal or plastic tool with a curved edge. It helps in smoothing and shaping the clay piece by scraping away excess clay.
- Serrated Rib: This rib tool has small teeth on one side that help create texture and patterns on the surface of the clay piece while trimming. It can also be used to smooth and shape the clay piece.
- Cutting Wire: A thin, taut wire used for cutting through soft and delicate clay. It is ideal for trimming smaller pieces or making precise cuts on larger ones.
Safety Tools
- Gloves: Protective gloves are essential when working with clay as it can contain harmful bacteria and irritants. Wearing gloves also prevents the clay from drying out your hands.
- Dust Mask: When trimming dry clay, it produces a lot of dust which can be harmful to inhale. Wearing a dust mask protects against breathing in the fine particles.
- Eye Protection: Trimming clay involves using sharp tools and cutting through pieces that can potentially fly into your eyes. Protecting your eyes with goggles or safety glasses is crucial.

Other Tools
- Sponge: A damp sponge is used to smooth and refine the surface of clay. It helps in removing any excess water and gives a clean finish.
- Needle Tool: This tool has a sharp pointed tip that can be used for piercing, cutting and creating fine details on the clay piece while trimming.
- Fettling Knife: A versatile tool that can be used for many purposes in pottery making, including trimming. It has a long, thin blade that is ideal for cutting and shaping clay.
- Calipers: These are measuring tools used to check the thickness and dimensions of a clay piece while trimming, ensuring uniformity and precision.
10 Methods How to Trim Clay
1. Slicing
One of the most common methods for trimming clay is slicing. This involves using a sharp tool, such as a wire cutter or knife, to cut away excess clay from the edges of a piece. It is important to make sure the tool is sharp so that it cuts smoothly and does not drag or distort the clay.
2. Looping
Looping is another method for trimming clay that involves using a loop tool to create smooth, curved edges on a piece. This technique is often used for creating bowls or vases with rounded rims. To begin, you will need a loop tool which typically has a sharp curve on one side and a dull curve on the other.
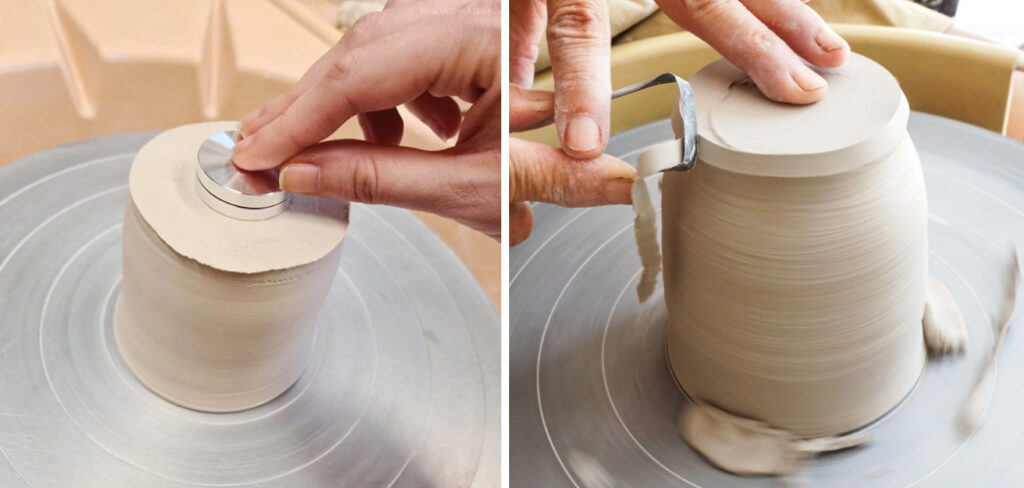
3. Scraping
Scraping is a technique that involves using a metal rib or scraper to gently scrape away excess clay from the surface of a piece. This can help to create smooth and even surfaces on your finished piece. If you are a beginner, it is important to practice this technique to avoid accidentally removing too much clay.
4. Beveling
Beveling is a technique that involves using a bevel cutter to create angled edges on a piece of clay. This can add interesting design elements and also help to create more stability in the structure of your piece.
5. Chattering
Chattering is a decorative technique that can also be used for trimming clay. It involves using a chattering tool or serrated rib to create textured patterns on the surface of your piece. This adds visual interest and can also help to break up the monotony of a flat surface.
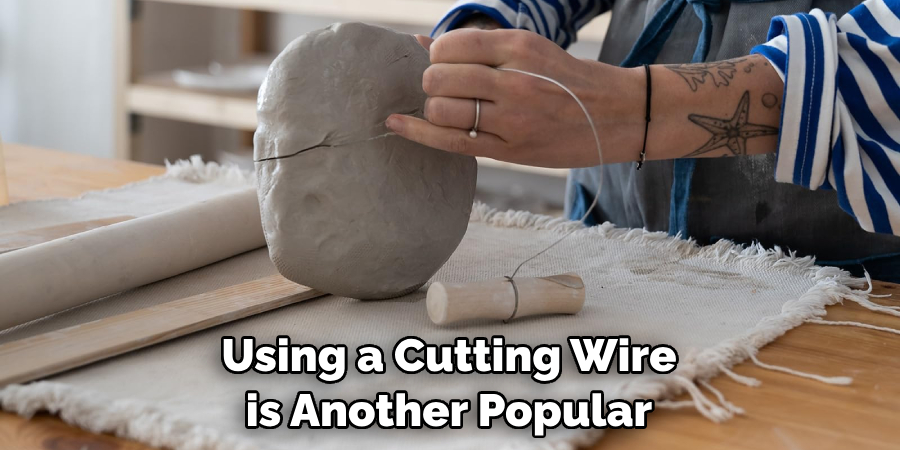
6. Cutting Wire
Using a cutting wire is another popular method for trimming clay, especially when working with larger pieces. The wire is stretched taut between two points and then used to cleanly slice through the clay. This method is often used for cutting large blocks of clay into smaller pieces or trimming off excess clay from sculptures.
7. Scoring and Slipping
For attaching separate pieces of clay together, scoring and slipping is often used as both an adhesive and trimming method. Score marks are made on both pieces, slip (a mixture of water and clay) is applied, and then they are joined together before being trimmed. This technique is commonly used when creating larger or more complex pieces, and it can be a useful skill to have in your repertoire.
8. Trimming Tools
There are various specialized tools available specifically for trimming clay, such as loop tools, metal ribs, bevel cutters, chattering tools, etc. Experiment with different tools to find which ones work best for you and your style.
9. Wet Trimming
Some potters prefer to trim their pieces while the clay is still wet, as it is easier to manipulate and shape. This method requires a steady hand and careful attention to detail. Though it may seem intimidating at first, wet trimming is a skill that can be developed with patience and practice. In this section, we will discuss the steps involved in wet trimming your clay pieces.
10. Dry Trimming
Others prefer to wait until the clay has dried slightly before trimming, as it can create a more precise and cleaner cut. This method may take longer, but it allows for more control over the final shape of your piece.
Things to Consider When Trimming Clay
Choosing the Right Clay
The type of clay used for pottery greatly affects its ease of trimming. Some clays are more suitable for trimming than others due to their plasticity and drying qualities. Generally, porcelain and stoneware clays are the best choice for trimming as they are less prone to cracking during the process.
The Right Consistency
Before trimming, it is crucial to ensure that your clay has the right consistency. If the clay is too wet, it will be difficult to trim without distorting the shape of your piece. On the other hand, if it is too dry, it will be hard to work with and may crack during the trimming process. It is recommended to let your clay sit for a few days after throwing before attempting to trim.
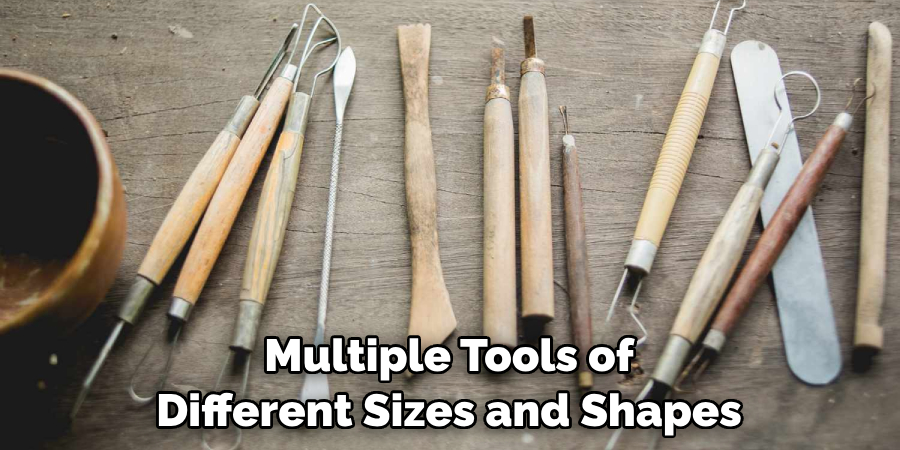
The Right Tools
Having the right tools is crucial for successful trimming. A sharp and sturdy trimming tool, such as a loop tool or pottery knife, is necessary for precise cutting. It is recommended to have multiple tools of different sizes and shapes for various trimming tasks. A sponge or damp cloth can also be handy for smoothing out the surface as you trim.
The Right Technique
When it comes to trimming, practice makes perfect. It is essential to hold your tool at a slight angle and use light pressure while cutting through the clay. Start from the center of your piece and work your way outwards, shaping the clay as you go. It is also helpful to rotate your piece while trimming to ensure even trimming on all sides.
Conclusion
In conclusion, learning how to trim clay is an essential skill for any ceramics artist. Not only does it give your piece a clean and polished look, but it also allows you to add intricate details and fine-tune your creation. Throughout this blog post, we have explored the techniques and tools needed to achieve the perfect trim for your clay pieces.
From using trimming tools such as a wire cutter or loop tools to employing the pull ring method, each technique offers its own unique results and benefits. Moreover, we have discussed the importance of practicing proper trimming techniques and taking the time to refine your skills. But most importantly, we hope this blog post has inspired you to experiment with different methods and push beyond your comfort zone in order to create truly exceptional clay works.


