Throwing a basic cylindrical pot is one of the fundamental techniques in pottery making. It involves using a pottery wheel to shape a lump of clay into a cylinder with even walls and a flat base. While it may seem like a simple task, throwing a basic cylindrical pot requires practice, patience, and attention to detail.
As with any art form, mastering this technique takes time and effort, but the results can be incredibly rewarding. In this article, we will take a step-by-step guide on how to throw a basic cylindrical pot. From preparing the clay to shaping the pot and finishing the surface, we will explore each step in detail to help you develop the skills and confidence necessary to create beautiful pottery.
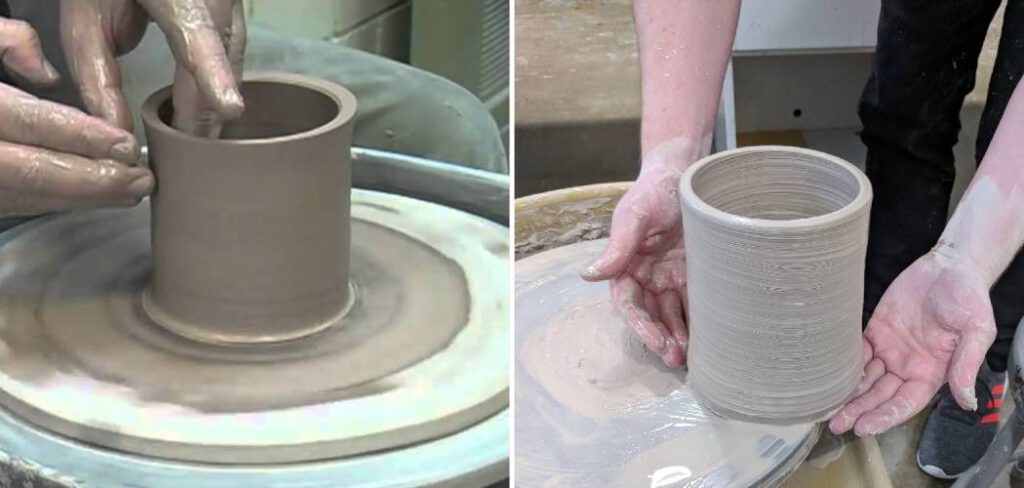
Table of Contents
Is a Basic Cylindrical Pot Easy for Beginners?
Yes, a basic cylindrical pot is an excellent choice for beginners. It is one of the simplest forms to throw on the pottery wheel, and it gives you a chance to practice the foundational skills needed to create more complex pieces. Once you have mastered this form, you can move on to explore taller or bulbous cylinders as well as other shapes, such as bowls and mugs. With practice, you will be able to master any kind of pottery!
The key steps for throwing a basic cylindrical pot are relatively simple: start by centering your clay on the wheel head, then pull up the walls of your cylinder with both hands. Make sure each side is symmetrical and that they come together at a consistent height.
Once your pot is formed, use a rib tool to refine the shape, then score and add clay coils to make sure the walls are sealed together. Finally, trim off any excess clay at the base, and you will have your finished cylindrical pot.
Practice is key to successful throwing on the wheel. Don’t be afraid of making mistakes; instead, take these as opportunities for learning and improvement! With patience and dedication, you will soon become an expert in creating any kind of piece of pottery!
10 Steps How to Throw a Basic Cylindrical Pot
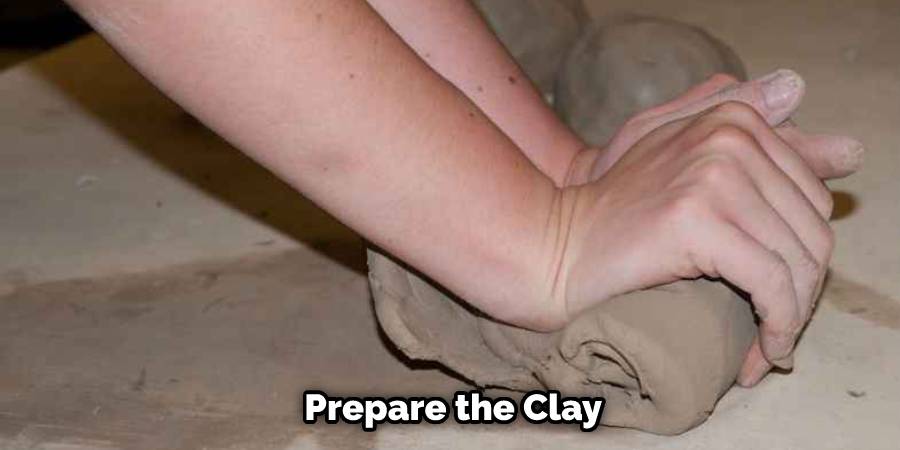
Step: 1. Preparing the Clay
Before you start throwing a basic cylindrical pot, you need to prepare the clay. Start by wedging the clay to remove any air pockets and ensure that it is pliable and easy to work with. Then, shape the clay into a ball and flatten the top slightly. Wet the surface of the clay slightly to prevent it from sticking to your hands.
If the clay is too dry, you can add a few drops of water to create a malleable texture. However, be careful not to make the clay too wet, or it will be difficult to work with. Although you can make a commercial pottery wheel, you can also work with the clay directly on a flat surface.
Step: 2. Centering the Clay
The next step in throwing a basic cylindrical pot is to center the clay on the wheel. Place the clay ball in the center of the wheel head and press it firmly into place. Turn the wheel on at a slow speed and use your hands to shape the clay into a cone shape.
Use the centering technique to ensure that the clay is perfectly centered on the wheel head. Use your fingers to press down on the clay and rotate it around to evenly spread out the clay. Make sure that your hands are wet while working with the clay.
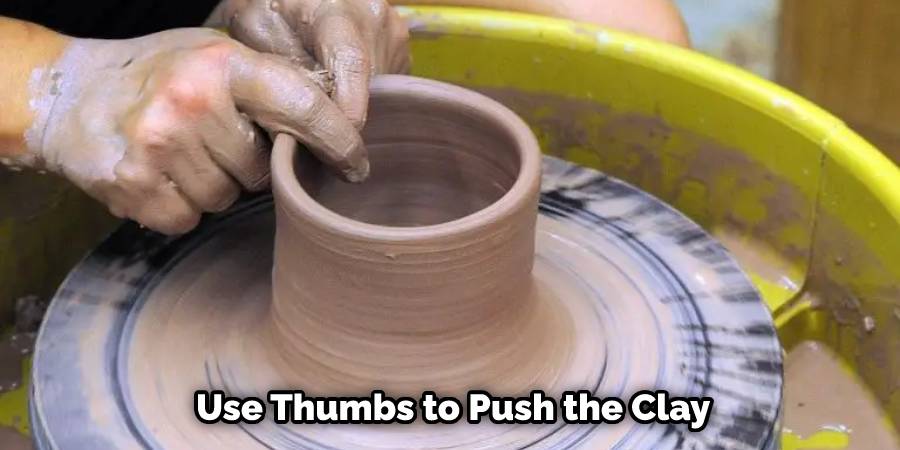
Step: 3. Opening the Clay
Once the clay is centered, it’s time to open it up. Use your thumbs to create a small indentation in the center of the cone shape, then use your fingers to gently push the clay down and outward, creating a shallow bowl shape.
Make sure to keep the sides of the bowl even and smooth. Continue pressing the clay down evenly with your fingers until you reach the desired shape. The walls of the bowl should be thin and even, but not so thin that the bowl won’t hold its shape when fired.
Step: 4. Widening the Base
Now it’s time to widen the base of the pot. Use your fingers to press down on the clay while gently pulling it outward. Be sure to keep the walls of the pot even and smooth. Use your thumbs to push the clay downward, creating a slight flare at the base of the pot.
Start adding water to the inside of the pot and continue to widen it until it has reached your desired shape. Though it is important to keep the sides of the pot even, there is no need to worry if they become a little uneven at this stage.
Step: 5. Pulling the Walls
Once you have widened the base of the pot, it’s time to start pulling the walls upward. Use your thumbs and fingers to gently pull the clay upward while applying pressure to the sides of the pot. Be sure to keep the walls of the pot even and smooth.
To help ensure this, you can use a metal tool called a rib to smooth out any irregularities on the surface of the pot while pulling. Keep in mind that the walls of the pot should be slightly thicker than its base. This will help add strength and stability to your pot once it is finished.
Step: 6. Shaping the Pot
As you continue to pull the walls upward, you can start to shape the pot. Use your fingers to create a gentle curve in the walls of the pot, gradually moving from the base to the top. Be sure to keep the walls of the pot even and smooth, and make any adjustments as necessary.
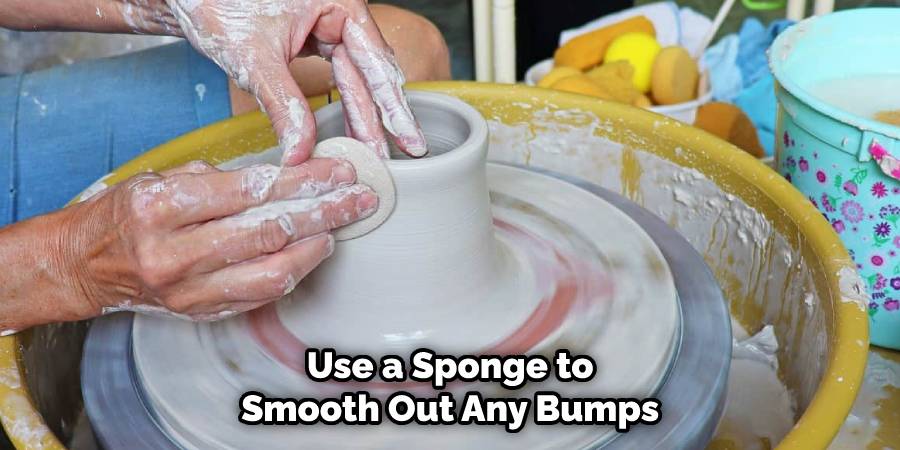
For example, use your fingers to smooth out any uneven bits or bulging parts. You can also use the wet sponge if you need to fix any small imperfections. Once you are satisfied with the shape of the pot, it is time to move onto the finishing touches.
Step: 7. Finishing the Lip
Once you have shaped the pot to your liking, it’s time to finish the lip. Use your fingers to create a slight lip on the top of the pot, making sure that it is even and smooth. Use a sponge to smooth out any bumps or imperfections. Allow the pot to dry completely before proceeding.
Step: 8. Removing the Pot
When you are finished throwing the pot, it’s time to remove it from the wheel. Use a cutting wire to slice through the clay at the base of the pot, then carefully lift the pot off the wheel head.
Use a sponge or trimming tool to smooth out any rough edges or imperfections. Allow the pot to dry slowly and let it sit for at least 48 hours before handling. When the pot is completely dry, you can fire it in a kiln and glaze it for a beautiful finish.
Step: 9. Drying the Pot
Once the pot has been removed from the wheel, it’s important to allow it to dry completely. Set the pot aside in a cool, dry place and let it air dry for several days. Be sure to turn the pot over occasionally to ensure that it dries evenly.
Once the pot is completely dried, it’s ready for any additional finishing touches you’d like to add. You could continue adding texture or color with glazing, or you could simply leave it as is. Now that the basics of throwing cylindrical pots have been covered can continue to refine your technique and create amazing pieces of artwork.
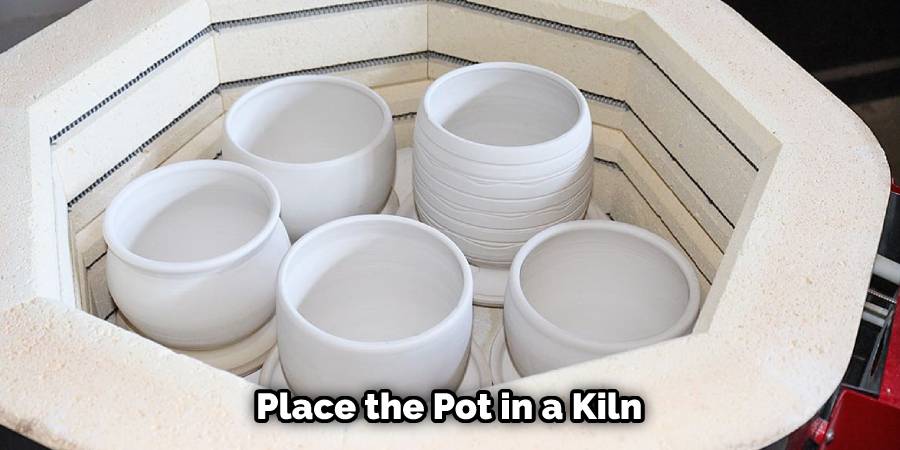
Step: 10. Firing the Pot
After the pot has dried completely, it’s time to fire it. Place the pot in a kiln and fire it at the appropriate temperature for the type of clay you use. This will vary depending on the type of clay and the glaze you plan to use.
Follow the instructions for your specific clay and glaze to ensure a successful firing. Once the pot has been fired, it is ready to decorate or use. With practice and patience, you can throw beautiful cylindrical pots with ease. Start with simple shapes and work your way up to more complex designs.
Once the firing process is complete, your basic cylindrical pot is ready to be used or displayed. You may choose to add a glaze or finish to the pot or leave it in its natural state. Regardless of your choice, your pot will be a unique creation that reflects your personal style and skill as a potter.
Conclusion:
Crafting a basic cylindrical pot on a potter’s wheel is an enjoyable, satisfying experience. You may have found it tricky in the beginning, but with practice and guidance, you will soon understand the process and create your own unique pieces. Remember to work consistently and slowly when bringing your ideas to life – speed generally brings instability.
Don’t be afraid to make mistakes and try out different techniques as long as you work carefully and patiently. If you follow each step while throwing an individual pot, you should have a great result at the end of the day. Thanks for reading our blog post on how to throw a basic cylindrical pot! We hope you found it helpful and informative. Happy crafting!


