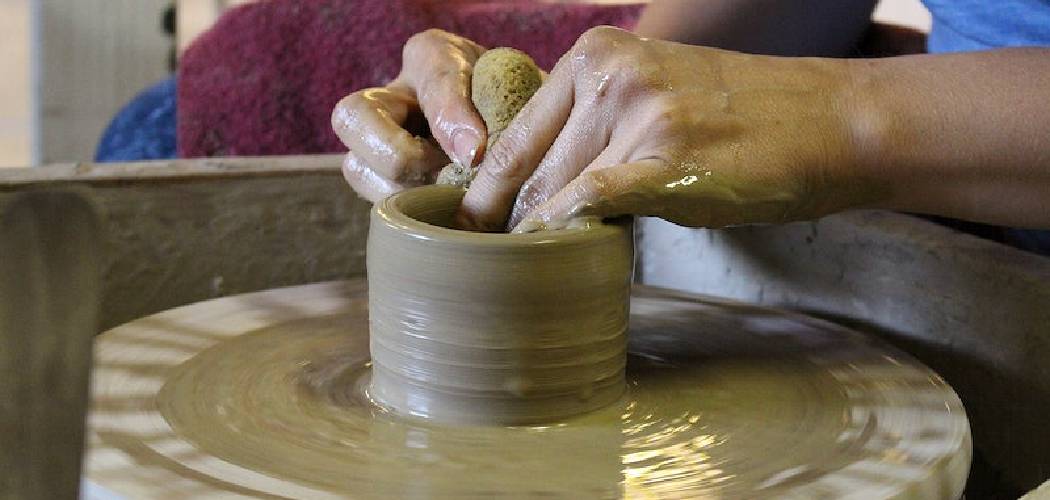
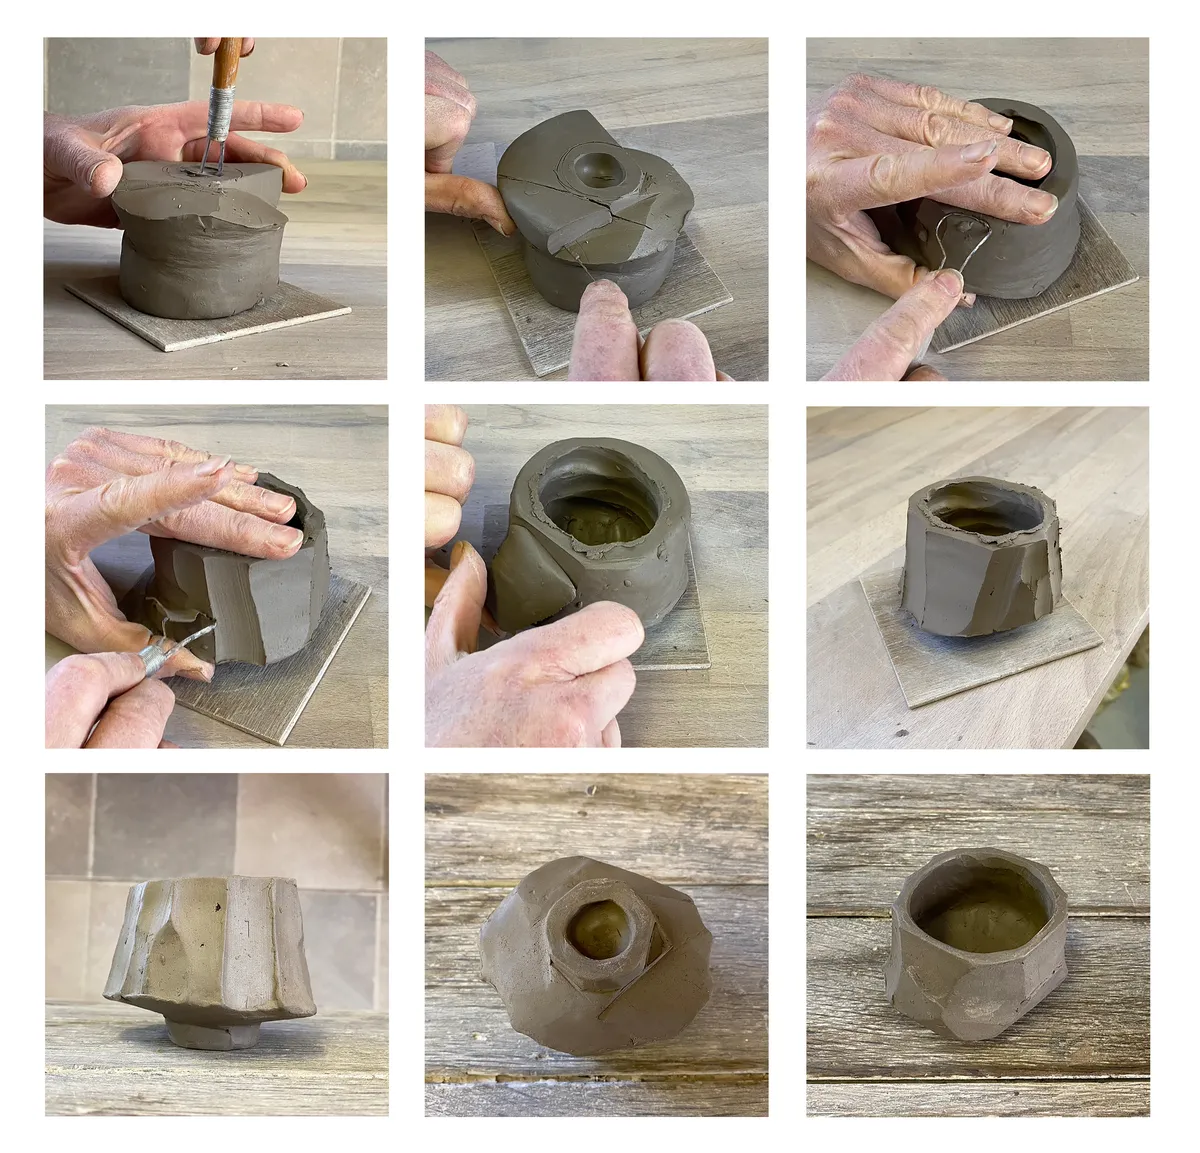
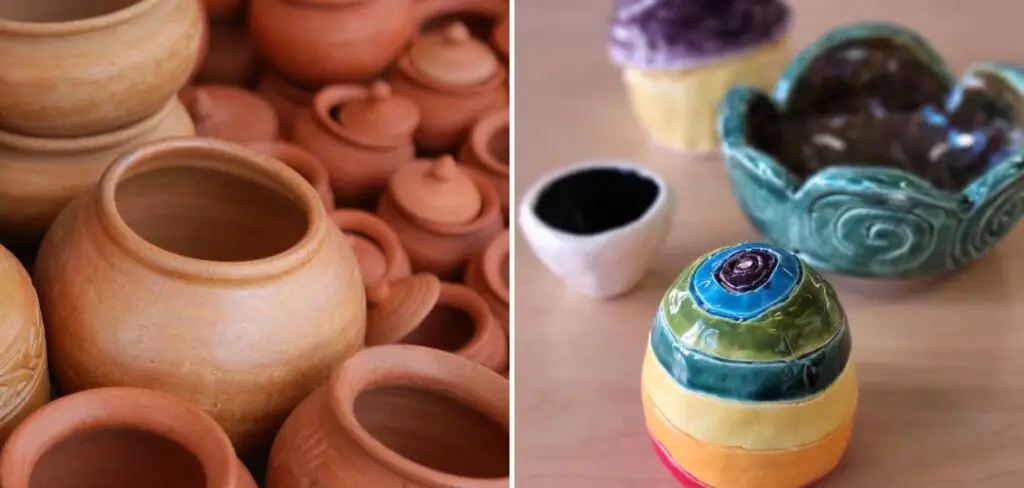
Pottery is an art form that has been around for centuries, and making handles for pottery is a critical aspect of the craft. Handles not only add to the aesthetic appeal of a piece but also serve a functional purpose.
They allow for a better grip and make it easier to carry the object. Creating the perfect handle for your pottery piece takes time and practice, but with the right techniques, it can be a rewarding experience.
There are several ways to make handles, including pulling, rolling, and extruding. Each method requires different tools and techniques, but they all share the same goal of creating a sturdy and aesthetically pleasing handle.
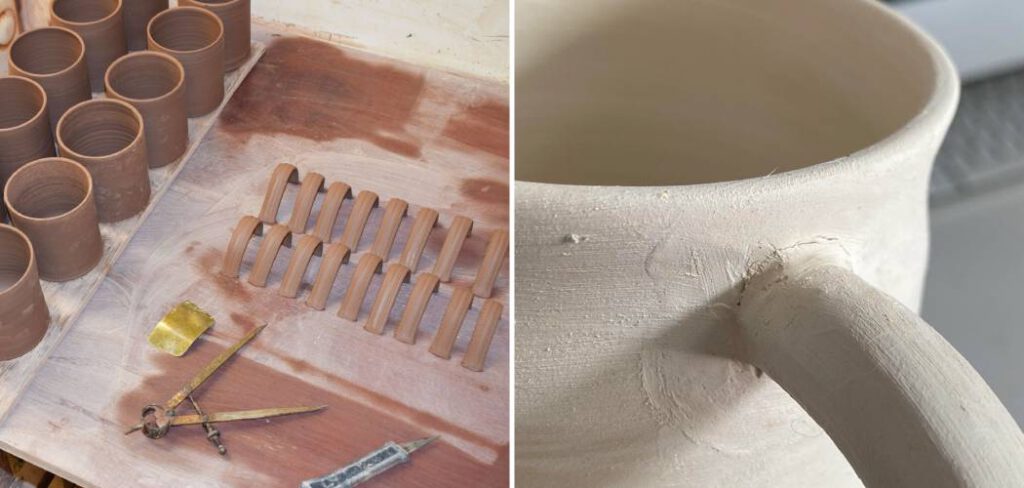
In this guide, we will explore how to make handles for pottery and various techniques used to make handles for pottery, including the tools and materials needed and the steps required to create a beautiful and functional handle for your next pottery project.
Table of Contents
What Makes a Good Mug Handle?
When it comes to pottery, a mug handle is one of the most important features. A good mug handle should be comfortable, functional, and aesthetically pleasing.
When considering what makes a good mug handle, comfort is key. It’s important to make sure that the handle is ergonomically designed so that it fits the user’s hand comfortably. The handle should not be too wide or too narrow, and it should have a curve that fits the shape of the fingers. You may want to use a mold or template when shaping your handle in order to ensure that it is comfortable and ergonomic.
Functionality is also an important feature of a good mug handle. It should provide enough grip to hold onto while also allowing for easy maneuvering. The handle should remain secure even when filled with hot drink, so consider how the material you’re using will react to heat before making your final design.
Finally, aesthetics are essential when creating a good mug handle. For example, you can use glazes or other colored materials to make your handle stand out. You can also consider the shape of the handle, as a thicker shape may look better than a thin one.
Creating the perfect mug handle is an art that requires skill and patience, but if done correctly, it will make your pottery piece look even more beautiful. With these tips in mind, you’re sure to create a mug handle that is both comfortable and aesthetically pleasing.
10 Ways How to Make Handles for Pottery
1. Pulling Handles
One of the oldest and most traditional ways to make handles for pottery is by pulling. This method involves taking a lump of clay and pulling it upwards until it forms a long, thin handle. This technique is commonly used for creating handles for mugs, cups, and other vessels.
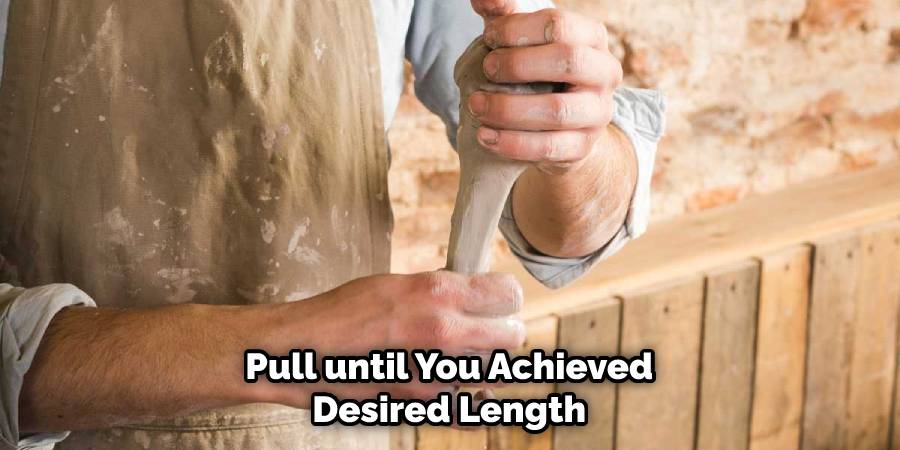
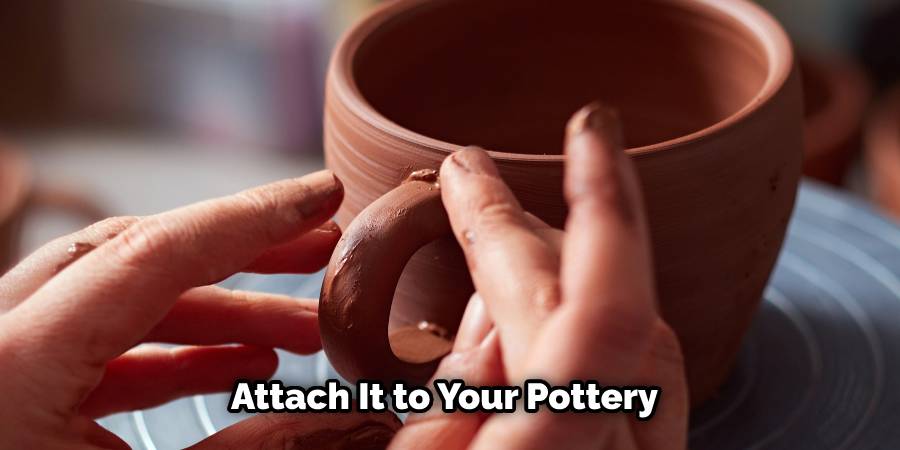
To pull a handle, start by taking a small lump of clay and forming it into a ball. Then, using your fingers, create a depression in the center of the ball. Next, with your thumbs, begin to pull the clay upwards, using a twisting motion to form a long, thin handle. Keep pulling until you have reached the desired length, and then trim the ends to create a neat finish. Once you have created the handle, you can attach it to your pottery piece using a score-and-slip technique.
2. Rolling Handles
Rolling is another method for creating handles for pottery. This technique is often used for creating handles for larger pieces, such as pitchers and vases.
To roll a handle, start by taking a lump of clay and forming it into a cylinder. Then, using a rolling pin, roll the clay cylinder back and forth until it forms a long, thin handle. Be sure to roll the handle evenly to prevent it from becoming lopsided. Once you have created the handle, you can attach it to your pottery piece using a score-and-slip technique.
3. Extruding Handles
Extruding is a modern technique for creating handles for pottery that uses an extruder machine. This method allows you to create handles with consistent shape and size, making it a popular choice for mass production.
To extrude a handle, start by filling the extruder machine with clay. Then, using the appropriate die, extrude the clay to form a long, thin handle. Once you have created the handle, you can cut it to the desired length and attach it to your pottery piece using a score-and-slip technique.
4. Coiling Handles
Coiling is another method for creating handles for pottery. This technique involves creating a long, thin coil of clay and then wrapping it around a cylindrical form to create a handle.
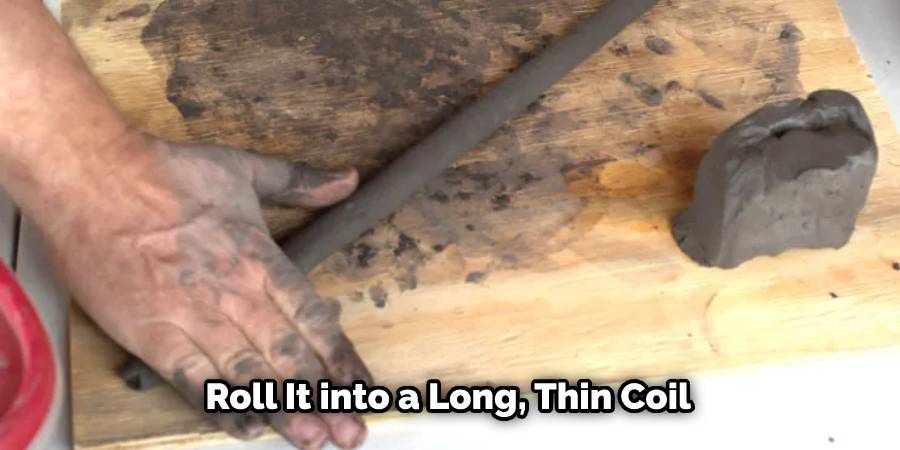
To coil a handle, start by taking a lump of clay and rolling it into a long, thin coil. Then, wrap the coil around a cylindrical form, such as a dowel or rolling pin, to create the shape of the handle. Once you have created the handle shape, you can attach it to your pottery piece using a score-and-slip technique.
5. Pinching Handles
Pinching is a simple and straightforward method for creating handles for pottery. This technique involves taking a small lump of clay and pinching it into the desired shape.
To pinch a handle, start by taking a small lump of clay and rolling it into a ball. Then, using your fingers, pinch the clay to create the shape of the handle. Once you have created the handle, you can attach it to your pottery piece using a score-and-slip technique.
6. Throwing Handles
Throwing is another traditional method for creating handles for pottery. This technique involves using a potter’s wheel to create a handle while the pottery piece is spinning.
To throw a handle, start by centering your pottery piece on the potter’s wheel. Then, using your fingers and a shaping tool, create the shape of the handle while the pottery piece is spinning. Once you have created the handle, you can attach it to your pottery piece using a score-and-slip technique.
7. Carving Handles
Carving is a technique that is often used to create decorative handles for pottery. This method involves carving a handle shape out of a solid block of clay.
To carve a handle, start by taking a block of clay and sketching out the shape of the handle with a pencil or carving tool. Then, using a carving tool, carefully carve the clay to create the desired handle shape. Once you have created the handle, you can attach it to your pottery piece using a score-and-slip technique.
8. Combining Techniques
Many potters use a combination of techniques to create handles for their pottery pieces. For example, you might start by pulling a small handle and then rolling it to create a larger handle. Or, you might extrude a handle and then shape it further using pinching or carving techniques.
Experimenting with different techniques can help you create unique and interesting handles for your pottery pieces.
9. Using Templates
If you are looking for consistency in your handle shapes, you might consider using templates. Templates are pre-made forms that you can use to shape your handles.
To use a template, start by rolling out a piece of clay to the desired thickness. Then, place the template on top of the clay and use a cutting tool to cut out the handle shape. Once you have created the handle shape, you can attach it to your pottery piece using a score-and-slip technique.
10. Adding Texture
Adding texture to your handles can give your pottery pieces a unique and interesting look. You can add texture by using a variety of tools and techniques, such as stamping, carving, or impressing.
To add texture, start by creating the handle shape using one of the techniques mentioned above. Then, use a tool or technique to add texture to the surface of the handle. For example, you might use a stamp to create a pattern on the handle or use a carving tool to create a textured surface. Once you have added texture to the handle, you can attach it to your pottery piece using a score-and-slip technique.
Things to Consider When Making Handle for Pottery:
1. Form:
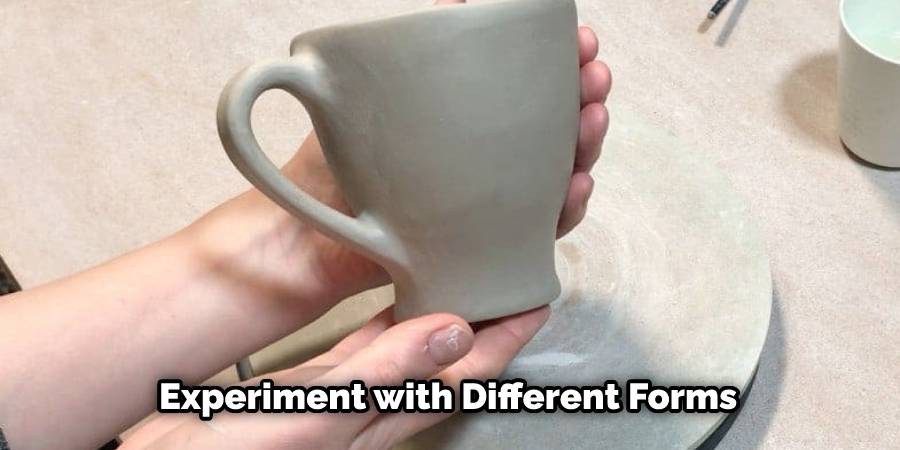
When designing a handle for your pottery, consider what shape you would like it to be. The most common shape is an S-shaped curve, but you could experiment with different forms to achieve a unique look.
2. Balance:
Depending on the size and shape of your pottery piece, you will need to create a handle that is balanced enough to allow for easy lifting and carrying. This means that it should be evenly distributed in weight so as not to put too much strain on one side of the pot.
3. Strength:
The handle should be strong enough to support the weight of your pottery piece without breaking or bending when lifted. This means that it needs to have a good grip and be firmly attached. Consider adding reinforcement if you plan to use heavier materials such as stoneware or porcelain.
Conclusion:
Now you know all the basics of creating handles for pottery. Whether you prefer a simple and elegant loop or want to make something more complicated, like an intricately designed dragonfly handle, with practice and patience, you can create your own custom-made pieces of pottery with beautiful handles unlike any other.
In addition to being useful and attractive on each piece, handmade ceramic handles also provide a personal touch that helps your work stand out from the masses. Thanks for reading, and we hope this has given you some inspiration on how to make handles for pottery!

