Delving into the world of clay sculpture offers an immersive and rewarding artistic experience, allowing individuals to shape their creative visions into tangible, three-dimensional forms. Sculpting with clay is a versatile and accessible medium, catering to both beginners and seasoned artists alike. Whether you’re a novice seeking an introduction to the craft or an experienced sculptor looking to refine your techniques, the journey of molding clay into intricate sculptures is a dynamic and expressive one.
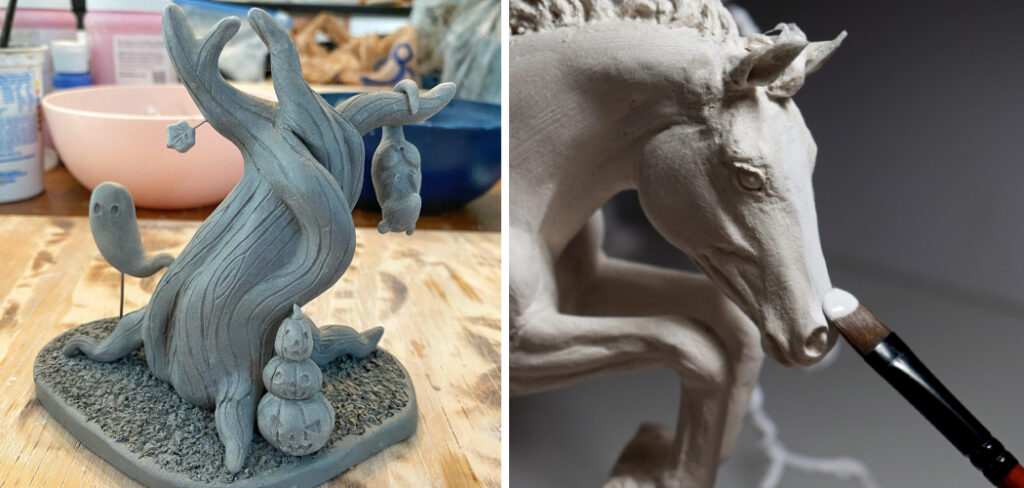
In this article, we will explore the fundamental steps, essential tools, and expert tips for how to sculpture clay. From selecting the right type of clay to mastering sculpting techniques, discover the artistry and craftsmanship involved in transforming a malleable lump of clay into a captivating piece of art. Whether your inspiration lies in classical forms or contemporary abstract designs, the art of sculpting clay awaits your creative touch.
Table of Contents
Basic Techniques for Clay Sculpture
When beginning your sculpture, there are a few basic techniques that can help you transform your ideas into reality. Pinching involves squeezing the clay between your fingers and thumb, making it a great way to create pots, bowls, or small figurines. Coiling is another technique, where you roll out long ropes of clay and stack them to build forms; it’s ideal for vases or larger, more complex structures.
Slab building involves rolling out flat sheets of clay that can be cut and joined to create geometric shapes. Lastly, sculpting or modeling directly with your hands or tools allows for adding details and textures to your creation. Combining these techniques often yields the best results, as it allows for flexibility and innovation in your sculpting project.
Choosing the Right Clay
Selecting the appropriate type of clay is a crucial step in the sculpting process, as it can significantly impact both the working properties and the final outcome of your sculpture. There are primarily three types of clay used in sculpture:
Earthenware, Stoneware, and Porcelain.
Earthenware is typically the most accessible and is known for its forgiving nature, making it perfect for beginners. It’s ideal for hand-building techniques and offers a wide range of firing colors, from reds to light grays.
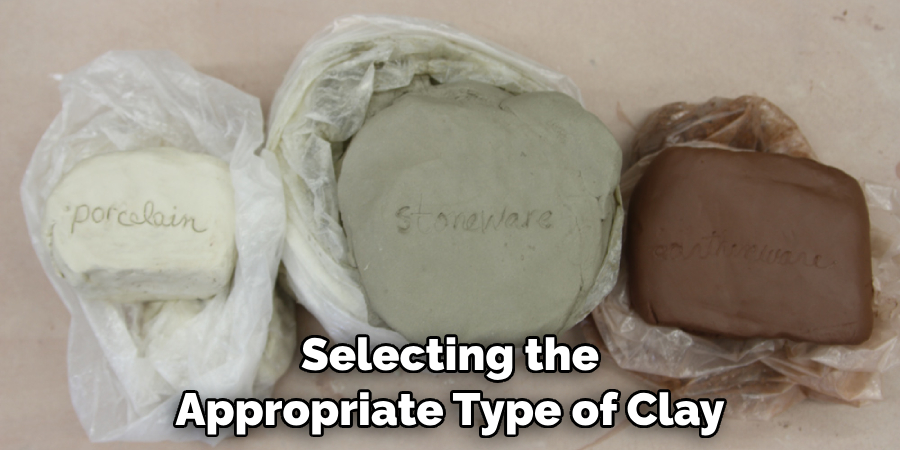
Stoneware is a versatile choice that, once fired, becomes strong and is suitable for both sculptures and functional items like pottery. It has a denser body than earthenware and can vary in color.
Porcelain, known for its purity and whiteness, requires a higher firing temperature and is more challenging to work with, but it offers a refined finish that is highly sought after for delicate and intricate pieces.
When choosing clay, consider the project’s required durability, the level of detail needed, and your experience level.
Different Types of Clay
Beyond the primary categories of earthenware, stoneware, and porcelain, there are several specialty clays that cater to unique sculpting needs and artistic ambitions. Paper Clay, enhanced with cellulose fibers, offers increased strength and flexibility, making it an excellent choice for ambitious projects that require added durability. For artists interested in achieving fine details and a smooth finish, Polymer Clay presents a versatile and user-friendly option, hardening when baked in a conventional oven at home.
Air-Dry Clay provides a convenient solution for those seeking to avoid the firing process altogether; however, it may not achieve the same level of strength and permanence as kiln-fired clays. Lastly, Raku Clay is designed specifically for the unique thermal shock demands of raku firing, providing resilience during the dramatic temperature changes. Each type of clay serves specific artistic and functional purposes, offering a diverse palette of textures, finishes, and structural capacities to sculptors.
Tools and Equipment
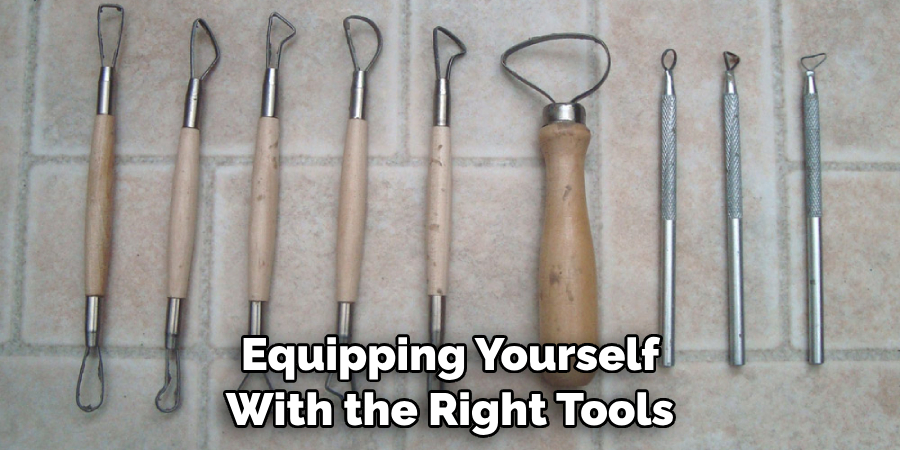
Equipping yourself with the right tools and equipment is essential in the sculpting process, as they can significantly influence the precision and quality of your work. For beginners and professionals alike, having a basic toolkit is fundamental to sculpting clay. This toolkit should include:
- Wire Clay Cutter: For slicing large blocks of clay into more manageable pieces.
- Ribbon Tools: Ideal for removing clay in controlled strips and creating smooth surfaces.
- Loop Tools: Used for carving, shaping, and hollowing out your sculpture.
- Wooden Modeling Tools: Versatile for smoothing, blending, and shaping.
- Metal Scrapers: Perfect for refining surfaces and removing excess clay.
- Needle Tools: Crucial for adding fine details and piercing.
- Sponge and Water Bucket: A damp sponge helps keep the clay workable, while a water bucket is essential for cleaning tools and hands.
- Rolling Pin or Slab Roller: For creating even slabs of clay.
- Kiln: Although a significant investment, a kiln is necessary for firing clay sculptures to harden them permanently.
In addition to these basics, artists may find it beneficial to explore specialized tools that cater to their unique sculpting techniques and styles. Investing in quality tools not only makes the sculpting process more enjoyable but also elevates the finished piece’s detail and sophistication.
7 Steps How to Sculpture Clay
1. Choosing the Right Clay:
The foundation of a successful clay sculpture lies in selecting the appropriate clay type. Various clays, such as earthenware, stoneware, and polymer clay, possess distinct characteristics. Understanding the qualities of each type is crucial for achieving desired textures, finishes, and firing outcomes. We’ll delve into the nuances of clay selection, considering factors like workability, color, and intended use.
2. Preparing the Workspace:
Creating an organized and conducive workspace is essential for an efficient and enjoyable sculpting experience. From setting up a dedicated area with proper ventilation to investing in the right tools, we’ll explore the key elements of an ideal sculpting space. Tips for organizing tools, choosing an ergonomic workspace, and ensuring safety will be covered to enhance the overall sculpting environment.
3. Basic Hand-Building Techniques:
Hand-building serves as a foundational method for clay sculpture, involving techniques like pinching, coiling, and slab construction. Detailed explanations and step-by-step instructions for each technique will be provided, accompanied by insights into the types of projects best suited for hand-building. This section will serve as a valuable resource for those exploring the tactile and expressive nature of sculpting by hand.
4. Introduction to Sculpting Tools:
A comprehensive understanding of sculpting tools is crucial for refining and detailing clay sculptures. We’ll explore an array of tools, including wire loops, carving tools, and texture stamps, discussing their specific uses and applications. Guidance on maintaining and cleaning tools will ensure longevity and optimal performance, empowering artists to achieve precision in their sculpting endeavors.
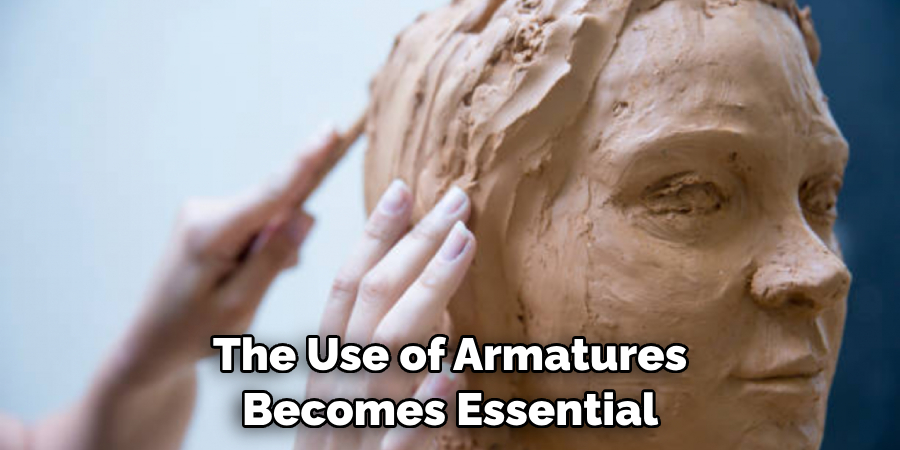
5. Modeling and Armature Techniques:
For larger or more intricate sculptures, the use of armatures becomes essential. This section will delve into the art of creating armatures to provide structural support for the clay. Techniques for constructing armatures, selecting appropriate materials, and integrating them seamlessly into the sculpting process will be covered, offering insights into achieving stability and balance in complex sculptures.
6. Understanding Sculpture Anatomy:
An in-depth understanding of anatomy is fundamental for creating realistic and aesthetically pleasing clay sculptures. We’ll explore the proportions, shapes, and details of various anatomical features, providing resources and references for artists to enhance their observational skills. This section will serve as a guide for sculptors aiming to capture the essence of the human form or other subjects with precision.
7. Finishing, Glazing, and Firing:
The final stages of sculpting involve finishing, glazing, and firing the clay to achieve a polished and durable masterpiece. Tips on refining surfaces, troubleshooting common issues, and selecting appropriate glazes will be covered. Additionally, we’ll provide insights into the firing process, including kiln operation, temperature considerations, and post-firing care, ensuring that artists can bring their clay sculptures to completion with confidence.
Safety Considerations While Handling Tools and Clay
Sculpting with clay, while deeply rewarding, requires attentiveness to safety, especially when handling tools and materials. Most sculpting tools are sharp, and even non-toxic clays can pose health risks if not handled properly. Therefore, artists should wear protective gear, such as gloves and goggles, when using tools like wire cutters or when involved in activities that produce dust, like sanding dried clay.
Additionally, it’s crucial to work in a well-ventilated area, particularly during the firing process, to avoid inhaling fumes that kilns may emit. Keeping tools properly maintained and stored can prevent accidents. Regularly washing hands and surfaces ensures clay particles and dust do not accumulate, minimizing respiratory and ingestion hazards.
Lastly, understanding the specific safety data sheets (SDS) for the materials used can provide critical information on handling emergencies, making it an indispensable practice for every sculptor.
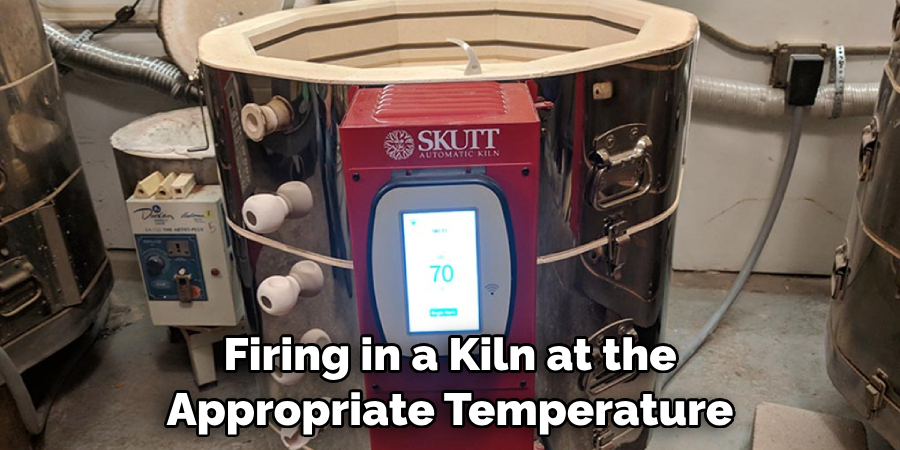
Preparing for Firing or Sealing Depending on Clay Type
Once the sculpting and detailing are complete, the next critical steps are firing or sealing your creation, contingent on the clay type you’ve utilized. For those working with earthenware, stoneware, or porcelain, firing in a kiln at the appropriate temperature is essential to vitrify the clay, making it hard and durable. This process requires careful attention to the kiln’s firing schedules and an understanding of the specific clay body’s maturation temperature to avoid mishaps like slumping or explosions from trapped air.
For artists using air-dry or polymer clays, sealing becomes imperative to protect the sculpture’s surface. This can be achieved through various sealants available on the market tailored to the clay type and the desired finish, whether matte, satin, or gloss.
Before applying any sealant, ensure that the sculpture is completely dry to prevent moisture from becoming trapped underneath, which could lead to deterioration over time. Testing the sealant on a small, inconspicuous area first can also help you anticipate the final appearance and catch any adverse reactions before it’s too late.
Regardless of the clay type, taking the time to properly finish your sculpture through firing or sealing is a crucial step that ensures the longevity and preservation of your artwork.
Troubleshooting Common Issues
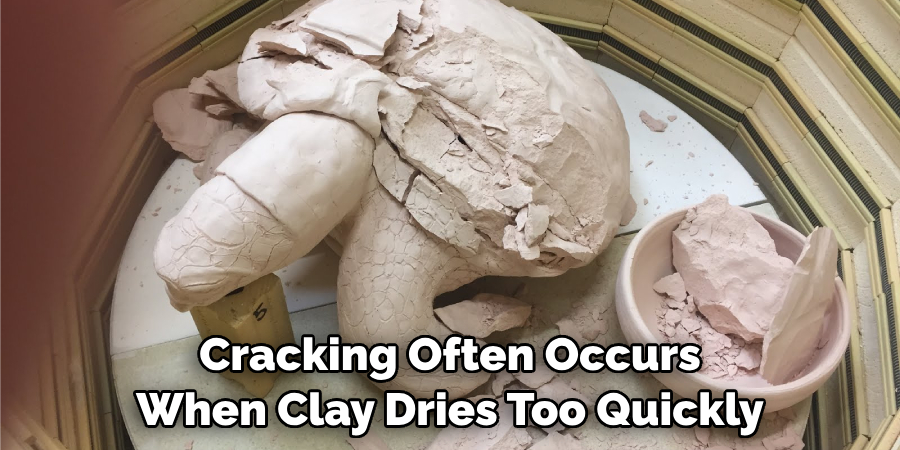
During the sculpting process, artists often encounter a variety of challenges that can impact the final outcome of their work. Whether dealing with cracking clay, uneven drying, or glaze faults, understanding how to address these issues can be crucial for the success of a sculpture.
Cracking often occurs when clay dries too quickly or unevenly. To mitigate this, ensure that the sculpture dries slowly and uniformly by covering it lightly with plastic or cloth, adjusting for ambient humidity and temperature. If cracks appear, they can sometimes be repaired by re-wetting the clay slightly and applying fresh clay to the affected area, blending it carefully.
Uneven drying can lead to warping or cracking as well. This is best prevented by rotating the sculpture regularly during the drying process and ensuring that thicker sections are hollowed out to facilitate even drying from the inside out.
Glaze faults, such as crawling, pinholing, or crazing, can detract from the aesthetics of the final piece. These issues often stem from improper glaze application, incorrect firing temperatures, or compatibility issues between the clay body and glaze. Correcting such faults might involve adjusting the glaze’s consistency, applying multiple thin coats instead of a single thick one, and carefully consulting the clay and glaze manufacturers’ guidelines for firing temperatures and compatibility.
Conclusion
In conclusion, sculpting clay is a deeply rewarding and versatile artistic endeavor that offers boundless opportunities for creativity and self-expression. Through the exploration of various techniques such as pinching, coil building, slab construction, and modeling, artists can bring their visions to life in three-dimensional form.
The journey of sculpting clay involves not only mastering fundamental skills but also embracing the iterative process of trial and error, learning, and growth. As artists progress, they develop a deeper understanding of the medium, refining their techniques and honing their artistic voices. Thanks for reading, and we hope this has given you some inspiration on how to sculpture clay!


