Embarking on the journey of repairing a cherished ceramic mug is a testament to the sentimental value we attach to everyday items. Whether it’s a crack from an accidental drop or a chip that seems to have stolen a piece of its character, the art of mending ceramic mugs is a skill worth mastering. This guide is an exploration of how to repair ceramic mug, delving into techniques that range from adhesive solutions to creative embellishments.

From selecting the right glue to understanding the nuances of ceramic painting, the endeavor to repair a ceramic mug is an art form that merges practicality with sentiment. Join us in this transformative journey, where broken pieces become a canvas for creativity, and the act of repair becomes a celebration of resilience and resourcefulness in preserving the cherished artifacts of our daily lives.
Table of Contents
The Importance of Repairing Ceramic Mugs
Ceramic mugs are delicate objects that, while they are high-quality and aesthetically pleasing, require proper care to keep them in good condition. Properly repairing a ceramic mug when it becomes damaged is an important step in making sure it continues to have its classic appeal and provides reliable enjoyment for years into the future. Repairing a ceramic mug requires the use of special tools and techniques that may not be familiar to someone unfamiliar with the process. This guide will provide you with tips for repairing ceramic mugs properly so that they last for years to come.
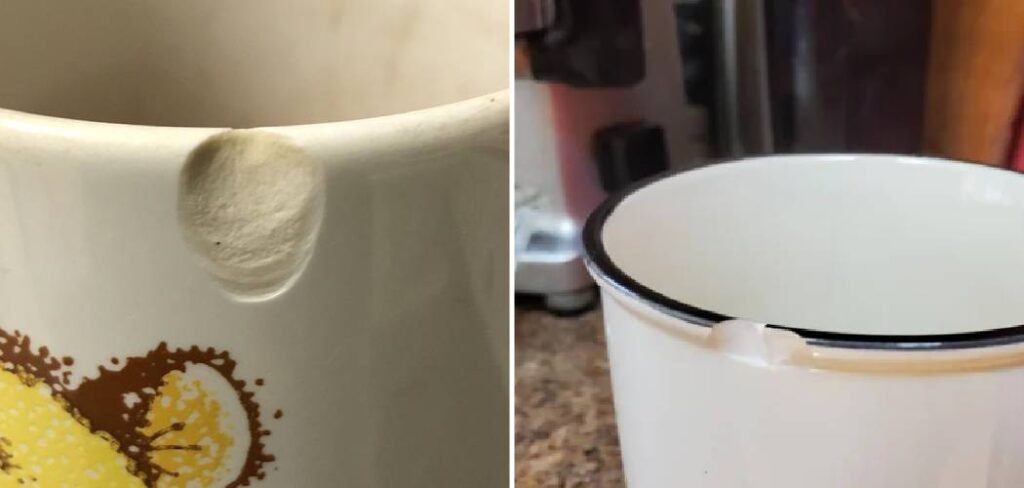
The first step in repairing a ceramic mug is to identify the type of damage it has sustained. Depending on how badly it is cracked or chipped, different types of repair techniques may be necessary. If the damage is small and superficial, it can be easily fixed with glue, while larger chips and cracks require more involved repairs such as filling in the damaged area with an epoxy or porcelain clay mix.
Once you have identified the type of damage that needs to be repaired, it’s time to gather the necessary tools and supplies. For minor repairs, all you’ll need is a tube of ceramic glue and some fine-grain sandpaper. For more involved repairs, such as filling in large cracks, you will need an epoxy or porcelain clay mix, along with small sculpting tools to help work the material into the damaged area.
The Sentimental and Environmental Benefits of Fixing Broken Mugs
Ceramic mugs are often treasured items – they can be gifts from loved ones, souvenirs from special trips, or simply a favorite mug out of all the others. When these mugs become broken, it can feel like a major loss! But repairing them doesn’t have to mean saying goodbye forever. In fact, fixing broken ceramic mugs can be an easy and satisfying task.
Not only that, but there are some great benefits to mending your broken ceramic mug rather than replacing it:
1. Sentimental Value

Forget the fact that you may have paid good money for a mug; when it has served as the vessel of your daily coffee or tea ritual, the emotional attachment can be even more powerful. That’s why it can be especially rewarding to repair the mug and keep using it.
2. Reduced Waste
By fixing your broken mug instead of throwing it out, you are keeping one more item from ending up in a landfill and contributing to global pollution.
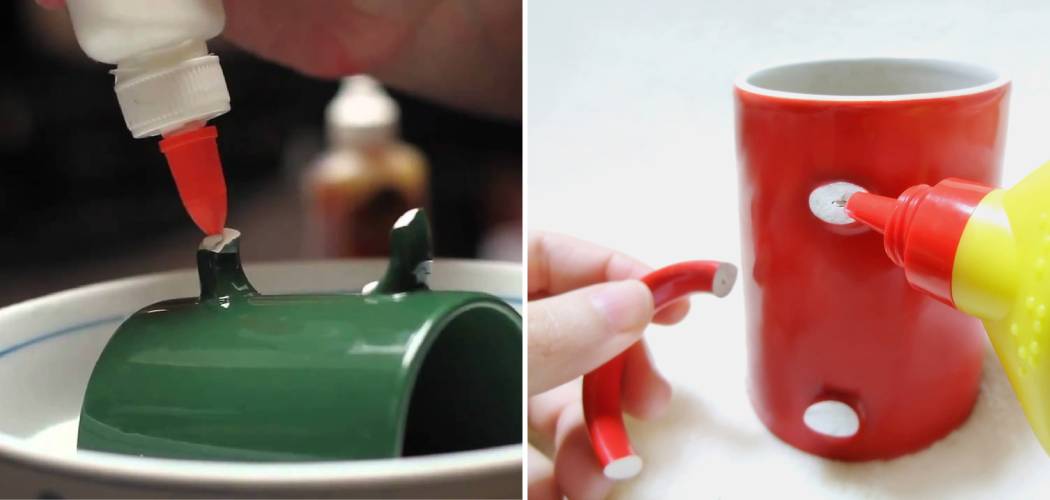
So if you ever find yourself dealing with a cracked or chipped mug, don’t worry – you can easily repair it with a few simple materials. Depending on the type of damage, you may need an adhesive like super glue or epoxy, and if your mug has broken into multiple pieces, some clay to help rebuild it.
Examine the Extent of the Damage on the Ceramic Mug
Once you have confirmed the ceramic mug is indeed broken, it is important to assess the extent of the damage. If it is a minor crack or chip, then a simple repair may be sufficient to restore the mug’s functionality and aesthetic appeal. On the other hand, if there are more serious cracks and chips that cause pieces of ceramic to come off, the mug may be beyond repair.
Once you have determined the extent of the damage, you can begin to plan your repair project. Make sure that you have all the tools and materials necessary for the job, such as epoxy glue or mending compound, sandpaper or a grinding wheel, and masking tape (if needed). You will also need a few pieces of clean cloth or paper towel for cleanup. When you have everything ready, it is time to start the repair process!
Put on protective gloves and safety goggles to protect your hands and eyes from any shards of ceramic that may fly off during the repair work. Start by gently sanding down any rough edges around the crack or chip in order to give a smoother surface area for the glue or mending compound to adhere to. Once you have smoothed out the edges, proceed with applying the mending compound or epoxy. Use a small brush and spread the adhesive evenly over both sides of the crack or chip. If necessary, use masking tape to secure the pieces together until it dries completely.

10 Methods How to Repair Ceramic Mug
1. Assess the Damage with Care:
Begin the restoration process by carefully assessing the extent of the damage to your ceramic mug. Observe the nature and size of the imperfection, whether it’s a small chip, a hairline crack, or a larger fracture. A thorough evaluation will help you determine the most suitable repair approach.
2. Gather the Right Materials:
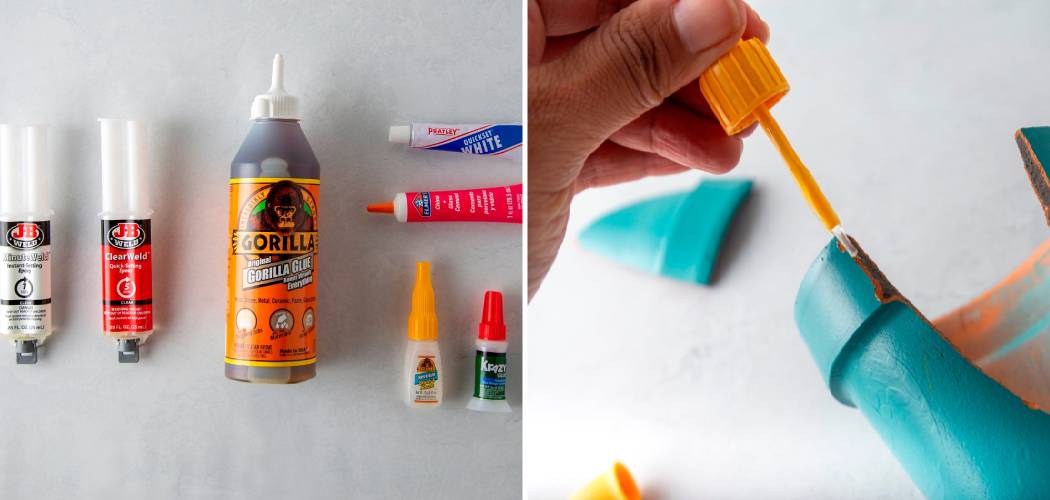
To ensure a successful repair, gather the necessary materials. In addition to ceramic adhesive or epoxy, a small brush or applicator, a soft cloth, and fine-grit sandpaper, consider using a magnifying glass to inspect the finer details and a safety mask and gloves to protect yourself during the repair process.
3. Cleanse the Mug with Precision:
Take great care in cleansing the mug, for a clean surface ensures optimal bonding. Wash the mug with warm soapy water, gently removing any dirt, oils, or residues. Rinse it thoroughly and ensure it is entirely dry before proceeding with the repair.
4. Choose the Perfect Adhesive for the Task:
Selecting the right adhesive is crucial to achieving a seamless repair. Choose a high-quality ceramic adhesive or epoxy specially designed for repairing ceramics. Ensure the adhesive is food-safe and dries clear to create an aesthetically pleasing finish.
5. Attending to Small Chips with Finesse:
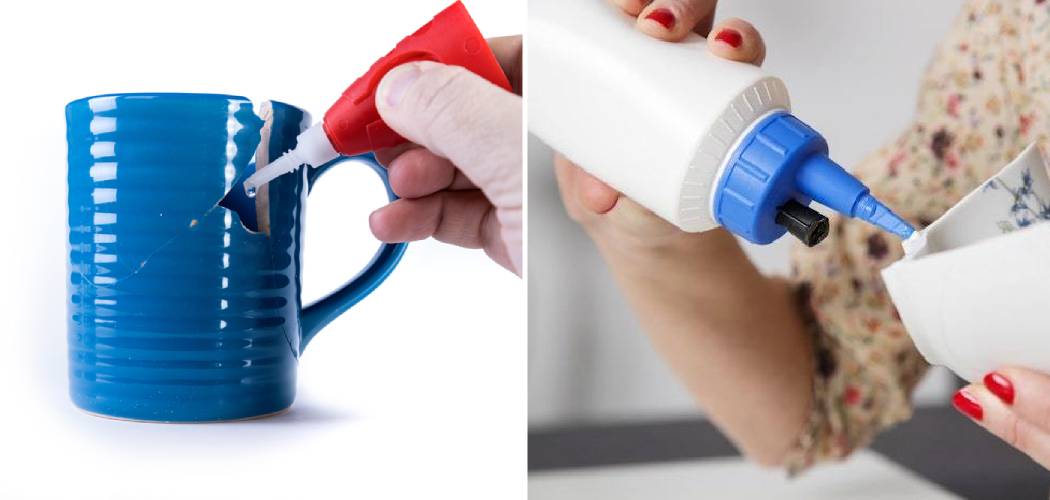
For small chips, apply a small amount of the chosen adhesive to the chipped area using a fine brush or applicator. Gently reposition the chip back into place, taking care to align it precisely. Hold the chip firmly in place for a few minutes to allow the adhesive to bond effectively. Wipe off any excess adhesive with a soft cloth and let it dry thoroughly.

6. Mending Longer Cracks with Care:
When dealing with longer cracks, apply the adhesive along the entire length of the crack, ensuring an even and consistent layer. Gently press the edges of the crack together, meticulously aligning them, and hold them in place for a few minutes to ensure a secure and seamless bond. Remove any excess adhesive with care and allow it to dry completely.
7. Reinforcing Large Cracks with Expertise (Optional):
To provide additional reinforcement for large cracks, consider applying adhesive to the inside of the mug along the length of the crack. This internal support enhances the mug’s structural integrity and extends the lifespan of the repair.
8. Embrace the Art of Sanding and Smoothing (Optional):
For those seeking perfection, consider sanding any rough edges or uneven surfaces with fine-grit sandpaper. Gently smooth out any imperfections, taking care not to damage the surrounding ceramic. This step adds finesse to the repair and ensures a flawless finish.
9. Exercise Patience with Drying Time:
Resist the temptation to use the mug immediately after the repair. Allow the adhesive to dry fully, adhering to the manufacturer’s instructions regarding the recommended drying time. Patiently waiting ensures a strong and durable bond, preventing any future disappointments.
10. Test for Stability and Safety:
Before reintroducing the mug to regular use, conduct a thorough stability test. Fill the mug with water and monitor for any leaks or signs of weakness along the repaired area. Confirm that the adhesive has created a secure and food-safe bond, providing peace of mind as you resume your cherished moments with the restored mug.

Conclusion
Now that you have learned the steps needed to repair that much-appreciated ceramic mug, you can take the necessary steps to properly mend it. Do not let a broken object keep you from enjoying something beautiful – take the initiative and properly repair your damaged ceramic mug. You will not only love the new look of your repaired coffee or tea-drinking pal, but you will also be proud of yourself for having fixed it on your own!
What’s more, next time a chipped mug appears in your life, you won’t be able to resist trying out this practical skill. With this newfound experience in how to repair ceramic mugs, you can proudly contend with any future damage or cracks – helping preserve beloved vessels for years ahead. So get out there and prove that nothing can ruin a good cup of coffee and that DIY repairs really do work!


