Extracting and processing natural clay is an ancient craft that connects us with the earth’s raw materials, transforming sediment into a versatile medium for artistic expression and functional creation. As a fundamental element in pottery and ceramics, natural clay serves as the building block for crafting vessels, sculptures, and other objects.
The process of turning raw, earthy clay into a workable and moldable substance involves a series of essential steps, from harvesting and refining to preparing the clay for artistic endeavors. Understanding the properties of different clay types and honing the skills required for processing opens up a world of possibilities for artisans and hobbyists alike. In this introductory guide, we explore how to process natural clay, delving into the techniques, tools, and considerations involved in harnessing the potential of this elemental material
Table of Contents
The Significance of Understanding Clay Properties
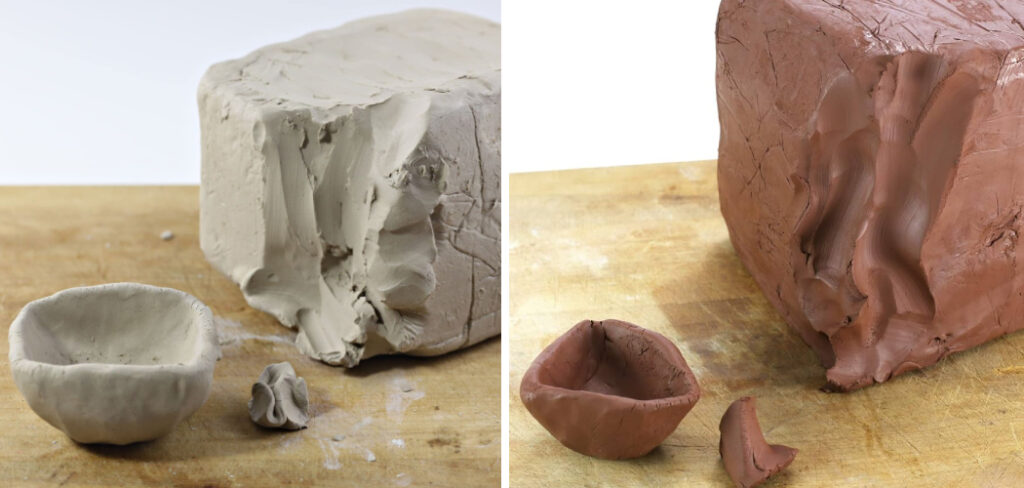
Recognizing the unique characteristics of various clay types is critical in the world of pottery. Each type of clay—be it earthenware, stoneware, or porcelain—processes differently, and their distinct properties affect the end result. For instance, earthenware remains porous and is ideal for creating decorative items, whereas stoneware is known for its durability and is commonly used in everyday dishware.
Porcelain, prized for its delicate translucency and strength, poses unique challenges in manipulation but creates exquisite pieces. An artist’s intimate knowledge of these properties is essential for selecting the right type of clay for a project and anticipating how it will behave throughout the processes of molding, drying, and firing.
Locating and Harvesting Clay
The first step in processing natural clay is locating a viable source. Natural clay can often be found in the soil near riverbeds, streams, or other geological formations that have had historical water flow. Before excavation, it’s essential to seek the appropriate permissions from local authorities or landowners. Once a potential site is identified, the harvesting process begins with the careful removal of the topsoil to reach the clay-rich layers beneath.
Tools such as spades and shovels are utilized for digging, and it is imperative to selectively gather clay that is free of debris and organic matter. The collected raw clay is then wrapped in cloth or placed in containers for transport to the location where the refinement process will take place. Throughout this stage, the conservation of the natural site should remain a priority to ensure the sustainability of resources for future generations of artisans.
Identifying Clay-Rich Soil
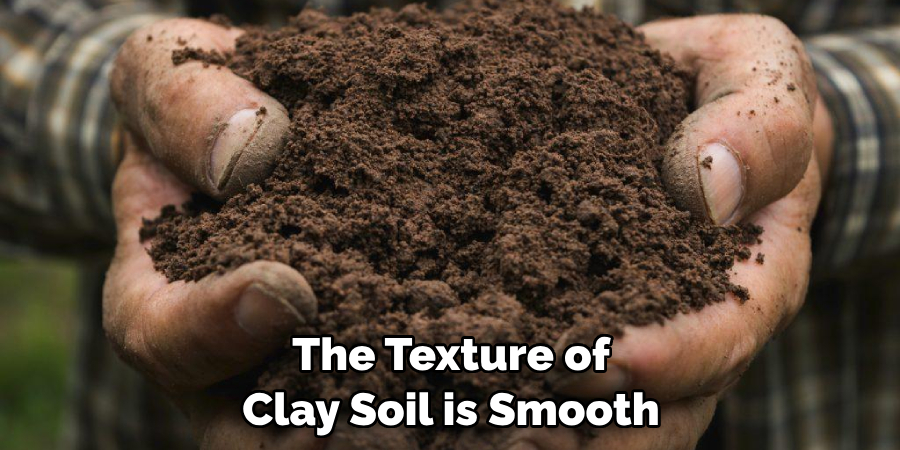
To successfully locate and harvest clay, one must be able to identify areas rich in this material. Clay-rich soil is typically found in lower landscape positions where water naturally deposits finer particles over time. Look for places where sediment has settled and water tends to stagnate, such as along riverbanks, floodplains, or old lake beds. The texture of clay soil is smooth and almost sticky when wet, and it will hold its shape if molded.
It is denser than sandy soils and retains water well. When dry, clay soil tends to be hard and can crack, showing distinctive clumping properties. Conducting a simple soil test—rolling a moistened ball of earth between your fingers to assess its plasticity and cohesiveness—can help determine the presence of clay. Pay particular attention to the color of the soil, as clay deposits often exhibit hues ranging from white and gray to yellow and red, providing clues to their mineral content and firing characteristics.
10 Steps How to Process Natural Clay
Pottery and clay crafting are as much about the process as they are about the art. The journey from raw clay to a beautifully crafted piece involves a measured approach and careful technique. Here’s a step-by-step guide for working with natural clay—perfect for beginners or those looking to refine their process.
1. Locating Raw Clay Deposits
Scout for areas rich in sedimentary deposits, which often yield clay. Look for regions that have not been disturbed and where the soil has a smooth texture. Initial testing can involve dissolving a small sample in water and allowing it to dry. Clay should retain its form and not crumble.
2. Excavating and Extracting Clay
Carefully scoop the top layer of soil and decomposed organic matter to reach the clay. Watch out for impurities like roots or rocks. With a shovel, extract the clay, keeping in mind that layers of clay can vary in quality and color.
3. Preparation for Processing
Dry the clay completely to remove any moisture, which will streamline the processing and avoid potential explosions in the kiln. Optional step: Slake the clay by adding water and stirring occasionally to aid in the breakdown of clay bodies and improve homogeneity.
4. Washing and Sifting the Clay
Place dried clay in a container with holes and submerge in water. Agitate and break up the lumps to facilitate washing. Let the water carrying clay particles settle, pour out the excess, and capture the remaining, refined clay for further drying.
5. Aging the Clay
Store the refined clay in a damp, dark environment to age. Aging improves workability and reduces the likelihood of air bubbles in the final piece. Periodically check on the clay, ensuring it does not dry out or grow mold. If needed, mist with water to maintain the desired consistency.
6. Kneading the Clay
When the clay is suitably aged, knead it to achieve a uniform texture. This helps to align clay particles and removes trapped air. Aim for a pliable consistency that isn’t too wet or dry, allowing for the formation of shapes without slumping or cracking.

7. Shaping and First-Firing (Bisque Firing)
Sculpt the clay using your desired technique, keeping in mind the specific attributes of your clay type. Bisque fire the shaped clay at a low temperature to remove all remaining moisture, harden the clay, and prepare it for glazing, if desired.
8. Glazing and Second-Firing (Glost Firing)
Apply glazes to bisque-fired pieces for both decorative and functional purposes. Remember to account for glaze shrinkage and the surface on which the piece will rest in the kiln. Gloss fire the glazed pieces at a higher temperature, ensuring the glaze bonds with the clay and the finished piece is both durable and lustrous.
9. Cooling and Assessing the Finished Piece
Gradually cool the kiln to prevent thermal shock, which can lead to breakage. A controlled cool down is usually achieved by restricting ventilation to the kiln. Once safe to handle, assess the quality of the finished piece. Look for any warping, discoloration, or other defects that can guide future adjustments to the crafting process.
10. Enjoy Your Artwork
Celebrate the completion of your piece and appreciate the craftsmanship that has gone into it. Share your art with others, or if it’s a functional piece, find the perfect place in your home to showcase your talent.
Testing and Adjusting Clay Properties
Before committing to larger projects, it’s essential to understand the properties of your clay. Conditioning a small test batch allows you to make adjustments for plasticity, absorption, and firing temperatures. Test tiles can be formed and subjected to the same bisque and glost firing as the final pieces to observe shrinkage, warping, and color changes.
By testing, you evaluate the compatibility of clay and glaze, thus preventing flaws and failures in larger works. Should the test reveal issues, adjustments such as mixing in grog or sand to reduce shrinkage, or experimenting with blending clays to reach the desired consistency may be necessary. The objective is a stable and workable medium that meets the demands of your artistic intent.
Things to Consider When Processing Natural Clay
When embarking on the art of clay processing, several key considerations must not be overlooked to ensure the quality and workability of your final product.
- Source and Composition: The origin of your clay can greatly affect its properties. Always note the source and mineral composition as these factors influence firing temperatures and durability.
- Impurities: While processing, be vigilant in removing impurities such as stones, roots, and organic matter, which can disrupt the integrity of the clay and the firing process.
- Moisture Content: Clay’s plasticity is directly linked to its moisture content. Finding the right balance is critical for ease of manipulation and to prevent issues like warping or cracking during drying and firing.
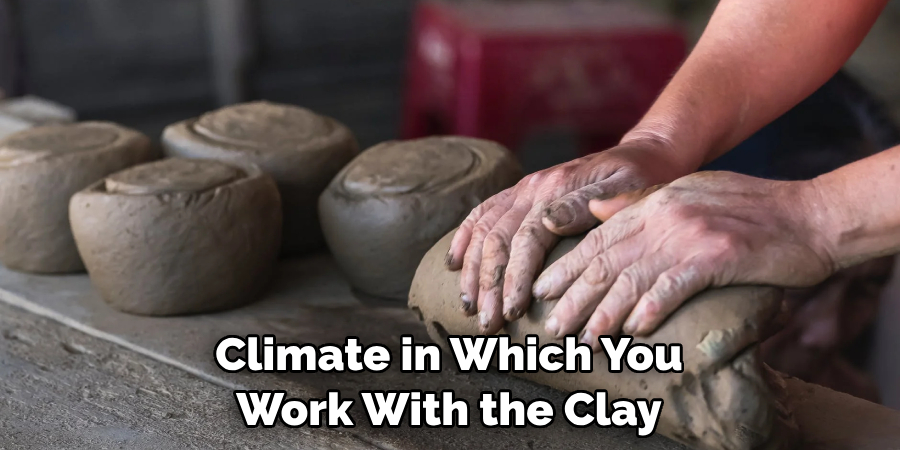
- Climate Considerations: The climate in which you work with the clay affects drying times and moisture levels. Adjust your process according to the humidity and temperature of your workspace.
- Shrinkage: As clay dries and undergoes firing, it shrinks. Account for this in your design and testing to ensure the dimensions of the final piece meet your expectations.
- Consistency: Before beginning a project, ensure that your kneaded clay is of consistent texture throughout to avoid air pockets and uneven drying, which could lead to structural weaknesses.
- Safety: Always remember that working with raw materials and high temperatures requires respect for safety protocols to avoid inhalation of dust and exposure to extreme heat.
These aspects are crucial in the transformation of a seemingly mundane lump of earth into a refined piece of art or a functional object, so treat each stage of the process with the importance it deserves.
Conclusion
In conclusion, the art of processing natural clay is a journey of discovery and creativity. Whether you’re a seasoned potter or you’re picking up clay for the first time, the Earth’s bountiful material offers a canvas for countless unique expressions. Understanding the mineral composition, proper preparation, and techniques for shaping and firing clay are crucial steps in the crafting process.
However, it’s the alchemical transformation from simple earth to a beautifully intricate piece that truly captivates our imagination and enables us to bring our visions to life. As you delve into the world of clay, remember that each piece tells a story, not just of the hands that sculpt it, but of the very ground from which it came. Be sure to follow all instructions on how to process natural clay carefully, and always consult an expert when in doubt. Happy crafting!


