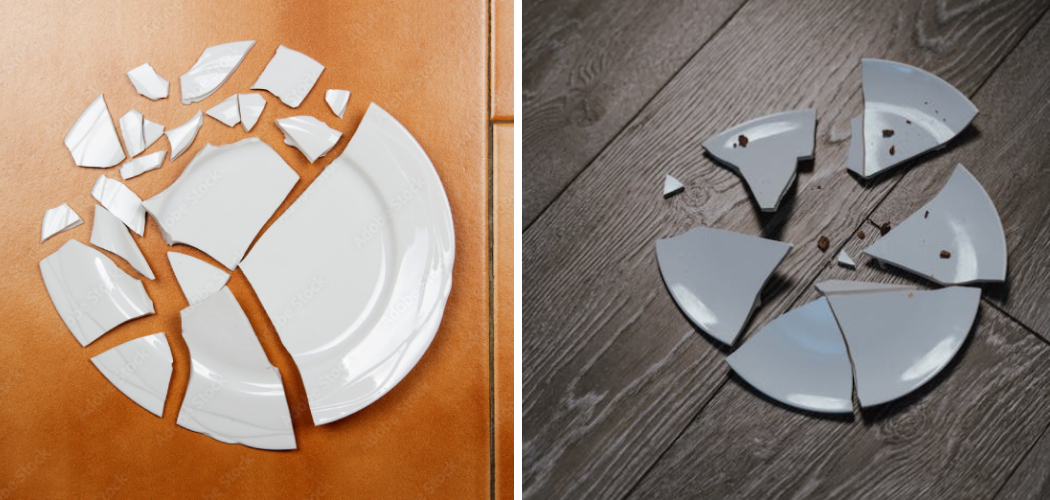
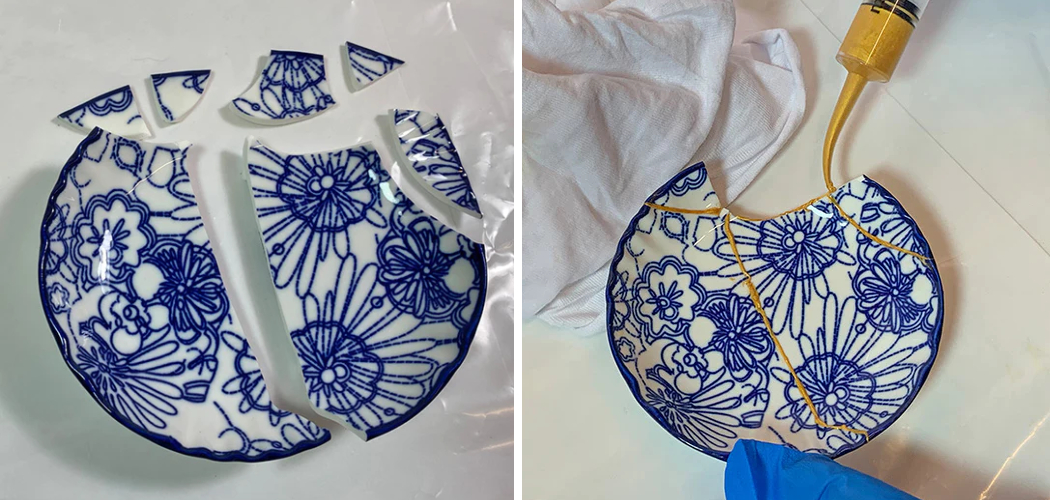
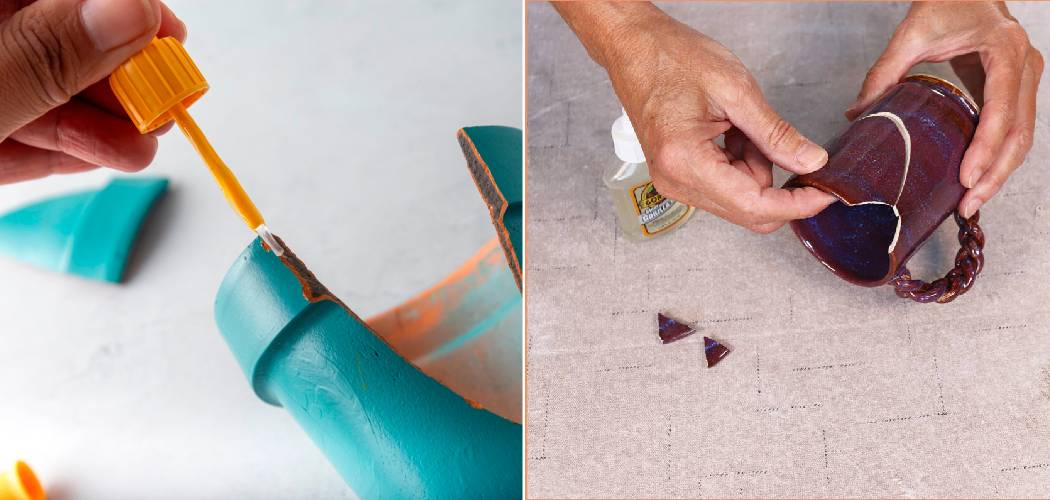
Repairing a hole in a ceramic pot can salvage both its functionality and aesthetic appeal, allowing you to extend the lifespan of your beloved plant containers or decorative pieces. Whether it’s a small puncture or a larger gap, addressing such imperfections promptly can prevent further damage and maintain the integrity of the pot. The process of plugging a hole in ceramic involves careful consideration of materials and techniques to ensure a durable and seamless repair.
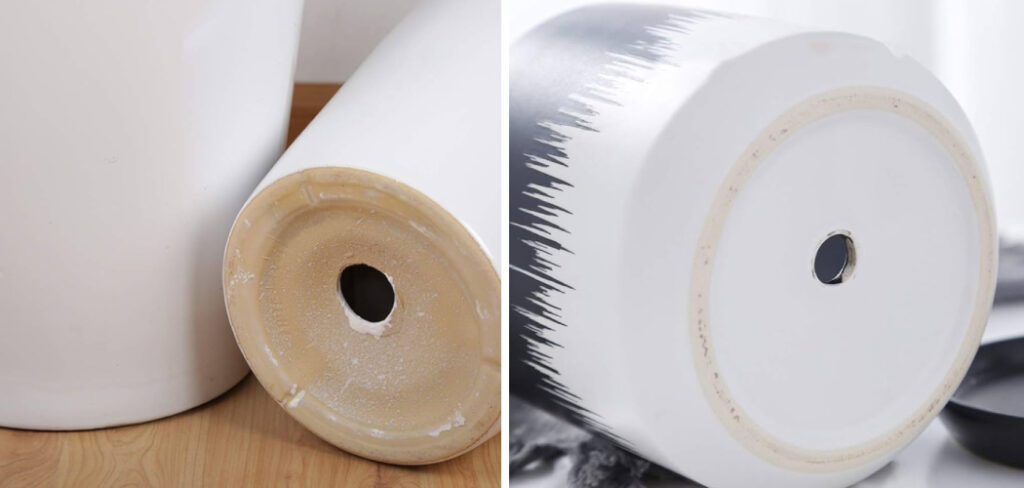
From selecting the right filler to properly preparing the surface, each step plays a crucial role in achieving a successful outcome. In this introductory guide, we explore how to plug a hole in a ceramic pot, offering insights into the tools, materials, and methods necessary to restore these cherished items to their former glory. Whether you’re a novice DIY enthusiast or a seasoned crafter, mastering this skill empowers you to breathe new life into your ceramic treasures with confidence and finesse.
Table of Contents
The Potential Consequences of Leaving Holes Unaddressed
Ignoring holes in ceramic pots can lead to several unwanted outcomes that can compromise both the pot’s functionality and the health of any plants it houses. Unsealed gaps may allow soil to leak out, making it difficult to maintain the proper growing environment for plants. Additionally, water drainage can become unpredictable, potentially over-saturating or dehydrating the plant roots.
Structural integrity is also at stake; once compromised by a hole, a pot might develop further cracks or breaks under stress, especially when moved or during temperature changes. Taking swift action to repair these imperfections helps to avoid such complications, ensuring that your ceramic pot continues to serve its purpose beautifully and efficiently.
Assessing the Damage
Before beginning any repair, it is critical to assess the extent of the damage to the ceramic pot. Start by cleaning the area around the hole, removing any debris or loose fragments that may interfere with the adhesion process. Once clean, examine the size and shape of the hole; small puncture-like holes will require less filler material and can typically be repaired more easily than larger, irregular gaps.
Furthermore, check for any hairline cracks emanating from the hole as these may indicate that the damage is more extensive than it initially appears. Understanding the full scope of the damage will help you determine the most appropriate repair method and ensure that you have all the necessary materials on hand to complete the repair effectively.
Gathering Materials and Tools
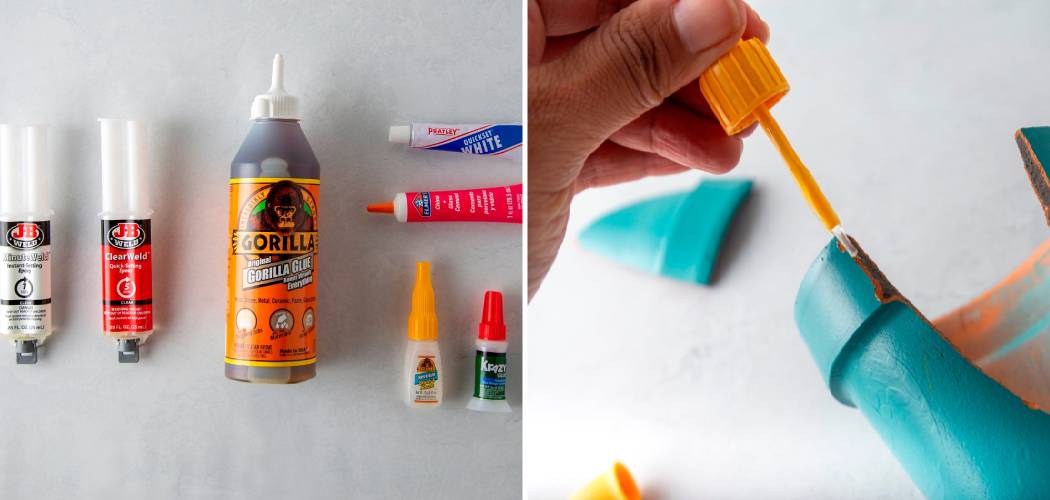
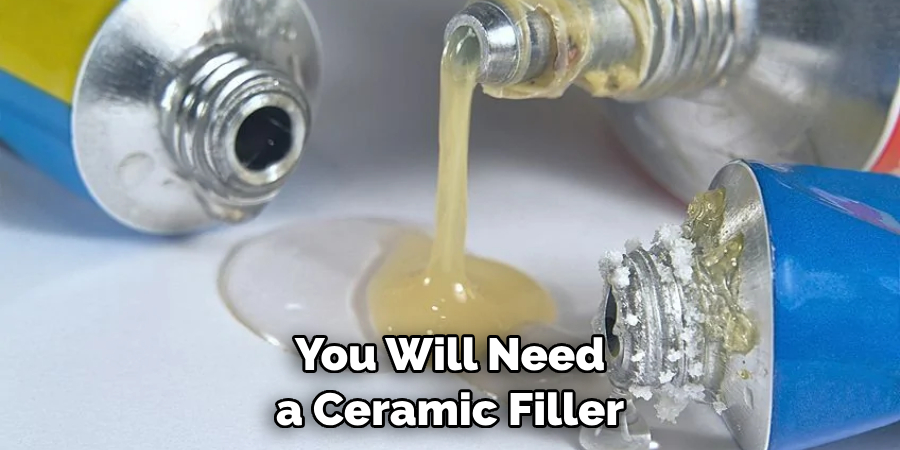
Before commencing the repair on your ceramic pot, gathering all the necessary materials and tools will streamline the process and enhance the repair’s effectiveness. You will need a ceramic filler or epoxy resin that is specifically formulated for ceramic or pottery repair. This will ensure that the bond is strong and the repair can withstand the elements if the pot is used outdoors. Select a filler that dries clear or one that can be painted over so that it can be discreetly concealed within the pot’s original design.
Additionally, equip yourself with fine-grit sandpaper to smooth out the area once the filler has cured. A clean cloth, rubbing alcohol, and a small applicator like a toothpick or a craft stick will be essential for preparing the surface and applying the filler. Protective gloves should also be used to keep your hands clean and to avoid skin contact with the adhesive. Lastly, consider having some paint and a small brush on hand if you plan on touching up the repaired area to match the rest of the pot. With your materials and tools prepared, you can move forward with confidence, ready to restore your ceramic pot to its full functionality and appearance.
10 Methods How to Plug a Hole in a Ceramic Pot
Ceramic pots are a staple for both indoor and outdoor gardening, but sometimes the drainage hole that’s perfect for plants can be a problem. Whether you’re using a pot for hydroponics, to hold water, or simply want to repurpose a decorative piece, finding yourself with a porously unwelcome hole is a common woe. Fortunately, there are various ways to fix this, so here are ten methods to plug a hole in a ceramic pot and prevent any unwanted leaks.
1. Cork it Up
Plain old cork is a natural choice for stopping up your pot. A cork stopper is easy to find, cheap, and it won’t break the bank. Firstly, ensure your cork is large enough to completely cover the hole. Apply adhesive to the bottom of the cork and press it firmly into the hole, sealing it from the inside.
2. Epoxy Resin Seal
Epoxy resin is a strong, waterproof adhesive ideal for plugging holes in ceramic. Mix the epoxy according to directions, and carefully dab or pour it over the hole. Use a small stick or toothpick to spread the epoxy and ensure it’s completely filled.
3. Food-Grade Silicone
Food-grade silicone is a great option if you are concerned about using adhesives near your plants. Apply a silicone sealant around the hole and smooth it with a damp finger to ensure it is sealed and looks tidy.
4. Plastic Wood Filler
Wood filler isn’t just for wood; it’s a versatile filler that also works well for ceramics. Clean the hole and press filler into and over it, then smooth it out with a putty knife.
5. Hot Glue Gun Magic
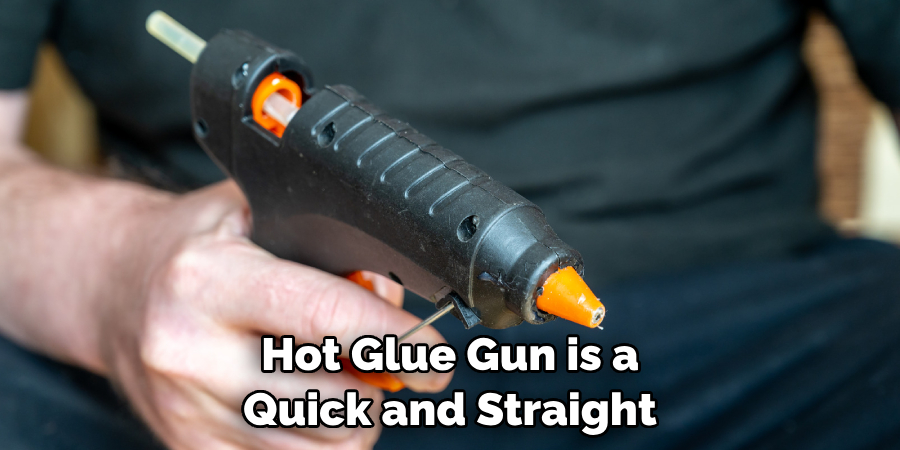
A hot glue gun is a quick and straight for ward solution for small holes. Simply fill the hole with hot glue, ensuring there is enough to form a seal, and let it cool and harden.
6. Rubber Grommet
A rubber grommet is another garden-variety solution that can provide a flexible and easy-to-replace seal. Choose a size slightly larger than the hole, then press it in place.
7. Bathroom Caulking
Silicone caulking used in bathrooms and kitchens is made to be waterproof and resistant to moisture, making it suitable for sealing ceramic pots. Apply a bead of caulk around the hole, then smooth it with a damp finger.
8. Metal Grommet for a Long-Lasting Fix
An option that not only seals but could also serve as a decorative touch is a metal grommet. Apply epoxy to the grommet, place it over the hole, and press down firmly to create a lasting seal.
9. Garden Hose Washer
A simple, yet effective alternative is a flat, rubber garden hose washer. Apply a small amount of silicone sealant to the washer, place it over the hole, and press down to seal.
10. Green Thumb Clay Alternative
If aesthetics are important, you could use self-hardening modeling clay in a color that complements your pot. Roll the clay into a ball and press it into the hole, smooth it over the surface, and let it harden.
By selecting from this list of creative solutions, you will not only salvage a beloved pot but also introduce a personal touch to its repair. Don’t let a small hole keep you from using your favorite ceramic planter in the way you envision; with the right plug, your pot, and your plants, will flourish beautifully.
Curing and Finishing
Once you have chosen and applied one of the aforementioned methods to plug the hole in your ceramic pot, it is essential to allow the material to cure completely before moving to the finishing stage. Curing times can vary widely depending on the material used—from a few hours for substances like hot glue and silicone, to a full day or more for epoxy resin.
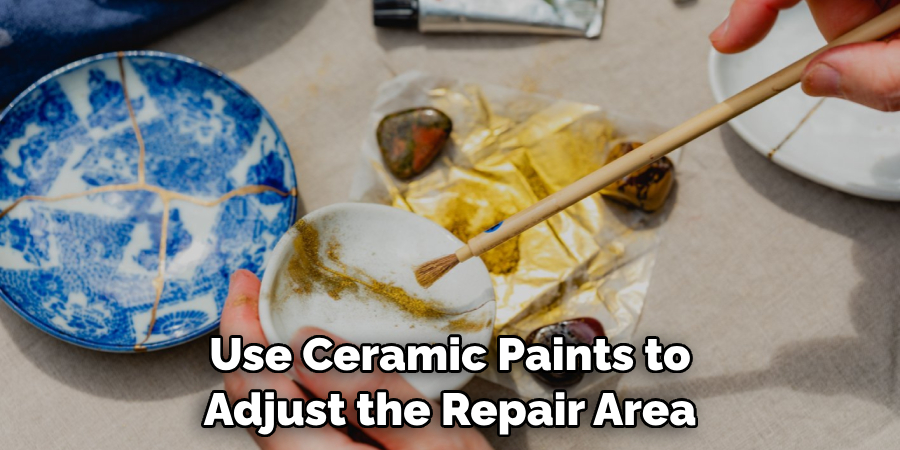
After the cure, the next step is to ensure the repair blends in with the pot’s exterior. If your filler material isn’t a perfect match color-wise, you can use ceramic paints to adjust the repair area to blend seamlessly with the existing finish. Use fine-grit sandpaper to smooth any rough edges or uneven surfaces. This will not only improve the pot’s appearance but also help prevent any potential injury from sharp edges. When painting or touching up the repaired area, apply thin layers, allowing sufficient drying time between coats to achieve the best result.
Ultimately, the finishing touches are essential in restoring the aesthetic of your ceramic pot and keeping its repair virtually invisible. Once finished, your pot will be ready for its new function, whether as a home for your plants or a decorative element enhancing your space.
Conclusion
As we close the lid on our ceramic pot repair journey, we reflect on the delicate art of plugging holes in these timeless vessels. From the necessity of selecting the right adhesive to understanding the intricacies of working with ceramic, we have explored how to plug a hole in a ceramic pot. Remember, whether it’s a beloved planter you wish to salvage or an heirloom awaiting a new lease on life, the process is as much about precision as it is about patience.
Each chip and crack offers an opportunity to demonstrate our commitment to the value of the handmade. So, as you embark on your own ceramic repair, take with you the tools we’ve provided and the knowledge that skillful restoration is within your hands.
