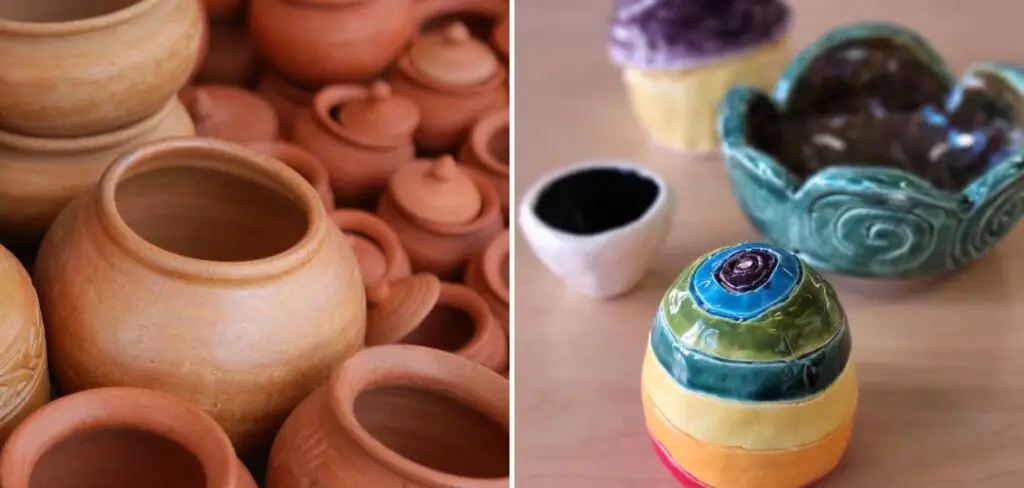
Pit firing pottery is an ancient and captivating method that connects artisans with the elemental beauty of fire. This unique technique involves firing clay pieces directly in a pit, infusing them with a distinct, earthy character. In this guide on how to pit fire pottery, we’ll delve into the steps and considerations necessary to create stunning, one-of-a-kind ceramic pieces.
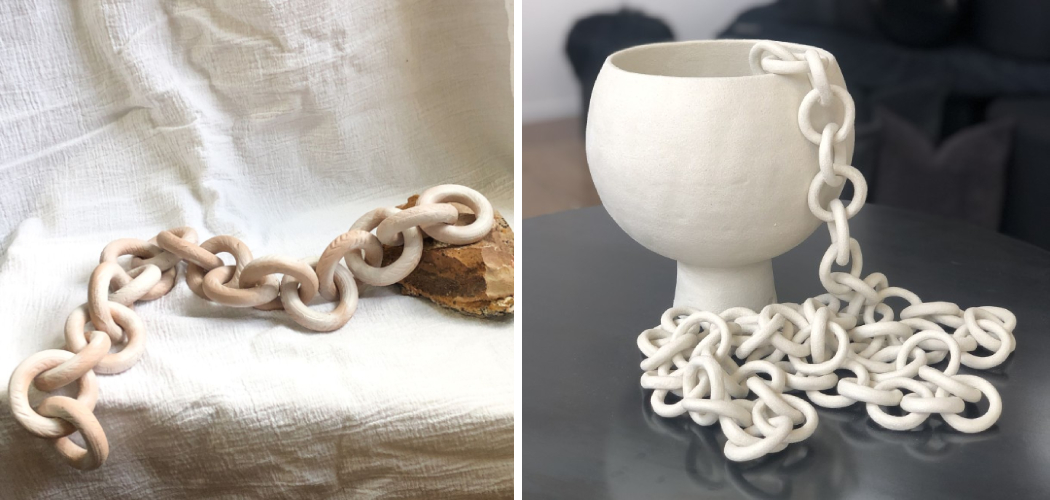
From preparing the clay and constructing a pit kiln to mastering the firing process, we’ll explore the artistry and unpredictability that make pit firing a favorite among ceramic enthusiasts. Whether you’re a seasoned potter or a novice eager to explore alternative firing methods, this comprehensive journey into pit firing will inspire you to embrace the primal allure of fire in shaping your pottery, resulting in pieces that reflect the natural and unpredictable beauty of this age-old technique.
Table of Contents
Historical and Cultural Significance of Pit Firing
Pit firing has been an ancient method of creating pottery that dates back to the Neolithic Period. It was developed by early humans as a means to create functional and decorative vessels for daily use.
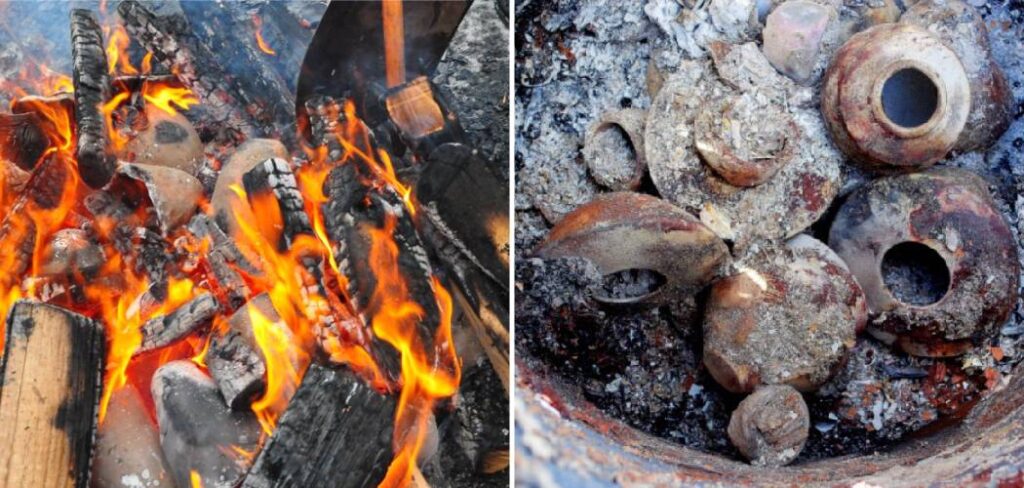
The process involves digging a pit in the ground, stacking layers of wood or other combustible materials such as sawdust, leaves or dung, and then placing the pottery pieces on top. Next, the pit is covered with more combustible materials and set on fire. The intense heat from the fire causes a chemical reaction in which the clay turns into ceramic, resulting in beautiful and unique pottery pieces.
Pit firing has been an integral part of many cultures around the world, including Native American tribes in North America, Indigenous communities in Australia, and nomadic groups in Africa. In addition to creating functional pottery, it was also used as a way to decorate and add intricate designs to the pieces by using various techniques such as smoke firing and horsehair raku.
The cultural significance of pit firing goes beyond just creating pottery. It is deeply rooted in traditional beliefs and customs, with many cultures incorporating spiritual practices during the firing process. For example, Native American tribes believe that the fire connects them to their ancestors and the natural elements, making it a sacred ritual.
10 Steps How to Pit Fire Pottery
1. Gather Materials
The first step to pit firing pottery is to gather the necessary materials. This includes clay, glazes, sawdust, wood, and other combustible materials such as newspaper or dried leaves. You will also need a shovel and a fireproof container such as a metal bucket or an old barbecue pit.
2. Prepare the Clay
Once you have gathered all of your materials, it’s time to prepare the clay for firing. Start by wedging the clay to remove any air bubbles and then roll it out into slabs that are approximately 1/4 inch thick. Cut out shapes from the slabs using cookie cutters or other tools and place them on a drying board until they are leather hard.
3. Glaze the Pieces
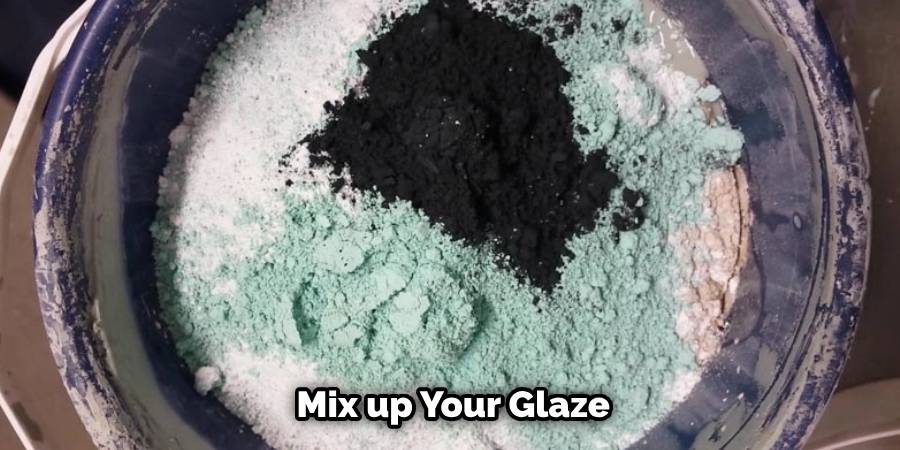
Once the pieces are dry enough, it’s time to glaze them. Start by mixing up your glaze according to the manufacturer’s instructions and then brush it onto each piece with a soft brush. Allow the pieces to dry completely before continuing on to the next step.
4. Build a Fire Pit
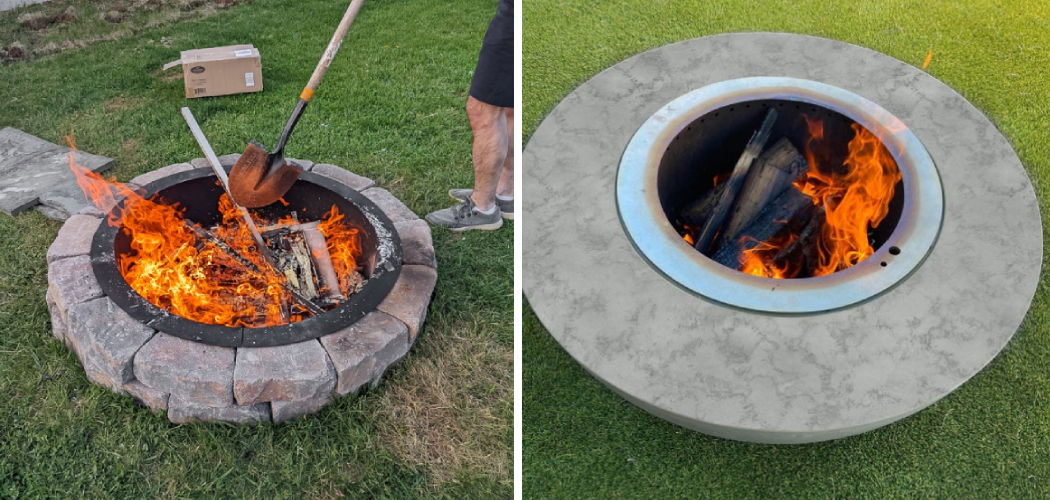
The next step is to build a fire pit in which you will fire your pottery pieces. Choose an area that is away from buildings and other flammable materials and clear away any debris from the area so that you have a clean surface on which to work. Dig a shallow hole in the ground that is large enough for your fireproof container and line it with stones or bricks if desired for extra protection against heat transfer.
5. Place Pottery in Pit
Once your fire pit is ready, place your pottery pieces inside of it along with any combustible materials, such as sawdust or dried leaves, that you may wish to use for added texture or color during firing. Be sure not to overcrowd the pieces so that they have room to move around when heated up later on in the process.
6. Light Fire
Light your fire using either wood or charcoal briquettes, depending on what type of fuel you prefer working with most often when firing pottery pieces in this manner (wood will give more of an earthy flavor while charcoal briquettes will provide more consistent heat). Once lit, allow the fire to burn down until there are only hot coals remaining, at which point you can move on to the next step of pit-firing pottery pieces successfully!
7. Cover Fire Pit
Covering your fire pit is an important step when pit-firing pottery as this helps retain heat within its walls while also allowing smoke and gases created during combustion to escape safely outside without causing any harm inside of your home or workspace environment where these fumes could be inhaled by humans or animals alike!
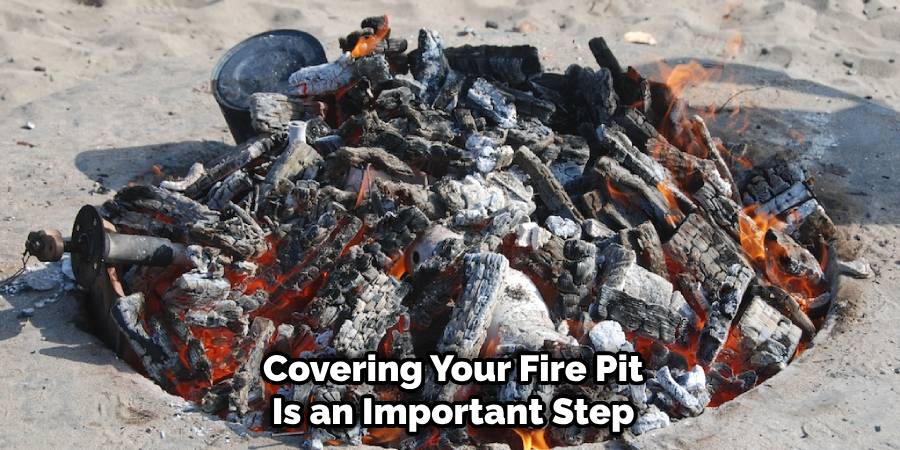
Covering can be done using either metal sheets (such as aluminum foil) or damp burlap sacks secured tightly overtop of your fire pit with rocks placed around its perimeter for extra weight if needed – just make sure there’s plenty of air circulating underneath so oxygen can reach those hot coals!
8. Monitor Fire Temperature
Monitoring temperature within your firepit during firing is essential for successful results when pit firing pottery – too high temperatures can cause cracking while too low temperatures won’t allow colors from glazes applied earlier to come through properly! A good way to monitor temperature is by using thermometers placed strategically throughout different areas inside of your pit – this way, you’ll know exactly how hot things are getting at all times!
9. Put Out Fire When Finished Firing
When finished firing (usually after about 8-10 hours), put out flames within your firepit by covering them up with dirt or sand before removing all items inside – this helps prevent any potential accidents occurring due to possible sparks flying outwards unexpectedly!
Once everything has cooled down sufficiently (about 2-3 days), remove all items carefully from inside before cleaning off ash residue left behind using brushes specifically designed for this purpose (or alternatively just use an old toothbrush!).
10. Enjoy Your Finished Pieces!
Finally – enjoy those beautiful finished pieces you worked so hard on creating! Whether used for decoration purposes only or functional items like mugs & plates etc., these unique creations made entirely by hand will surely bring joy & satisfaction every time they’re admired & used!
Things to Consider When Pit Firing Pottery
Pit firing pottery is a primitive, yet exciting process that has been used by various cultures around the world for centuries. It involves firing clay objects in an earthen pit rather than a traditional kiln. This method produces unique and unpredictable results, making each piece truly one-of-a-kind.
If you are interested in trying out pit firing for yourself, here are some important things to consider before you get started.
1. Safety First
Pit firing involves fire and smoke, so it is essential to prioritize safety when planning your pit firing session. Make sure to choose a suitable location away from any flammable objects or structures. It is also recommended to have a bucket of water nearby in case of emergencies.
2. The Right Clay
Not all clays are suitable for pit firing, as they may not be able to withstand the high temperatures and rapid changes in temperature during the firing process. It is best to use a low-fire clay or a specially formulated pit firing clay.
3. Preparing the Pieces
Before placing your pieces in the pit, make sure they are completely dry and free from any glazes or surface treatments. Any moisture trapped inside the clay can cause it to explode during firing, so it is crucial to take this step seriously.
4. Fuel Choice
The type of fuel you use in your pit will have a significant impact on the final results of your pottery. Traditional pit firings often use sawdust, wood chips, or leaves as fuel. However, you can also experiment with other materials such as seaweed or banana peels to achieve different effects.
5. Firing Time
Unlike traditional kiln firing, there is no set timing for pit firing. It all depends on the type of fuel used and the desired results. Generally, it takes anywhere from 6-12 hours for the pit to reach its peak temperature, and then another 12-24 hours for it to cool down completely.
Conclusion
In conclusion, understanding how to pit fire pottery is a valuable skill that requires patience and trial and error. It draws influence from multiple art forms, such as folk fantasies and ancient mythologies, creating pots rich in layered symbolism. Pit firing can add beauty, character, and texture to your pottery.
Plus, getting together with friends to build a fire pit can make an ordinary evening into an extraordinary adventure. Hopefully, this post has given readers some insight on how to pit-fire pottery – so why not start building the fire and get ready to create some beautiful pieces? You’ll thank yourself later for learning about this amazing technique!
