Embarking on the art of crafting ceramic chains opens up a world of creative possibilities, blending the age-old tradition of pottery with a contemporary twist. The process of making ceramic chains involves a delicate balance of skill and imagination, resulting in unique and visually captivating pieces of art. In this article, we’ll explore the steps and techniques for how to make ceramic chain, from choosing the right clay and understanding the intricacies of hand-building to firing and glazing the final masterpiece.
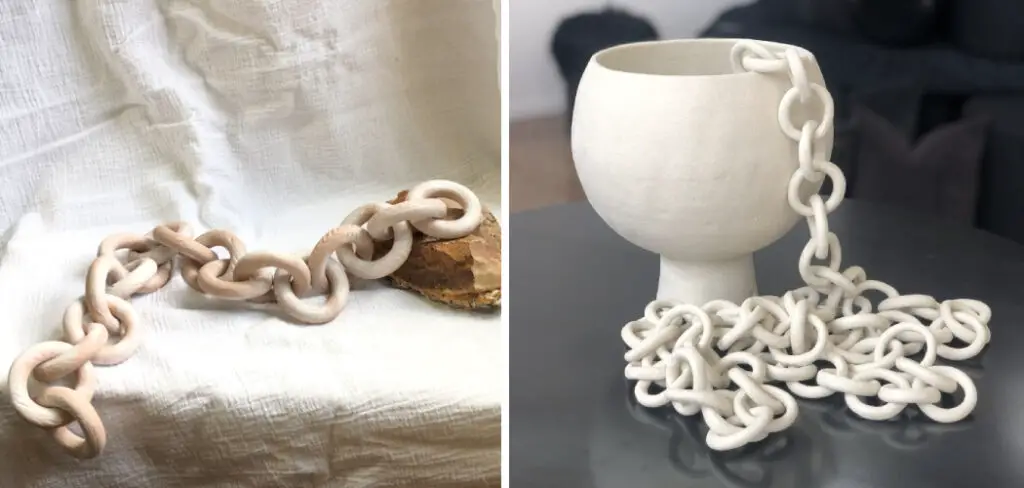
Whether you’re a seasoned ceramic artist or a novice eager to experiment with this versatile medium, the journey of making ceramic chains promises to be a rewarding exploration of form, texture, and artistic expression. Join us as we delve into the fascinating realm of ceramic chain-making, where traditional craftsmanship meets modern design, unlocking the door to a world of endless creative potential.
Table of Contents
Types of Clay Suitable for Making Ceramic Chains
When it comes to making ceramic chains, selecting the right type of clay is crucial for both the aesthetic and structural integrity of your creations. Earthenware Clay is a popular choice for its workability and vibrant color possibilities post-glazing, making it ideal for decorative pieces.
Stoneware Clay offers a denser, more durable option, suitable for functional art pieces that require more strength. Lastly, Porcelain Clay stands out for its exquisite fineness and white color, lending a touch of elegance to your ceramic chains. Each type of clay has its unique qualities and firing temperatures, which must be carefully considered to match the artist’s vision and the practical demands of the project.
Properties of Clay for Chain-Making
For successful ceramic chain-making, understanding the properties of your chosen clay is essential. Plasticity is the clay’s ability to hold shape without cracking, making it easier to form into chain links. This property varies among clay types, with earthenware generally offering the highest plasticity.
Shrinkage occurs as the clay dries and is fired, potentially affecting the final size and fit of the chain links. Different clays shrink at different rates, requiring careful adjustment and testing by the artist. Porosity determines how much moisture the fired clay absorbs, which influences not only the strength and durability of the ceramic chain but also its suitability for glazed or unglazed finishes.
Lastly, the firing temperature of the clay dictates the kiln settings needed to vitrify the clay body, ensuring it is hard and durable. Each type of clay requires a specific temperature range to achieve optimal results, making the understanding of these properties critical for crafting lasting and beautiful ceramic chains.
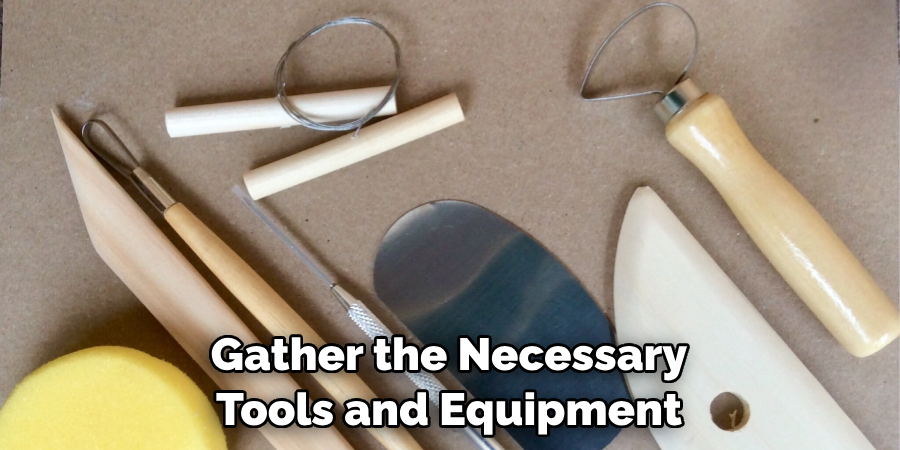
Necessary Tools and Equipment
Before venturing into the creation of ceramic chains, it is essential to gather the necessary tools and equipment that will facilitate the process from start to finish. Primary among these is a Rolling Pin or a Slab Roller, both of which are invaluable for rolling out consistent slabs of clay – the foundation of your ceramic chain links. Clay Cutters of various shapes and sizes allow for precision in cutting out the individual links, offering versatility in design.
Needle Tools and Sponges come in handy for cleaning and smoothing the edges of each link, ensuring a professional finish. A Kiln is critical for firing the clay, transforming it from a malleable state to a solid, durable form. Additionally, Glazing Brushes and a selection of Glazes enable the artist to apply color and finish to the ceramic chains, adding an aesthetic touch that can range from rustic to glossy.
For those inclined towards experimentation, Texture Tools and Stamps provide a means to imprint unique patterns and designs onto the clay before it is fired, giving each piece a distinct character. Together, these tools and equipment form the backbone of the ceramic chain-making process, allowing artists to explore their creativity while ensuring high-quality results.
9 Steps How to Make Ceramic Chain
1. Choosing the Right Clay:
The foundation of any successful ceramic chain lies in selecting the appropriate clay. We’ll delve into the characteristics of various clay types, such as earthenware, stoneware, or porcelain, considering factors like workability, texture, and color. Understanding the unique properties of each clay type will inform your decisions throughout the chain-making process.
Clay is a versatile material that has been used for centuries in various forms of art and practical applications. It is composed of fine particles of minerals such as kaolinite, illite, and montmorillonite, mixed with water to form a pliable material.
2. Preparing the Clay:
Properly preparing the clay is essential for creating a ceramic chain with structural integrity. Techniques for wedging, kneading, and conditioning the clay will be covered, ensuring that it is free of air bubbles and ready for shaping. Additionally, considerations for moisture content and consistency will be discussed to optimize the workability of the clay.
3. Hand-Building Techniques:
Hand-building serves as the core method for crafting ceramic chains. We’ll explore various hand-building techniques such as pinching, coiling, and slab construction, providing step-by-step instructions for each. Insights into creating uniform components and achieving desired shapes will empower artists to express their creativity through diverse forms of hand-built chains.
4. Designing and Planning:
A thoughtful design and planning phase is crucial for a cohesive and visually appealing ceramic chain. This section will guide artists through the process of sketching, prototyping, and refining their ideas. Considerations for chain length, link shapes, and overall aesthetics will be explored, emphasizing the importance of planning before diving into the physical creation of the chain.
5. Creating Texture and Surface Details:
Adding texture and intricate surface details can elevate a ceramic chain to a new level of visual interest. Techniques such as carving, stamping, and impressing will be discussed, offering artists the tools to infuse personality and uniqueness into each link. Considerations for uniformity and balance in texture application will be emphasized for a harmonious overall design.
6. Assembling and Connecting Links:
The method of assembling and connecting individual links is a critical step in creating a functional ceramic chain. Techniques for ensuring secure connections, such as scoring and slipping, will be explained in detail. We’ll explore options for creating a seamless flow between links, whether through coiling, stacking, or interlocking, allowing artists to experiment with different assembly methods.
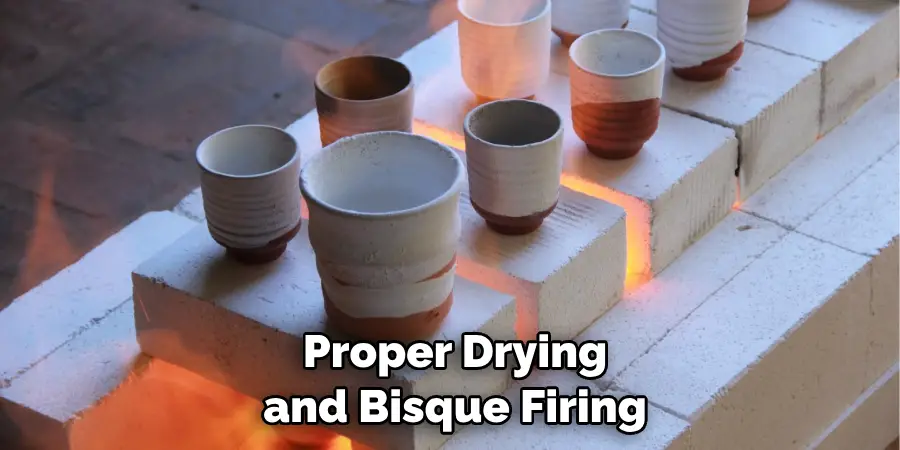
7. Drying and Bisque Firing:
Proper drying and bisque firing are essential to prevent cracks and ensure the ceramic chain’s structural integrity. This section will cover the gradual drying process, addressing factors like moisture levels and ambient conditions. Insight into bisque firing temperatures, schedules, and precautions will be provided, guiding artists through the initial firing phase.
8. Glazing Techniques:
Glazing adds the finishing touch to a ceramic chain, enhancing its aesthetic appeal and providing a protective layer. We’ll explore various glazing techniques, from dipping and brushing to layering and resist methods. Considerations for color selection, glaze compatibility, and achieving desired surface effects will empower artists to personalize their ceramic chains with a range of captivating finishes.
9. Glaze Firing and Post-Firing Care:
Glaze firing is the final stage in the ceramic chain-making process. This section will cover kiln operation, firing temperatures, and post-firing care, ensuring that the glaze matures properly and the ceramic chain emerges with the desired finish. Tips for avoiding common glaze firing pitfalls will be shared to help artists achieve consistent and successful results.
Considerations for Firing Temperatures and Glazing:
Understanding the firing temperatures is pivotal to the success of crafting ceramic chains, as different clays and glazes mature at different temperatures. A misalignment in firing temperature can lead to several issues, including melting, warping, or insufficient maturation of glaze, affecting both the aesthetics and durability of the ceramic chain.
It’s crucial for artists to reference the specific temperature ranges recommended for their selected clay and glaze types. For example, earthenware clays typically fire at lower temperatures (1828°F to 2088°F) compared to stoneware or porcelain, which require higher temperatures to vitrify (2150°F to 2336°F). Glazes should be carefully chosen to match the maturation temperature of the clay body, ensuring a cohesive and stable finish.
Furthermore, the glazing process demands thoughtful consideration. A uniform application ensures a cohesive look, while the number of glaze coats can significantly alter the appearance and texture of the finished ceramic chain. Artists should test their chosen glazes on sample clay bodies to observe how multiple factors, including firing temperatures and application techniques, affect the final outcome. This preparatory step minimizes the likelihood of unexpected results and supports the artistic vision.
Troubleshooting Common Issues:
Despite meticulous planning and execution, artists may encounter various issues while crafting ceramic chains. This section aims to address common problems and offer practical solutions to help ensure a smoother creation process.
1. Cracking Links:
Cracks can occur during drying or firing due to uneven drying or the presence of air pockets in the clay. To mitigate this, ensure the clay is thoroughly wedged before shaping and dry the links slowly and evenly. If cracks appear, small amounts of slip can be used to repair them before final drying.
2. Warping:
Warping may happen during the drying or firing stages, often due to uneven thickness in the links or rapid heating/cooling in the kiln. To prevent warping, maintain uniform thickness throughout your links and ensure a gradual kiln temperature ramp-up and cool-down.
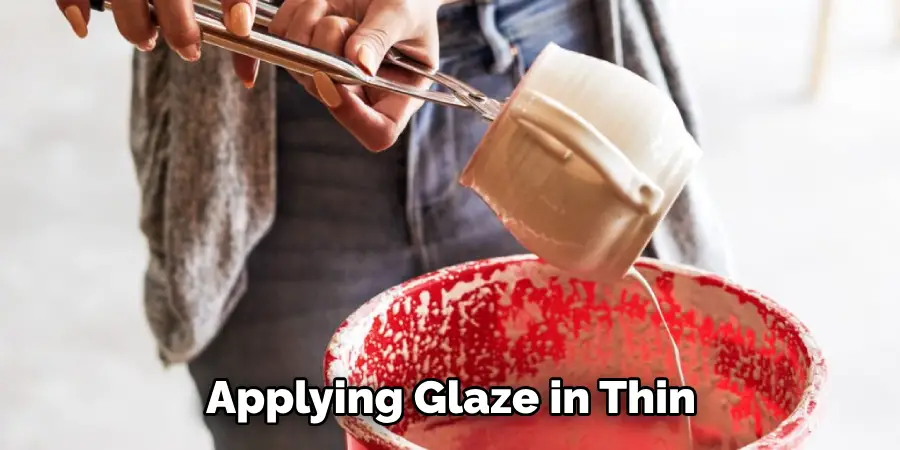
3. Glaze Issues:
Common glaze issues include crawling, where the glaze retracts from the clay body, and pinholing or bubbling. Ensure the ceramic surface is clean and free of dust before applying glaze. Applying glaze in thin, even coats and ensuring the appropriate firing temperature can also minimize these issues.
By addressing these common challenges, artists can improve the quality and durability of their ceramic chains, leading to more satisfying and successful outcomes.
Conclusion
In conclusion, crafting ceramic chains is a captivating and intricate art form that demands attention to detail, patience, and skill. From selecting the right type of clay to mastering the techniques of link formation and assembly, each step in the process contributes to the creation of a unique and beautiful piece. Through experimentation and practice, artisans can refine their craft and explore endless possibilities for design and expression.
As they navigate challenges such as shrinkage and firing considerations, they learn valuable lessons that deepen their understanding of the medium. Ceramic chains not only serve functional purposes but also stand as works of art, reflecting the creativity and ingenuity of their makers. Thanks for reading, and we hope this has given you some inspiration on how to make ceramic chain!
