Plaster molds are an essential tool for creating pottery, as they allow for the production of identical pieces with consistent shapes and sizes. Making plaster pottery molds at home can seem intimidating at first, but it is a relatively simple process that can be done with just a few materials and some patience.
This article will discuss how to make plaster pottery molds, including preparing the clay prototype, creating the mold box, mixing the plaster, pouring the plaster into the mold box, and removing the mold from the prototype.
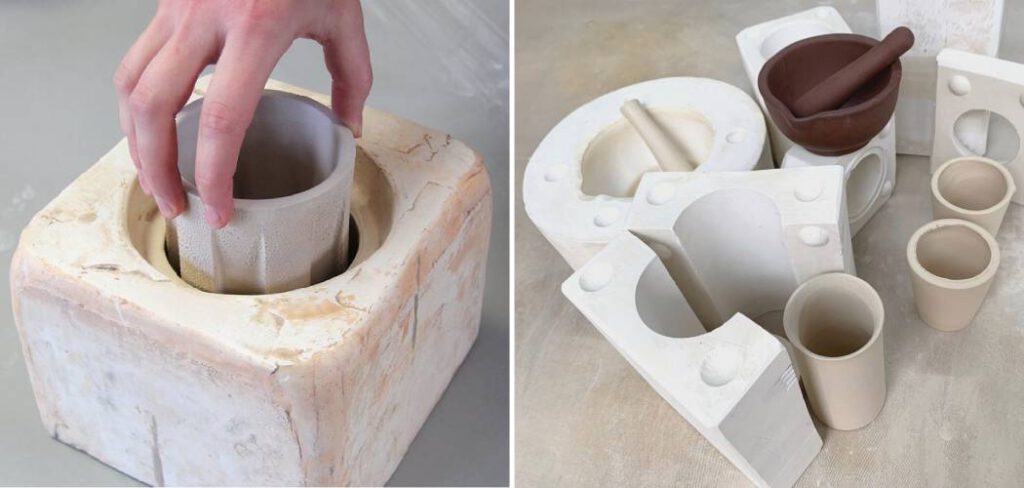
With these steps, you can create your own custom plaster molds to use for pottery making, saving you time and money in the long run. Whether you are a beginner or an experienced potter, learning to make plaster pottery molds can enhance your pottery-making skills and open up new creative possibilities.
Table of Contents
Materials and Tools Required
Before starting the process, make sure you have the following materials and tools on hand:
- Pottery clay or any object you want to create a mold of
- Plaster of Paris
- Water
- Mixing bowl
- Stirring spoon
- Release agent (petroleum jelly, cooking spray, or soap)
- Sandpaper
- Utility knife
- Paintbrush
- Plastic container
10 Easy Steps How to Make Plaster Pottery Molds
Step: 1. Prepare the Clay Prototype
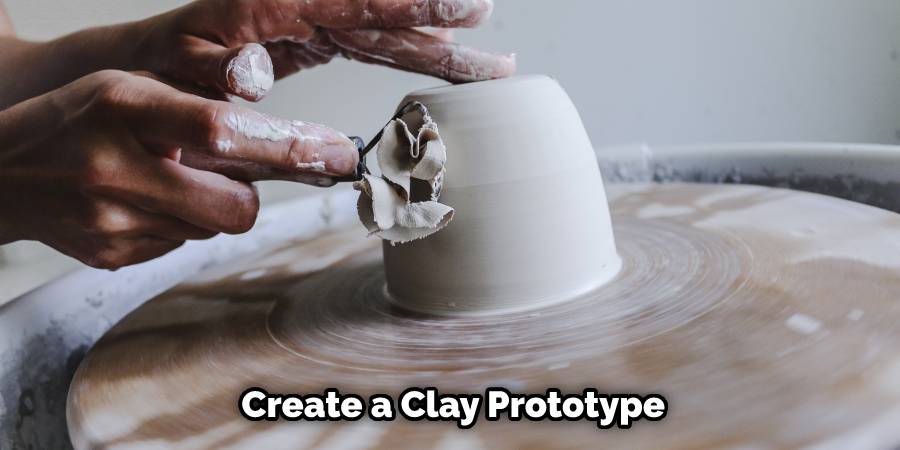
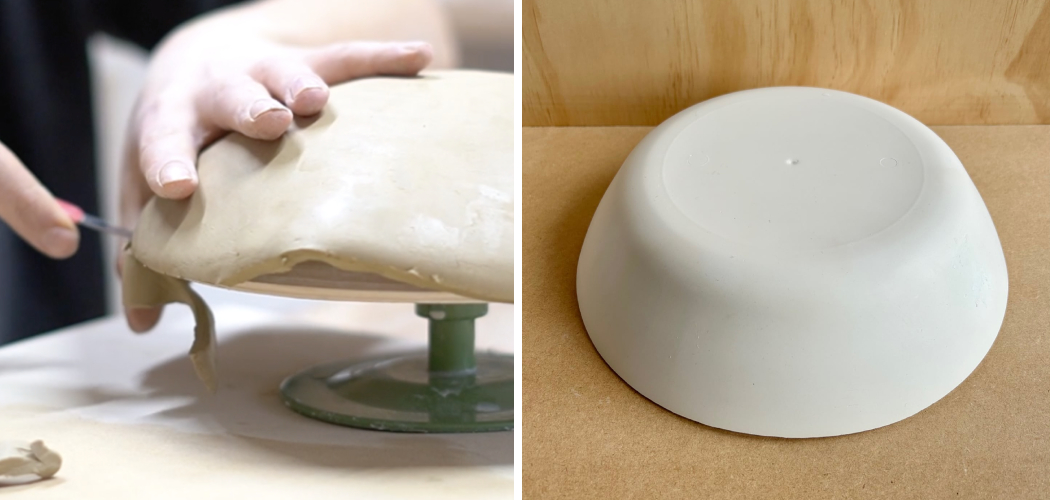
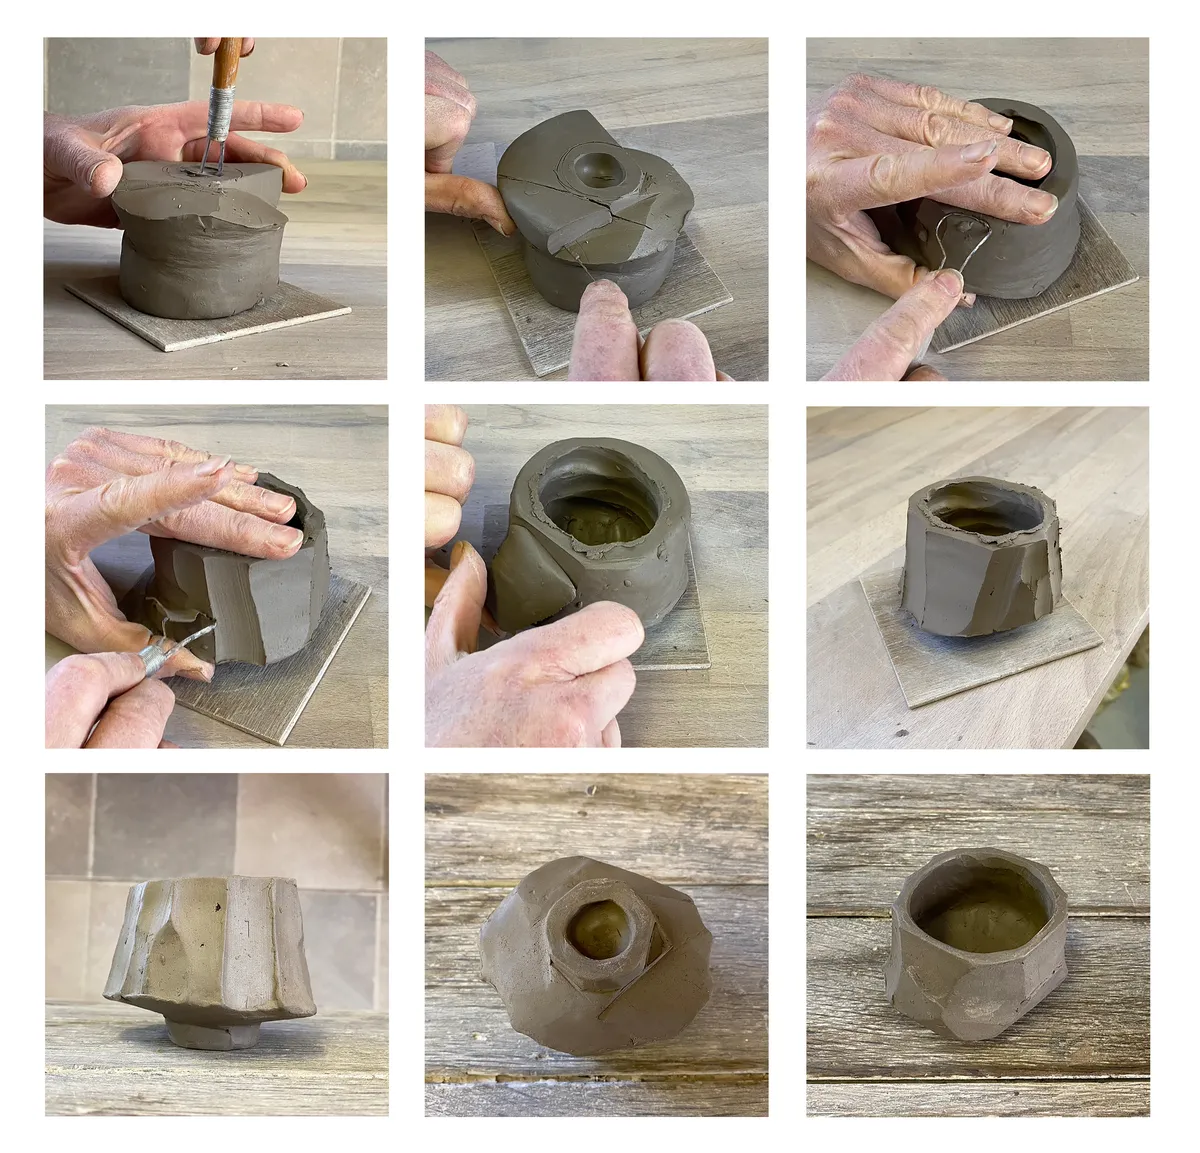
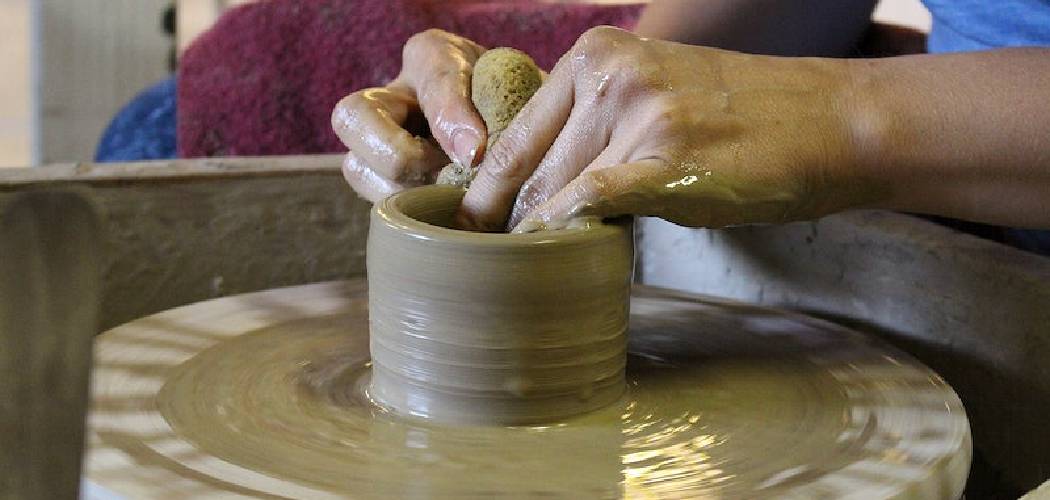
The first step in making a plaster pottery mold is to create a clay prototype of the object you want to replicate. This prototype should be made of a material that is easy to work with and will not stick to the plaster, such as earthenware or stoneware.
Make sure to smooth out any rough edges or bumps on the prototype, as they will be transferred onto the plaster mold. While creating the clay prototype, it can be helpful to make a few extra copies of some of the more intricate parts.
Step: 2. Create the Mold Box
Once the clay prototype is ready, the next step is to create the mold box. The mold box is a container that will hold the plaster while it sets around the prototype. You can create the mold box using wood, plastic, or metal, depending on your preference.
The box should be slightly larger than the prototype to allow room for the plaster. It should also be strong enough to withstand the weight of the plaster. For best results, make sure that there are no gaps or cracks in the box that could allow the plaster to leak out. Once you have created the mold box, it is time to mix and pour the plaster.
Step: 3. Mix the Plaster
After the mold box is prepared, it is time to mix the plaster. The plaster should be mixed according to the manufacturer’s instructions using a mixing bowl and a paddle mixer. It is important to mix the plaster thoroughly to prevent any lumps or air bubbles from forming. Once the plaster is mixed, it can be poured into the mold box. While pouring, tap the sides of the box to help eliminate any air bubbles.
Step: 4. Pour the Plaster
Once the plaster is mixed, pour it into the mold box. Start pouring from one corner of the box and slowly fill it up to the top. Be careful not to pour too quickly or vigorously, as this can cause air bubbles to form in the plaster.
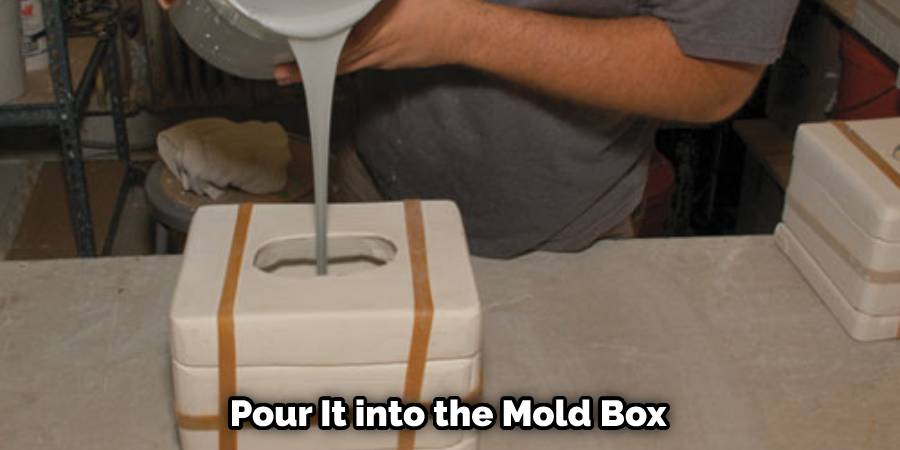
Once the box is full, tap it gently on a hard surface to remove any air bubbles. Additionally, you can use a small paintbrush to brush away any bubbles that may be forming on the surface of the plaster. If you need to add more plaster, do so carefully and in small amounts.
Step: 5. Tap the Mold Box
After the plaster is poured, tap the mold box gently on a flat surface to release any air bubbles that may have formed during the pouring process. You can also use a vibration table to remove any air bubbles trapped inside the plaster.
If the mold box is too large, you can use a brush to brush over the surface of the plaster. Although it is not necessary, tapping or vibrating the mold box helps to ensure that the plaster is smooth and even.
Step: 6. Allow the Plaster to Set
After tapping the mold box, allow the plaster to set for at least 30 minutes or until it is firm to the touch. The plaster will become hot as it sets, so make sure to wear gloves or use a towel to handle the mold box.
The setting time may vary depending on the type of plaster you are using. Refer to the instructions provided with your product for exact timing. To speed up the setting process, you can use a fan to blow over the plaster.
Step: 7. Remove the Prototype
Once the plaster has been set, carefully remove the prototype from the mold by gently wiggling it back and forth. If the prototype is stuck, use a tool such as a wooden stick to gently pry it loose. Be careful not to damage the plaster mold while removing the prototype. While the mold is still wet, smooth out any rough edges or imperfections. However, if you wait until the plaster has hardened, use a file or sandpaper to even out any uneven surfaces.
Step: 8. Clean the Mold
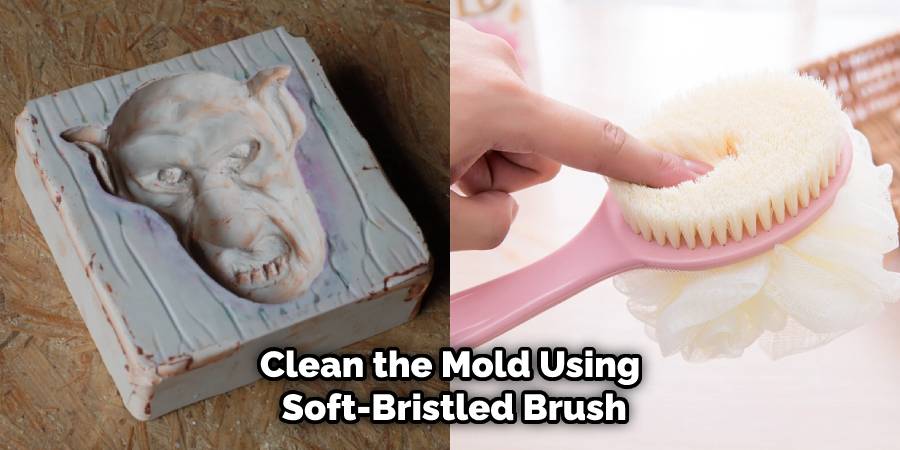
After the prototype is removed, clean the mold using a soft-bristled brush or a damp cloth. Make sure to remove any clay residue or debris from the mold to ensure that it is smooth and free of bumps or rough spots.
This will ensure a smooth finish on the plaster pottery when it is poured into the mold. Rinse the mold with water and let it dry before using it for casting. If the mold is to be reused, make sure to store it in a cool, dry place until you are ready to use it again. With the proper care and storage, a plaster pottery mold can last for years.
Step: 9. Use the Mold
Once the mold is cleaned and dried, it is ready to use for pottery making. Place the mold on a level surface and pour in the clay slip, making sure to fill it to the top. Allow the clay to dry, and then remove the pottery from the mold.
Take care to avoid breaking the pottery when removing it from the mold. If needed, put on a pair of gloves to get a better grip on the pottery. Once removed, you can add any decorations or patterns to the pottery that you want.
Step: 10. Store the Mold
After use, store the mold in a dry place to prevent it from absorbing moisture. Wrap the mold in plastic or store it in a sealed container to protect it from dust and debris. If the mold becomes damaged or worn, it may need to be repaired or replaced to ensure the quality of the pottery it produces.
Tips and Precautions
Here are some essential tips to keep in mind while making plaster pottery molds:
- Wear gloves and a mask while working with plaster to avoid skin irritation and inhalation of dust.
- Use a plastic container or mixing bowl to mix the plaster. Plaster may react with metal containers.
- Apply a release agent to the model to make it easier to remove the mold.
- Allow the plaster to set completely before removing the mold from the model.
- Store the molds in a dry and cool place to prevent moisture from damaging them.

Conclusion
Making plaster pottery molds is a fun and exciting way to add a personal touch to your pottery. Follow the steps outlined above on how to make plaster pottery molds to create high-quality molds that will help you make unique and intricate pottery designs.
Remember to take the necessary safety precautions, use the right materials and tools, and let the mold dry completely before using it. With practice, you can master the art of making plaster pottery molds and create beautiful and functional pottery.
FAQs
How long does it take for the plaster to set?
The plaster usually takes around 30 minutes to set, but it is advisable to wait for at least an hour before removing the mold from the model.
Can I reuse the plaster mold?
Yes, you can reuse the plaster mold multiple times. However, the quality of the mold may degrade with each use.
What release agent should I use?
You can use petroleum jelly, cooking spray, or soap as a release agent. Ensure that the entire model is covered with the release agent.
Can I use a metal container to mix the plaster?
It is advisable to use a plastic container or mixing bowl to mix the plaster. Plaster may react with metal containers and cause discoloration or damage.
Can I make a mold of any object?
You can make a mold of any object made of non-porous material. Ensure that the object is clean and free of any debris.
