Crafting hands out of clay is a fascinating and artistic endeavor that allows you to explore the intricate details of human anatomy through the tactile medium of clay. Whether you’re a beginner in the world of sculpting or an experienced artist looking to enhance your skills, learning how to make hands out of clay provides an engaging and expressive outlet for creativity.
In this guide, we’ll delve into the step-by-step process of creating lifelike clay hands, from selecting the right type of clay and understanding basic hand anatomy to shaping fingers, adding details, and achieving a realistic finish. Whether you’re sculpting for artistic expression, educational purposes, or as part of a larger art project, mastering the art of crafting hands out of clay is a rewarding and enjoyable journey into the world of three-dimensional artistry.
Table of Contents
Artistic Expression with Clay Hands
Clay art is one of the oldest forms of artistic expression known to mankind. The use of clay dates back to ancient civilizations such as Mesopotamia, Egypt, Greece and Rome. Even today, it continues to be a popular medium for artists across the world.
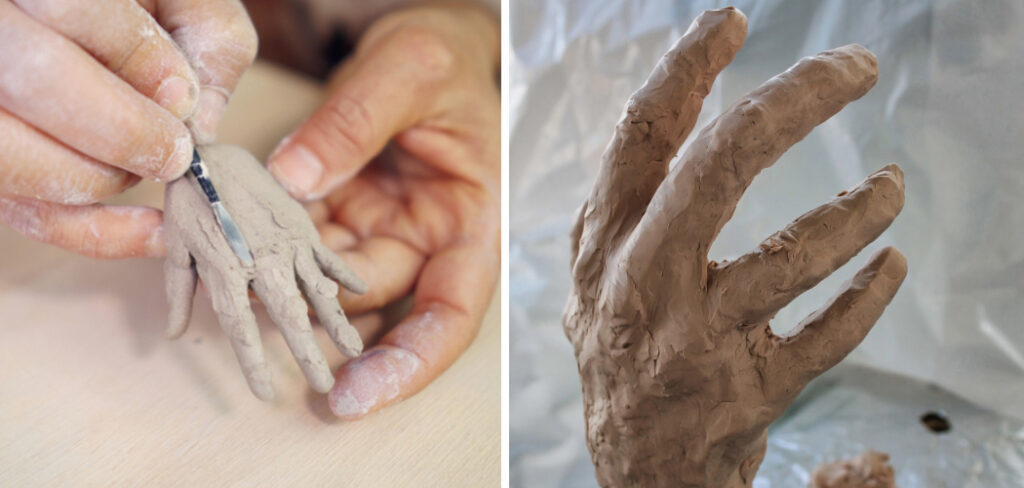
Clay has a unique quality that allows artists to mold and shape it into any desired form. One such form is the creation of clay hands. This art form involves making realistic or abstract representations of human hands using clay.
Materials Needed
- Clay: The type of clay you use can vary depending on your preference. However, it is recommended to use air-dry clay as it does not require baking and can be easily found at any art store.
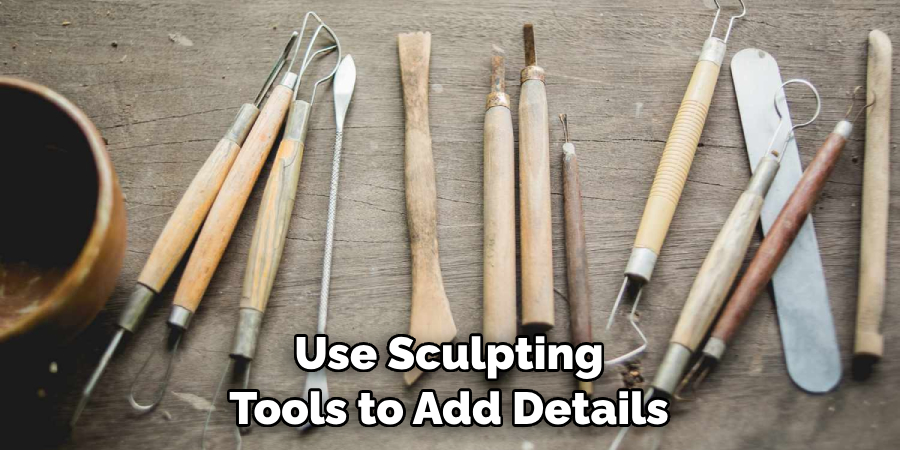
- Sculpting Tools: These tools are essential for shaping the clay. You can use anything from toothpicks, spoons, or specialized sculpting tools that are available in the market.
- Water: A small bowl of water is needed to help smooth out the surface of the clay.
10 Steps How to Make Hands Out of Clay
1. Gather Materials:
Start by gathering the necessary materials, including sculpting clay, sculpting tools, a rolling pin, an armature wire (optional), and a work surface covered with wax paper or canvas.
2. Choose the Right Clay:
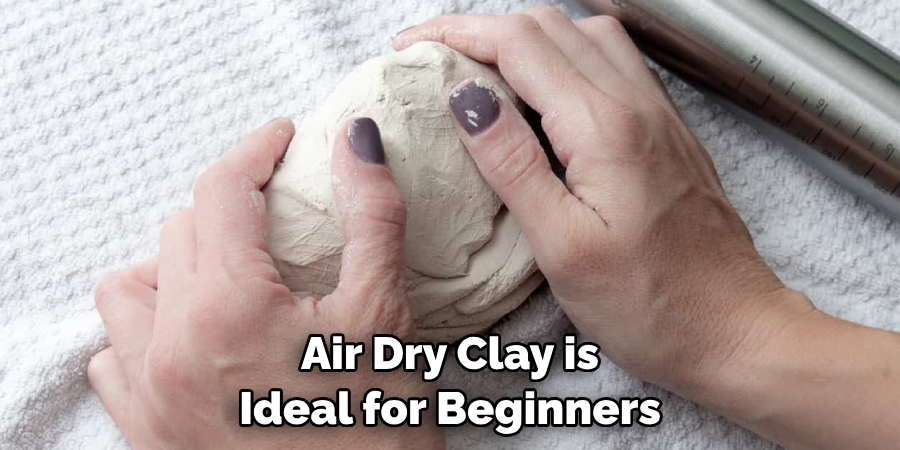
Select a clay suitable for sculpting hands. Air-dry clay is ideal for beginners as it doesn’t require firing, while polymer clay offers a more durable option when baked in an oven.
3. Study Hand Anatomy:
Familiarize yourself with the anatomy of the human hand. Pay attention to the proportions of the palm, the lengths of the fingers, and the joints. Refer to anatomical drawings, photographs, or even your own hands for reference.
4. Create a Basic Armature (Optional):
If you’re working with a more pliable clay like air-dry clay, consider creating a basic armature using armature wire. This provides support and helps maintain the shape of the hand during the sculpting process.
5. Shape the Palm:
Begin by forming a ball of clay and shaping it into an oval or rounded form to represent the palm of the hand. Use your fingers and palms to smooth the surface and refine the shape.
6. Define Finger Positions:
Divide the palm into sections to indicate the positions of the fingers. Sculpt small portions of clay for each finger, ensuring you consider the natural curves and angles of the fingers.
7. Form the Fingers:
Shape each finger individually, starting from the base and gradually working towards the fingertips. Pay attention to the thickness and tapering of each finger, reflecting the natural anatomy.
8. Add Details:
Use sculpting tools to add details such as knuckles, fingernails, and creases. Be mindful of the subtleties that make each hand unique, such as the webbing between the fingers and the prominence of the joints.
9. Refine and Smooth:
Continuously refine the overall shape of the hand, ensuring symmetry and balance. Smooth the surface using tools or your fingertips to eliminate any rough spots or imperfections.
10. Allow for Drying or Baking:
Depending on the type of clay used, allow the sculpture to air-dry or follow the baking instructions for polymer clay. Once dry or cured, you can further refine the surface with sandpaper or paint the sculpture as desired.
Kneading the Clay to Make It Pliable
Kneading is a vital step in making hands out of clay. By kneading the clay, you are preparing it for molding and shaping into the desired form. This process also removes any air pockets trapped in the clay, which can cause cracks or breakages once it has been fired.
To begin kneading, first clean your workspace and make sure that there is no dust or debris that can get mixed into the clay. Then, take a small piece of clay and start rolling it between your palms to create a long cylindrical shape. As you roll, apply pressure evenly on both ends.
Next, fold the clay in half and repeat the rolling process. This helps to distribute the moisture and air bubbles evenly throughout the clay. Keep repeating this process until the clay becomes smooth and pliable.
You can also use a clay roller or a slab roller to knead larger quantities of clay. Simply place the clay between two sheets of plastic and roll it out using gentle pressure. This will help to evenly distribute moisture and remove any air pockets.
Refining Details and Adding Texture
In the previous section, we discussed the basic steps of making hands out of clay. However, in order to create a realistic and lifelike hand, we must pay close attention to details and add texture to our creation.
Refining Details:
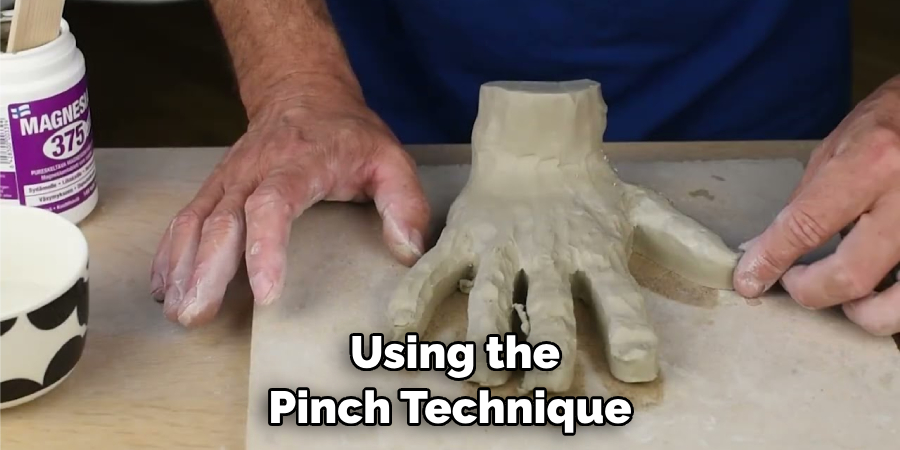
Once you have created the basic shape of your hand using the pinch technique, it’s time to focus on refining the details. The most important aspect to pay attention to is the proportions of the hand. Use your own hand as a reference and make sure that the size of each finger is accurate in relation to the rest of the hand.
Next, focus on adding details such as knuckles, nails, and wrinkles. You can use a small tool or toothpick to gently press in these details on the surface of the clay. Be careful not to press too hard and distort the shape of your hand.
Another important detail to add is the creases and folds in the skin. Look closely at your own hands and observe where there are natural creases and folds. Use a small tool or even just your fingers to gently create these details on your clay hand.
Adding Texture:
Texture is what gives your clay hand its realistic and lifelike appearance. To add texture, you can use various tools such as a toothbrush, sponge, or even a piece of cloth. Dip the tool of your choice in water and lightly press it onto the surface of your clay hand. This will create a texture that resembles skin.
You can also use a wire brush to create a rougher texture, perfect for creating calluses or scars on the hand. Remember to always add texture in small increments and build it up gradually.
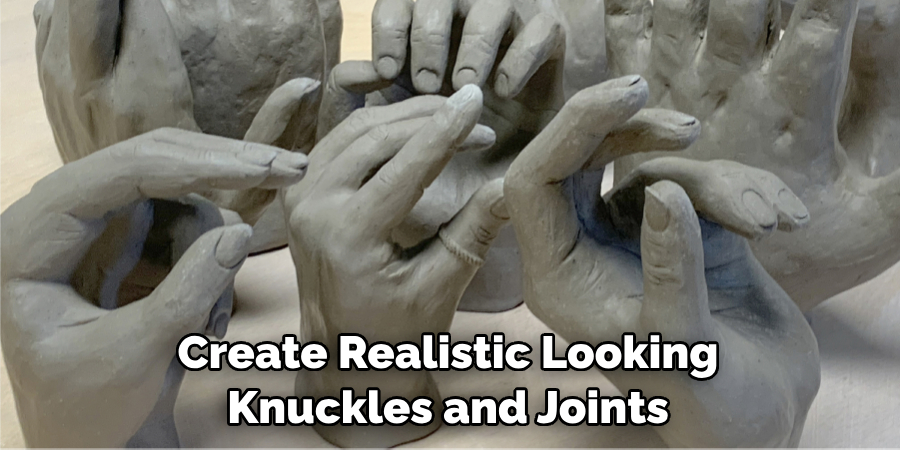
Carving Knuckles and Joints
When making a hand out of clay, it’s important to create realistic looking knuckles and joints. These features add dimension and movement to the hand, making it more lifelike.
To begin, form a basic hand shape using the desired amount of clay. Once you have the general shape, use your fingers or a small tool to create indents where each knuckle should be. These indents will serve as a guide for carving the knuckles.
Next, use your fingers or a tool to gently pinch and shape the clay between each knuckle indent. This will create more defined and realistic looking knuckles. Don’t worry if they’re not all perfectly uniform – natural hands have slight variations in size and shape.
To create joints, pay attention to the natural curves and angles of your own hand. Use a tool or your fingers to gently press into the clay and create these curves and angles in the appropriate places.
When carving joints, it’s also important to consider how they connect to other parts of the hand. For example, the wrist joint connects the hand to the arm, so make sure it blends smoothly into the clay of the arm.
You can also add texture to the knuckles and joints by lightly pressing a tool or your fingers onto the surface. This will give them a more realistic appearance, as skin is not perfectly smooth.
Using Fine Grit Sandpaper for a Smooth Finish
After you have allowed your clay hands to dry completely, it is time to begin the finishing process. One of the best ways to achieve a smooth finish on your clay hands is by using fine grit sandpaper.
First, gather all of your materials including:
- A piece of fine grit sandpaper (around 220 grit)
- A bowl or container filled with water
- A damp cloth or sponge
To begin, lightly wet the surface of your clay hands using the damp cloth or sponge. This will help prevent the sandpaper from sticking to the clay and creating uneven marks. Then, gently rub the fine grit sandpaper over the surface of your clay hands in a circular motion. The water will act as a lubricant and keep the sandpaper from becoming too abrasive on the clay.
As you sand, periodically dip the sandpaper in the bowl of water to keep it wet and rinse off any clay particles that may have accumulated. This will also prevent scratches or gouges from forming on your clay hands. Continue this process until you have achieved the desired level of smoothness on your clay hands.
Adding Colors or Finishing Touches
Adding colors or finishing touches will add life to your clay hands and make them look more realistic.
If you are using air-dry clay, you can use acrylic paints or watercolors to add color to your creation. Start by mixing the colors in small amounts until you achieve the desired shade. Then, use a paintbrush to carefully apply the paint onto your clay hand.
Alternatively, you can also use different colored clays to create a more vibrant and textured look. Mix the colors together to create unique shades, or swirl them together for a marbled effect. You can also add small details, such as freckles or veins, using a toothpick or needle tool.
To give your clay hand a glossy finish, you can use clear varnish or a gloss glaze. Apply a thin layer using a brush or spray it onto your creation. This will not only protect your clay hand but also give it a more realistic appearance.
Conclusion
Clay is a great medium for making hands. From children having fun crafting to advanced artists capturing fine details, there is something about hand modelling that creates a sense of awe. Whether you’re teaching your little one an easy craft or sculpting an entire fantasy scene, clay hands are unique and make a great addition to any project. So, begin now and take your time and have some clay-filled fun as you learn how to make hands out of clay!
If you try this DIY project, not only will you create something utterly unique, but you will also add some deep meanings and visual strength to whatever piece you are crafting. Now that we’ve walked through the basics of how to make hands out of clay, it’s time for all of us (including yourself!), to get ready and start working with clay in order to design one-of-a-kind art pieces. Good luck!


