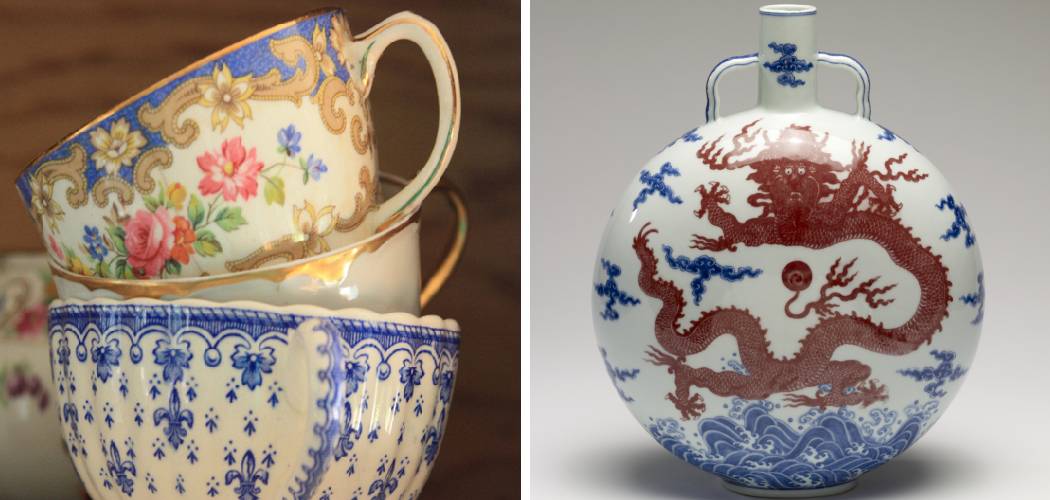
Delving into the art of crafting Delft pottery unveils a rich tapestry of tradition, skill, and artistic expression. Originating in the Dutch city of Delft in the 17th century, Delftware has become synonymous with distinctive blue and white ceramic pieces, reminiscent of the revered Chinese porcelain that inspired its creation. Crafting Delft pottery involves a meticulous process that has been passed down through generations, combining craftsmanship with artistic flair.
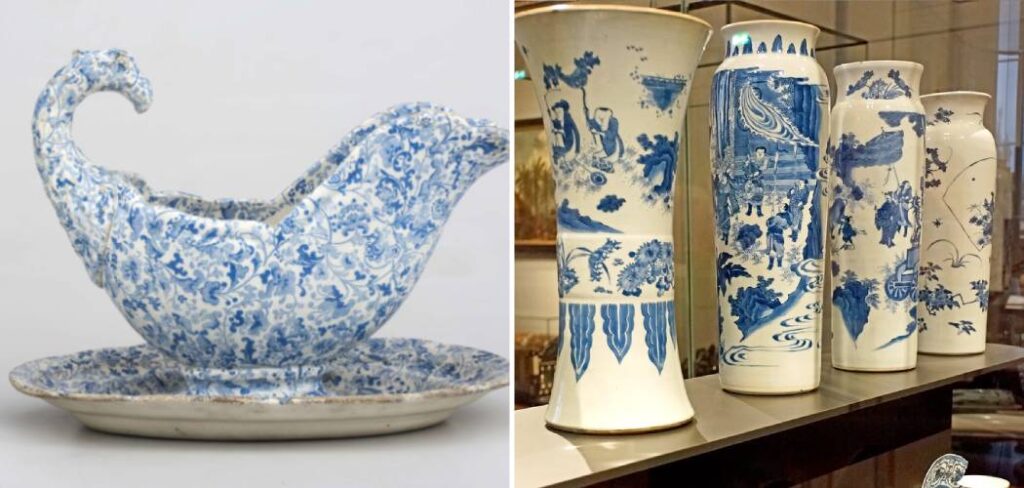
From selecting the right clay to mastering the intricate blue painting techniques, the journey of creating Delftware is both a historical homage and a contemporary artistic endeavor. In this exploration, we will navigate the steps of how to make delft pottery, delve into the cultural significance, and uncover the secrets behind the renowned Delft pottery, inviting enthusiasts and artisans alike to immerse themselves in the timeless allure of this cherished ceramic tradition.
Table of Contents
What Material Is Delft Made of?
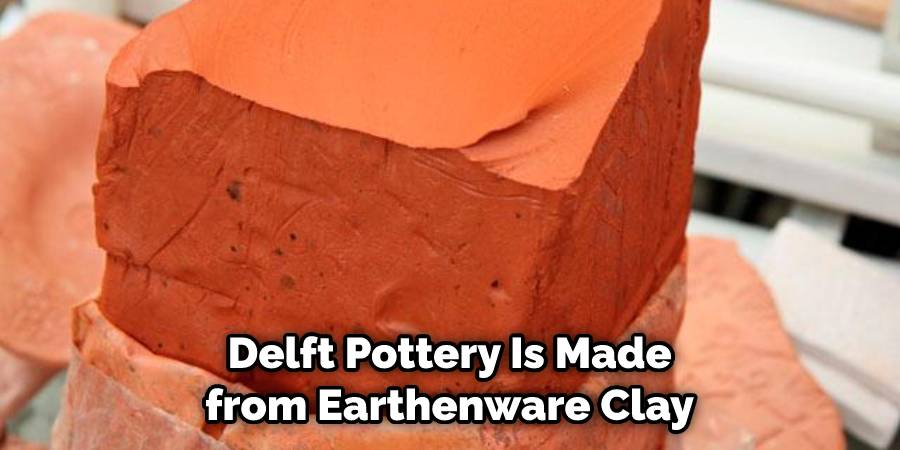
Delft pottery is made from a special type of clay called earthenware or “delft clay.” The clay used in Delft pottery is usually composed of kaolinite, quartz, and feldspar. To create the Delft blue glaze, cobalt oxide is added to the mix. This oxide reacts with the other elements during firing, producing the distinctive blue-and-white colors associated with Delft pottery.
The clay is shaped into forms on a potter’s wheel or molded by hand before it is fired in special ovens known as kilns at temperatures of up to 1425 degrees Fahrenheit. After firing, the pieces are decorated using brush and sponge techniques, usually painted with cobalt oxide.
The decoration may be composed either of abstract shapes or Dutch motifs such as windmills, tulips, fishing boats, reclining figures, and biblical scenes. After the decoration is completed, the pieces are then glazed and fired again. This process can take up to one week and requires a great deal of skill from the potters.
The unique combination of clay and cobalt oxide used in Delft pottery gives it the characteristic blue-and-white look that has made it iconic for centuries. Producing Delft pottery is a time-honored craft that combines traditional techniques with modern innovation, making it an enduring symbol of Dutch craftsmanship and heritage.
10 Methods How to Make Delft Pottery
1. Creating a Sketch –
Before creating your Delft pottery, it is important to have an idea of what the finished product should look like. Start by drawing a simple sketch of your desired shape and size on paper.
There are many traditional patterns and shapes that can be used, such as flowers, animals, or geometric shapes. Once you’ve decided on a design that you like, proceed to the next step. Although it is not necessary to have an exact replica, it can be helpful to have a guide.
2. Preparing the Clay –
To create your Delft pottery, start by collecting moist clay from local sources or using specially crafted clays designed for pottery. Transfer the clay into a spacious bowl or container, and through manual kneading, ensure a lump-free, smooth, and pliable consistency. This initial stage also allows for the incorporation of additional elements like sand or oxides to introduce color.
After achieving the desired texture, divide the clay into several equal-sized portions and individually knead each batch. Cover the prepared clay with plastic wrap, allowing it to rest for several days before embarking on the pottery-forming process. This patient waiting period allows the clay to settle and mature, ensuring optimal conditions for shaping and crafting your unique pieces of Delftware.
3. Forming the Vessel –
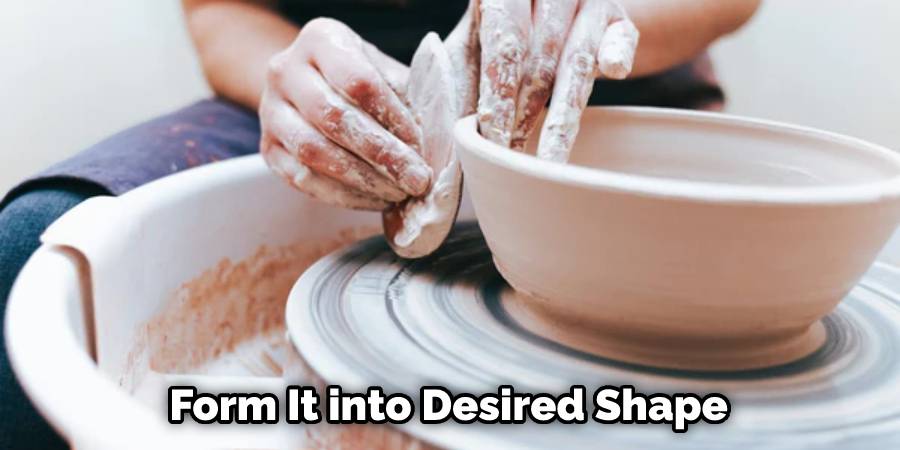
Now that you have prepared your clay mixture, it is time to form it into the desired shape and size required for your Delft pottery item. Begin by rolling out small cylinders of clay that will be used as the base of the vessel before shaping them into whatever type of object you are attempting to make (e.g., cup or vase).
Once you have created a basic form, use tools such as wooden spoons and plastic knives to properly shape it how you wish before setting it aside to dry slightly before proceeding with further decorations. Alternatively, you can use a potter’s wheel to create your vessel. The wheel allows for more precise shaping and is often used by professional potters.
4. Adding Decorations –
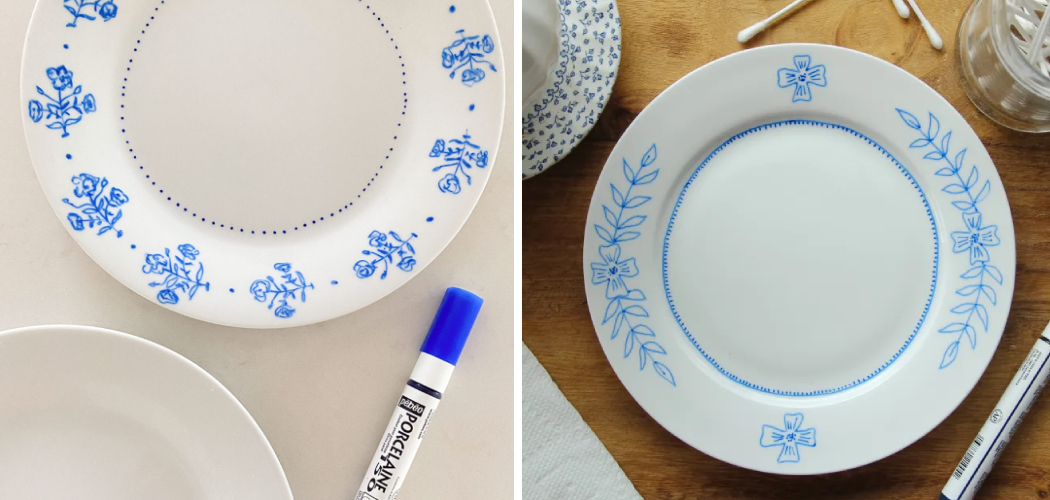
Delft pottery frequently showcases elaborate designs delicately painted on its surface using a distinctive blue pigment called “Delft blue,” composed of cobalt oxide mixed with linseed oil. Employ a paintbrush or stencils to meticulously apply these intricate patterns before subjecting the pottery to high-temperature firing, ensuring their permanent integration into the ceramic body.
If a glazed finish is desired, opt for a suitable lead-free pottery glaze to enhance the final aesthetic while adhering to safety standards. This artistic process, rooted in tradition and precision, transforms each piece of Delftware into a canvas of intricate beauty, capturing the essence of the historical craft while allowing for personal expression and creativity.
5. Firing in Kiln –
Once you’ve allowed your crafted item to gradually air-dry over a span of several days, carefully position it within an electric kiln set to approximately 1200 degrees Celsius (2200°F) for approximately 8 hours. This process serves to eliminate any residual moisture within the object while concurrently fortifying it through vitrification, a transformation induced by the high temperatures penetrating every nook and cranny of its interior walls. The outcome is a collection of robust and enduring ceramic pieces, well-equipped to withstand the rigors of daily use, ensuring their longevity and functional beauty for many years ahead!
6. Cooling Process –
After firing is complete and once temperatures within the kiln have decreased slightly below 1000 Celsius degrees (1800°F), open the kiln door in order to allow the objects inside to cool down gradually over several hours before taking them out completely cooled off.
This step is important both for safety reasons when handling hot objects as well as ensuring proper cooling throughout the entire vessel in order to prevent any future cracks due to quick temperature changes when touching cold pots just removed from a hot kiln environment.
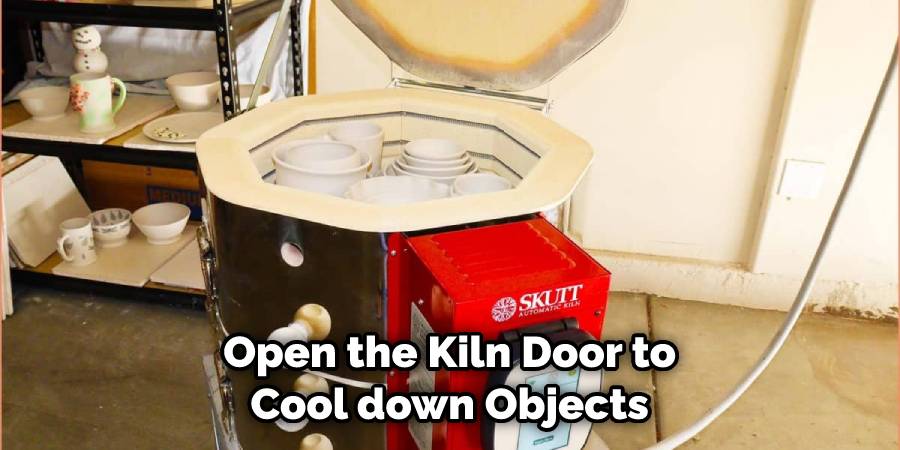
Cooling should be done gradually, with the door occasionally opened to allow for air circulation and cooling. Once the pottery pieces have cooled down completely, you can then remove them from the kiln, ready to be enjoyed.
7. Glazing up Your Creation –
Finally, glaze up your finished product using glazes composed of silica compounds combined with metallic oxides known as lusters that have been fired at lower temperatures than those reached within the main kiln chamber (around 900C/ 1650°F) beforehand in order to get vibrant colors ranging from blues & greens all way through earthy browns yellows & oranges far beyond simple range attained during initial firing session mentioned previously here.
In order to apply the glaze, you can use a brush, or if you have access to a spray booth, it would be easier and much faster. When the glazing is completely done, your Delft pottery masterpiece is ready to be admired and enjoyed.
8. Finishing Touches –
Once you’ve finished glazing, consider applying stilt marks to the bottom of your completed vessels before immersing them in a liquid wax sealant layer. This additional step adds an extra layer of protection, guarding against scratches and wear that often come with everyday use.
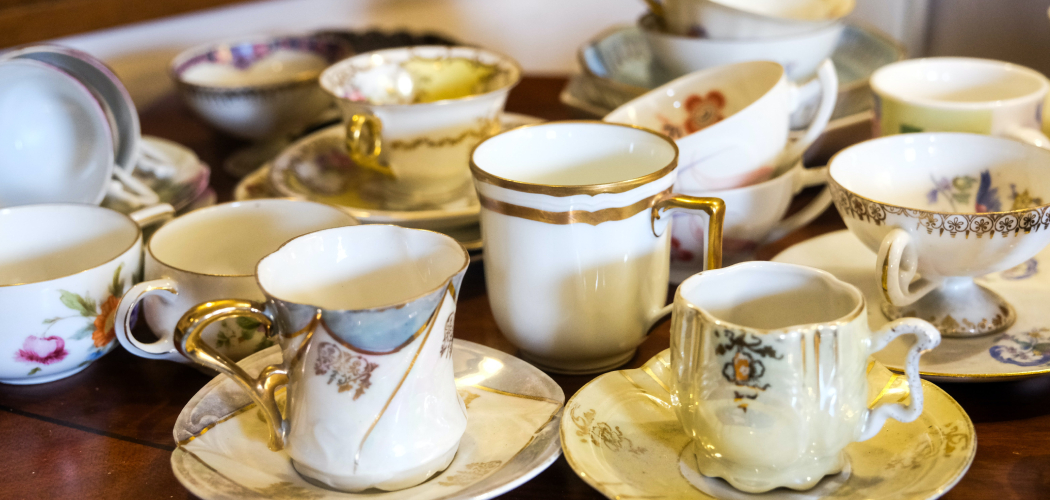
Another option is to hand-paint intricate images onto various home décor items like plates, cups, mugs, teapots, and more. After applying the wax sealant layer, ensure it dries completely before proceeding. Finally, take a soft cloth to buff and polish each piece to a brilliant shine, making them ready for display or practical use.
9. Final Drying Session –
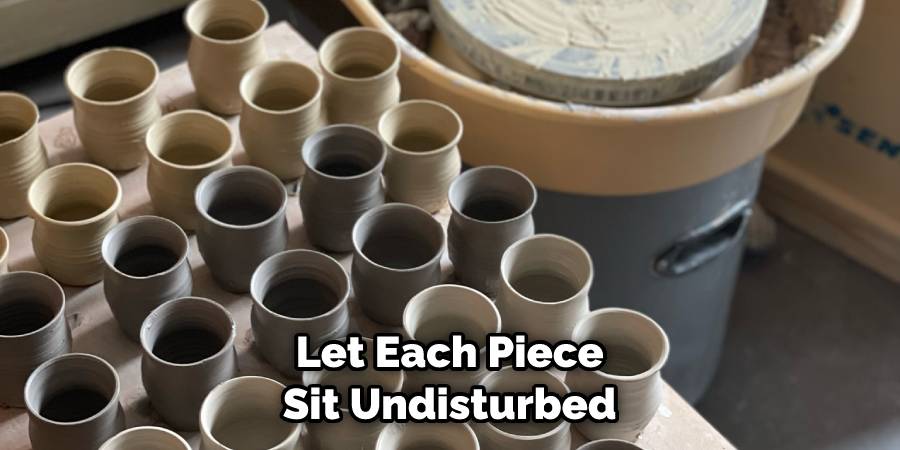
Immediately following the application of protective wax layers, place newly decorated items back inside the empty part kiln (without turning the heat back on this time). Let each piece sit undisturbed least 12 hours and dry off completely without risk of damaging delicate surfaces prior to full curing within the fully heated chamber.
After the items have had time to sit, inspect them for any defects that may have appeared during the waxing process and make minor repairs if necessary.
10. Installation –
Lastly, take out cooled-off containers and carefully inspect each one to ensure none suffered any damage during final drying sessions; hang display shelves, and wall mountings hold firmly magnets, metal frames other suitable supports to give them room to show their beauty and hard work dedicated pieces beautiful Delftware art!
Things You Need to Know Before Making Delft Pottery
Making Delft pottery requires special tools and materials. Before you begin creating your own works of art, it’s important to know what supplies you will need.
1. A kiln:
A kiln is necessary for creating Delft pottery because it provides the heat to fire the clay. Kilns come in different sizes and can be powered by gas, propane, wood or electricity.
2. Clay:
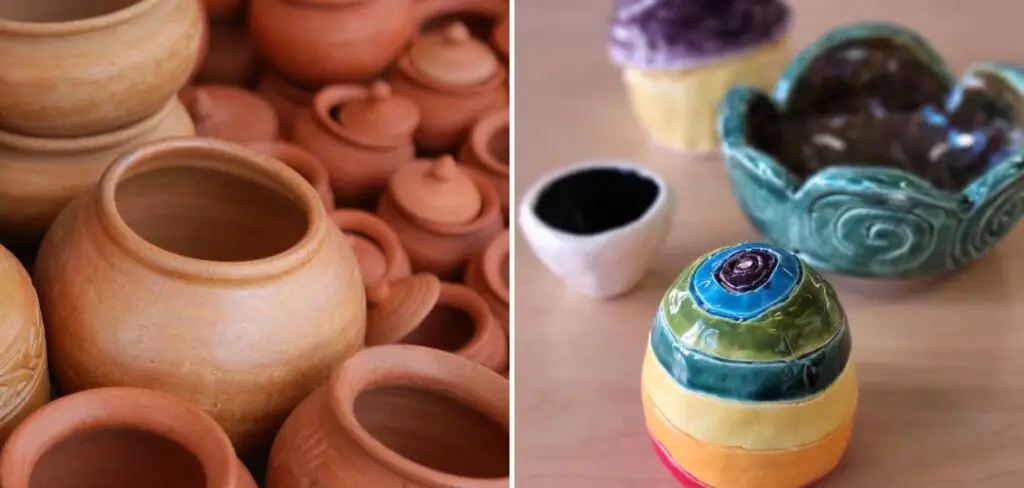
You need a good quality pottery clay to make Delft pottery. The most commonly used types of clay are earthenware or stoneware clays.
3. Glazes:
Delft pottery requires glazes to give it its distinctive look and feel. Most glazes used for making Delft pottery are lead-free and non-toxic, so it is important to find out which type of glaze you should use before beginning your project.
4. Slip:
A slip is a liquid form of clay that can be poured into molds or used to coat the outside of pottery. Slips are important for creating detailed designs in Delft pottery.
5. Brushes:
A good set of brushes is essential for painting your Delft pieces with glazes and slips. Different types of brushes can be used, such as sable, ox hair or hake brushes.
Conclusion:
Delft Pottery is a type of pottery that originates from the Netherlands. The clay used to make Delftware has a bluish tint, which is why it is often blue and white in color. Despite its historical roots, you can still find Delft Pottery being made today. If you’re ever in the Netherlands, be sure to check out a shop selling this beautiful pottery! We hope this guide on how to make delft pottery was helpful. Please share it with your friends on social media if you find it useful. And be sure to check back here soon for more informative guides like this one.
