Achieving a glossy and lustrous finish on clay creations adds a professional touch to pottery and sculptural projects, elevating them from simple crafts to visually striking artworks. Whether you’re working with air-dry clay, polymer clay, or traditional kiln-fired ceramics, knowing how to make clay shiny is a valuable skill for artisans seeking to enhance the visual appeal of their pieces.
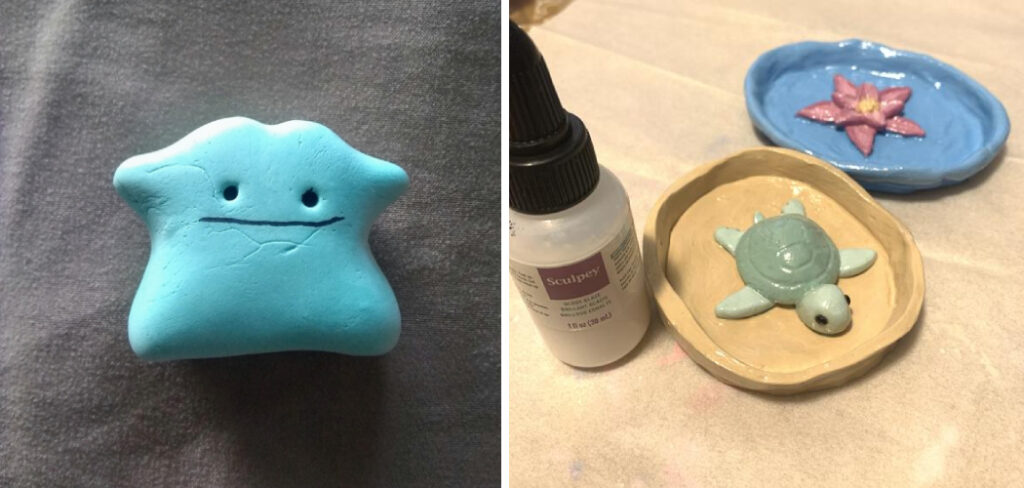
This article explores various techniques and finishes that impart shine to clay surfaces, from choosing the right glazes and sealants to mastering polishing methods. Understanding these methods empowers artists to transform their clay creations into polished masterpieces, capturing the light and attention of admirers while preserving the integrity of their unique designs.
Table of Contents
Importance of Adding Shine to Clay Creations
Adding shine to clay creations does more than just enhance their aesthetic appeal; it plays a crucial role in protecting the piece and extending its lifespan. A glossy finish acts as a barrier against moisture and environmental factors, which can be particularly important for functional items like pottery. Furthermore, a shiny surface can highlight the intricacy of the artist’s work, accentuating details and colors that might remain unnoticed under a matte finish.
This level of refinement elevates the perceived value and professionalism of the artwork, making it more appealing to collectors and audiences. In essence, mastering the technique of adding shine is instrumental in transforming a simple clay object into a captivating work of art.
Methods to Make Clay Shiny
Several techniques can be employed to achieve a glossy finish on clay creations. The choice of method largely depends on the type of clay used and the desired result. Here are some of the most effective techniques:
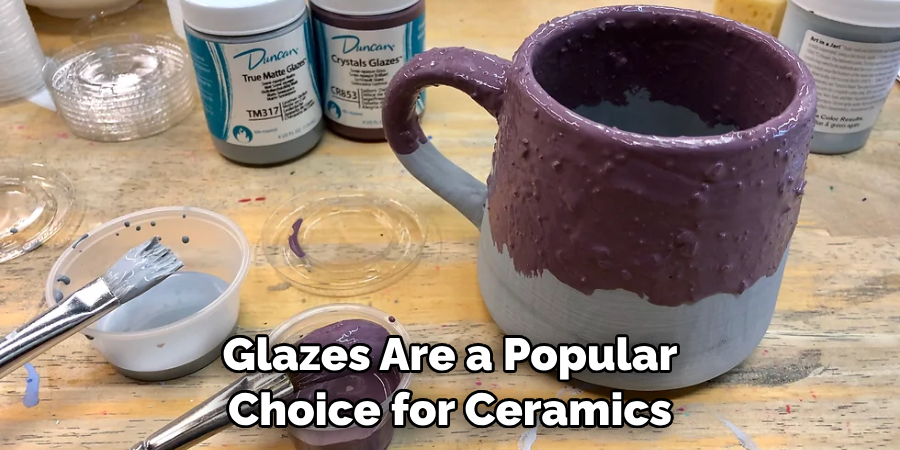
- Using Glazes: Glazes are a popular choice for ceramics that will be fired in a kiln. They not only add a protective layer that wards off moisture and wear but also provide a range of glossy finishes from satin to high-gloss. Application techniques can vary, allowing for creativity in achieving the desired level of shine.
- Polishing with Sandpaper: For air-dry and polymer clays, sanding the fully cured piece with fine-grit sandpaper can smooth the surface and prepare it for a glossy finish. Starting with a coarser grit and moving to finer grits ensures a smooth, even surface.
- Applying Sealants: Sealants, like varnishes or resins, can be applied to both air-dry and polymer clay pieces. They come in gloss, satin, and matte finishes, allowing for versatility in the shine achieved. Polymer clay projects can particularly benefit from resin, which cures to a hard, glass-like finish.
- Buffing: Buffing is a physical method of creating shine, particularly useful for polymer clay pieces. Using a soft cloth or a motorized buffing wheel, the surface of the clay can be polished to a high shine after baking.
- Wax Finishes: Applying a thin layer of wax to the surface of a clay piece and buffing it gently can produce a soft sheen. This method is suitable for both air-dry and kiln-fired clays, providing a subtle luster that highlights texture and color without an overtly glossy appearance.
By experimenting with these different techniques, artists can find the perfect method to make their clay creations shine, enhancing both their beauty and durability.
Selection of Clay Types Suitable for Shiny Finishes
The selection of clay type plays a pivotal role in determining the success of achieving a shiny finish on your creation. Not all clays are equal in their capacity to support glossy surfaces, so understanding the properties of different clays is crucial.
- Polymer Clay: Highly versatile, polymer clay is ideal for artists aiming for a shiny finish. Its plastic-based composition responds well to polishing, sanding, and sealants, allowing for a high-gloss outcome.
- Porcelain Clay: Known for its smoothness and purity, porcelain clay is an excellent choice for achieving a glossy finish through glazing. Its fine-grained structure is particularly suited for high-gloss glazes, resulting in elegant and sophisticated pieces.
- Stoneware Clay: While stoneware’s rugged texture might seem less inclined toward shininess, its strength at high temperatures makes it compatible with a wide range of glossy glazes, offering durability alongside beauty.
- Earthenware Clay: This type of clay, when properly glazed and fired, can exhibit a brilliant shine. It is a good choice for decorative items that can be enhanced by the vibrant colors and gloss finishes achievable with low-fire glazes.
Choosing the right type of clay is a foundational step towards achieving your desired shiny finish. Each of these clays brings unique qualities to the table, and understanding these can guide artists in selecting the best clay for their specific project goals.
10 Methods How to Make Clay Shiny
1. Select the Right Clay:
Choosing the appropriate type of clay is the first step in achieving a shiny finish. Certain clays are naturally more receptive to achieving a glossy surface when fired or sealed. Porcelain and stoneware clays, for example, are known for their ability to develop a smooth and shiny appearance during the firing process. On the other hand, earthenware clays tend to be more porous and may require additional steps or techniques to achieve a glossy finish.
In addition to selecting the right type of clay, it is also important to consider the condition of the clay. Make sure that the clay is free of contaminants and has been properly wedged before using it for your project. Any impurities in the clay can affect the final outcome and result in a dull finish.
2. Smooth the Surface:
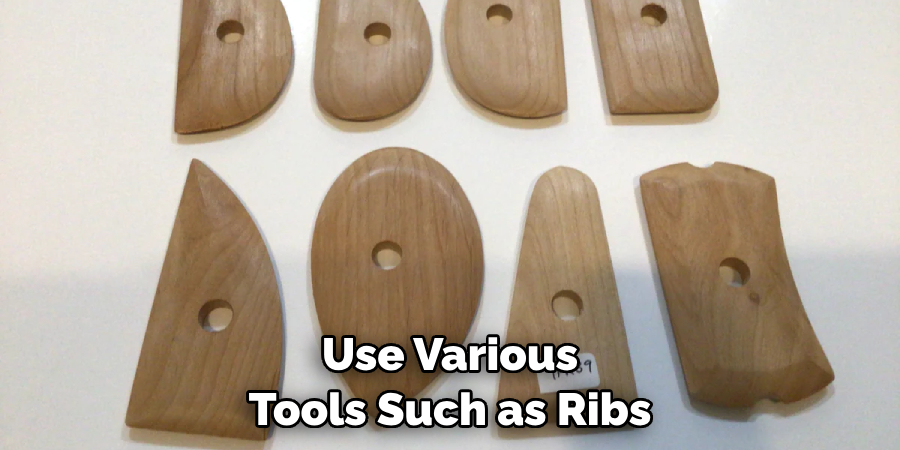
Before applying any finish, ensure the clay surface is smooth and free of imperfections. Use various tools such as ribs, sponges, or your hands to refine the surface and eliminate any bumps, cracks, or uneven textures. A smooth starting point contributes to a more successful shiny finish.
One tool that can be used to smooth the surface of clay is a sponge. Sponges are useful because they allow you to gently soften any rough edges or ridges without applying too much pressure, which could potentially distort the shape of your piece.
3. Utilize Slip and Score Techniques:
When working with clay, especially in sculptural projects or joining separate pieces, employ slip and score techniques. This involves scoring the surfaces to be joined, applying slip (a liquid mixture of clay and water), and then pressing the pieces together. Properly fused pieces create a seamless surface that is more conducive to achieving a shiny finish.
In addition to slip and score techniques, there are other ways to join clay pieces together, such as using extruded coils or creating a coil-and-throw method. Each technique has its own advantages and may be more suitable for specific projects. Experiment with different methods to find which one works best for your project.
4. Experiment with Glazes:
Glazing is a common method for adding shine to clay surfaces. Experiment with different glazes to find the one that suits your aesthetic and functional preferences. High-gloss glazes, in particular, are designed to produce a shiny finish when fired. Apply glazes evenly using brushes, sprayers, or dipping methods for consistent results. You can also try layering different glazes or mixing your own to create unique effects.
There are a variety of glaze types available, including transparent, semi-transparent, and opaque. Transparent glazes showcase the natural color and texture of the clay body, while opaque ones can completely cover the surface. Semi-transparent glazes offer a balance between the two. Consider experimenting with each type to see how they interact with your clay pieces.
5. Consider Underglazes:
Underglazes, which are applied to the clay before the final firing and glazing, provide an alternative method for achieving a shiny surface. Select underglazes that offer a glossy finish and apply them according to the manufacturer’s instructions. This method allows for more control over the final appearance and can be combined with other finishing techniques. Additionally, underglazes can be used for creating intricate designs and patterns on the surface of the ceramic piece.
Underglazes also offer a wider range of colors compared to glazes. This allows for more artistic expression and experimentation with different color combinations. Furthermore, underglazes can be mixed together to create custom colors and shades.

6. Experiment with Terra Sigillata:
Terra sigillata, a fine-particle slip, is another option for enhancing the shine of clay surfaces. Apply terra sigillata to the leather-hard clay, burnishing it with a soft cloth or your hands. The burnishing process compresses the particles, creating a smooth and polished surface. Afterward, the piece can be bisque-fired and left unglazed for a shiny result. This technique originated in Ancient Rome and has been used by potters for centuries.
Terra sigillata can also be used to create interesting surface designs. After applying terra sigillata, you can use tools like a feather or comb to create patterns on the clay surface. The slip will accentuate these marks, creating unique and beautiful designs. Another option is to paint onto the terra sigillata with colored slips or underglaze, allowing for even more customization and creativity.
7. Burnish the Surface:
Burnishing involves rubbing the clay surface with a smooth tool or stone to compact the particles and create a polished effect. This technique is particularly effective for achieving a shine on unglazed surfaces. Experiment with various burnishing tools and motions to achieve the desired level of gloss.
Some common tools used for burnishing include rib tools, smooth stones or pebbles, and plastic bags. The motion of the tool can also affect the final result – circular motions tend to create a smoother surface while back-and-forth motions can produce more visible lines.
8. Polish with Abrasives:
After the clay has been fired and glazed, or if you are working with air-dry or polymer clay, consider polishing the surface with abrasives. Sandpaper or polishing pads with progressively finer grits can be used to smooth the surface and enhance its shine. Take care to maintain even pressure and avoid over-sanding, which can result in a loss of detail. When using sandpaper, be sure to wet-sand and rinse the surface often to prevent dust buildup and scratching.
Polishing with abrasives can also be used to create a distressed or antique look on metal surfaces. By selectively polishing certain areas, you can add depth and contrast to your metalwork. Various tools such as wire brushes, steel wool, and rotary tools with buffing wheels can be used to achieve different effects.
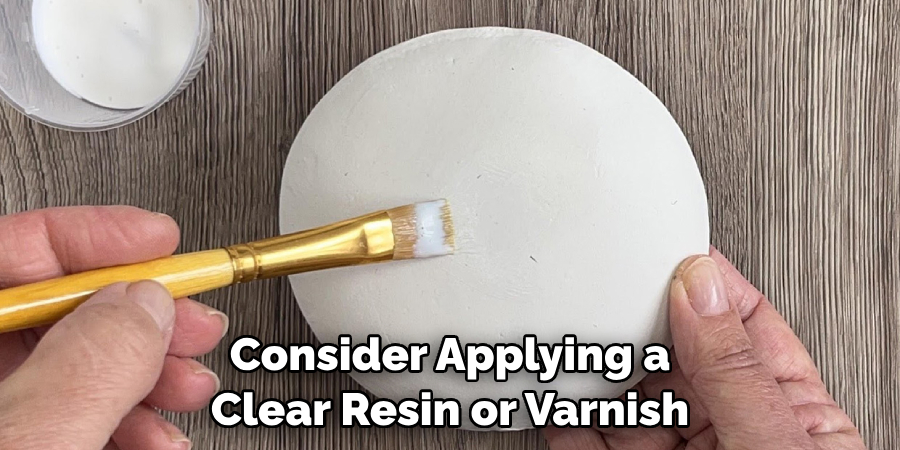
9. Apply Resin or Varnish:
For air-dry or polymer clay projects, consider applying a clear resin or varnish to achieve a glossy finish. Ensure the clay is thoroughly dry before applying the chosen finish. Use a brush or spray application method for even coverage. Resin, in particular, can create a durable and long-lasting shine.
For baked polymer clay projects, a glossy finish can be achieved by sanding and polishing the surface with a fine grit sandpaper or a buffing wheel. This method not only creates a shiny surface but also smooths out any imperfections in the clay.
10. Seal with Wax:
Another method for achieving a shiny finish on fired clay is to seal it with wax. After the glaze firing, allow the piece to cool, then apply a thin layer of wax using a soft cloth. Buff the surface gently to achieve a polished and lustrous appearance. Be mindful of the type of wax used, ensuring it is suitable for pottery or ceramic applications.
Wax seals can also be used as a decorative element on pottery pieces. Some potters choose to create intricate designs using wax resist techniques before glazing and firing the piece. This adds another level of texture and visual interest to the finished product.
Conclusion
In conclusion, adding shine to clay creations is a rewarding process that enhances their visual appeal and durability. By following the outlined techniques and considerations, individuals can achieve stunning glossy finishes on their clay projects. Whether through the application of glazes, polishing techniques, or alternative shiny finishes, the key lies in careful preparation, application, and finishing.
Choosing the right clay type and surface preparation are essential steps to ensure a smooth and flawless finish. Experimenting with different glazes, polishing compounds, and sealing methods allows for creativity and customization in achieving desired shiny effects. Thanks for reading, and we hope this has given you some inspiration on how to make clay shiny!


