Creating ceramics at home without a kiln opens up a world of possibilities for artistic expression and crafting without the need for specialized equipment. While traditional ceramic-making involves firing in a kiln to achieve durability and hardness, alternative methods allow enthusiasts to shape and glaze their clay creations without this conventional step. In this guide, we will explore how to make ceramics at home without a kiln, diving into techniques such as air-drying clay, microwave firing, and using alternative firing methods.
Whether you’re a beginner eager to explore the world of pottery or an experienced artist seeking new avenues, this comprehensive guide will provide you with creative alternatives to traditional kiln firing, allowing you to bring your ceramic visions to life right in the comfort of your own home. Get ready to unleash your creativity and embark on a journey of hands-on ceramic crafting without the need for a kiln.
Table of Contents
Selecting Clay
Choosing the right type of clay is a critical step in the process of making ceramics at home without a kiln. There are numerous varieties available, each with its unique properties and suitability for different projects. For beginners, air-dry clay is an excellent choice. It’s easy to work with, requires no firing, and dries naturally in air. Polymer clay is another option that can be baked in a standard oven, offering a wide range of colors for artistic creations.
1. Air-Dry Clay:
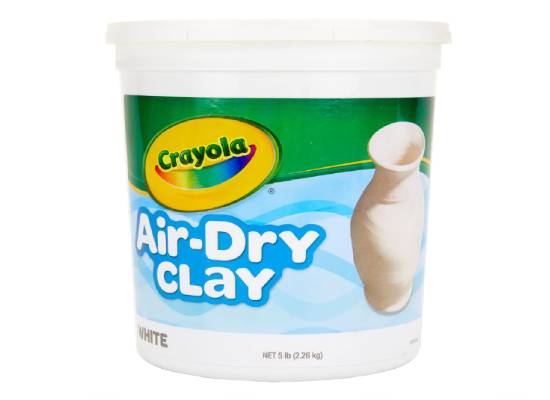
This readily available clay dries at room temperature, eliminating the need for firing. It’s perfect for beginners and ideal for small, decorative objects like figurines, jewelry beads, or trinket dishes.
2. Polymer Clay:
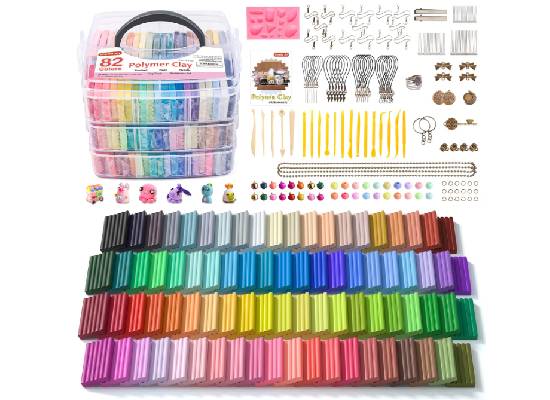
This versatile clay comes in various colors and textures, allowing you to create intricate designs and whimsical pieces. It bakes in a home oven at low temperatures, making it convenient and accessible.
3. Paper Clay:
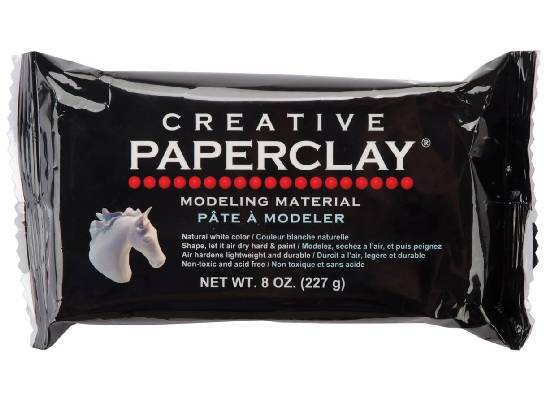
(https://www.amazon.com/Creative-Paper-clay-Ounces-White/dp/B001V8E7MW)
This unique clay mixture combines paper pulp with clay, resulting in a lightweight and moldable material. It air-dries and can be painted or decorated for a distinctive, papery aesthetic.
4. Cold Porcelain:
Cold porcelain is made from cornstarch and glue, this self-hardening clay mimics the look and feel of porcelain without needing firing. It’s strong, flexible, and perfect for creating delicate flowers, figurines, and ornaments.
10 Methods How to Make Ceramics at Home without a Kiln
1. Gather Materials
The first step to making ceramics at home without a kiln is to gather all the necessary materials. This includes clay, water, a rolling pin or slab roller, various tools for shaping and smoothing, and a heat source such as an oven or microwave.
2. Prepare Your Workspace
Before you start working with clay, it’s important to prepare your workspace. Lay down some newspaper or a plastic tablecloth to protect your surfaces from any messes.
3. Choose Your Clay
There are different types of clay that can be used for ceramics, but air-dry clay is the best option for making pottery at home without a kiln. It can be easily shaped and dries on its own without the need for firing.
4. Knead the Clay
Kneading the clay is an important step in preparing it for use. This helps to remove any air bubbles and makes the clay more pliable and easier to work with. Knead the clay until it is smooth and free of lumps.
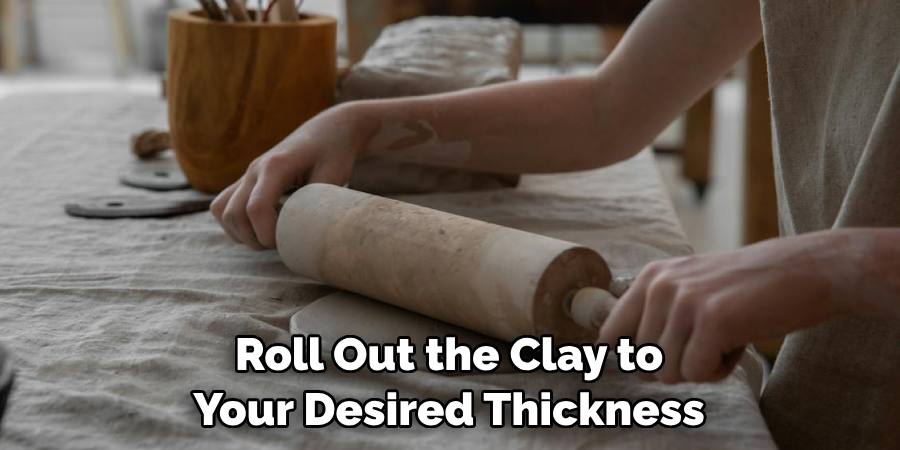
5. Roll Out the Clay
Using a rolling pin or slab roller, roll out the clay to your desired thickness. If you don’t have these tools, you can also use your hands to flatten out the clay. Keep in mind that the thicker the clay, the longer it will take to dry.
6. Shape Your Pottery
Once your clay is rolled out, you can start shaping it into your desired form using various tools such as pottery ribbons or wooden modeling tools. Get creative and experiment with different techniques to create unique shapes and textures.
7. Smooth Out Imperfections
After shaping your pottery, use a damp sponge or brush to smooth out any imperfections or rough edges on the surface of your piece. This will give it a polished and professional look.
8. Let It Dry
Allow your piece to dry completely before moving on to the next step. This can take anywhere from 24 hours to a few days, depending on the size and thickness of your piece.
9. Paint or Glaze Your Piece
Once dry, you can paint or glaze your pottery using non-toxic acrylic paints or glazes specifically made for air-dry clay. This step is optional but can add color and a glossy finish to your piece.
10. Bake or Microwave Your Piece
The final step is to either bake your piece in an oven at a low temperature (around 200-250 degrees Fahrenheit) for a few hours or microwave it on high for a few minutes. This will harden the clay and make it more durable. Be sure to follow the instructions on your specific type of clay for the best results.
Alternative Firing Methods
Apart from baking and microwaving, there are several other alternative firing methods that you can use to harden your clay pieces. These methods are best suited to specific types of clay and are ideal for those who want to experiment with different techniques or don’t have access to an oven or microwave.
1. Solar Firing:
Solar firing takes advantage of the sun’s heat to dry and harden clay pieces. This method is often used with air-dry clay and is perfect for small, thin pieces like beads or pendants. It’s a slow process, as it requires several days of direct sunlight for the clay to harden fully.
2. Stove-Top Firing:
This method involves placing the clay piece on a metal wire rack over a stove top or gas burner. The clay is heated gently and evenly until it hardens, with the heat adjusted as necessary to prevent the piece from cracking.
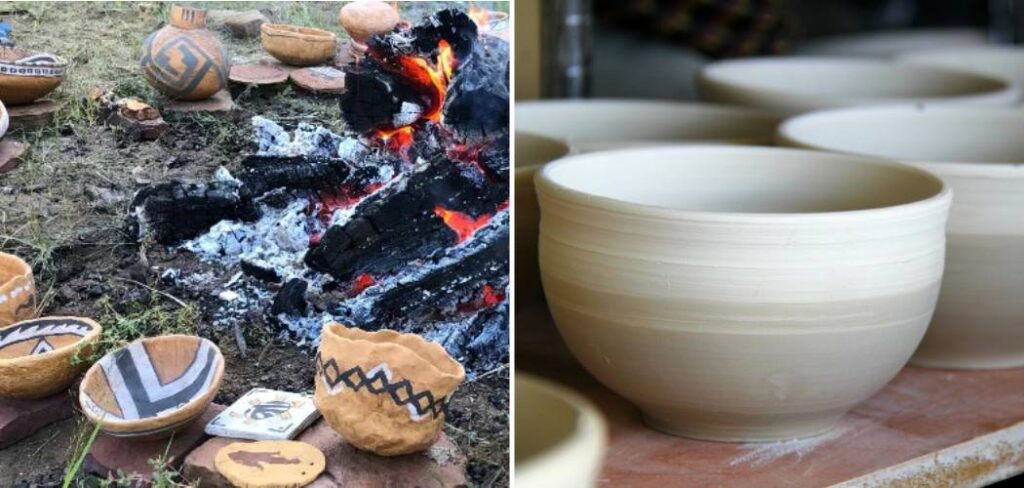
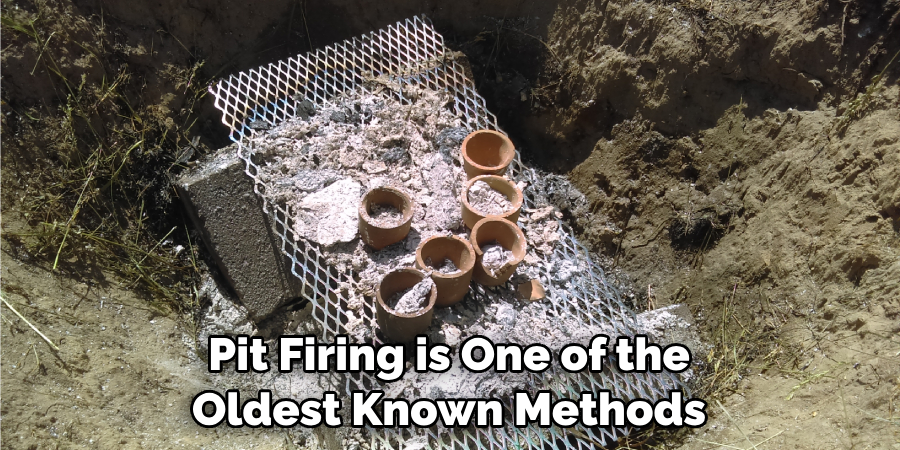
3. Pit Firing:
Pit firing is one of the oldest known methods for hardening clay. It involves digging a pit, placing the clay pieces inside, and then covering them with wood or charcoal. The fire is kept burning for several hours to a day, depending on the thickness and size of the pieces.
4. Fireplace Firing:
If you have a wood-burning fireplace at home, it can serve as an effective firing method. Place your clay pieces directly into the embers of a fire and let them sit until they’re hard.
Remember, no matter the method you choose, always handle your pieces with care to prevent cracking or breakage. Also, note that these alternative firing methods may not produce the same level of hardness as a kiln, but they still allow for the creation of beautiful, handmade ceramic pieces at home.
Safety Considerations
When making ceramics at home without a kiln, safety should always be your top priority. Here are some key points to remember and precautions to take:
- Handling Materials: Some types of clay can cause skin irritation or allergies. Always wash your hands thoroughly after handling clay, and consider using gloves if you have a known sensitivity.
- Ventilation: When drying your ceramics, especially during stove-top or fireplace firing, ensure you have good ventilation to avoid inhaling any potentially harmful fumes.
- Heat Source Safety: Whether you’re using an oven, microwave, stove-top, or fireplace, always exercise caution when handling hot objects to prevent burns. Do not leave a heating appliance unattended while firing clay, and ensure that the area around the heat source is free of flammable materials.
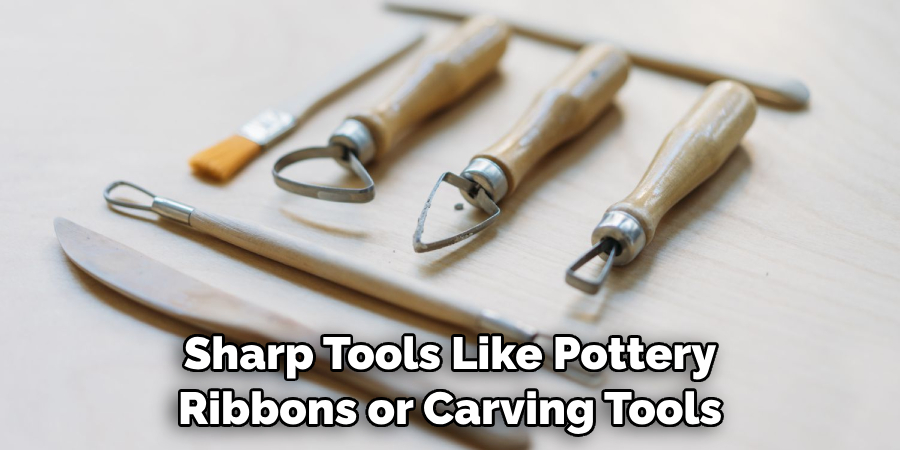
- Tool Safety: Use tools with care. Sharp tools like pottery ribbons or carving tools can cause injury if not handled properly. Always point them away from you and others when working.
- Child Safety: If children are involved in the project, supervise them closely. Make sure they understand how to safely handle materials and tools, and keep them away from hot appliances.
- Curing: Ensure your piece is completely dry before attempting to heat it. Heating damp clay can cause it to crack or even explode.
Remember, the goal is to enjoy the artistic process and create something beautiful, while keeping safety at the forefront of your considerations.
Conclusion
In conclusion, learning how to make ceramics at home without a kiln is not only a fun and enjoyable hobby, but it also allows you to get in touch with your creative side and express yourself through art. With the techniques and tips shared in this blog post, you can now confidently create beautiful ceramic pieces right from the comfort of your own home. Remember to start small and practice often, as each piece you create will only lead to improvements and growth in your skills.
Don’t be afraid to experiment with different materials or styles, as the possibilities are endless in the world of ceramics. And most importantly, don’t forget to have fun! Share your creations with friends and family and spread the joy of homemade ceramics. So go ahead and grab those clay and sculpting tools, because it’s time for you to unleash your inner artist and make ceramics without a kiln!


