To make ceramic ornaments, shape clay into desired designs, let them air dry or kiln-fire for durability, then paint and glaze for a decorative finish. The art of making ceramic ornaments can be traced back to ancient civilizations such as the Egyptians, Greeks, and Chinese. These early civilizations used clay to create intricate and beautiful ornaments that were often used for religious or ceremonial purposes. In this blog post, we’ll walk you through the steps on how to make ceramic ornaments so that you can get back to using it in no time!

Today, ceramic ornaments are still popular and are often used to decorate homes during the holiday season or as unique and personalized gifts. People make ceramic ornaments for a variety of reasons. Some enjoy the creative process and find it therapeutic, while others appreciate the ability to create something with their own hands. Ceramic ornaments also offer a way to express one’s creativity and individuality, as each piece can be customized and personalized.
Table of Contents
Materials Needed for Making Ceramic Ornaments
To make ceramic ornaments, you will need a few basic materials. These include clay, tools for shaping and decorating the clay, a kiln for firing the ornaments, and glaze or underglaze for adding color and finish to the pieces.
Clay is the most important material when it comes to making ceramic ornaments. There are different types of clay available, each with its own unique properties and characteristics. Some common types of clay used for making ceramics include earthenware, stoneware, and porcelain. Each type of clay has different firing temperatures and requires different techniques for shaping and decorating.
You can purchase these materials at art supply stores or online. Many cities also have pottery studios or community centers that offer classes and workshops on ceramic ornament making, where you can find all the necessary materials.
Choosing the Right Clay for Your Ornaments
Choosing the right clay for your ceramic ornaments is crucial, as it will determine the final outcome of your pieces. There are several factors to consider when choosing clay, including its firing temperature, color, texture, and durability.
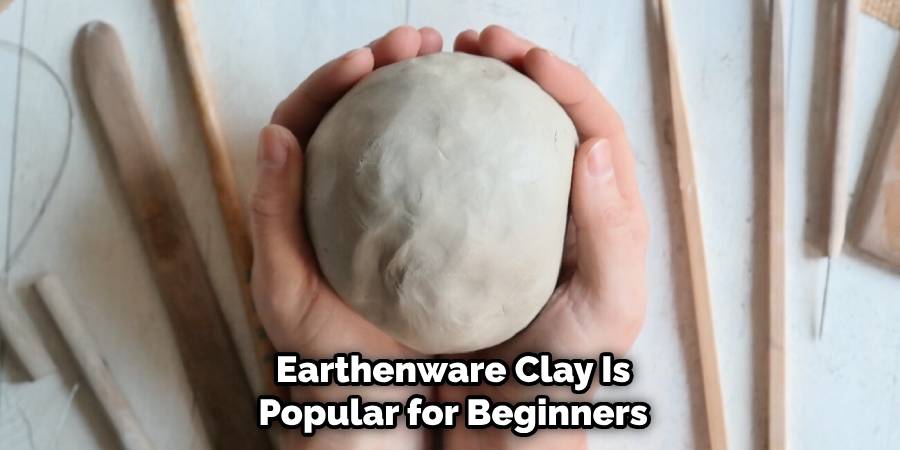
Earthenware clay is a popular choice for beginners, as it is easy to work with and has a lower firing temperature. It is also available in a wide range of colors, making it ideal for creating vibrant and colorful ornaments. Stoneware clay, on the other hand, is more durable and has a higher firing temperature. It is often used for functional ceramics but can also be used for ornaments if you prefer a more rustic and earthy look. Porcelain clay is known for its delicate and translucent appearance, making it perfect for creating delicate and intricate ornaments.
When choosing clay, it is important to consider the firing temperature of your kiln. Make sure that the clay you choose is compatible with the firing temperature of your kiln to avoid any issues during the firing process.
10 Steps How to Make Ceramic Ornaments
Step 1: Gather Materials and Tools
Begin by gathering all the necessary materials and tools. You’ll need clay (either air-dry or kiln-fired), a rolling pin, cookie cutters or templates, a cutting tool, a wooden board, a needle tool, wire or string for hanging, a kiln (if using kiln-fired clay), glazes, paintbrushes, and other decorating supplies.
Step 2: Prepare Your Workspace
Set up a clean and well-ventilated workspace. Cover your work surface with a drop cloth or plastic to protect it from clay and glaze.
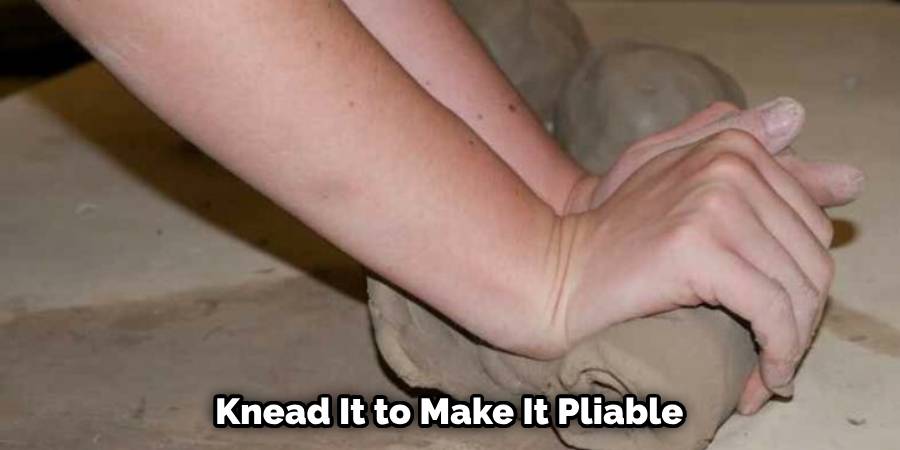
Step 3: Knead the Clay
If you’re using kiln-fired clay, knead it to make it pliable. If using air-dry clay, skip this step. Kneading helps remove air bubbles and ensures an even consistency.
Step 4: Roll Out the Clay
Using a rolling pin, roll out the clay to your desired thickness. Aim for about 1/4 inch (6 mm) for most ornaments, but you can adjust this to your preference.
Step 5: Cut Out Shapes
Use cookie cutters or templates to cut out the desired shapes for your ornaments. You can make stars, hearts, snowflakes, angels, and more. Be creative!
Step 6: Smooth and Shape
Use a wooden board or your hands to smooth the edges and refine the shape of each ornament. Ensure the surface is even and free of imperfections.
Step 7: Add Details
If you want to add texture or intricate details, use a needle tool or sculpting tools. You can create patterns, textures, or even personalize the ornaments with names or dates.
Step 8: Make Holes for Hanging
Use a needle tool or straw to create a hole near the top of each ornament. This is where you’ll thread wire or string to hang the ornament later.
Step 9: Let the Ornaments Dry
If you’re using air-dry clay, let the ornaments air dry for several days until they are completely dry and hard. If you’re using kiln-fired clay, follow the specific drying instructions for your clay type.
Step 10: Paint and Glaze
Once the ornaments are dry, you can paint them with ceramic glazes. Be creative with your color choices and designs. If you’re using air-dry clay, you’re done at this step. However, for kiln-fired clay, you’ll need to fire the ornaments in a kiln following the recommended firing schedule.
Firing Your Ceramic Ornaments in a Kiln
Firing your ceramic ornaments in a kiln is an important step in the ceramic making process, as it transforms the clay into a durable and permanent material. There are different types of kilns available, including electric kilns, gas kilns, and wood-fired kilns.
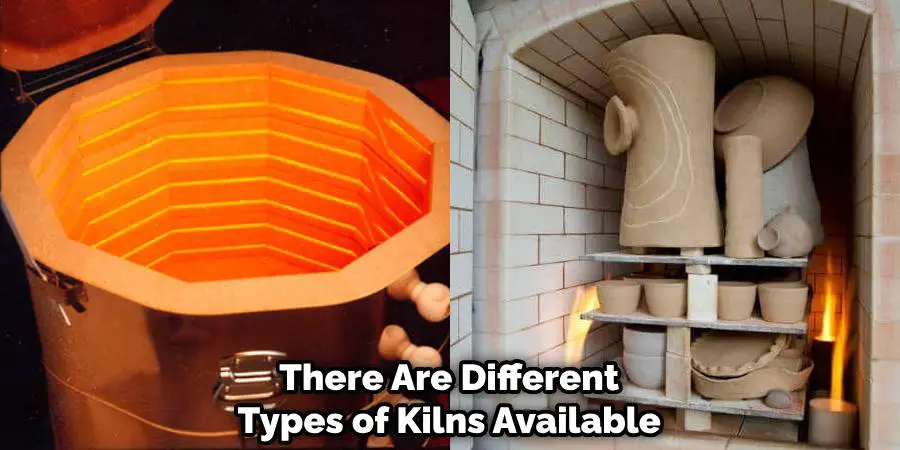
Electric kilns are the most common type of kiln used by ceramic artists and hobbyists. They are easy to use and control, making them ideal for beginners. Gas kilns are often used by professional ceramic artists, as they can reach higher firing temperatures and offer more control over the firing process. Wood-fired kilns are less common but are known for producing unique and unpredictable results.
The basic steps for firing in a kiln include loading the kiln, setting the firing schedule, and monitoring the temperature. It is important to follow the manufacturer’s instructions when firing your ornaments, as different types of clay and glazes have different firing temperatures and schedules.
Finishing Touches: Adding Ribbons and Hooks to Your Ornaments
Once your ceramic ornaments are fired and cooled, it is time to add the finishing touches. Adding ribbons and hooks to your ornaments allows them to be easily hung or displayed.
There are different types of ribbons and hooks that you can use for your ornaments. Satin ribbons are a popular choice, as they are soft and come in a wide range of colors. You can also use metallic or glitter ribbons for a more festive look. Hooks can be made from wire or metal and can be attached to the ornaments using glue or by drilling a small hole in the clay.
When attaching ribbons and hooks to your ornaments, it is important to consider the weight and size of the ornament. Make sure that the ribbon or hook is securely attached to the ornament to prevent it from falling or breaking.
Troubleshooting Common Issues When Making Ceramic Ornaments
While making ceramic ornaments can be a fun and rewarding experience, it is not without its challenges. Here are some common issues that you may encounter when making ceramic ornaments and how to fix them:
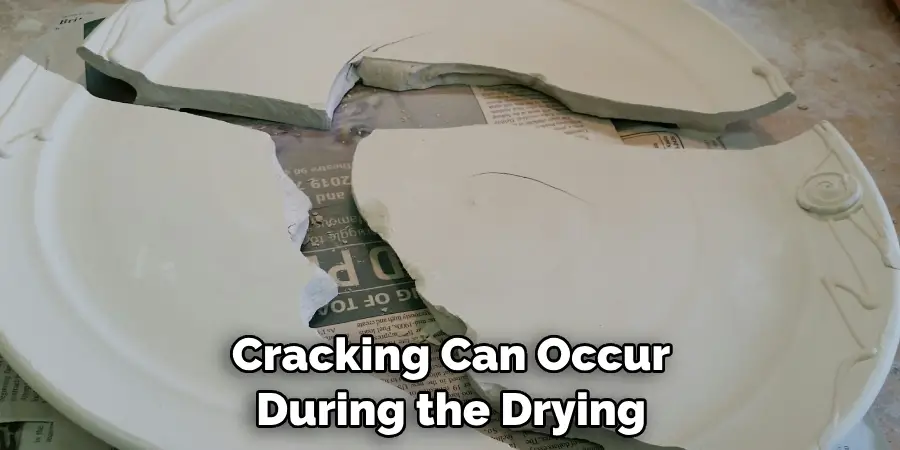
1. Cracking:
Cracking can occur during the drying or firing process if the clay is not properly prepared or handled. To prevent cracking, make sure to wedge the clay thoroughly before using it and avoid drying the clay too quickly. If cracking occurs, you can try repairing it by filling the crack with slip or clay and smoothing it out.
2. Warping:
Warping can occur if the clay is not properly supported or if the kiln temperature is not consistent. To prevent warping, make sure to support the clay properly during drying and firing. If warping occurs, you can try reshaping the ornament while it is still wet or using weights to hold it in place during firing.
3. Glaze defects:
Glaze defects such as pinholes, crawling, or uneven application can occur if the glaze is not properly mixed or applied. To prevent glaze defects, make sure to mix the glaze thoroughly and apply it evenly to the ornament. If glaze defects occur, you can try reapplying the glaze or using a different glaze.
Conclusion
Making ceramic ornaments is a creative and rewarding hobby that allows you to express your creativity and create unique and personalized pieces. By following the steps and tips outlined in this article on how to make ceramic ornaments, you can create beautiful and durable ceramic ornaments that can be enjoyed for years to come. So why not give it a try and see what you can create?


