Have you ever been curious about how teapots are made? Crafting pottery can be a very rewarding experience, and making your own teapot is no exception, from gathering the right materials to decorating with intricate designs.
This guide on how to make a teapot will walk you through each step of the process so that you can make a unique teapot all your own. So grab your clay, come along for the ride, and start learning how to craft this timeless item!
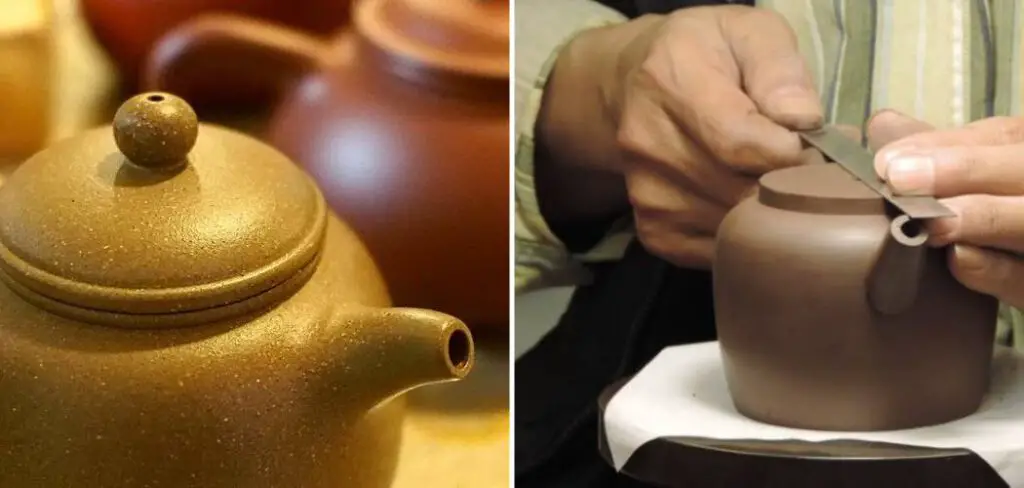
Table of Contents
What Is the Best Size for a Teapot?
When it comes to making the perfect teapot, size matters. Too small and there won’t be enough room for a full pot of tea; too large and you may end up with too much tea or weak-tasting tea. So, what is the best size for a teapot?
Generally speaking, when making a teapot, the ideal size is about 18 ounces (500 ml). This capacity should be enough to accommodate one quart of brewed tea (about 4 cups). It will also provide enough space between the spout and any lid that fits on top so that steam can safely escape while pouring.
Another important factor to consider is how many people you typically make tea for at once. If you’re making tea for just one or two people, then an 18-ounce teapot is ideal. However, if you typically make tea for a larger group of people, it would be better to make a larger pot — around 32 ounces (950ml) should do the trick.
In the end, the best size for a teapot will depend on personal preference and how much tea you usually make at once. Choose something that’s comfortable to hold and has enough room to brew your preferred amount of tea without overcrowding it in the pot itself. The right size will ensure flavorful and aromatic cups of tea each time!
10 Steps How to Make a Teapot
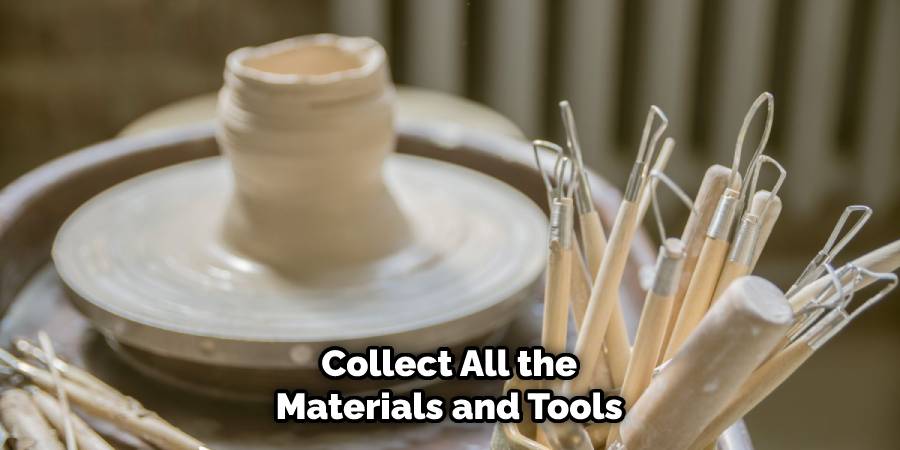
Step 1: Gather Materials and Tools
Collect all the materials and tools you will need, including clay, a pottery wheel, a kiln, water, pottery tools (such as a knife, ribs, and a sponge), a rolling pin, and a template or pattern for your teapot. If you plan to glaze your teapot, you’ll also need a glazing brush and glazes. However, you may choose to leave your teapot unglazed.
Step 2: Prepare the Clay
Prepare the clay by wedging it to remove air bubbles and make it easier to work with. Wedging involves kneading and compressing the clay to eliminate any air pockets. This ensures that the clay is strong and won’t crack when baked.
Once the clay is sufficiently wedged, form it into a ball shape. Although you can use any type of clay for a teapot, it’s best to choose stoneware or porcelain that can withstand high temperatures. Make sure the clay is not too wet or dry, as this will affect how it shapes and bakes.
Step 3: Center the Clay
Center the clay on the pottery wheel by placing it in the center of the wheel head and using your hands to press down firmly while the wheel is spinning. This will ensure that the clay is properly aligned and ready for shaping. Once the clay is centered, you can begin working on the pot’s shape. Use your hands to gently guide the clay into the desired shape.
If you are having difficulty with this step, it may help to use a potter’s rib or other tool designed specifically for shaping clay. Additionally, be sure to keep the pottery wheel spinning at a consistent speed and adjust the height of the wheel head if needed.
Step 4: Shape the Body
Shape the body of the teapot by using your hands, pottery tools, and the wheel to create the desired form. Start with a basic shape, such as a cylinder, and then use tools to shape and refine it into the desired teapot shape.
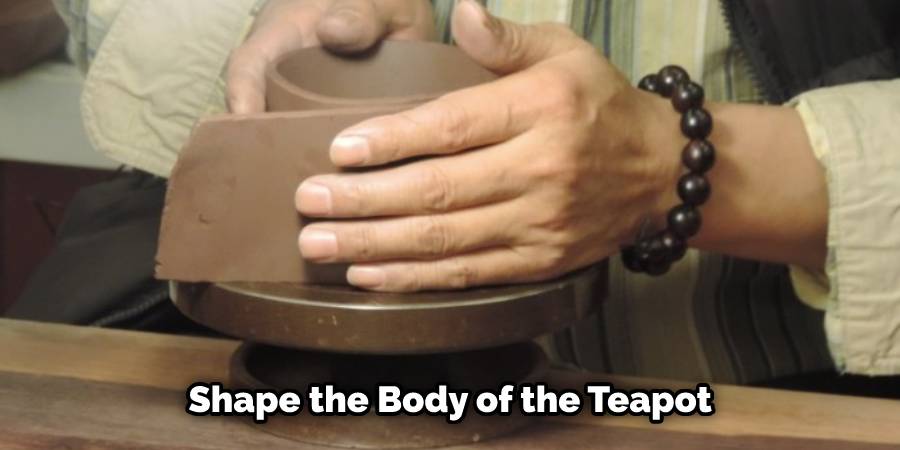
Use the template or pattern as a guide if needed. If using the wheel, make sure to keep the walls even and symmetrical. However, if a handmade look is desired, then the walls can be uneven and asymmetrical. Though it is possible to make a teapot without the wheel, a wheel will make the process much quicker and more precise.
Step 5: Add a Spout and Handle
Attach the spout and handle to the body of the teapot using clay slip, which is a liquid clay mixture used as an adhesive. Score both the body and the spout/handle where they will be joined, apply slip, and then attach and smooth the seams. Allow the teapot to dry completely before adding any more details.
When the teapot is completely dry, use fine-grit sandpaper to smooth out any rough edges. If desired, you can add texture and other decorative details to the teapot, such as incised designs, stamps, and carving. Finally, fire the teapot in a kiln according to the manufacturer’s instructions.
Step 6: Create the Lid
Make the lid of the teapot by shaping a piece of clay into a flat disk slightly larger than the opening of the teapot. Add a handle or knob to the lid and attach it to the teapot using slip and scoring, just like the spout and handle. Allow the teapot to dry overnight or as instructed by the package directions. Make sure that you place it where nothing will bump into it while drying. Fire the teapot according to your package directions, and then apply any desired glazes or paints to finish the design.
Step 7: Add Details
Add any decorative details to the teapot, such as textured patterns, carved designs, or embossed elements, using pottery tools or stamps. Be creative and personalize your teapot to your liking. For example, draw a face on the body of the teapot with a stylus. Or use stamps to create patterns along the edges or body of the teapot.
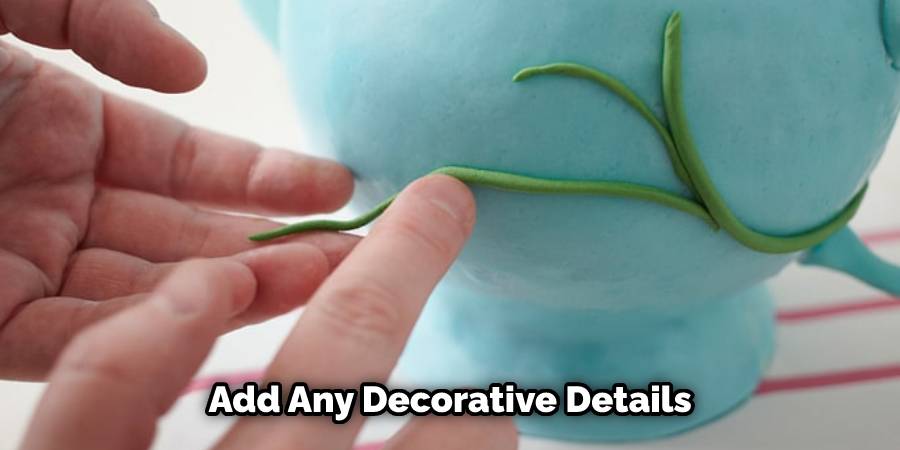
You can also add handles or spouts to the pot for a more traditional look. After you have added all of the details to your teapot, let it dry completely before glazing and firing. Once the teapot is dry, you can begin glazing and firing to make your masterpiece!
Step 8: Dry the Teapot
Allow the teapot to dry slowly and evenly to avoid cracking. Cover it with plastic wrap or a damp cloth and let it air dry for several days until it is leather-hard, which means it is firm but still slightly damp. This is the stage at which you can add handles and spouts to your teapot.
If you are attaching them with coils, use damp newspaper or strips of leather to make sure they stay in place. Once you are done, leave it to dry for at least another day before continuing on to the next steps.
Step 9: Bisque Firing
Bisque fire the teapot in a kiln to remove any remaining moisture and harden the clay. Follow the manufacturer’s instructions for your specific kiln, and gradually increase the temperature to the recommended bisque firing temperature for your clay type. Once the kiln reaches temperature, keep it there for a few hours and then allow it to cool overnight. The bisque firing process will make your teapot durable and ready to glaze.
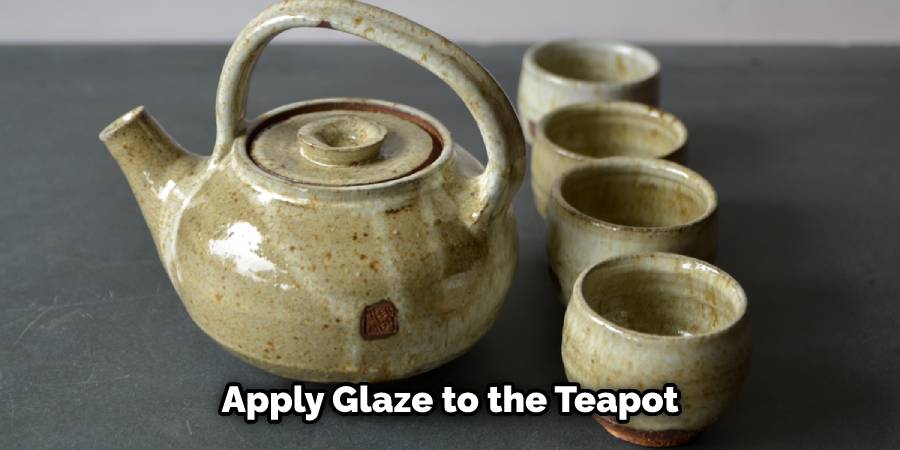
Step 10: Glaze and Final Firing
Apply glaze to the bisque-fired teapot using a brush, spray, or dipping method. Glaze is a liquid glass-like coating that will give your teapot its final color and finish. Once the glaze is dry, load the teapot into the kiln for the final firing, following the recommended temperature and firing schedule for your glaze.
And there you have it! After the final firing, your teapot will be ready to use and enjoy. Remember to always follow proper safety procedures when working with clay, pottery tools, and kilns, and have fun expressing your creativity in making your very own teapot!
Some Common Mistakes When Making a Teapot:
1. Not Using the Right Materials:
It is important to choose a material that is equal parts strong and lightweight. Clay, porcelain, and stoneware are all good choices. However other materials may not be the perfect choice for this project.
2. Not Creating an Even Base:
If your teapot does not have a flat base, then it has a higher chance of toppling over when hot tea is added to it. Make sure the bottom of the pot is level by using a ruler or other straight edge as you build it.
3. Making a Handle That’s Too Big:
The handle should be small enough that it can easily fit three fingers through the loop without straining them. If the handle is too large, it will be difficult to lift the teapot without spilling its contents everywhere.
4. Making the Spout Too Narrow:
When pouring tea from the teapot, you want the water to flow smoothly without any backup. If the spout is too narrow, there will be a greater chance of clogging and spilling the tea on your table or countertop.
Conclusion:
Crafting your own teapot can be both a challenging and enjoyable endeavor. With a little patience and creativity, you can use the supplies in your kitchen to make an attractive teapot that’ll look beautiful on your table.
Start with a base material like clay or paper mache, then add details like handles and spouts to create a unique piece. As long as you follow the instructions included in this blog post about how to make a teapot, you’ll be able to make an artistic statement that will last for years.


