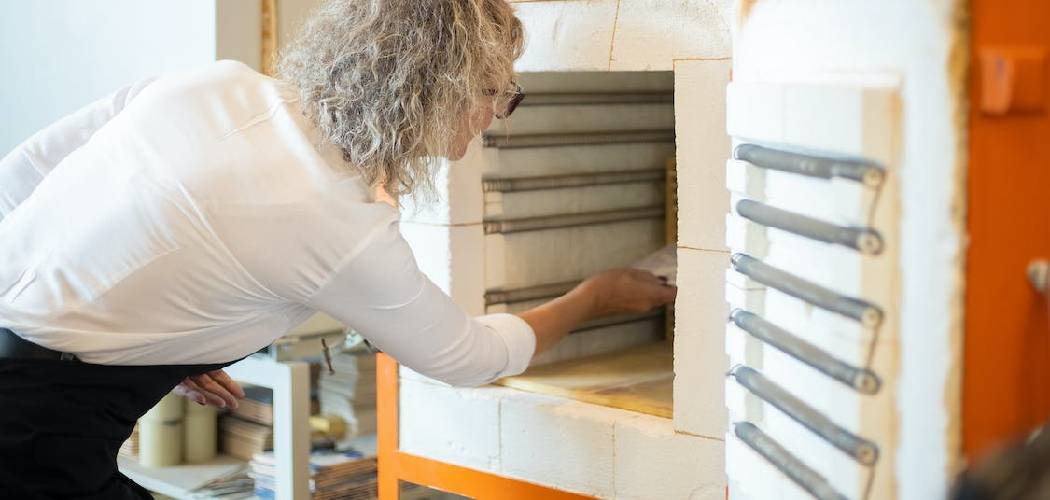
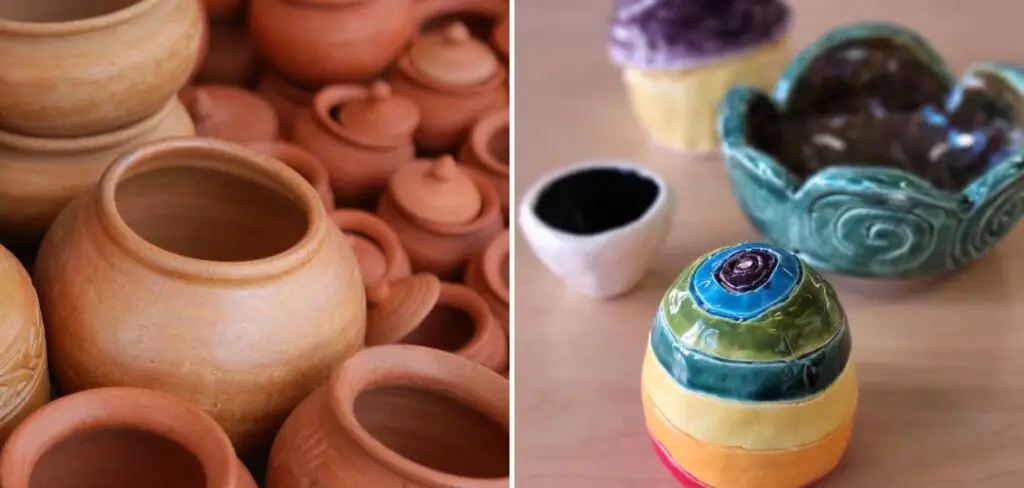
Kilns are ancient tools used to create incredible objects from clay and other materials. From simple bowls and plates to intricate sculptures and figures – the possibilities are almost endless!
If you’re looking for a creative way to get your hands dirty (literally) and make something beautiful, learning how to make a primitive kiln at home might be just what you need.
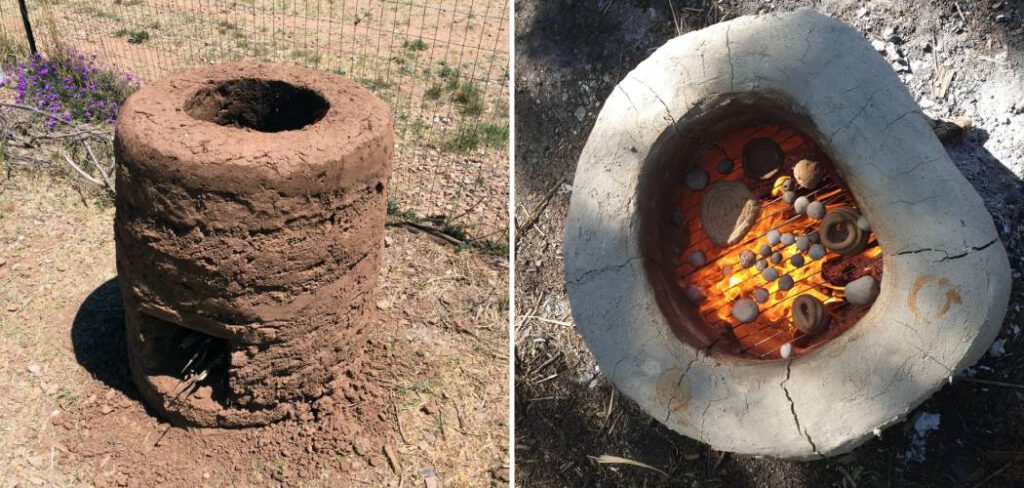
In this blog post, we’ll explore all the steps involved in creating a functional kiln out of everyday items so that anyone can try their hand at creating lasting art pieces – no matter where they live or what supplies they may have access to!
Table of Contents
What Is the Easiest Kiln to Make at Home?
The easiest kiln to make at home is a primitive, low-temperature kiln. This type of kiln is usually made from clay, sand, and firewood and is used to heat materials up to temperatures of around 1000°F (538°C). It can be used for activities such as glassmaking, pottery firing, soldering metal components, blacksmithing, and more. Building one at home requires a basic understanding of construction techniques and some careful planning.
Before starting the project, it’s important to consider the size that you need your kiln to be. Depending on what you plan on using it for, you could make an area large enough for tools or smaller items or larger areas suitable for larger items such as pottery. Making sure you have the right size kiln is important so that you can achieve the desired temperatures for your project.
You will also need to make sure that you have all of the materials needed to build your kiln. This includes clay, sand, and firewood. You will also need tools such as shovels, a saw or axe if needed, and some kind of container big enough to collect ash and other debris generated by the kiln.
10 Steps How to Make a Primitive Kiln at Home
Step: 1. Choose a Suitable Location:
Select an open and well-ventilated area in your yard or outdoor space for building the kiln. Make sure there are no flammable materials nearby, and follow local fire safety regulations. If you have a fire pit or outdoor fireplace, this may be the ideal spot for your kiln.

To use the fire pit, line the bottom with bricks and mortar. Though you’ll likely want your kiln to be somewhat hidden, make sure it’s accessible when you need to tend the fire or add more fuel.
Step: 2. Decide on the Kiln Type:
Choose from various primitive kiln types, such as pit firing, barrel kiln, trash can kiln, adobe kiln, beehive kiln, sawdust kiln, raku kiln, or smoke firing, based on your preferences and available materials.
If you are a beginner, pit firing or barrel, a kiln would be the easiest to construct and use. While a barrel kiln is dome-shaped, pit firing involves making an underground fire. Though the firing process is slower and more tedious, it yields beautiful results.
Step: 3. Gather Materials:
Collect the necessary materials for your chosen kiln type, such as bricks, rocks, metal sheets, clay, mud, sawdust, wire mesh, tripod, propane torch, and combustible materials like wood chips or leaves.
If you are using a more complex kiln type that requires assembly, make sure to gather the appropriate tools needed for construction. If you are using a pit kiln, be sure to choose a location that is away from any combustible materials or structures.
Step: 4. Plan the Kiln Structure:
Sketch out a design for your kiln, taking into consideration the size and shape of your pottery pieces, the type of firing you want to achieve, and the materials you have available. Consider factors such as air circulation, fuel placement, and temperature control.
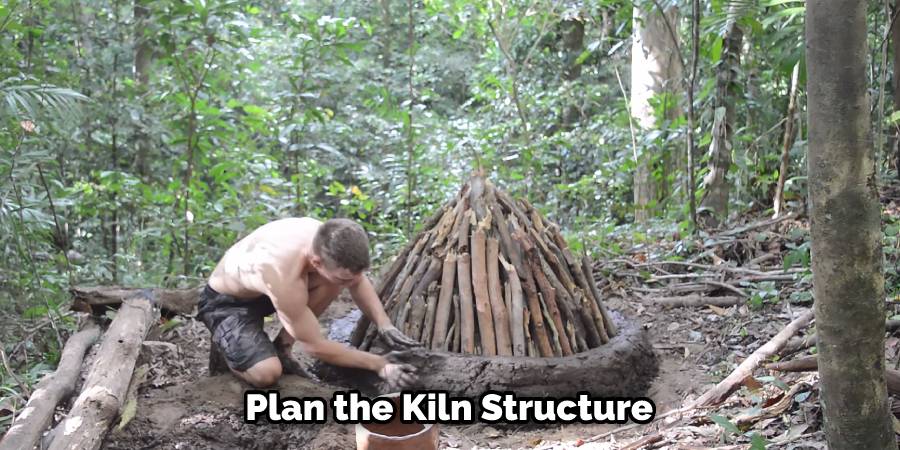
Think about the number of layers that your kiln will have and what materials you will use for each. For example, if you plan to fire pottery that requires a strong heat source, you may consider building an inner chamber that can contain the flame and an outer chamber to contain the heat and keep it from dissipating too quickly.
Step: 5. Build the Kiln Structure:
Using your chosen materials, construct the kiln structure according to your design. Follow proper construction techniques, ensuring stability and structural integrity. Leave openings for air circulation, fuel placement, and firing access.
Although the structure of your kiln should be designed to maximize heat retention, you should also make sure that air can still circulate within. To make sure that your structure is airtight, use fire brick and high-temperature cement.
Step: 6. Prepare the Pottery Pieces:
Prepare your pottery pieces by drying them thoroughly and applying any desired glazes or decorations. Place them on shelves or on a bed of sand inside the kiln, leaving space between them for even firing. If you are firing multiple pieces, consider their placement and the temperatures they will be exposed to, as different materials can react differently in high heat.
Step: 7. Load the Kiln:
Carefully load the pottery pieces into the kiln, following the recommended placement for your chosen firing method. Arrange the fuel materials, such as wood, sawdust, or combustible leaves, around and on top of the pottery pieces, according to your kiln design. Try to keep the fuel materials as evenly distributed as possible.
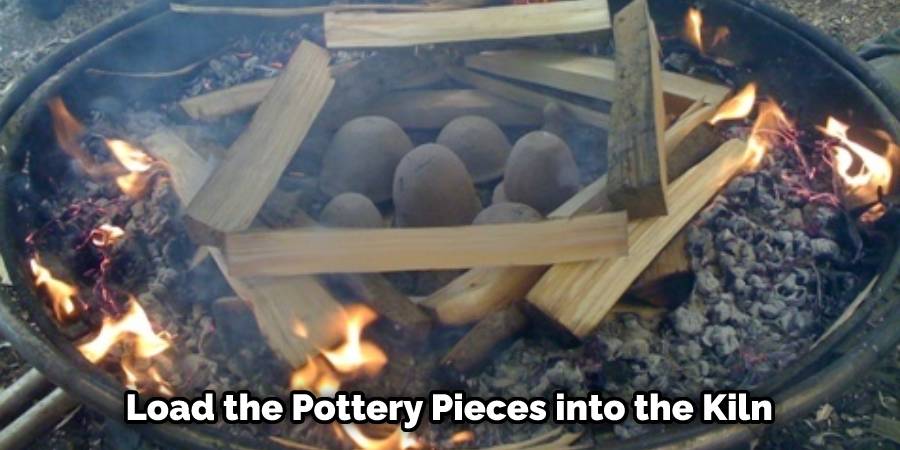
However, the placement of the fuel does not have to be exact; it should just provide enough heat for the firing. Once you are satisfied with your arrangement, plug the kiln into an electrical outlet to ignite the fuel.
Step: 8. Light the Kiln:
Ignite the fuel materials inside the kiln, following proper safety precautions. Control the temperature by adjusting the size and intensity of the fire, and monitor it throughout the firing process.
For wood-burned kilns, you can adjust the airflow through your flue or door opening. This will help regulate the temperature and oxygen in the kiln chamber. A thermometer or thermocouple can be used to measure the temperature inside the kiln, but a more accurate method is to use a pyrometer.
Step: 9. Fire the Pottery Pieces:
Allow the kiln to reach the desired temperature for firing your pottery pieces based on the clay and glazes used. Maintain the temperature for the recommended duration, allowing the pottery to mature and achieve the desired results.
Once the pottery pieces have finished firing, let them cool naturally over time. Be sure to wear safety gloves or use tongs to handle any hot pieces.
Step: 10. Cool and Unload the Kiln:
Once the firing process is complete, allow the kiln to cool down completely before unloading the pottery pieces. Handle the hot pottery pieces with care, using proper protective gear, and inspect them for any cracks or imperfections.
Items that were glazed will also need to be washed and dried before they can be used. With the right tools and knowledge, it’s possible to make a primitive kiln at home for small-scale projects.
Things to Consider When Making a Primitive Kilm at Home:
1. Location:
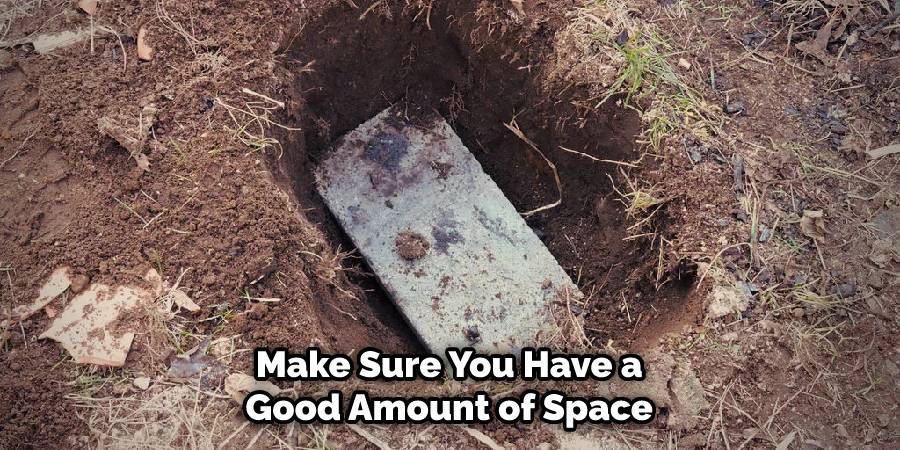
The first consideration when making a primitive kiln at home is the location of the kiln. You should take into account the size of your kiln, as well as the distance from combustible materials. Make sure that you have a good amount of space and make sure it is at least 3 feet away from any other flammable material, including furniture, walls, and fabrics.
2. Materials:
The next consideration when making a primitive kiln at home is the type of materials you will need for your kiln. Choosing the right materials can make or break your project so be sure to choose quality items that are heat-resistant and up to fire safety standards. Popular choices include bricks, clay, stone, and metal, with metal being one of the best options due to its durability and fireproof qualities.
3. Airflow:
The third consideration when making a primitive kiln at home is the airflow. Without proper ventilation, your kiln will not be able to reach its intended temperature and won’t be safe for use. Make sure that you construct your kiln with enough vents and holes to allow air to circulate properly in order to prevent the accumulation of heat.
4. Safety:
Finally, safety must always be a top priority whenever working on any type of DIY project involving fire or heat. Be sure to plan ahead and consider all potential safety risks before beginning your project so as to avoid potential hazards. Make sure to always wear protective clothing and keep a fire extinguisher nearby in case of an emergency.
Conclusion:
In conclusion, creating a primitive kiln at home is an effective way to exercise creativity and make a beautiful creation. Having a basic knowledge of the materials you will need can start you successfully on your project.
Make sure you have enough ventilation, safety equipment, and a safe space to work before you begin. With a bit of time and patience, you can craft your own primitive kiln in no time! And now that you know the basics on how to make a primitive kiln at home, why not give it a try?
If anything is confusing or intimidating about the process, don’t hesitate to ask for help from professionals or look up more resources online. Enjoy taking on this new exciting project, and have fun with it as you unleash your creative potential. Happy crafting!
