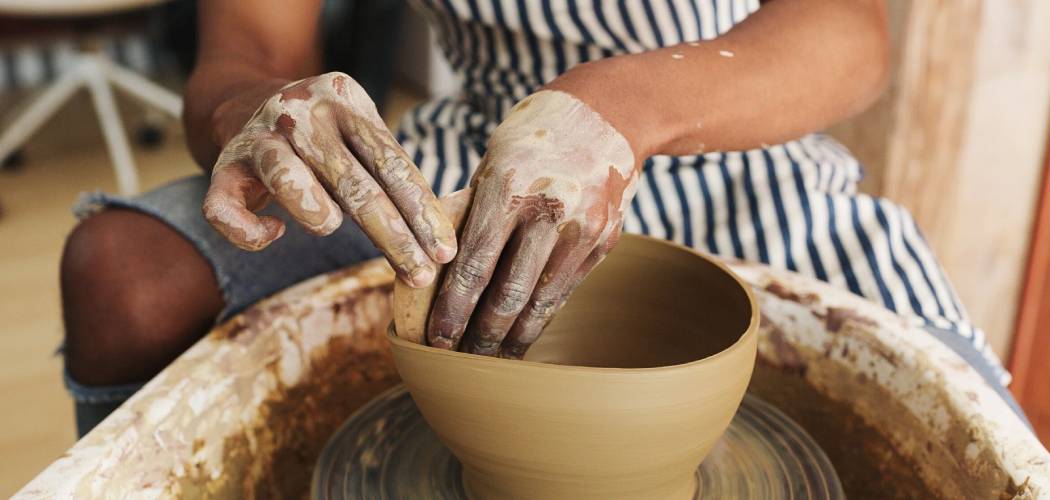
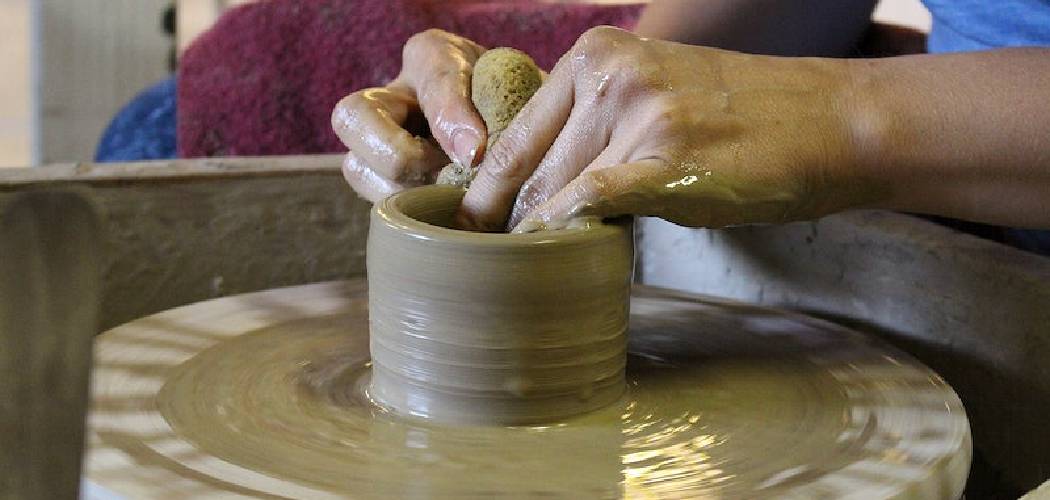
Pottery is a beautiful and rewarding craft that has been practiced for thousands of years. Whether you are a beginner or an experienced potter, having a reliable and functional potter’s wheel is essential for creating beautiful pieces. While there are many pre-made wheels available on the market, building your own can be a rewarding and cost-effective option.
In this article, we will explore how to make a potters wheel, the benefits of building your own potter’s wheel, the materials and tools needed, and step-by-step instructions for building a basic electric wheel.
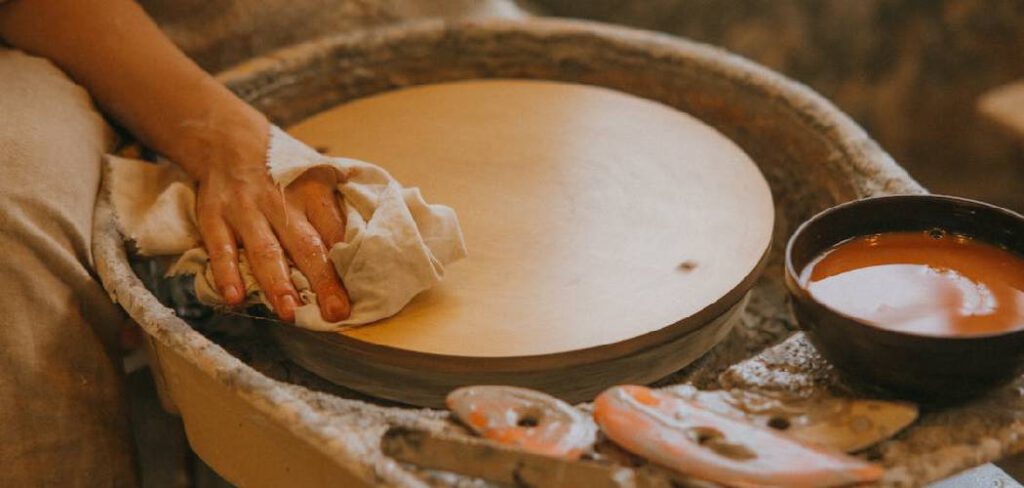
One of the main benefits of building your own potter’s wheel is the satisfaction of creating something with your own hands. There is a sense of pride and accomplishment that comes with building a functional tool from scratch.
Table of Contents
Materials and Tools Needed for Building a Potter’s Wheel
Before you begin building your potter’s wheel, you will need to gather the necessary materials and tools. The materials you will need include wood for the base and frame, bearings for the wheel head, a motor, and a pulley system. You will also need wiring and switches to connect the motor to a power source. The specific materials you need will depend on the design you choose for your wheel.
In addition to materials, you will need a variety of tools to build your wheel. These may include a saw, drill, sandpaper, screwdrivers, pliers, and wrenches. You may also need a lathe or other specialized tools depending on the design of your wheel. It is important to have all the necessary tools before you begin building to ensure that the process goes smoothly.
Choosing the Right Design for Your Potter’s Wheel
There are several different designs to choose from when building a potter’s wheel. The most common types are kick wheels and electric wheels. Kick wheels are powered by the potter’s foot and are often used by traditional potters. Electric wheels are powered by a motor and are more commonly used in modern pottery studios. When choosing a design, it is important to consider factors such as space, budget, and personal preference.
Kick wheels are often smaller and more compact than electric wheels, making them a good choice for those with limited space. They are also generally less expensive than electric wheels, as they do not require a motor or other electrical components. However, kick wheels require more physical effort to use and may not be suitable for those with mobility issues.
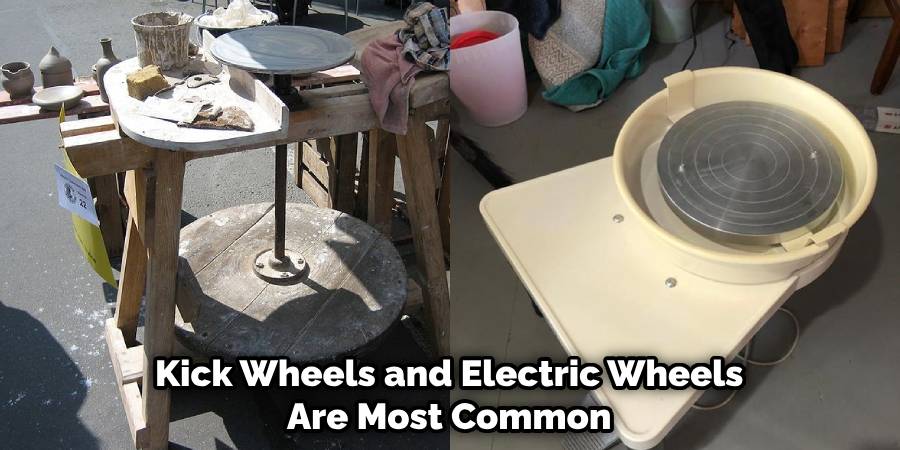
Electric wheels are more expensive than kick wheels, but they offer several advantages. They are easier to use, as the motor provides consistent spinning speed. They also allow for more precise control over the speed and direction of the wheel. However, electric wheels require more space and may not be suitable for those with limited room.
10 Methods How to Make a Potters Wheel
Method 1: DIY Kick Wheel:
One of the simplest ways to make a potter’s wheel is by constructing a DIY kick wheel. Begin by building a sturdy frame using wood or metal, ensuring stability and durability. Attach a large wheelhead made of plywood or other strong material to the frame.
Connect the wheelhead to a central axle and install a foot pedal mechanism that allows you to control the wheel’s rotation. This traditional style of pottery wheel requires physical exertion to kick and spin the wheel, making it a budget-friendly option for beginners.
Method 2: Electric Kick Wheel Conversion:
If you already have a kick wheel but prefer an electric-powered setup, you can convert it into an electric kick wheel. Remove the foot pedal mechanism and replace it with an electric motor. Attach a pulley system to connect the motor to the central axle, providing the power needed to spin the wheel. Ensure that the motor’s speed is adjustable, allowing you to control the wheel’s rotation as desired.
Method 3: Treadle Wheel:
Similar to a kick wheel, a treadle wheel utilizes a foot pedal mechanism, but with a slightly different design. Construct a sturdy frame with a large wheelhead attached to it. Connect the wheelhead to a central axle and install a treadle system, which consists of two foot pedals connected by a bar. Pressing down on one pedal raises the other, causing the wheel to rotate. This design offers more control over the wheel’s speed and is suitable for those who prefer a hands-free operation.
Method 4: Electric Wheel Conversion:
For those who prefer the convenience of an electric-powered wheel, you can convert a manual wheel into an electric one. Remove the manual operation components and install an electric motor beneath the wheelhead. Connect the motor to the wheelhead using a belt or direct-drive system, ensuring a secure connection. Install a foot pedal or hand control mechanism to regulate the motor’s speed, allowing you to adjust the wheel’s rotation as needed.
Method 5: PVC Pipe Wheel:
A simple and affordable option is to construct a potter’s wheel using PVC pipes. Create a sturdy base using PVC pipes and fittings, ensuring it is stable and balanced. Attach a large wheelhead made of plywood or other suitable material to the top of the base. Install a central axle, ensuring it is securely connected to the wheelhead. You can manually rotate the wheel or add an electric motor for convenience.
Method 6: Repurposed Washing Machine Wheel:
An innovative approach involves repurposing an old washing machine to create a potter’s wheel. Disassemble the washing machine, salvaging the motor and any other relevant components. Build a sturdy frame using wood or metal, adapting it to accommodate the washing machine motor. Connect the motor to a wheelhead, ensuring it is securely attached. Install a foot pedal or hand control mechanism to regulate the motor’s speed, providing control over the wheel’s rotation.
Method 7: Metal Wheel with Ball Bearings:
For those with welding skills and access to metalworking tools, constructing a potter’s wheel with ball bearings can provide a smooth and precise rotation. Weld a sturdy metal frame, ensuring it is level and balanced. Attach a wheelhead made of metal to the frame, incorporating ball bearings for smooth movement. Install an electric motor and connect it to the wheelhead, allowing for adjustable speed control.
Method 8: Professional-Grade Wheel Kit:
If you’re looking for a more professional-grade potter’s wheel, consider purchasing a wheel kit. These kits include all the necessary components, such as a motor, wheelhead, drive system, and foot pedal or hand control mechanism. Follow the manufacturer’s instructions to assemble the wheel, ensuring proper alignment and functionality. These kits offer a convenient option for those who prefer a reliable and professional setup without the need for extensive fabrication.
Method 9: Modified Pottery Wheel Head:
Another method is to modify an existing pottery wheel head to fit your specific needs. Purchase a standard wheelhead and adapt it to your desired setup. This may involve attaching it to a custom-built frame or incorporating it into an existing workbench. Connect the wheelhead to a motor, either electric or manual, ensuring a secure and stable connection. This method allows for customization while utilizing pre-made components.
Method 10: Collaborative Studio Wheel:
For those seeking a collaborative pottery wheel setup, consider joining or establishing a community pottery studio. Collaborative studios often provide access to shared pottery equipment, including professional-grade wheels. By becoming a member, you can use these shared resources, allowing you to focus on creating your pottery without the need to build or purchase your own wheel.
Tips for Troubleshooting Common Issues During the Build
Building a potter’s wheel can be a rewarding experience, but it can also be a challenging one. There are many factors to consider when constructing a potter’s wheel, such as the type of materials used, the size and shape of the wheel, and the motor or pulley system that drives it.
One of the most common issues that can arise during the build is wobbling or uneven spinning. This can be caused by a variety of factors, such as an unbalanced wheelhead or a poorly aligned pulley system. To fix these issues, it is important to carefully inspect all components of the potter’s wheel and make sure that they are securely attached and level.
If necessary, adjust the bearings or pulley system to ensure that the wheel spins smoothly and evenly. If you are having trouble troubleshooting an issue, there are many online resources available that can provide guidance and advice. Additionally, seeking advice from experienced potters can be a valuable source of information and support during the building process. With patience and persistence, building a potter’s wheel can be a rewarding and fulfilling experience for any aspiring potter.
How to Customize Your Potter’s Wheel for Your Needs
Building your own potter’s wheel can be a rewarding and fulfilling experience. Not only does it allow you to save money, but it also gives you the freedom to customize your wheel to fit your specific needs. For example, if you frequently work with larger pieces of clay, you may want to consider building a larger wheelhead.
Alternatively, if you have limited space in your studio, you may want to build a smaller, more compact wheel. One popular modification that many potters make to their wheels is the addition of a splash pan. This helps to contain any excess water or clay that may fly off the wheel during the throwing process, making cleanup easier and more efficient.
Safety Precautions to Keep in Mind During the Build
Building a potter’s wheel requires a certain level of skill and knowledge of power tools and other equipment. It is crucial to take all necessary safety precautions to prevent any accidents or injuries. Protective gear such as safety glasses and gloves should be worn at all times to protect your eyes and hands from flying debris or sharp edges.
When working with power tools, it is important to use caution and follow the manufacturer’s instructions carefully. Make sure that all components are securely attached and level to avoid any accidents or mishaps. Always keep the work area clean and free of clutter to prevent tripping or slipping hazards. Lastly, it is recommended to have a first aid kit nearby in case of any emergencies. By taking these safety measures, you can ensure a safe and successful build of your potter’s wheel.
Maintaining and Repairing Your Potter’s Wheel
In addition to regular maintenance, it is also important to use your potter’s wheel correctly to avoid causing damage or wear and tear. This includes using the appropriate amount of pressure when throwing, avoiding excessive force or sudden movements, and being mindful of the weight and size of the clay being used.
It is also important to regularly inspect the wheel for any signs of damage or wear, such as cracks in the frame or worn-out bearings. If you notice any issues, it is best to address them promptly to prevent further damage and ensure that your potter’s wheel continues to function properly for years to come.
Using Your Homemade Potter’s Wheel: Techniques and Best Practices
Pottery making is an art form that requires patience, dedication, and a lot of practice. Using a potter’s wheel can be challenging for beginners, but with time and effort, anyone can learn to create beautiful pieces. One of the most important things to keep in mind when using a potter’s wheel is to center the clay properly before starting to shape it.
This involves using your hands to apply pressure to the clay and make sure it is perfectly balanced on the wheel. Once you have centered the clay, you can begin to shape it into your desired form. Another important tip for using a potter’s wheel effectively is to trim the edges of your piece once you have finished shaping it.
Conclusion
Building your own potter’s wheel is not only a practical option, but it can also be a fun and creative project. By customizing your wheel to suit your specific needs and preferences, you can ensure that it is the perfect tool for your pottery practice. Moreover, building your own wheel can save you money compared to purchasing a pre-made one.
This is especially beneficial for beginners who may not want to invest in an expensive piece of equipment until they have honed their skills. As you become more experienced, you can continue to modify and improve your wheel to suit your evolving needs. The satisfaction of using a tool that you built yourself is immeasurable and can add an extra layer of enjoyment to the pottery-making process. Follow these simple instructions outlined in this blog post about how to make a potters wheel, and you’ll be able to get the job done with ease.
