Are you a pizza lover who wants to make your own pie at home? Or maybe you’re looking for an interesting DIY project that will add something different and handmade to your kitchen. If so, why not try making your own pizza stone from clay?
In this article, we’ll discuss how to make a pizza stone from clay for baking delicious homemade pizzas – with the added bonus of knowing that it was crafted by hand!
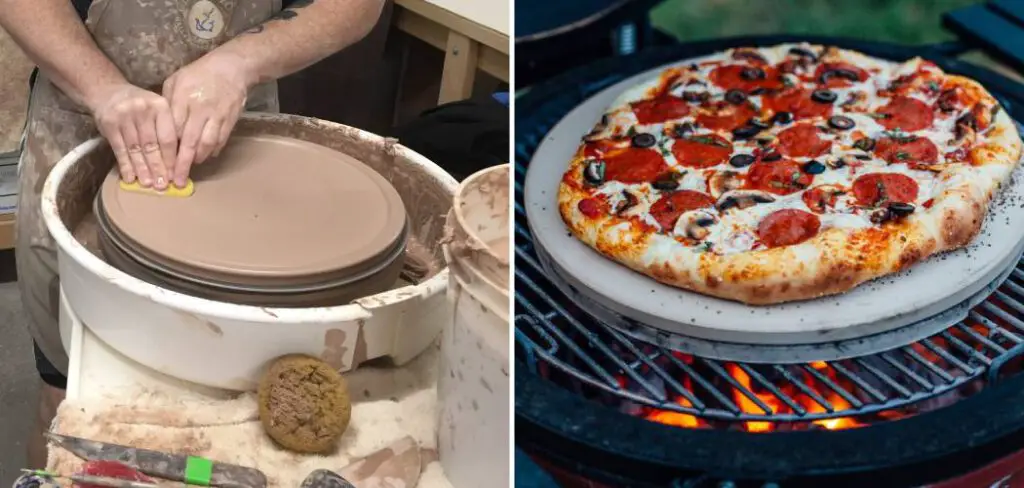
Plus, all of the materials are readily available from any home improvement store, making the process simple and straightforward. So let’s get started on creating an eye-catching (and totally drool-worthy!) homemade pizza stone!
To make a pizza stone from clay, shape the clay into a flat, circular slab resembling a pizza stone, and then fire it in a kiln at high temperatures to harden and vitrify the clay, creating a durable pizza stone.
Table of Contents
Which Clay Is Best for Pizza Stone?
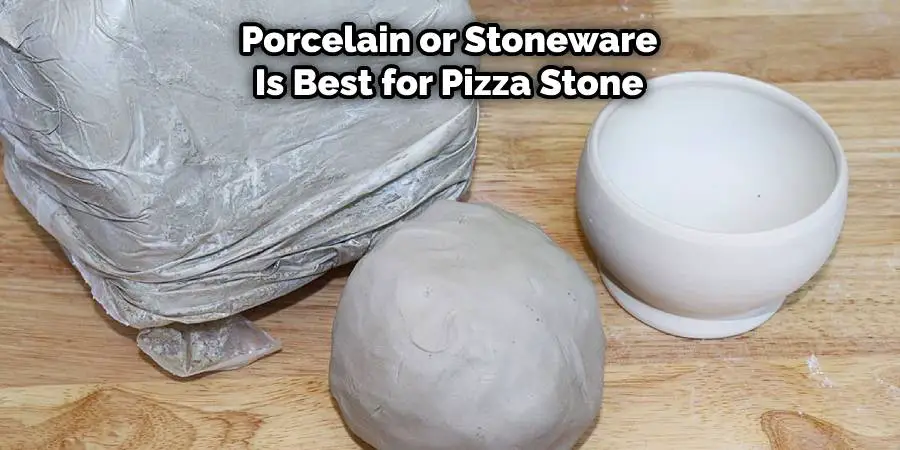
When choosing clay for your pizza stone, it is important to select a type that can withstand very high temperatures without cracking or exploding. The best types of clays for this purpose are those with high fire resistance and good thermal shock resistance, like stoneware and terra cotta. While there are many types of clay available in the market, these two are considered the most suitable for making a homemade pizza stone.
Stoneware has great heat-resistant properties as well as being able to absorb moisture and help evenly distribute heat throughout the pizza while baking. It is also more durable than other types of clay due to its higher firing temperature and longer cooling process, which gives it greater strength and longevity.
Terra cotta also has good thermal shock resistance, as well as its ability to absorb moisture and evenly distribute heat. It is less durable, though, meaning that it may need to be replaced more frequently than stoneware in order for the pizza stone to remain functional.
No matter which type of clay you choose for your pizza stone, make sure to read the instructions carefully before beginning and follow all safety precautions when dealing with ceramic materials. Additionally, always keep your oven temperature below 450℉ (232℃) since any higher temperatures can cause the clay to crack or even explode. With proper care and maintenance, you will have a safe and reliable homemade pizza stone that will bring delicious results every time!
10 Methods How to Make a Pizza Stone from Clay
1. Gather Your Materials
To make your own pizza stone, you will need some pottery clay, a kiln, and a mold or template to shape your stone. You can purchase pottery clay from most arts and crafts stores. If you don’t have access to a kiln, you can try using a barbecue or campfire.
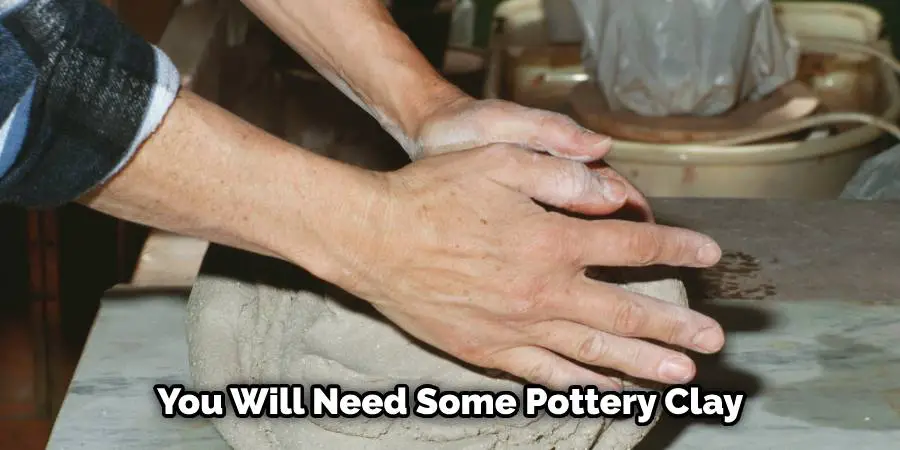
Make sure to use a special mold or template that is designed for baking stones, as regular molds may not be able to withstand the high temperatures of the kiln or fire. To make your own template, you can use a large piece of cardboard or heavy-duty plastic.
2. Shape Your Stone
Use your mold or template to shape the clay into the desired shape of your pizza stone. Make sure that the stone is at least an inch thick so that it can withstand high temperatures. If you have chosen to use a template or mold, then press the clay into it until it is even. Remove any excess clay that may be sticking out of the mold’s edges.
If you are making a round stone, then use your hands to form a flat disk shape with the clay. To help with the shaping process, you can use a rolling pin. Make sure your stone is symmetrical and has an even thickness throughout.
3. Dry Your Stone
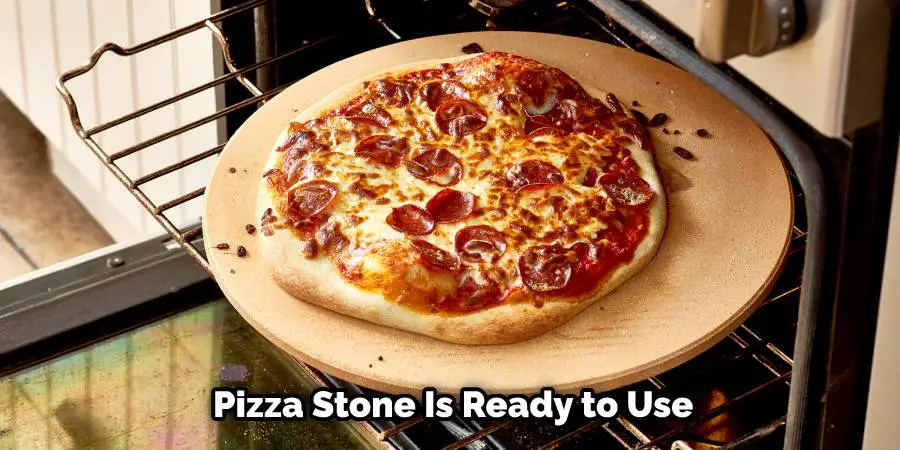
Once you have shaped your stone, set it aside to dry for 24 hours. If you are in a hurry, you can place it in an oven set to the “warm” setting for a few hours. Make sure you don’t leave the stone in for too long, as this can cause it to crack. Once dried, your pizza stone is ready to be used!
Although you don’t need to season it, some people like to rub a thin layer of oil on the surface before using it for the first time. Doing so will season it and help the stone last longer. If you do decide to season it, do not use olive oil. Olive oil tends to smoke when heated and can cause a bad smell. Instead, use canola or vegetable oil.
4. Preheat Your Kiln
Once your stone is dry, preheat your kiln to 1000 degrees Fahrenheit. This step is important, as you need the kiln to be hot enough to properly bake the stone. Put the pizza stone in the kiln and wait for it to reach the right temperature.
If you don’t own a kiln, you can use an oven for this step. Although this method isn’t as effective, it can still produce a decent stone for baking pizzas. To be sure that the stone is ready, you should use a thermometer to measure its temperature. IF the stone is not hot enough, then it won’t be as effective for baking pizzas.
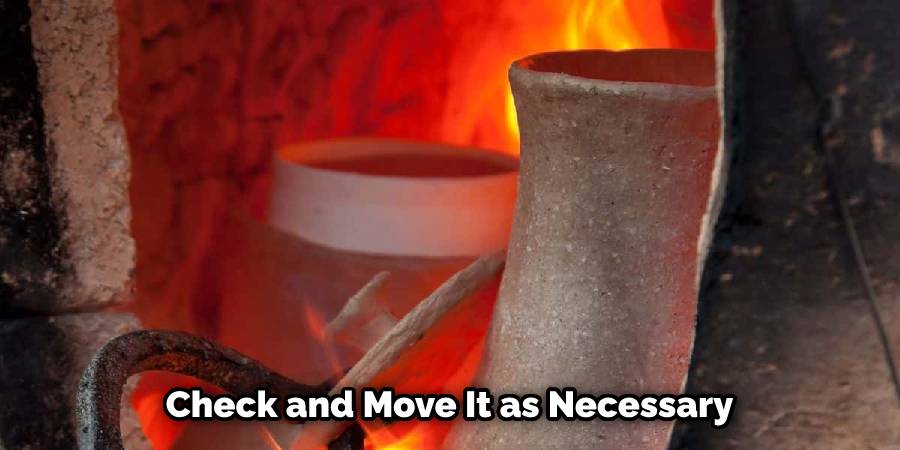
5. Place Your Stone in the Kiln
Carefully place your stone in the kiln and close the door. Let the stone bake for at least two hours. Make sure to check the temperature of the kiln, as it should remain below 2000 degrees Fahrenheit. If your kiln has a higher temperature setting, it is important to check the temperature frequently to make sure your stone does not overheat.
To ensure an even cook, rotate the stone at least once every hour. To do this, simply open the kiln door, turn the stone with a pair of tongs, and then close the door. Make sure to use protective gear such as heat-resistant gloves and a face mask when handling the stone before, during, and after baking.
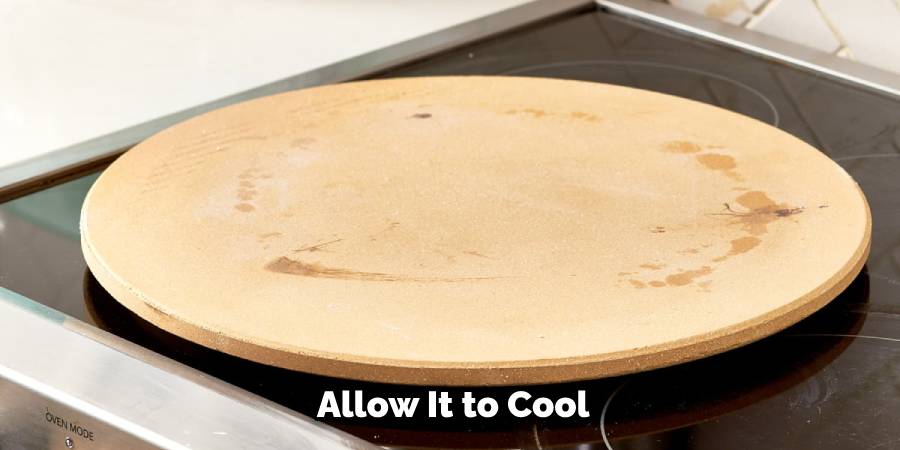
6. Turn Off the Kiln and Let It Cool
After two hours, turn off the kiln and let it cool down completely before opening the door. This process can take several hours, so be patient! Once the stone is cool, it’s ready to use. To ensure it’s safe to handle, use an oven mitt or pot holder.
However, avoid touching the stone when it’s hot. Make sure that the stone has cooled completely before moving it. If the stone is still warm, wait before transferring it, as sudden temperature changes can cause cracking. Although the pizza stone is now ready to use, it’s a good idea to season it before making your first pizza.
To do this, lightly coat the stone with a thin layer of olive oil before baking your first pizza. This will help prevent sticking and give the crusts a golden, crunchy texture. Enjoy your homemade pizza stone and delicious pizzas!
7. Remove Your Stone from the Kiln
Once the kiln has cooled down, carefully remove your pizza stone from the inside. Be careful, as the stone will be very hot! Allow it to cool for about 24 hours before you attempt to use it. To ensure it cools properly, store your stone in a dry place.
Once cooled, your stone is ready for use! Although it may not look perfect, the stone you made is sure to make delicious pizzas and bread. To get the most out of your stone, lightly brush it with olive oil before each use. This will help keep it from sticking and make cleaning up easier. Enjoy your homemade pizza stone!
8. Season Your Stone
Now that your pizza stone is finished, it’s time to season it! To do this, simply rub some olive oil onto the surface of the stone using a clean cloth. Then, preheat your oven to 500 degrees Fahrenheit and place the stone inside for 30 minutes.
After 30 minutes, turn off the oven and let the stone cool inside before removing it. This should help to season the stone and create a non-stick surface. The more you use your pizza stone, the better the seasoning will become!
Although it’s not necessary, you can season the stone again after every few uses. To clean your pizza stone, simply scrape off any larger food particles and rinse it with warm water. Do not use soap or put your pizza stone in the dishwasher, as it could damage the seasoning. And there you have it! You now know how to make a pizza stone from clay!
9. Use Your Stone!
Your pizza stone is now ready to use! To use it, simply place it in your oven on the bottom rack and preheat it to 500 degrees Fahrenheit before adding your pizza dough and toppings. When the pizza is finished baking, use an oven mitt or hot pad to remove the stone from the oven. Let it cool before cleaning with warm, soapy water and a non-abrasive sponge. Enjoy your delicious homemade pizza!
For best results, season your clay pizza stone before using it. To season the stone, brush a thin layer of olive oil onto the surface and bake it in your oven at 300 degrees Fahrenheit for one hour. This will help keep the pizza from sticking and also create a more flavorful crust. Enjoy your homemade pizzas!
10. Clean and Store Your Pizza Stone
Once you’re done baking your pizza, be sure to clean the stone before putting it away. To clean your stone, let it cool down, and then use a damp cloth or brush to remove any food remnants. Once the surface is clean, store your stone in a dry place until you’re ready to use it again!
Your pizza stone is a great way to cook pizzas at home, and with proper care, it can last for years. With just a few simple steps, you can make your own pizza stone from clay and enjoy delicious homemade pizzas whenever you want!
Finally, remember that with proper care and maintenance of your homemade pizza stone, you can make delicious pizzas for years to come! Enjoy!
Things to Consider When Making A Pizza Stone From Clay
1. The Type of Clay:
Different types of clay produce different results when being fired. Porcelain or stoneware clay is best for making a pizza stone.
2. The Size of the Stone:
Consider how big you want the pizza stone to be. A smaller stone is easier to remove from the oven, while a larger one can hold more pizzas at once.
3. The Shape of the Stone:
Choose an appropriate shape for your needs. A round or square pizza stone can be used for any type of pizza, while a rectangular one is best for focaccia or flatbreads.
4. The Glaze:
Adding glazes to the finished stone gives it a unique look and helps protect it from discoloration. Clear gloss glazes work well with most clays, but you could also experiment with colored glazes for more dramatic effects.
5. Firing Temperature:
When firing your stone, make sure to follow the manufacturer’s instructions in terms of temperature and time. Overfiring can cause the clay to crack or explode. Additionally, avoid abrupt changes in temperature that could damage the structure of your stone.
Are Clay Pizza Stones Good?
When it comes to pizza stones, clay is an excellent option. Clay pizza stones are great for evenly distributing heat and providing a crispy crust. Unlike metal or ceramic pizza stones, clay does not absorb moisture from the dough, making it ideal for thin-crust pizzas. Furthermore, clay has natural thermal shock resistance which means that you can take your stone directly from the oven to cool it down without fear of shattering or cracking.

When using a clay pizza stone, make sure to preheat your oven to at least 500°F before baking so that the stone is hot enough to cook your dough quickly and evenly. Also, due to its porous nature, you should never wash a clay stone with soap and water as this will affect its performance. Instead, simply scrape off any excess food with a stiff brush and then wipe it down with a damp cloth.
Conclusion:
Crafting a pizza stone from clay is a great way to add a personal touch to your income kitchen. Not only will it be one of a kind, but you also get the added satisfaction of being able to show off your handiwork. You can buy ready-made stones online or at specialty cooking stores, or you can have fun and try crafting your own.
With patience, skill, and creative problem-solving, you may just find yourself with a unique pizza stone that will give you delicious crispy pizzas for years to come. Thanks for reading, and we hope this has given you some inspiration on how to make a pizza stone from clay!


