Creating a honey pot, a term often associated with luring or attracting specific attention or interest, extends beyond its colloquial use into the realm of culinary creativity. Crafting a honey pot can involve infusing honey with a delightful array of flavors, transforming this golden elixir into a personalized and versatile culinary delight. In this article, we’ll explore how to make a honey pot, guiding you through various methods to infuse honey with herbs, spices, or fruits to enhance its taste profile.
Whether you’re a seasoned chef seeking to elevate your culinary creations or an amateur enthusiast eager to experiment in the kitchen, the process of making a honey pot not only adds a touch of artisanal charm to your pantry but also opens a world of possibilities for enhancing the flavors of dishes, beverages, and desserts. Join us as we delve into the sweet alchemy of crafting your own customized honey pot.
Table of Contents
Different Types of Honey Pots
Honey pot is a popular tool used in cybersecurity to deceive hackers and protect vulnerable targets. In the previous section, we discussed the basics of honey pots and their importance in network security. In this section, we will delve deeper into the different types of honey pots and how they work.
Low-interaction Honey Pots
These are the most common type of honey pots. They are designed to mimic real systems and services but with limited functionality. Low-interaction honey pots are used to collect data on basic attacks, such as port scans or connection attempts, without exposing the entire network.
High-interaction Honey Pots
Unlike low-interaction honey pots, high-interaction honey pots provide a more realistic environment for attackers to interact with. They are designed to look and act like real systems, providing a more enticing target for hackers. This allows security professionals to gather more detailed information on the tactics and techniques used by attackers.
10 Methods How to Make a Honey Pot
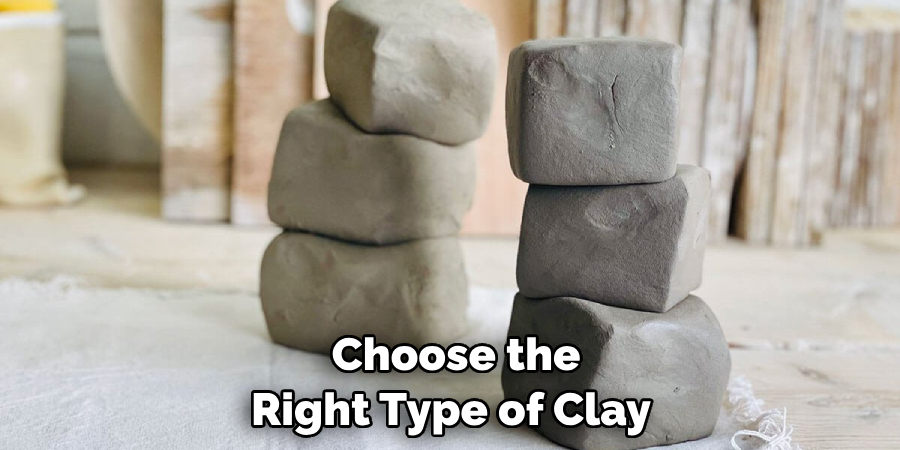
1. Choose the Right Clay
The first step in making a clay honey pot is to choose the right type of clay. You will want to select a clay that is suitable for both hand-building and wheel-throwing techniques. Some popular options include stoneware clay or earthenware clay.
2. Prepare Your Work Space
Before you begin working with the clay, it’s important to prepare your work space. Make sure you have a clean and flat surface to work on, as well as all necessary tools and materials within reach. It’s also a good idea to cover your work surface with a plastic or cloth covering to prevent the clay from sticking and making clean-up easier.
3. Wedge the Clay
Wedging is an essential step in preparing the clay for use. This process helps to remove air bubbles and ensure that the clay is evenly mixed and free of lumps, which can cause issues during shaping and firing. To wedge the clay, start by using your hands to form it into a rough ball shape. Then, fold the clay in half and push down on the center with the heels of your hands. Repeat this folding and pushing motion until the clay becomes smooth and all air bubbles are removed.
4. Shape the Base
Using either hand-building or wheel-throwing techniques, shape a round base for your honey pot. This will serve as the foundation for the rest of your pot. If you are using hand-building techniques, begin with a ball of clay and slowly shape it into a flat disc. Use your fingers to smooth out any bumps or uneven areas.
5. Create Walls
Once you have formed a base, it’s time to build up the walls of your honey pot. You can do this by using coils of clay or by throwing a cylinder on the wheel and then shaping it into a pot. Make sure that the walls are thick enough to support the weight of the honey inside, but not too thick that it becomes too heavy.
6. Add Handles
To make your honey pot easier to handle, consider adding handles on either side of the pot. These can be created using small coils of clay or by attaching pre-made handles onto the sides of your pot. Handles not only add functional value to your honey pot but also enhance its aesthetic appeal.
7. Decorate Your Pot
This step is optional but can add a personal touch to your honey pot. You can use various tools such as stamps, carving tools, or slip designs to decorate your pot before it dries. You can also make designs using a toothpick or pencil on the surface of your pot. This step is a great way to get creative and add a unique touch to your honey pot.
8. Let It Dry
Once you have completed shaping and decorating your honey pot, let it dry completely before moving on to firing it in a kiln. The drying process can take anywhere from a few days to a week, depending on the size and thickness of your honey pot. It is important to let it dry slowly to avoid cracking or warping.
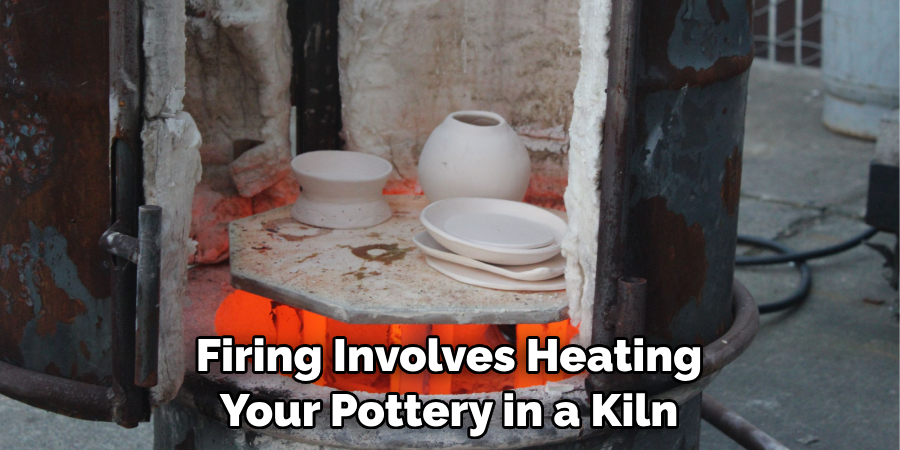
9. Fire Your Pot
Firing involves heating your pottery in a kiln to a specific temperature, which will harden and strengthen the clay. Follow the instructions for your specific type of clay to determine the appropriate firing temperature. It’s important to follow these instructions carefully, as firing at the wrong temperature can result in a cracked or damaged pot.
10. Glaze Your Pot
After firing, you can add a glaze to your honey pot to give it a glossy finish and make it food-safe. Choose a glaze that is suitable for your type of clay and follow the instructions for application and firing. Once cooled, your honey pot is ready to be used and enjoyed!
Sketching or Planning the Honey Pot Shape
Once you have all the materials ready for making a clay honey pot, it’s time to start planning or sketching out the shape of your honey pot. This step is crucial as it will determine the final look and functionality of your pot.
First, think about the purpose of your honey pot – do you want it to be purely decorative or do you also need it to function as a storage container for your honey? This will help you determine the size and shape of your pot.
Next, gather some inspiration from existing honey pots or even other pottery pieces. You can also sketch out different shapes and designs on paper before moving on to clay. This will give you a better idea of what you want your final product to look like.
When it comes to the actual clay shaping, it’s important to keep in mind the thickness and evenness of your clay walls. Thicker walls will provide better insulation for your honey, while thinner walls may make it easier for you to pour out the honey.
Don’t be afraid to experiment with different shapes and designs until you find one that suits your needs and preferences. Remember, making a clay honey pot is a creative process and there’s no right or wrong way to do it.
Things to Consider When Making Your Own Honey Pot
A honey pot is an essential item in any kitchen. It is a small container used to store honey and makes it easily accessible for everyday use. While you can easily purchase one from the store, making your own clay honey pot can be a fun and rewarding project. Not only will you have a unique and personalized honey pot, but you will also have the satisfaction of creating something with your own hands. Here are some things to consider when making your own honey pot:
Choosing the Right Clay
When making a clay honey pot, it is important to choose the right type of clay. You want a clay that is food-safe and can withstand high temperatures without cracking or melting. Some popular options include stoneware, earthenware, and terracotta clay. These types of clay are easily accessible and can be found at most arts and crafts stores.
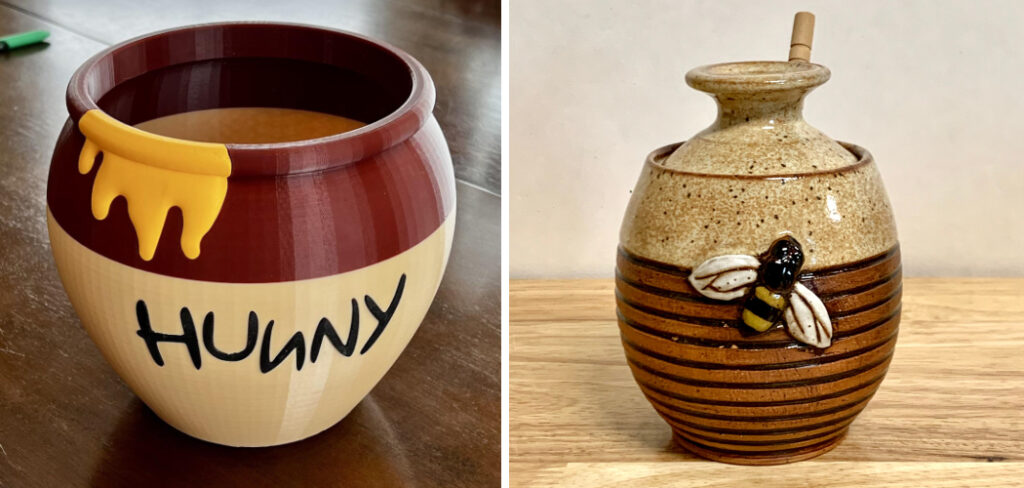
Designing Your Honey Pot
The beauty of making your own honey pot is that you can design it however you want. You can go for a classic cylindrical shape or get creative with unique designs like a bee-shaped honey pot. You can also add details and decorations to your pot using different tools such as stamps, carving tools, or even toothpicks. Let your imagination run wild!
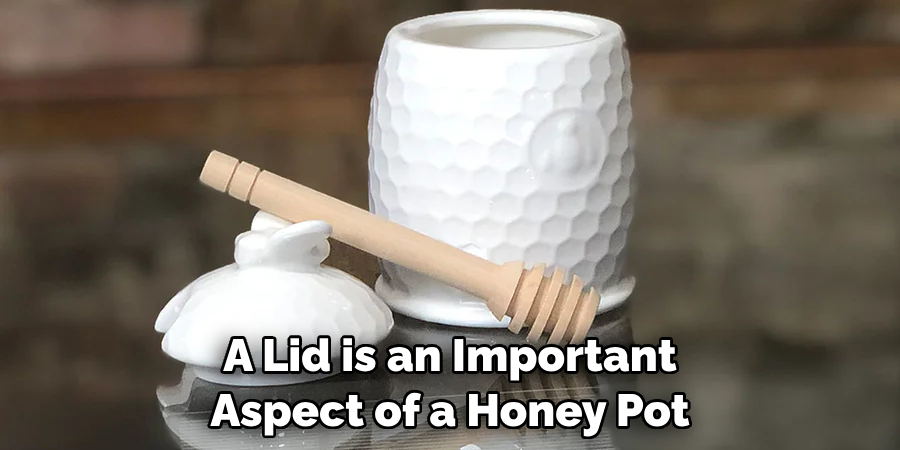
Creating a Lid
A lid is an important aspect of a honey pot as it helps keep the honey fresh and prevents any debris from getting into the container. When making your own honey pot, you can create a lid using the same clay as the pot itself. You can either create a separate lid that sits on top of the pot or create a cover that fits snuggly over the opening.
Conclusion
In conclusion, a honey pot is not only a delicious and versatile ingredient, but it is also incredibly easy to make on your own. By following the simple steps outlined in this blog post, you can create your very own honey pot and have full control over its ingredients and flavors. Whether you use it as a sweetener in your tea or coffee, as a topping for desserts, or even as a glaze for meats, the possibilities are endless with this homemade sweet treat.
Additionally, making your own honey pot allows you to support local beekeepers and promote sustainability by reducing plastic packaging waste. Not only will you be adding layers of flavor to your meals, but you will also be supporting both yourself and the environment. So go ahead and get buzzing with this simple yet delicious DIY project: learn how to make a honey pot today!


