The world of crafting is full of endless possibilities, from making jewelry to building furniture. One popular form of crafting is working with clay; it’s a versatile material that can be molded and shaped into just about anything! If you’re looking for an easy way to add your own unique touch to your work, look no further than glazing air drying clay.
With a handful of materials and some creativity, you can take any ordinary piece of air-drying clay and transform it into something truly special – after all, nothing says personalization like adding a signature finish! In this blog post, we’ll explore the basics behind how to glaze air drying clay, so keep reading to find out how you can give your creations an eye-catching sheen!
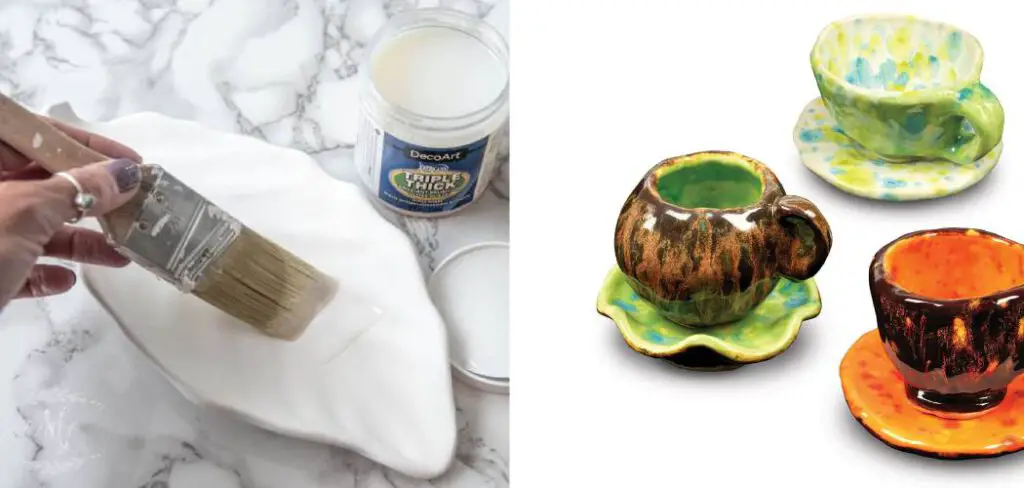
Table of Contents
Importance of Glazing Air Dry Clay
Glazing air dry clay is an important step in the overall process of producing ceramics. This glaze layer helps protect the underlying clay from wear and tear, as well as providing a beautiful finish to the piece. Glazed pieces can be used for many types of projects, including jewelry making, sculpture, pottery, and other decorative objects. With this protection and the decorative benefits, glazing air-dry clay is an essential step for any artist or hobbyist.
Glaze also helps to add a layer of waterproofing to the piece, which can be useful if it will be exposed to moisture. This protection allows for pieces made with air drying clay to last longer and remain more durable than those without glaze. By glazing the clay, it is also sealed from dirt and dust, making it easier to keep clean.
In addition to protection benefits, glazing also helps to bring out the colors of the air drying clay. Glazes can often be found in a variety of colors and finishes, allowing for a custom look and feel to be achieved with each piece. Depending on the glaze used, it can produce an opaque or transparent effect, as well as different levels of sheen. This allows for further customization and personalization of each piece.
Benefits of Using Glazes for Decoration and Protection
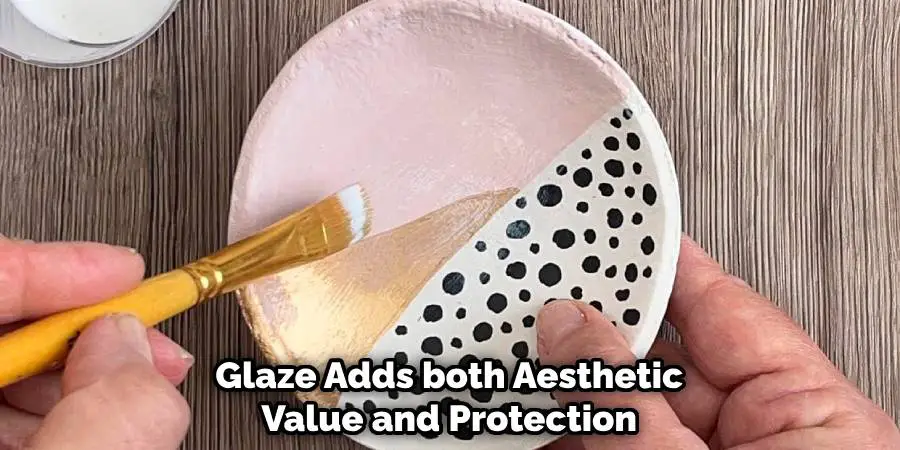
Using glaze on your air drying clay creations adds both aesthetic value and protection. It can bring out details in your work that may have been difficult to capture in the clay and can add a glossy or matte finish that will help preserve your work of art. Glazes also protect your creation from environmental elements like water damage, allowing it to last for many years.
Additionally, glaze colors are vibrant and offer more options than what is possible with just air drying clay. You can create amazing effects with different color combinations and patterns, giving your work a unique look. With careful application and an eye for detail, you can make any piece come alive. Glazes are relatively easy to use so creative possibilities abound!
Finally, glazing offers an opportunity to create truly professional-looking pieces that rival other mediums such as ceramic without all of the time-consuming steps involved in firing clay at high temperature. With air drying clay, you can create a masterpiece within a few hours and have it ready to display in no time!
10 Steps How to Glaze Air Drying Clay
Step 1: Choose the Right Glaze:
Selecting the appropriate glaze is crucial for achieving the desired finish and functionality. Consider factors such as the type of clay, firing temperature, and the effect you want to achieve (glossy, matte, or textured). Consult the manufacturer’s instructions and choose a glaze specifically designed for air-drying clay or one suitable for the type of clay you are using. However, bear in mind that not all glazes are compatible with air-drying clay and some may require a higher firing temperature.
Step 2: Prepare the Clay Surface:
Before applying the glaze, ensure that your air-drying clay is fully dry and free from dust or debris. Use a soft brush or a damp cloth to gently clean the surface, removing any particles that may affect the smoothness of the glaze application.
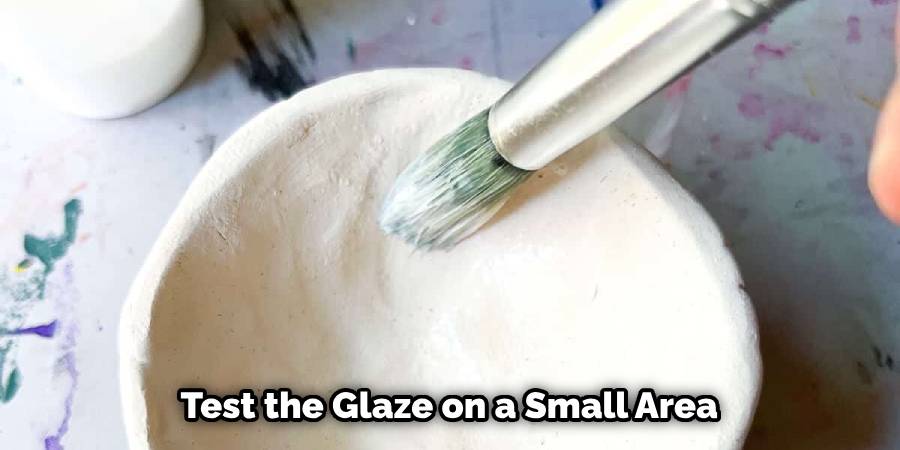
Step 3: Test the Glaze:
Perform a test on a small, inconspicuous area of your clay piece to assess the glaze’s compatibility and the desired effect. This step is particularly important if you are using a new glaze or experimenting with different techniques. Make a note of the results and adjust your application technique if necessary.
Step 4: Apply the First Coat:
Using a clean and soft brush specifically designed for glazing, apply the first coat of glaze onto the air-drying clay surface. Start with thin and even strokes, ensuring complete coverage. Avoid overloading the brush to prevent excessive pooling or dripping of the glaze. To achieve a streak-free glaze, it is important to start with thin layers and build up gradually. While applying the first coat, pay particular attention to any details or small parts of the clay surface that are difficult to reach.
Step 5: Allow Drying Time:
Once the first coat is applied, allow the glaze to dry according to the manufacturer’s instructions. This drying period is essential for the glaze to set and ensure proper adhesion to the clay surface. Avoid touching or disturbing the piece during this time to prevent smudging or uneven drying.
Step 6: Apply Additional Coats:
For a more vibrant and durable finish, apply additional coats of glaze. Allow each layer to dry completely before applying the next. The number of coats will depend on the desired effect and the opacity of the glaze. Be mindful of achieving a smooth and even application to avoid streaks or clumping. Allow the final coat to dry for at least 24 hours before displaying your finished masterpiece.
Step 7: Consider Layering and Mixing Glazes:
Experiment with layering and mixing different glazes to create unique effects and colors. Apply multiple glazes, allowing each layer to dry before applying the next. This technique can result in stunning variations, textures, and depth on your air-drying clay creations.
Step 8: Address Imperfections:
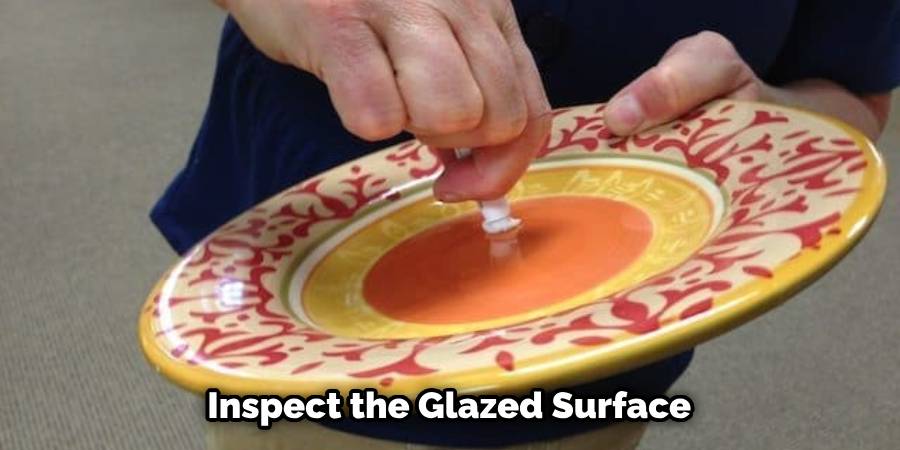
Inspect the glazed surface for any imperfections such as bubbles, drips, or uneven coverage. If you notice any issues, gently sand the affected areas using fine-grit sandpaper. This will create a smooth surface, ready for reapplication of the glaze. Once the surface is even, use a damp sponge to wipe away any dust created by sanding. Allow the clay to dry completely before adding another layer of glaze. If necessary, you can repeat this step until you get the desired finish.
Step 9: Follow Curing Instructions:
Once you are satisfied with the glaze application, follow the manufacturer’s instructions for curing the glaze. Some glazes may require air drying, while others may require heat curing. Place your clay piece in a well-ventilated area or a kiln if necessary, and follow the recommended curing temperature and duration.
Step 10: Finishing Touches:
After the glaze has fully cured, inspect your air-drying clay creation for any final touch-ups or refinements. Use a soft cloth to gently buff the glazed surface, enhancing its shine and smoothness. This step adds a professional finish to your glazed piece.
Things to Consider When Glazing Air Dry Clay
When glazing air drying clay, there are several factors to keep in mind. The type of clay you use and the type of glaze will both have a significant impact on your final result. It is important to take the time to research and choose the best products for your project.
1. Choose the Right Clay
The type of clay you use will influence how the glaze adheres to the surface. It is best to look for clay specifically designed for glazing, as these types of clays are more likely to hold up under the weight of a glaze.
2. Choose the Right Glaze
Glazes come in a variety of forms and finishes. Different clays require different types of glazes, so it is important to do your research before deciding on which product to use. High-Fire glazes work best with high-fire clays and Low-Fire glazes are better for earthenware or air dry clay. Make sure that you read the manufacturer’s instructions carefully when choosing a glaze.
3. Prepare Your Clay Surface
Before applying any kind of glaze, make sure that your clay surface is clean, dry and free of dust or debris. You can use a damp sponge to wipe down the surface before glazing. If there are any bumps or uneven areas on your clay, you should sand them down with fine-grit sandpaper before applying the glaze.
4. Apply the Glaze Properly
When applying glaze to air-drying clay, it is best to use a soft brush that is specifically designed for painting ceramics. Start by brushing on a thin layer of glaze and adding more as needed. Make sure not to overdo it; too much glaze will cause problems when firing your piece in the kiln!
Conclusion
In conclusion, glazing air-drying clay is a cost-effective and enjoyable way to unleash your creative potential. Air-drying clay can be purchased in many craft stores or online, and with just a few simple steps you can have an amazing creation that showcases your unique style.
Whether you’re an experienced sculptor or a beginner who is still learning the ropes, making the most out of this incredible material is sure to bring joy and fulfillment. So why not give it a try? Get some air-drying clay today and unlock the artist within! Who knows? Maybe after mastering how to glaze air drying clay, you’ll find that art is more than just a hobby – it’s your passion.


