Repairing porcelain is a delicate yet rewarding endeavor that restores beauty and functionality to cherished objects. Porcelain, revered for its elegance and durability, often requires careful attention when damaged. Whether it’s a cherished heirloom or a beloved household item, knowing how to fix porcelain can revive its splendor and extend its lifespan. From minor chips to significant fractures, various techniques and materials can be employed to mend porcelain with precision and care.
Understanding the characteristics of porcelain, along with the intricacies of different repair methods, is essential for achieving seamless results. In this introductory guide, we delve into the art of fixing porcelain, exploring the tools, techniques, and considerations involved in restoring these delicate treasures to their former glory. Whether you’re a novice or an experienced artisan, mastering the art of porcelain repair offers a gratifying journey of preservation and craftsmanship.
Table of Contents
The Delicate Nature of Porcelain
Porcelain’s unique composition—typically a blend of kaolin, feldspar, and quartz—undergoes a transformation through high-temperature firing, resulting in its signature translucent and glass-like finish. This vitrification process bestows porcelain with its admired strength and delicate appearance.
However, this same finesse that makes porcelain so sought after also renders it susceptible to chips, cracks, and breakage. Handling with care is imperative not only during use but also through the repair process, where a gentle touch and precise tools can make all the difference between a virtually invisible repair and one that detracts from the piece’s aesthetic value.
Assessing the Damage
Before commencing any repair, the first crucial step is to thoroughly assess the extent of the damage. The nature and severity of the break or chip will dictate the appropriate repair approach. For minor chips, a simple gluing technique might suffice, while more significant cracks or breaks might necessitate the use of fillers and color-matching techniques to camouflage the repair.
It’s essential to closely examine the porcelain under good lighting and consider if any small fragments are missing. Additionally, inspecting the piece for any hairline cracks that could potentially spread is key to preventing further damage. An accurate assessment will inform the subsequent steps, ensuring a successful restoration that upholds the porcelain’s integrity.
Gathering Materials and Tools
Equipped with an understanding of porcelain’s delicate nature and a detailed assessment of the damage, it’s time to gather the necessary materials and tools for the repair process. Essential items include a high-quality epoxy resin or a specialized porcelain adhesive, which will serve as the primary bonding agent.
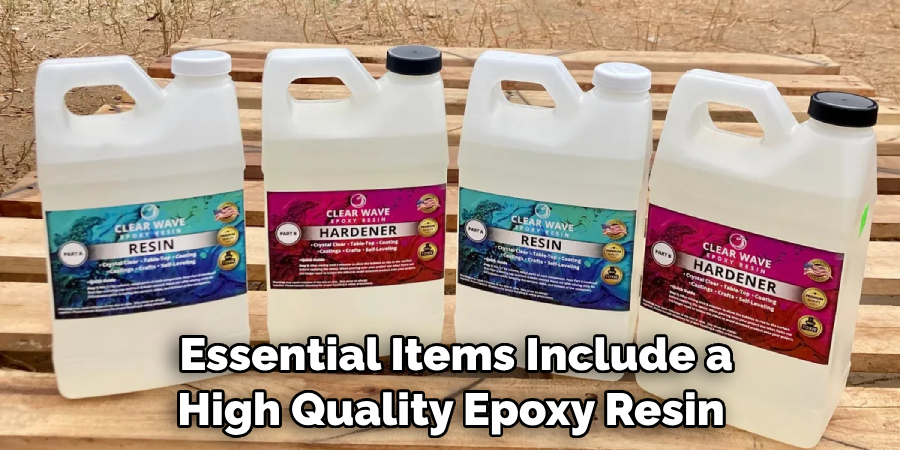
It’s vital to select an adhesive that dries clear to maintain the porcelain’s aesthetic. Also needed is a set of fine-grit sandpaper to smooth the repaired area, along with paintbrushes and porcelain paint for color matching and retouching. Precision tools such as tweezers, clamps, and a magnifying glass will aid in handling small fragments and ensuring accurate application.
Protective gloves and eye-wear are recommended to safeguard against any accidental spills or fragments. Preparing a clean workspace with ample lighting will also facilitate a more controlled and effective repair process. Gathering these materials and setting up a proper workspace are critical steps that will influence the repair’s overall success.
10 Methods How to Fix Porcelain: A Craftsperson’s Guide
Porcelain is a delicate and elegant material used in a variety of applications, from crockery to decorative items. However, it is prone to chipping, cracking, and other damage that can mar its beauty. For the hands-on creator or artisan, understanding how to repair and restore porcelain is a valuable skill. Here are ten essential methods to master the art of porcelain repair.
1. Epoxy Resin for Invisible Bonding
Epoxy resin provides a strong, near-invisible bond, which is useful for cracks and chips that cannot afford to be seen. Ensure the surface is clean and apply a thin layer of the resin to both sides of the break, holding it together until it sets.
2. Porcelain Seam and Crack Repair With Glue
For larger cracks and seams, a porcelain-specific repair glue can be more effective. These glues are often heat and water-resistant, making them suitable for items that may come into contact with food or water.
3. Color-Matching Epoxy Putty for Aesthetic Fixes
When repairing a colored or patterned porcelain, use epoxy putty that can be molded and sculpted. Once the putty hardens, it can be sanded and painted to match the original colors, creating a seamless finish.
4. Welding and Soldering for High-Temperature Fixes
Soldering irons with special tips designed for porcelain work can reattach broken pieces through heat fusion. This method is ideal for temperature-resistant or high-stress areas.
5. Clamping and Stabilizing with Adhesive Tapes
Sometimes the simplest methods are the most effective. For small chips, use adhesive tapes to hold the parts in place while they dry. This is especially handy for odd shapes or vertical surfaces.
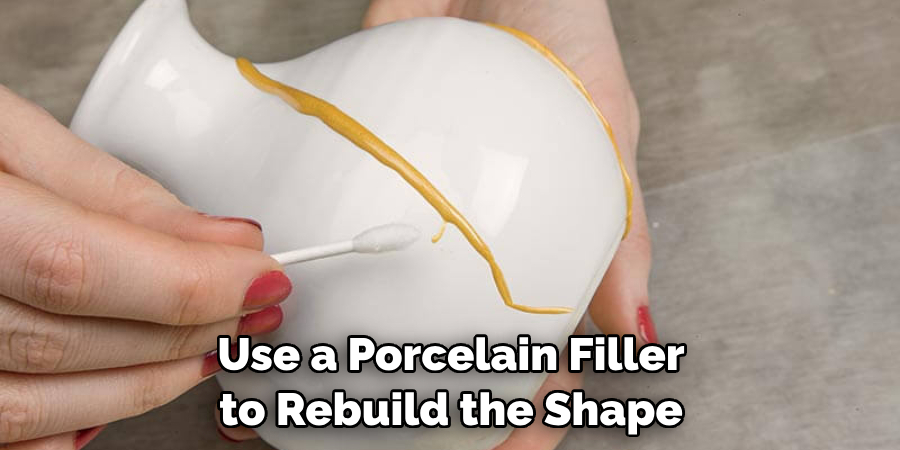
6. Rebuilding with Filler and Molding Techniques
If a section is missing or too damaged to repair, use a porcelain filler to rebuild the shape. Molds can help to achieve complex forms, but patience and several layers will be needed for a strong repair.
7. Polishing and Buffing for Minor Surface Damages
Minor surface scratches and scuffs can generally be removed through polishing and buffing. Start with fine grit and gradually move to a higher grit for a smooth, glossy finish.
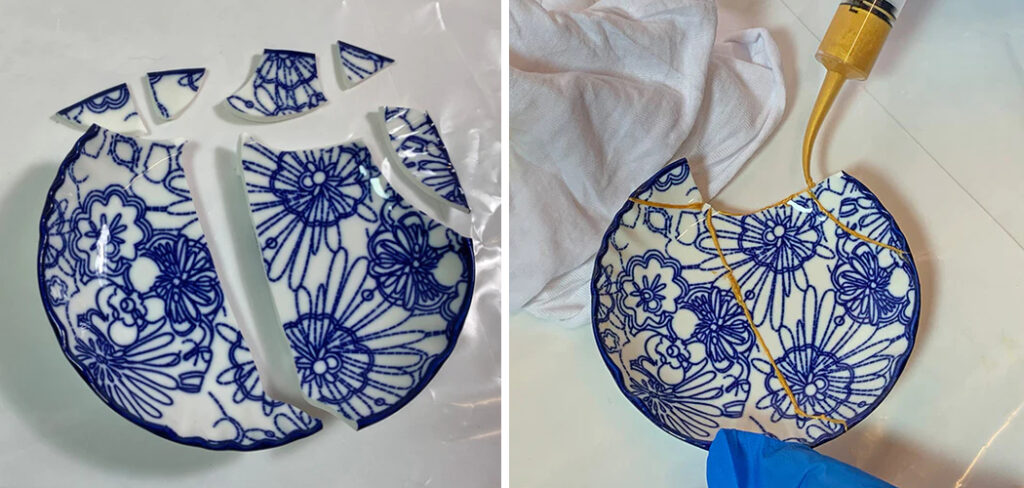
8. Applying Gold or Silver Leaf for Ornamental Restoration
For ornamental pieces, applying gold or silver leaf on the repaired area can restore the item’s original grandeur, while also highlighting the history of the piece through the art of Kintsugi.
9. Creating Support Structures for Fragile Collections
To protect fragile porcelain collections, consider custom-building support structures inside display cabinets to reduce the risk of damage from movement or accidental knocks.
10. Preventive Maintenance to Keep Porcelain Safe
The best way to fix porcelain is to ensure it doesn’t break in the first place. Store and handle your porcelain items with care and keep them in stable environments to prevent sudden temperature changes that can cause damage.
By familiarizing yourself with these repair techniques, you can salvage beautiful and valuable porcelain pieces, breathing new life into them for years to come. Remember, patience and precision are key when working with such delicate materials.
Surface Finishing and Blending
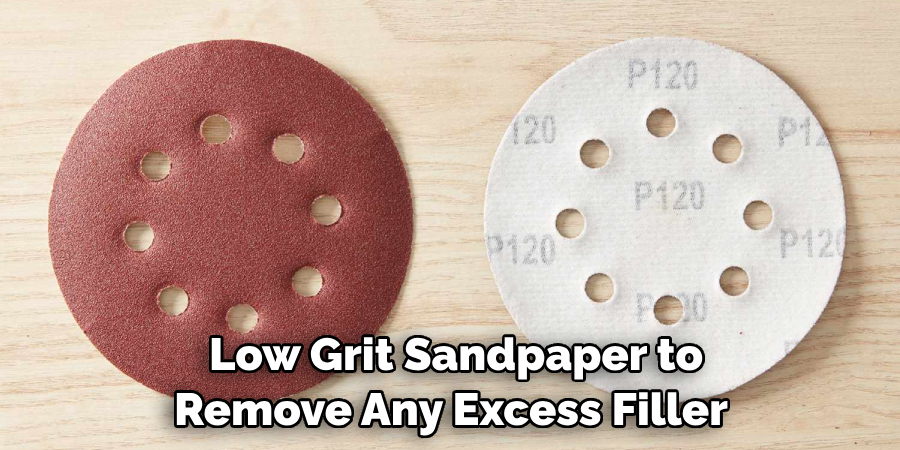
Once the primary repair has been completed, surface finishing and blending come into play to give your porcelain item a restored, seamless look. This involves careful sanding of the repaired area to ensure that it’s flush with the surrounding surface.
Begin with a low-grit sandpaper to remove any excess filler or glue and then shift to higher-grit papers to refine and smooth the surface progressively. Blending is crucial when dealing with color and gloss. Porcelain paints may be used to replicate the item’s original color scheme, including any patterns or gradients.
The goal is to blend the repaired area so well that the human eye cannot detect where the damage once was. A final polishing with a soft cloth and a suitable polishing compound can bring back the shine and ensure the repair preserves the aesthetic and value of the porcelain. Remember, this final touch reflects the quality and care put into the repair process.
Final Touches and Protection
After meticulously blending and polishing the repaired porcelain, the item should be protected to prevent further wear and tear. Applying a protective sealant offers a safeguard against moisture and dirt, which can deteriorate the new repair over time. Choose a sealant that is designed for porcelain and is transparent, to ensure it does not alter the appearance of the piece.
Following the sealant, it’s prudent to conduct a thorough inspection of the item from various angles under different lighting conditions to ensure any unnoticed imperfections are addressed. Once satisfied with the restoration, allow the piece to cure completely before resuming its use or display.
Finally, advise your clients or remember for your own collections, to handle the restored porcelain with the utmost care and to clean it gently with a soft, damp cloth without harsh chemicals. Storing the item in a controlled environment away from high traffic and potential hazards will help to maintain its integrity and beauty. This level of diligence ensures that the porcelain remains a timeless treasure for years to come.
Conclusion
Repairing porcelain may seem like a daunting task, but with the right methods and tools, it’s a skill that anyone can learn. Whether it’s mending your grandmother’s cherished teapot or fixing a cracked sink in your home, the process is delicate and precise. Remember to work in stages, taking your time, and being patient with the drying and setting processes. Your finished repair will not only be functional but will restore the beauty and value of your porcelain piece.
The craftsmanship of porcelain repair is not only about fixing what’s broken; it’s a testament to the art of restoration and preservation. By learning how to fix porcelain, you contribute to the sustainability of our environment by keeping items out of landfills and maintaining the history and beauty of cherished items for generations to come.


