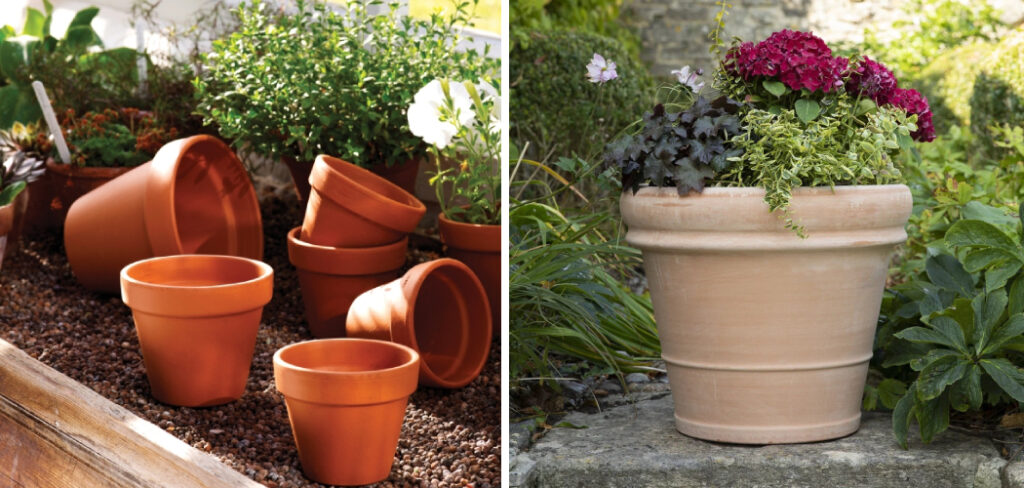
Clay flower pots, with their timeless appeal and natural aesthetics, are a staple for home decorators and gardeners alike. They not only serve as a canvas for nature’s vibrant hues but also as an essential vessel for plant life. However, the porous nature of clay can also be a magnet for dirt, mold, and mineral deposits, which not only detract from the pot’s beauty but can also harbor harmful pests and diseases for your plants.
Regular cleaning of your clay pots is much more than a chore; it’s a step toward preserving the vitality and aesthetic charm of your greenery. In this comprehensive guide, we will walk you through the process of how to clean a clay flower pot to their pristine state, ensuring an environment where your plants can thrive.
Table of Contents
Importance of Cleaning Clay Flower Pots
Understanding why you should clean your clay pots is the first step towards embracing the process. A clean pot not only looks more appealing but also supports better plant growth. Over time, the buildup of salts, minerals, and algae on the pot’s surface can impede the flow of water, nutrients, and air to the plant’s roots. Moreover, pathogens and pests can overwinter in soil and detritus left in pots, potentially causing issues for your new plantings. Regular cleaning ensures that neither your pots nor your plants are negatively impacted by the environment you provide them.
The Benefits of Maintaining Clean Pots
Emphasizing the long-term benefits reinforces the importance of this maintenance.
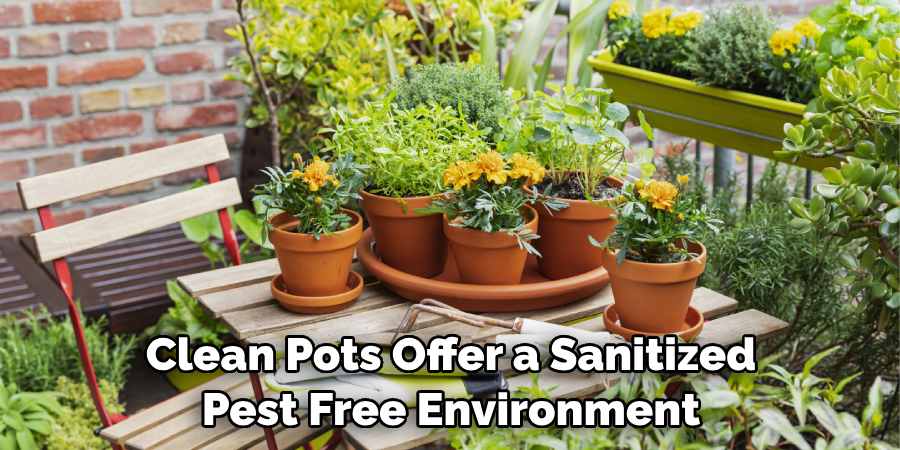
- Enhanced Plant Health: Clean pots offer a sanitized, pest-free environment that promotes healthy root development and reduces the risk of diseases.
- Extended Pot Life: By preventing the mineral buildup, you can significantly extend the life of your clay pots, ensuring you get the most out of your investment.
- Aesthetic Appeal: Bright, clean pots contribute to a visually pleasing garden-scape, lifting the spirits of all who observe it.
With these in mind, let’s delve into the detailed steps of cleaning a clay flower pot.
7 Steps on How to Clean a Clay Flower Pot
1: Gather Supplies
Before you begin, it’s crucial to assemble the necessary supplies for the task at hand.
List of Supplies
- Large container or bucket
- Mild dish soap or cleaning solution
- Stiff-bristled brush or sponge
- Vinegar or bleach (for disinfection)
- Gloves
- Protective eyewear for handling chemicals
- Outdoor work area or sink with good drainage
- Optional: old toothbrush for detail work
2: Empty the Pot
If there’s a plant in the pot, carefully remove it, and set it aside in a secure and safe location. Inspect the plant’s roots for any signs of disease or damage, and trim as necessary.
If the soil has been used before, don’t reuse it. Instead, discard it, or compost it if it isn’t contaminated. Old soil can contain pests or diseases that you don’t want to reintroduce to your garden.
3: Brush off Loose Debris
Using your brush, gently and thoroughly remove any loose dirt, moss, or mineral deposits from the pot’s surface. Pay special attention to the hard-to-reach crevices, especially along the rim and in the drain holes.
Safety reminder: Wear gloves and eye protection, especially if debris is likely to become airborne when brushing.
4: Soak the Pot
Fill a container or bucket with warm water, and add a small amount of mild dish soap, or a specific pottery cleaning solution if you prefer. Submerge the pot completely and leave it to soak for at least 30 minutes. This initial soak will begin to loosen and lift the grime from the pot.
Why Soak?
Soaking softens the dirt and mineral deposits, making them easier to remove. It can also help reduce the residue that might be left behind by hard water.
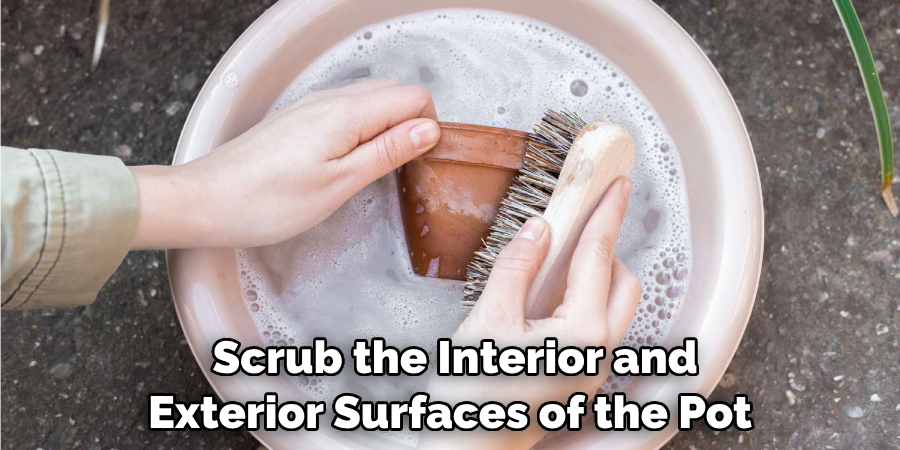
5: Scrub the Pot
After the soak, using a brush or sponge, scrub the interior and exterior surfaces of the pot, taking care to reach all areas.
For stubborn stains or mineral deposits, consider using a paste of baking soda and water as an abrasive. Apply the paste, let it sit for a few minutes, and then scrub the area clean. Avoid harsh chemicals that can damage and weaken the clay.
6: Rinse and Dry
Once you’re satisfied with the cleanliness of your pot, give it a thorough rinse with clean water to remove all soap and residue.
To dry your pot, simply place it in a sunny or well-ventilated area where it can air-dry completely before you plant. Drying in the sun not only hastens the process but also helps further disinfect the pot naturally.
Drying Tips
- Ensure the pot is fully dry, inside and out, to prevent any potential mold growth.
- If you need to store the pot before use, ensure it’s bone dry to avoid any mustiness or mold when you’re ready to plant.
7: Optional: Disinfect and Sterilize
For an added layer of protection against pests and diseases, consider disinfecting your pot. Submerge it again in a solution of one part vinegar to nine parts water or a weak bleach solution (one part bleach to nine parts water). Let it sit for about 10-15 minutes, and then rinse thoroughly.
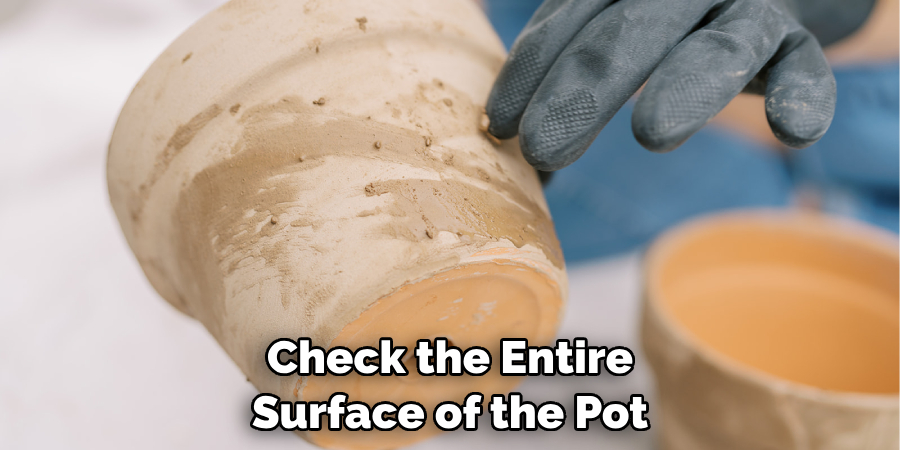
Inspect Pots for Damage
Before proceeding to reuse or store your pots, it is crucial to inspect them for any signs of cracks, damage, or general wear and tear. Cracks in clay pots can expand when the soil is moistened, potentially leading to a break, which could harm the plant. If a pot is damaged, it might be best to retire it from service to prevent any future problems.
Inspection Tips:
- Check the entire surface of the pot, both inside and out, for hairline cracks or chips.
- Pay close attention to the rim and the base, as these areas are more prone to damage.
- Gently tap the side of the pot with a piece of metal or a stick; a clear ringing sound typically indicates that the pot is in good condition, while a dull sound can indicate cracks or damage.
After a thorough inspection, if your pots are free from damage, they are ready for storage or to be filled with fresh soil and plants, thus ensuring your green companions have a secure and stable home to grow in.
Maintenance Tips for Clay Flower Pots
Maintaining your clay pots regularly can prevent the buildup of harmful pathogens and extend their usability. Here are some key pointers to keep in mind:
- Inspect Regularly: Regularly check your pots for cracks or chips which can harbor bacteria and pests. Repair or discard damaged pots.
- Prompt Cleaning: Clean pots immediately after use to prevent any residue from setting in, which can make future cleaning more laborious.
- Proper Storage: Store your pots in a dry, frost-free environment to avoid cracking and degradation caused by inclement weather.
- Avoid Harsh Chemicals: While thorough cleaning is crucial, it’s equally important to avoid harsh chemicals that can erode the clay’s natural composition and shorten its lifespan.
- Season Your Pots: If you’re using a clay pot for the first time, consider seasoning it by soaking in water for 24 hours. This saturation may prevent mineral salts from leaching to the surface and creating a white crust on your new pot.
Cleaning Process Recap
In summary, the key steps to ensuring your clay flower pots are clean, hygienic, and ready for use involve a thorough, multi-step process:
- Assemble Your Supplies: Gather all necessary items such as a large container, cleaning solution, brush or sponge, and safety gear.
- Empty the Pot: Remove the plant and discard or compost the old soil.
- Brush off Loose Debris: Clean the pot’s surface of any loose material with a stiff-bristled brush.
- Soak the Pot: Immerse the pot in soapy warm water for at least 30 minutes to soften hardened deposits.
- Scrub Thoroughly: Use a brush or sponge to scrub away remaining dirt, applying a baking soda paste for tough stains.
- Rinse and Dry: Rinse off all cleaning agents with water then dry the pot completely in a sunny or well-ventilated area.
- Optional – Disinfect: For extra protection, disinfect the pot in a vinegar or bleach solution, then rinse and dry again.
- Inspect for Damage: Examine the pot for any cracks or chips and determine its continued suitability for use.
- Maintenance Tips: Regularly inspect, clean promptly after use, store correctly, avoid harsh chemicals, and season new pots.

By following these steps, you not only preserve the integrity and beauty of your clay pots but also ensure a healthy environment for your plants.
Conclusion
By following this step-by-step guide on how to clean a clay flower pot, you can ensure that your clay flower pots remain an asset to your home and garden for years to come. Regular maintenance and care, including proper cleaning, not only extend the life of these functional decorations but also contribute to the health and vigor of your cherished plants.
Remember, the investment you make in cleaning your pots pays off in the long run, as it fosters a nourishing environment for your plants to flourish. So roll up your sleeves, and give your clay pots the tender loving care they deserve – your garden will thank you with a bountiful display of beauty!


