
How Does Slip Casting Work in Ceramics?
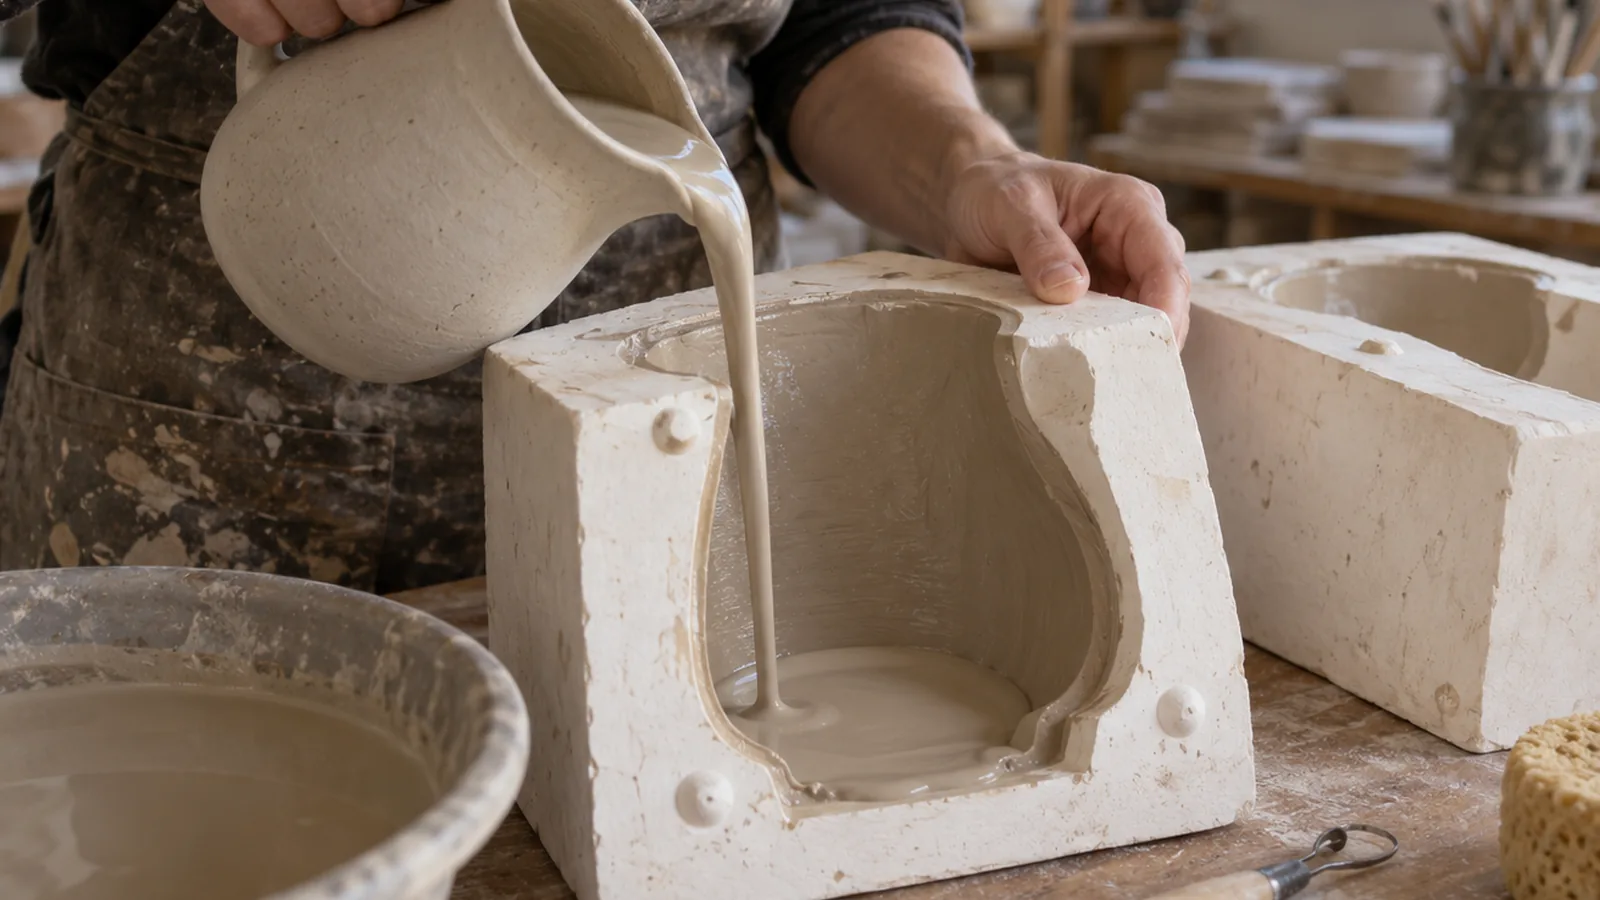
Slip casting forms a ceramic piece by pouring liquid clay, or casting slip, into a porous plaster mold; one pour creates a clay layer as the mold absorbs water. Leave the slip in until the wall reaches your intended thickness, then drain the excess. Timing varies with the slip, mold, and studio conditions, so use test casts rather than a universal schedule.
Quick answer
How does slip casting work?
You pour fluid casting slip into a porous plaster mold, where the plaster absorbs water and leaves a clay wall against the mold’s interior. Keep the slip in the mold until the wall reaches your intended thickness, then drain the excess; timing varies with the slip, mold, and studio conditions.
- Prepare the slip: Mix it thoroughly and pass it through a 60–80-mesh sieve; use a clean, dry mold with its sections secured.
- Pour and build the wall: Fill the mold with slip and leave it until the wall reaches your intended thickness.
- Drain and release: Invert the mold over a container to drain excess slip; leave the cast in the mold until it’s firm enough to handle and begins to release.
- Finish and fire: Remove the cast, trim sprues and seams, dry it fully, then fire it according to the clay body’s firing schedule.
How Do You Make a Piece by Slip Casting?
Prepare the slip and mold. Mix casting slip thoroughly, then pass it through a 60–80-mesh sieve to remove lumps. Use a clean, dry plaster mold; let it dry fully between uses so it can absorb water effectively. Mold preparation can vary: one studio method briefly wets a very dry mold before its first cast, so use the method suited to your mold and slip.
Assemble and secure the mold. Fit the plaster sections together and secure them before pouring. Check that the sections sit together properly so slip stays inside the mold.
Pour in the slip. Fill the mold with prepared casting slip. Keep a container nearby for the slip you’ll drain later.
Let the clay wall form. Leave the slip in the mold until the clay layer reaches your intended thickness; more time generally builds a thicker wall. Casting time varies with slip consistency, mold condition and dryness, and studio conditions, so there isn’t one reliable time for every setup.
Drain the excess slip. Invert the mold over a container and let the remaining slip drain out. Avoid spilling slip onto the mold exterior or work surface.
Let the piece firm up. Leave the casting in the mold until it’s firm enough to handle without deforming and begins to release. Don’t force it out while it’s still soft.
Remove the piece. Separate the mold sections carefully and lift out the casting once it releases. Handle it gently to avoid distorting the clay.
Trim and smooth. Use a fettling knife or X-Acto knife to trim sprues and seams, then smooth edges with a damp sponge.
Dry the piece fully. Let the trimmed casting dry completely before firing. Drying comes after removal and trimming, not while the wall is building in the mold.
Fire the piece. Fire the dry piece according to the clay body’s firing schedule. Cone 5 is one example, not a universal target for slip-cast pottery.
How Does the Plaster Mold Form the Clay Shape?
Porous plaster pulls water from the slip at the mold surface, leaving a solidifying clay layer against the mold’s interior.
As water leaves the slip at the surface, clay particles build into a wall that follows the mold’s interior shape. When the wall reaches the thickness you want, invert the mold and drain the remaining liquid slip into a container.
Slip consistency, mold condition and dryness, and studio conditions also affect how quickly the wall forms.
After draining, leave the piece in the mold until it’s firm enough to handle without deforming and starts to release; forcing it out while soft can deform it. Once removed, trim seams and any sprue, then dry the piece fully before firing it according to the clay body’s firing schedule.
What Changes the Casting Time and Wall Thickness?
Casting time and wall thickness depend on time in the mold, slip condition, and mold dryness.
- Time: Keep the slip in the mold until the wall reaches the thickness you want, then drain the excess.
- Mold condition: Mold dryness affects the casting rate, and a clean, dry plaster mold is recommended for casting. One studio method calls for briefly wetting a very dry mold before its first cast, so treat preparation as setup-specific rather than assuming every mold should be wetted.
- Slip: Formulation and consistency affect how quickly a wall forms. Mix casting slip thoroughly and sieve it before use so lumps don’t remain in the slip.
- Studio conditions: These also affect casting rate, which is another reason a time that works for one setup may not work for yours.
Published timings are examples, not general targets: one studio expert gives 15–30 seconds for very thin translucent-porcelain walls and 15–20 minutes for a coffee cup. Another lesson gives about 20 minutes for a red-earthenware vessel. Those examples describe different forms and materials, so don’t use them as a direct comparison or as a schedule for your piece.
To find a repeatable time for your setup, make test casts and record the slip and mold conditions alongside the time.
Which Parts and Materials Does Slip Casting Use?
Slip casting uses fluid clay slip, a porous plaster mold, and tools to pour, drain, and finish the piece; mold fasteners are needed only when the mold has sections that must be secured. The mold and slip form the ceramic wall together: the plaster draws water from the slip, leaving clay against the mold’s interior.
| Part or material | Function |
|---|---|
| Casting slip | Fluid clay that forms the ceramic wall; mix thoroughly and sieve before casting |
| Porous plaster mold | Absorbs water from the slip at the mold surface |
| Mold sections and fasteners | Hold a multi-part mold together during casting |
| Pouring container | Holds slip for pouring into the mold |
| Drain container | Catches excess slip poured out of the mold |
| Fettling knife or X-Acto knife | Trims sprues and seams |
| Damp sponge | Smooths edges |
The mold’s construction determines whether you need to assemble and secure sections before pouring; a one-piece mold doesn’t require those fasteners. Follow the preparation suited to your mold and slip setup, rather than treating either method as universal.
Casting slip is formulated to flow while still forming a clay wall as the mold draws out water; simply adding excessive water to clay won’t reliably produce casting slip. Use a bucket or other container to catch drained slip, then trim and smooth the piece with the listed finishing tools.
Frequently Asked Questions
What types of pottery are best made with slip casting?
Slip casting works well for hollow forms and pieces that benefit from repeatable shapes, such as cups and vessels, because liquid clay forms a wall against the mold’s interior. The mold sets the shape, so choose forms a mold can release without deforming the clay; wall thickness depends on casting time and the slip and mold conditions.
Can you make your own casting slip?
Yes, you can make casting slip, but adding lots of water to clay won’t reliably make it flow while forming a sound wall. Deflocculants help liquefy clay without excess water; one studio recipe starts with about 40% water by weight, but the amount varies with the recipe.
How do you prevent air bubbles in slip casting?
Mix the casting slip thoroughly and sieve it through a 60–80-mesh screen before pouring to remove lumps. The sources don’t specify a bubble-removal step, so prepare smooth slip and pour into the assembled mold carefully; the clay wall forms as plaster draws water from the slip.
How many times can you use a plaster mold?
A plaster mold can be reused once it has dried fully between casts, provided you handle it carefully. There’s no fixed number of uses in the guidance; let the mold dry so it can absorb water effectively, and replace it when it no longer casts reliably.
Can slip casting reproduce fine details?
Yes, slip casting can reproduce details formed in the mold, because the clay wall takes the shape of the mold’s interior. Detail depends on the mold surface and how cleanly the casting releases; wait until the piece is firm and beginning to release before removing it, so you don’t deform the clay.
Conclusion
If you want repeatable pieces, start with a simple mold and keep the slip and mold conditions consistent while you make test casts. Record how long the slip stays in the mold and whether the wall reaches the thickness you want; adjust the time before changing other parts of the setup. Once you can release and trim the casting without deforming it, dry it fully and fire it to the clay body’s schedule.
Sources
- open.edu (open.edu)
- In the Studio: Mixing Casting Slip: Tips and Tricks (ceramicartsnetwork.org)
- ceramicartsnetwork.org (ceramicartsnetwork.org)
- ceramicarts.org (ceramicarts.org)
- ceramics.org (ceramics.org)
- ceramics.org (ceramics.org)
- ceramicartsnetwork.org (ceramicartsnetwork.org)
