Are you a craft enthusiast looking for ways to make your homemade clay creations last longer? Did your art project succumb to the elements, despite your best efforts? Air-dry or self-hardening clay has come a long way in terms of durability, and now, with a few simple steps, it can be waterproofed as well! We’ll show you how to waterproof air dry clay so that it’s protected from everyday wear and tear and even Mother Nature.
The good news is that this process does not require specialist materials or equipment and can help prolong the life of all your beautifully crafted items. So get ready to protect those polymer projects; read on for tips about waterproofing any air-drying clay creation!
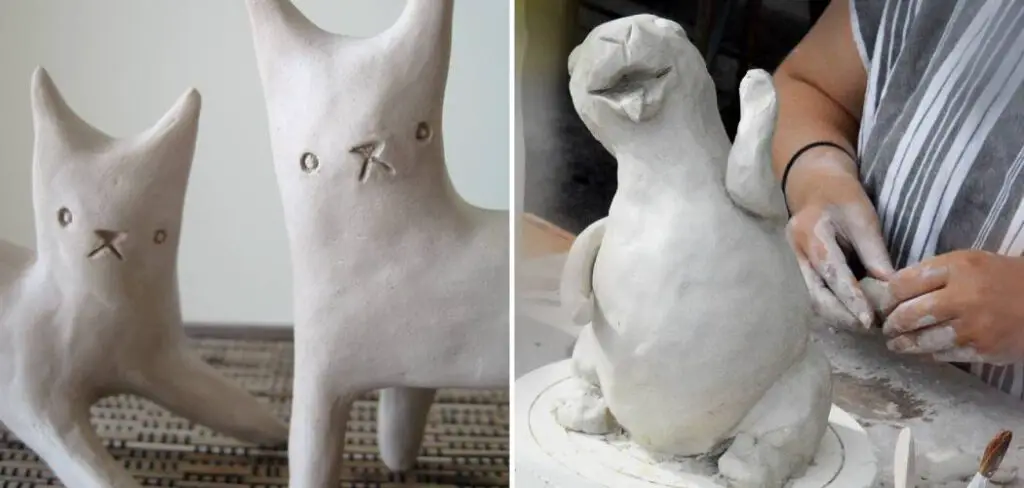
Table of Contents
Why Waterproofing Air Dry Clay Is Important
Waterproofing air-dry clay is an important process that ensures your projects will last for years to come. Without proper waterproofing, the clay can become brittle and easily breakable, or it can dissolve if exposed to moisture. Waterproofed clay projects are much more durable and resistant to damage from water and other elements. In addition, since air-dry clay is often used to create outdoor decorations or pieces exposed to weather, waterproofing is essential for guaranteeing their longevity.
Waterproofing air-dry clay also enhances the beauty and texture of the project by creating a protective layer that keeps it looking great. Finally, waterproofed air-dry clay can be painted without risking damage to the color or paint. So if you are planning on working with air dry clay, it is important to waterproof it before finishing your project.
The process of waterproofing air dry clay is relatively simple and requires only a few materials. Before you begin the process, make sure that your air dry clay has been thoroughly dried. If it is still wet, the protective layer of waterproofing will not be effective. Once you have ensured that the clay is dry, you will need to gather supplies such as a waterproofing sealant or varnish, a paintbrush, and possibly an air-dry clay sealant of your choice.
Properties that Make Air Dry Clay Porous
Air-dry clay is a popular material for art and craft projects because it is lightweight, affordable, and easy to use. Unfortunately, one of the drawbacks of air-dry clay is its porous nature. When left exposed to the air, water can seep through the tiny holes in the clay and cause it to break down over time. This porousness also makes air-dry clay difficult to waterproof.
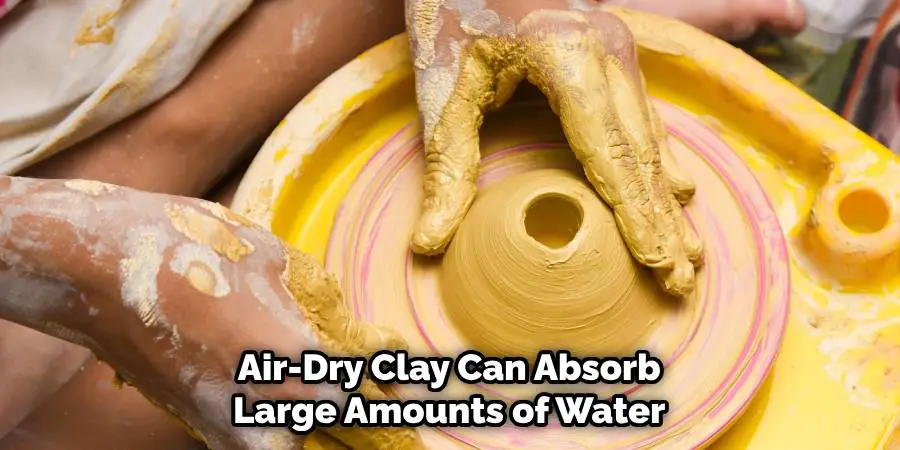
The porousness of air-dry clay is due to several properties it has, including its porosity, permeability, and shrinkage. Porosity describes how much air or gas a material can absorb. Air-dry clay is highly porous, meaning it can absorb large amounts of water vapor from the atmosphere, making it vulnerable to moisture damage.
Permeability refers to the ability of a material to allow liquid or gas to pass through its pores. Since air-dry clay has numerous tiny air pockets, it is highly permeable and can easily absorb water. This makes it difficult to completely waterproof.
Finally, shrinkage occurs when a material changes its shape or size due to the loss of liquids such as water. Air-dry clay is prone to shrinkage because it is made up of tiny particles that become smaller when exposed to moisture. As the clay shrinks, the tiny holes which make it porous expand and become even more permeable. This further increases the difficulty in waterproofing air-dry clay.
10 Methods How to Waterproof Air Dry Clay
1. Acrylic Sealant:
One of the most common methods for waterproofing air dry clay is using acrylic sealant. Once your clay creation has fully dried, apply multiple thin coats of clear acrylic sealant, allowing each coat to dry before applying the next. This creates a protective barrier that repels water and prevents it from seeping into the clay.
2. Polyurethane Varnish:
Polyurethane varnish is another effective option for waterproofing air dry clay. Similar to acrylic sealant, apply multiple thin coats of polyurethane varnish to the dry clay surface, allowing each coat to dry completely. This provides a durable and waterproof finish, making your clay creations resistant to water damage.
3. Epoxy Resin Coating:
For a more advanced waterproofing technique, consider using epoxy resin to coat your air dry clay creations. Epoxy resin creates a hard and transparent surface that is highly resistant to water. Follow the manufacturer’s instructions for mixing and applying the resin, and ensure proper ventilation during the curing process.
4. Polymer Clay Overlay:
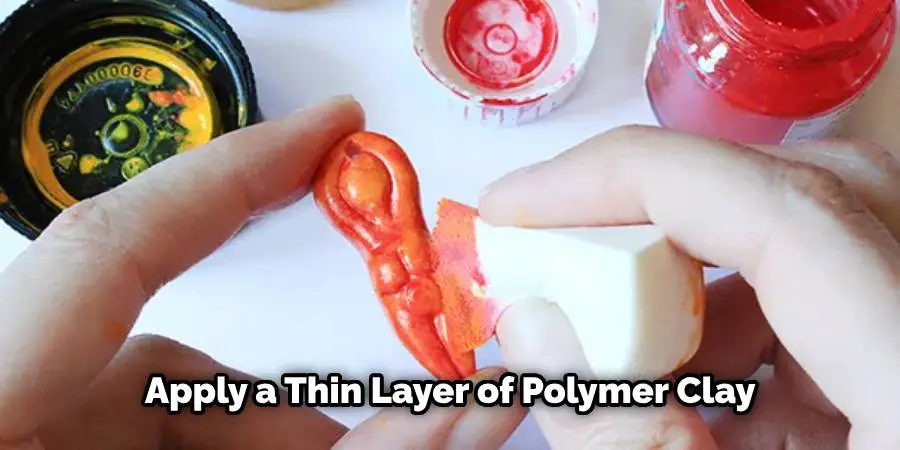
To enhance the waterproofing capabilities of air dry clay, you can apply a thin layer of polymer clay as an overlay. Polymer clay is inherently waterproof and can create a protective barrier over the air dry clay. Roll out a thin sheet of polymer clay and carefully place it over the dry air dry clay, ensuring it adheres securely. Bake the piece according to the polymer clay manufacturer’s instructions to fuse the layers together.
5. Silicone Sealant:
Silicone sealant is an effective method for waterproofing air dry clay joints and seams. Apply a small amount of silicone sealant along the edges or joints of your clay creation, smoothing it out with a silicone tool or your finger. This creates a watertight seal that prevents water from seeping into the vulnerable areas.
6. Waterproofing Spray:
Specialized waterproofing sprays designed for fabrics and crafts can also be used to waterproof air dry clay. Choose a waterproofing spray suitable for your clay type and follow the manufacturer’s instructions for application. Spray the clay from a distance, ensuring even coverage. This method provides a thin waterproof layer without altering the appearance or texture of the clay.
7. Beeswax Coating:
Beeswax is a natural and versatile material that can be used to waterproof air dry clay. Melt pure beeswax in a double boiler or a heat-resistant container placed in a pot of simmering water. Once melted, carefully brush a thin layer of beeswax onto the dry clay surface. Allow the beeswax to cool and harden, creating a water-resistant coating. Beeswax may alter the appearance and color of the clay, so test it on a small area before applying it to the entire piece.
8. PVA Glue and Water Mixture:
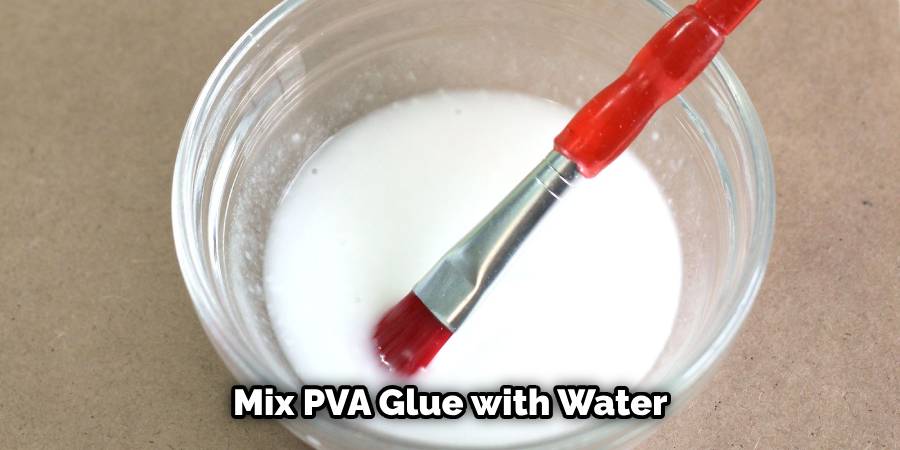
A simple and affordable method for waterproofing air dry clay is by using a mixture of PVA glue and water. Dilute PVA glue with water in a 1:1 ratio, ensuring it has a smooth consistency. Brush the mixture onto the dry clay surface, applying multiple thin coats and allowing each layer to dry completely. This technique creates a protective coating that makes the clay waterproof.
9. Ceramic Glaze:
If you have access to a kiln, applying a ceramic glaze to your air dry clay creations can provide excellent waterproofing. Select a ceramic glaze suitable for your clay type and fire the piece according to the glaze manufacturer’s instructions. The high-temperature firing process fuses the glaze to the clay, creating a waterproof and durable finish.
10. Silicone Mold Making:
For complex or intricate air dry clay designs that require waterproofing, consider creating a silicone mold of the clay piece. Once the mold is made, use a waterproof casting material, such as resin or epoxy, to create a replica of the clay design. This ensures a fully waterproof and durable final product while preserving the intricate details of your original clay creation.
Some Common Mistakes When Waterproofing Air Dry Clay
Waterproofing air dry clay can be a tricky process, and there are some common mistakes to avoid if you want to ensure that your sculpture or project is completely waterproof. Here are some of the most common mistakes when waterproofing air dry clay and how to avoid them:
1. Not Applying Enough Coats:
It’s important to apply multiple layers of sealant in order to achieve the best waterproofing results. A single coat may not provide enough protection, so make sure to apply several coats until you are satisfied with the results.
2. Not Waiting Between Coats:
It’s important to wait for each coat of sealant to dry before applying the next one. Otherwise, the water-based sealant will just be wiped off and won’t do its job correctly. Make sure that there is at least a few hours between each coat in order to ensure maximum waterproofing.
3. Using an Oil-Based Sealant:
Oil-based sealants should never be used on air dry clay as they can cause cracking and discoloration over time. Stick to using only water-based sealants in order to keep your clay projects looking their best.
4. Applying Sealant Too Thickly:
It’s important to apply sealant thinly and evenly in order to make sure it soaks through all the layers of air dry clay. Applying the sealant too thickly can cause uneven results or even make the clay crack due to the extra weight.
Conclusion:
Waterproofing air dry clay is a great way to add longevity and durability to any project. It can also enable you to create and store 3D objects for later use. The waterproof sealing process itself is simple enough that anyone with basic crafting skills could complete it quickly and easily with minimal tools.
Once your clay projects have been waterproofed using these steps, you can be confident that your creations will have the protection needed to last for many years to come. No matter what kind of DIY projects you have planned, we hope this information on how to waterproof air dry clay can help you get the most out of your air dry clay endeavors.


