Are you looking for a versatile, easy-to-use clay material that can be formed into various shapes and decorations? Paper clay might be the perfect solution! This type of art medium offers endless creative possibilities, allowing you to craft figurines, vessels, and more from lightweight materials.
In this blog post, we’ll explore how paper clay is created and discuss some tips for how to use paper clay properly so you can make beautiful works of art with confidence. From mixing your own batch to shaping it expertly and everything in between—we’ll cover all the basics, so you have everything you need to get started on crafting projects with paper clay.
Table of Contents
Do You Use Water with Paper Clay?
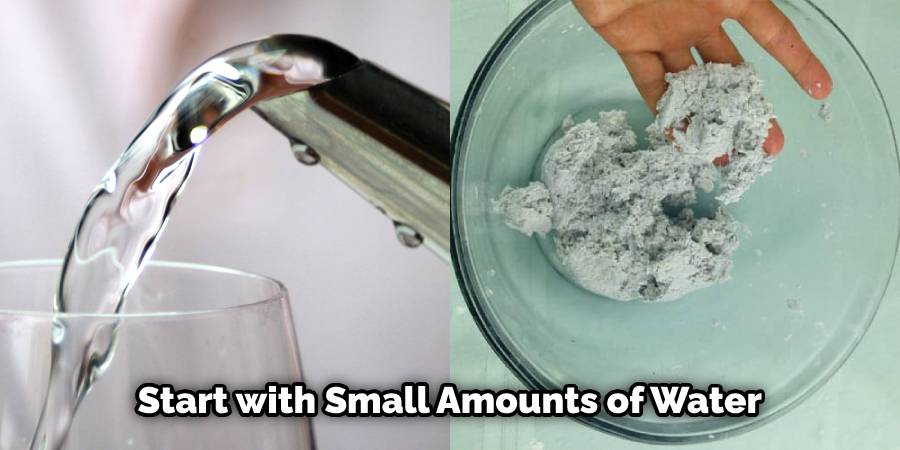
Yes, water is often used with paper clay when making sculptures and other artistic creations. Water helps to bind the fibers of the paper together so you can create a more solid form. When using water with paper clay, it’s important not to add too much at once as it can weaken the structure. Start by adding small amounts of water and mix until you’ve reached your desired consistency.
You may also need to add filler material like sawdust or wood chips to give the clay added strength. Additionally, you’ll want to make sure that whatever area you’re working in is well-ventilated, as some moisture will evaporate during the drying process.
With enough practice and experimentation, anyone can learn how to use paper clay successfully! Additionally, you can also find helpful tutorials online for more detailed instructions.
Overall, using water with paper clay is a great way to create unique sculptures and art pieces. Just make sure to start with small amounts of water and adjust as needed. Additionally, it’s important to follow safety guidelines when working with wet clay, as the moisture can cause mold or mildew in poorly ventilated areas. With enough practice and experimentation, anyone can learn how to use paper clay successfully!
10 Methods How to Use Paper Clay
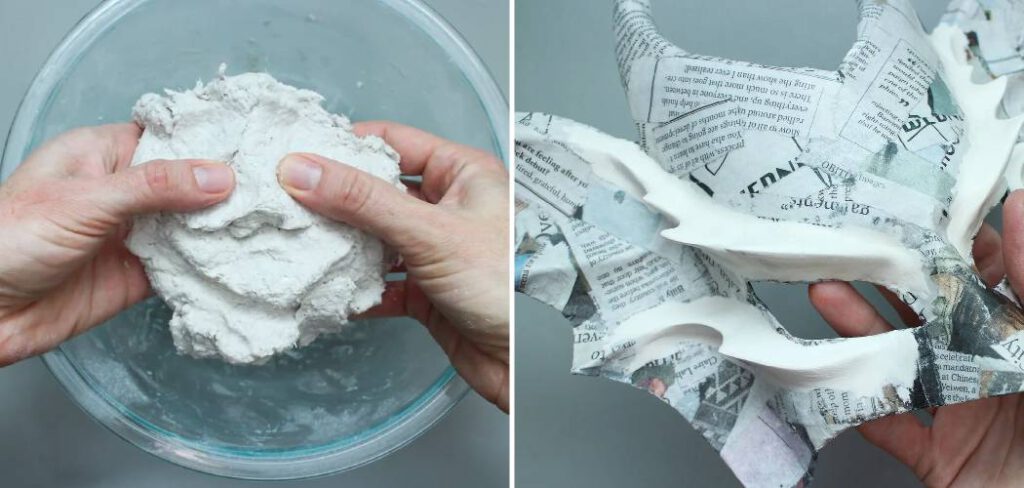
1. Preparing Paper Clay:
Before using paper clay, it should be conditioned by kneading it until the paper fibers are evenly distributed, and the clay is soft and pliable. This will allow for easier manipulation of the clay when creating your desired project. While kneading the clay, you can add water if needed. Once you have conditioned the clay, it is ready to use. Try to avoid adding too much water to the clay, as this will make it difficult to work with.
2. Adding Strength to Paper Clay:
Since paper clay is relatively weak and brittle compared to other types of clay, adding strength to a project can be achieved by layering multiple thin pieces of paper clay on top of each other. This will help add stability to the structure of your project.
Another way of adding strength to a paper clay project is to use a reinforcing agent such as fiberglass or metal mesh when shaping the clay. This can help to increase the strength of the clay and make it less prone to cracking or breaking.
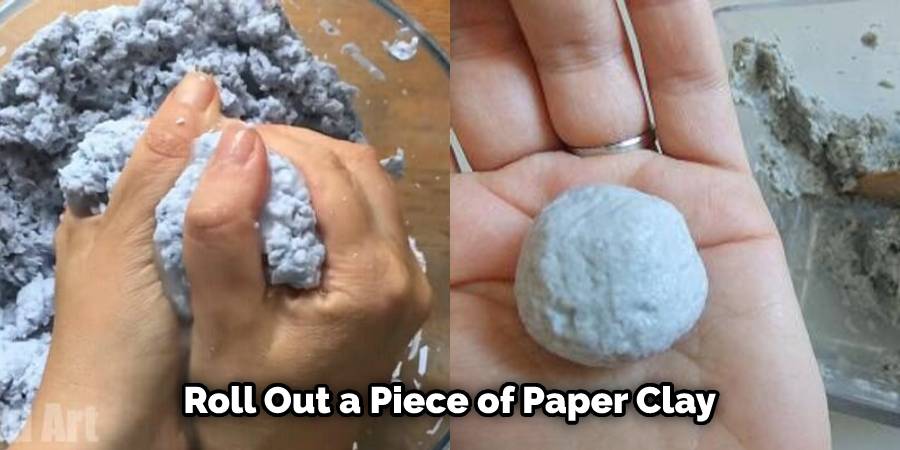
3. Making Paper Clay Molds:
For larger projects such as sculptures or vases, you can use paper clay to make molds out of which you can craft your desired shape. To make a mold, simply roll out a piece of paper clay into a flat sheet and cut out shapes from it that correspond with what you want your end product to look like.
You can then use these molds as templates for cutting out shapes from other pieces of paper clay or even modeling another type of material, such as plaster or wax, onto them. Once your shape has been molded, you can either keep the paper clay as it is or fire it in an oven to harden it and make a sturdier structure. With paper clay, you can create almost any shape or size for your projects!
4. Working with Thin Pieces:
When working with thin pieces of paper clay, it’s important to keep in mind that they have the tendency to dry out quickly, so take care not to handle them too much and keep them covered while not being worked on in order to retain their moisture and flexibility throughout the entire process. To help thin out the paper clay, mix it with a bit of water until it resembles thick cream or yogurt.
You can then use a rolling pin to flatten it out into the desired thickness. When applying paper clay onto a surface, use a damp brush or sponge to help smooth and adhere the clay pieces together. While it is possible to cut through the clay when it is wet, doing so might create rough edges that can be difficult to work with. Instead, allow the clay to dry out completely and then use a craft knife or other sharp instrument to make any necessary cuts.
5. Texturing Paper Clay:
Paper clay can easily be textured using various tools, techniques, and found objects such as shells or stones for added dimension and detail on projects ranging from jewelry boxes to ceramic dishes or figurines. For a quick and easy texture, try using common items such as the end of a pencil or a small paintbrush.
To make more intricate designs, use a rubber stamp, a wooden carving tool, or even an old ice cream stick. Paper clay is also perfect for creating faux finishes such as marble and wood grain or any number of effects using found objects. Once you are finished texturing your paper clay project, let it dry according to the manufacturer’s instructions.
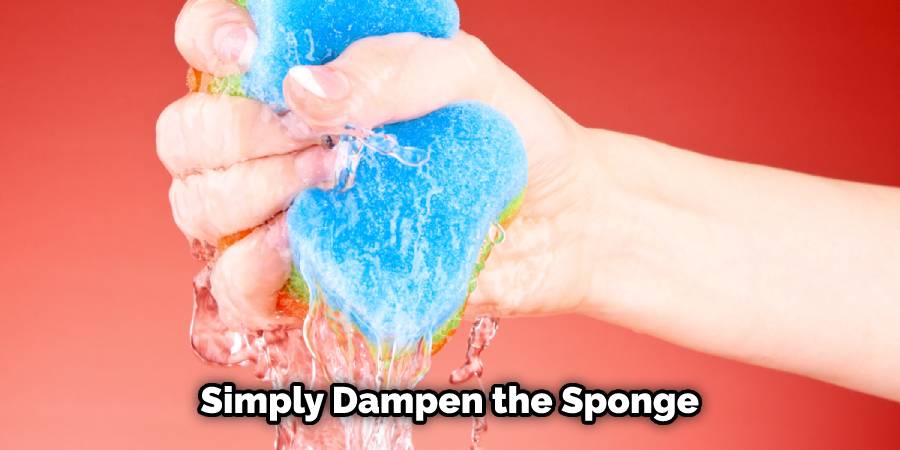
6. Using an Abrasive Sponge:
Using an abrasive sponge is an easy way to achieve a realistic stone-like texture on pieces made from paper clay when combined with watercolor paints in earth tones for coloring after firing (see below).
Simply dampen the sponge before making circular motions directly onto the surface of the object in order to create a rugged finish that looks authentic once fired and glazed over afterward if desired. Be sure to take care when using the sponge, as more pressure may result in an uneven finish. Once you have achieved your desired texture, leave the piece to dry before firing.
7. Drying Time:
Drying time for paper clay depends on how thick the layers are, but generally speaking, most pieces will take anywhere between 2 – 3 days, depending on environmental conditions such as temperature and humidity levels in order for it to completely dry off before attempting any firing process.
8. Firing Processes:
Depending on what kind of product you’re trying to achieve from your paper clay creation, you may need certain temperatures when firing the object in an oven or kiln in order for there not to be any cracking during this process due to its delicate nature in comparison with stoneware or porcelain clays which require higher temperatures when fired up at around 1200-1300°C degrees Celsius respectively.
Low-fire paper clay can be fired at temperatures up to 950°C. You’ll almost definitely require some sort of glazing to help with the protection of your paper clay creation, and you can use commercial glazes or make your own.
9 Glazing Techniques:
After having successfully fired up your piece, finishing touches can be added through glazing techniques that give added protection against wear and tear, along with enhancing its color and shine if desired. Although there is a variety of different glazing techniques, here are the nine most popular ones to consider when working with paper clay. However, it should be noted that most of these techniques require a separate glaze firing after the biscuit firing.
10 Finishing Touches:
Finally, once all processes have been completed, some extra details can be added either by hand-painting designs onto the surface using acrylic paints or adding small decorative features via sculpting tools such as wire cutters or files if necessary. Lastly, a coat of varnish can be applied to give the paper clay a glossy finish and protect it from everyday wear and tear.
Things to Consider When Using Paper Clay:
1. Paper clay is not waterproof and should not be used outside in rainy or damp weather.
2. If you plan to use paper clay for outdoor projects, make sure to use a waterproof sealant after the project is finished.
3. Paper clay should be kept away from open flames or extreme heat as it can easily burn and crack.
4. To avoid cracking during drying, do not overwork your paper clay – knead it gently and work on small amounts at a time.
Conclusion:
To summarize, paper clay is an excellent choice for creative crafters out there. It’s affordable, easy to manipulate, and very forgiving. Its water-resistant properties make it perfect for molding different shapes and creating unique art pieces for your home or as gifts. Plus, its ability to dry quickly makes the creation process simple and painless.
With a bit of practice and patience, creating beautiful works of art with paper clay will be a breeze! If you want to create something truly special but don’t know where to begin, give paper clay a try – you won’t be disappointed! So grab some supplies, roll up your sleeves, and get creative; fantastic things await you when you learn how to use paper clay.


