Do you want to give your ceramics an extra personal touch? Transferring images is the perfect way to turn regular pieces of pottery into unique works of art. With just a few tools and a bit of creativity, you can take any image off the internet and apply it directly to your ceramic creations.
In this post, we’ll show you How to transfer your images onto your ceramics so that you can make beautiful custom pieces that are simpler than they look! Learn everything from prepping the surface before transferring to finishing touches afterward so that no matter what design or project you have in mind, it will be sure to stand out amongst your friends’ work – even those with decades of experience!
Table of Contents
How Do You Print on Ceramic?
Once you have your images and substrate ready, the next step is to print on the ceramic. There are different methods for printing onto ceramics depending on what type of printer you have.
For large-format printers, special sublimation paper can be used. This paper allows for high-quality prints with bright colors that will last for a long time. The printing process is relatively the same as any other type of printer, but you must use special settings to ensure the best results.
For smaller printers, transfer paper can be used instead. This type of paper has an adhesive backing that allows it to stick to the ceramic surface. Once applied, you can use a heat press or iron to transfer the image onto the ceramic. This is a simple and effective way of printing on ceramics, but it does require some practice to achieve the best results.
Finally, you can also print directly onto glazed ceramics with an inkjet printer. The process is similar to any other type of printing, but you must use special inks that are designed for this purpose. These inks must be water-resistant to ensure they do not wear off when exposed to moisture or when washed in a dishwasher.
No matter which method you choose, it’s important to remember that there are certain limitations when it comes to printing on ceramics. If your prints turn out blurry or lack color, you may need to adjust the settings on your printer for better results. In any case, it’s best to conduct some test prints before committing to a final design.
10 Easy Ways How to Transfer Your Images onto Your Ceramics
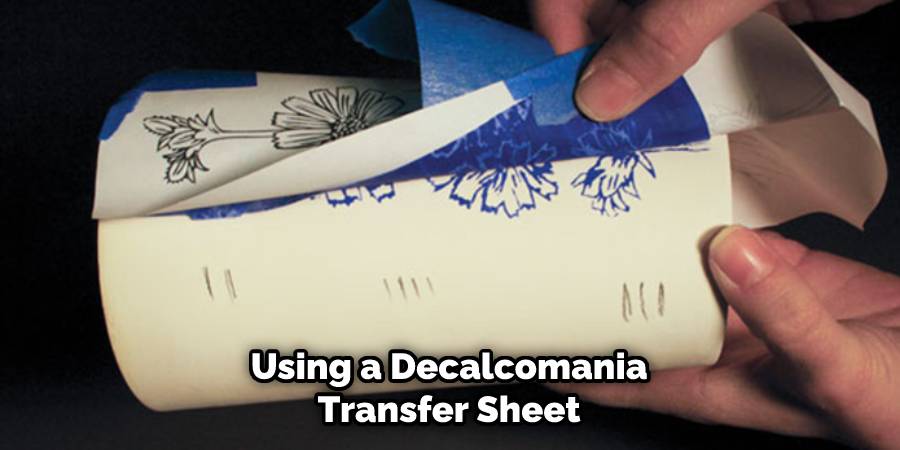
1. Decalcomania
Decalcomania is a technique that uses pressure to transfer an image onto a ceramic surface. The first step is to find an image that you want to transfer. This can be done by printing out a picture from a computer or by using a decalcomania transfer sheet.
Once you have your image, place it face-down on the ceramic surface and rub the back of the paper with a pencil or other object to create pressure. After a few minutes, carefully peel back the paper to reveal the transferred image.
2. Stencils
Stencils are another easy way to transfer an image onto a ceramic surface. Simply find a stencil that you like and place it on the surface of the ceramic. Use a pencil or other object to trace around the stencil, making sure to apply enough pressure to create an imprint.
Once you have finished tracing, remove the stencil and fill in the traced lines with paint, glaze, or another desired medium. If you’re looking for an even simpler solution, opt for a pre-designed stencil with the image already printed on it.
3. Freehand
If you are feeling confident in your artistic abilities, you can try transferring an image onto a ceramic surface freehand. First, find an image that you want to use and trace it onto tracing paper. Next, place the tracing paper on the ceramic surface and use a pencil or other object to transfer the image onto the ceramic by tracing over the lines of the tracing paper. Once you have finished tracing, remove the tracing paper and fill in the lines with paint, glaze, or another desired medium.
4. Embossing
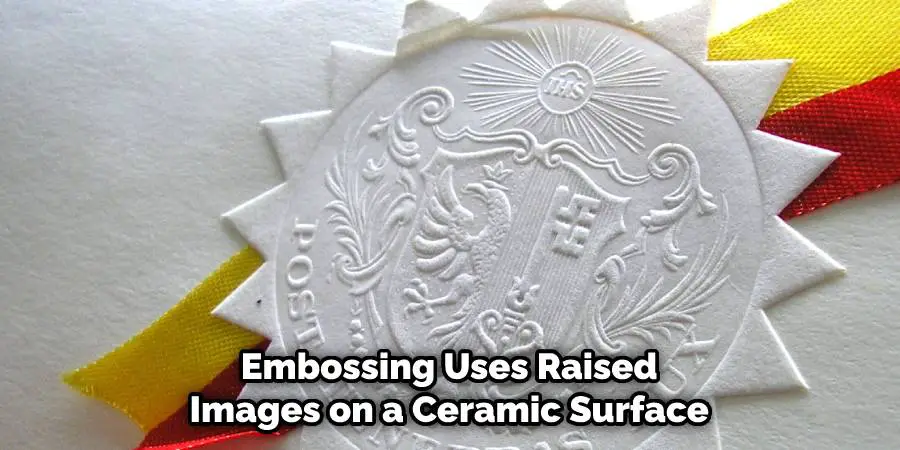
Embossing is a technique that uses raised images to transfer a design onto a ceramic surface. To emboss an image onto a ceramic surface, you will need an embossing plate and an embossing tool. First, place your chosen embossing plate on top of the ceramic surface. Next, use the embossing tool to trace around the edge of the plate, applying pressure as you go. Once you have finished tracing, remove the plate and fill in any raised areas with paint, glaze, or other desired medium.
5. Etching
Etching is a technique that uses acid to transfer an image onto a ceramic surface. To etch an image onto a ceramic surface, you will need etching acid and some form of resistance (such as wax or tape). First, apply the resist over areas of the ceramic where you do NOT want etching acid to touch. Next, use a paintbrush or other object to apply etching acid over the exposed areas of the ceramic. Be sure to follow all safety instructions when working with etching acid!
6. Lithography
Lithography is another popular method for transferring images onto ceramics. This process involves transferring an image from a flat surface onto ceramics using a chemical or wax-based medium. The ink used to create the lithographic image is water-repellant, so it adheres to the ceramics without smearing.
The main benefit of lithography is that it allows you to create highly detailed images with a professional-quality finish. The downside is that it can be expensive and time-consuming. If you want to achieve a professional look, it’s worth investing in the right supplies and investing some time into learning how to create lithographs.
7. Screen Printing
Screen printing is a common method for printing images onto ceramics. With this method, you will need to create a screen with your image emblazoned on it. The screen is then inserted into a special printing machine, and the image can be transferred onto the material.
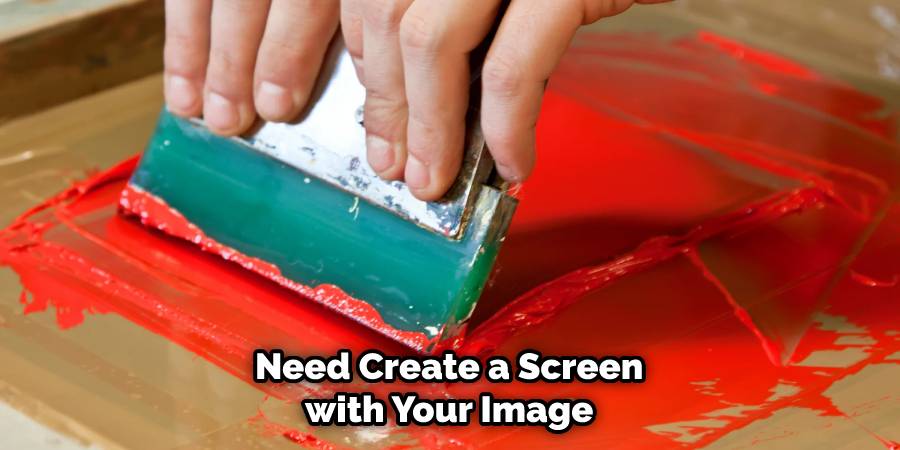
This technique requires a bit of practice and skill before perfecting it, but once mastered, it can yield excellent results. Make sure to read up on how to use the special machine and take proper safety precautions prior to using it.
8. Painting
Painting is another popular method for transferring images onto ceramics. Painting involves coating the ceramic piece with a basecoat, applying your image to the piece, and then painting over it. This type of transfer allows you to use any colors and shades that you want for your design.
To start off this process, begin by preparing your ceramic surface. Clean it and remove any dust or debris from the area where you want to place your image. You should also sand the surface for a smoother finish.
9. Stamping
Stamping is a great way to create unique images on your ceramic pieces. You can use stamps made out of rubber, foam, or clay. Be sure to buy a stamp that is non-toxic and appropriate for the type of glaze you are using. If you are making a large batch of ceramics with the same design, it’s best to use a rubber or foam stamp. Clay stamps can be used to create unique designs, but they will not last as long as the other types of stamps.
To begin, roll out a thin piece of clay and cut it into the desired shape. Place the design onto your ceramic piece and carefully press down with even pressure. Use a damp cloth or sponge to help you remove the excess clay.
10. Sandblasting
Sandblasting is a popular method for transferring images onto ceramics. It involves using a special machine to blast sand or other fine particles onto the surface of the ceramic. The finer the particles, the smoother and more detailed your image will be. This method is especially effective for creating intricate designs such as portraits and landscapes.
Once you have chosen your preferred blasting material, you will need to carefully place your ceramic piece in the machine and then activate it. The sand or particles will be propelled onto the surface of the ceramic, and your image will be transferred to the ceramic.
Things to Consider When Transfering Your Images onto Your Ceramics:
1. Choose the Right Image:
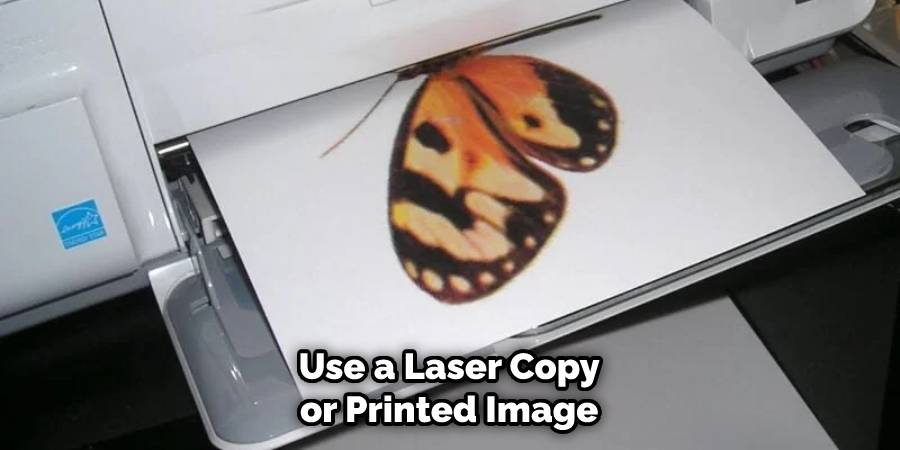
The success of your transfer depends on the type of image you use. For best results, use a laser copy or printed image that is sharp and has high contrast. Avoid using a photocopy of an image, as it will not have enough detail to make a good transfer.
2. Prepare Your Ceramic Piece:
Before transferring your image, ensure that the ceramic surface is clean, dry, and smooth. Sand down any rough areas to create a smooth surface, and then wipe away any dust or debris.
3. Choose the Right Transfer Medium:
The type of transfer medium you use will determine the quality of your transfer. Paint glazes and melts are all suitable transfer media, but each one has its own advantages and disadvantages. It is important to choose a transfer medium that meets your needs and is compatible with the type of ceramic you are using.
Conclusion:
In conclusion, transferring images onto ceramics can be a fun project that allows you to express your unique style. You can use your own original designs or images gathered from the internet. With the right materials and techniques, you’ll be able to print any image onto your ceramics in no time!
To recap, you’ll need special ceramic transfer paper or decal film, an inkjet printer, and access to an oven to permanently fix the image. Thanks for reading our blog post on how to transfer your images onto your ceramics! We hope you found it helpful and informative.


